مقدمة
This user manual provides comprehensive instructions for the BERGER 100W Foldable Solar Panel Set. It covers setup, operation, maintenance, and troubleshooting to ensure optimal performance and longevity of your solar power system. This portable and efficient solar solution is designed to charge your power station or various battery types, making it ideal for camping, outdoor adventures, and off-grid power needs.
محتويات الحزمة
- 1 x 100 W foldable solar panel
- 1 x Charge controller
- 1 x 3 Meter extension cable with MC4 connectors (for direct connection, e.g., to a power station)
- 1 x Cable with crocodile clamps (for direct connection, e.g., to a LiFePO4 battery)
دليل الإعداد
Follow these steps to set up your BERGER Foldable Solar Panel Set:
1. Unfolding the Solar Panel
Carefully unfold the solar panel completely on a flat, stable surface. Ensure there are no obstructions that could damage the panel surface.

Image: The BERGER 100W foldable solar panel fully unfolded, showing the solar cells, integrated handles, and the included charge controller and connection cables.
2. Positioning for Optimal Sunlight
Utilize the integrated kickstands on the back of the panel to angle it towards the sun. Adjust the angle to maximize direct sunlight exposure throughout the day. The panel is designed to be stable even on uneven terrain.
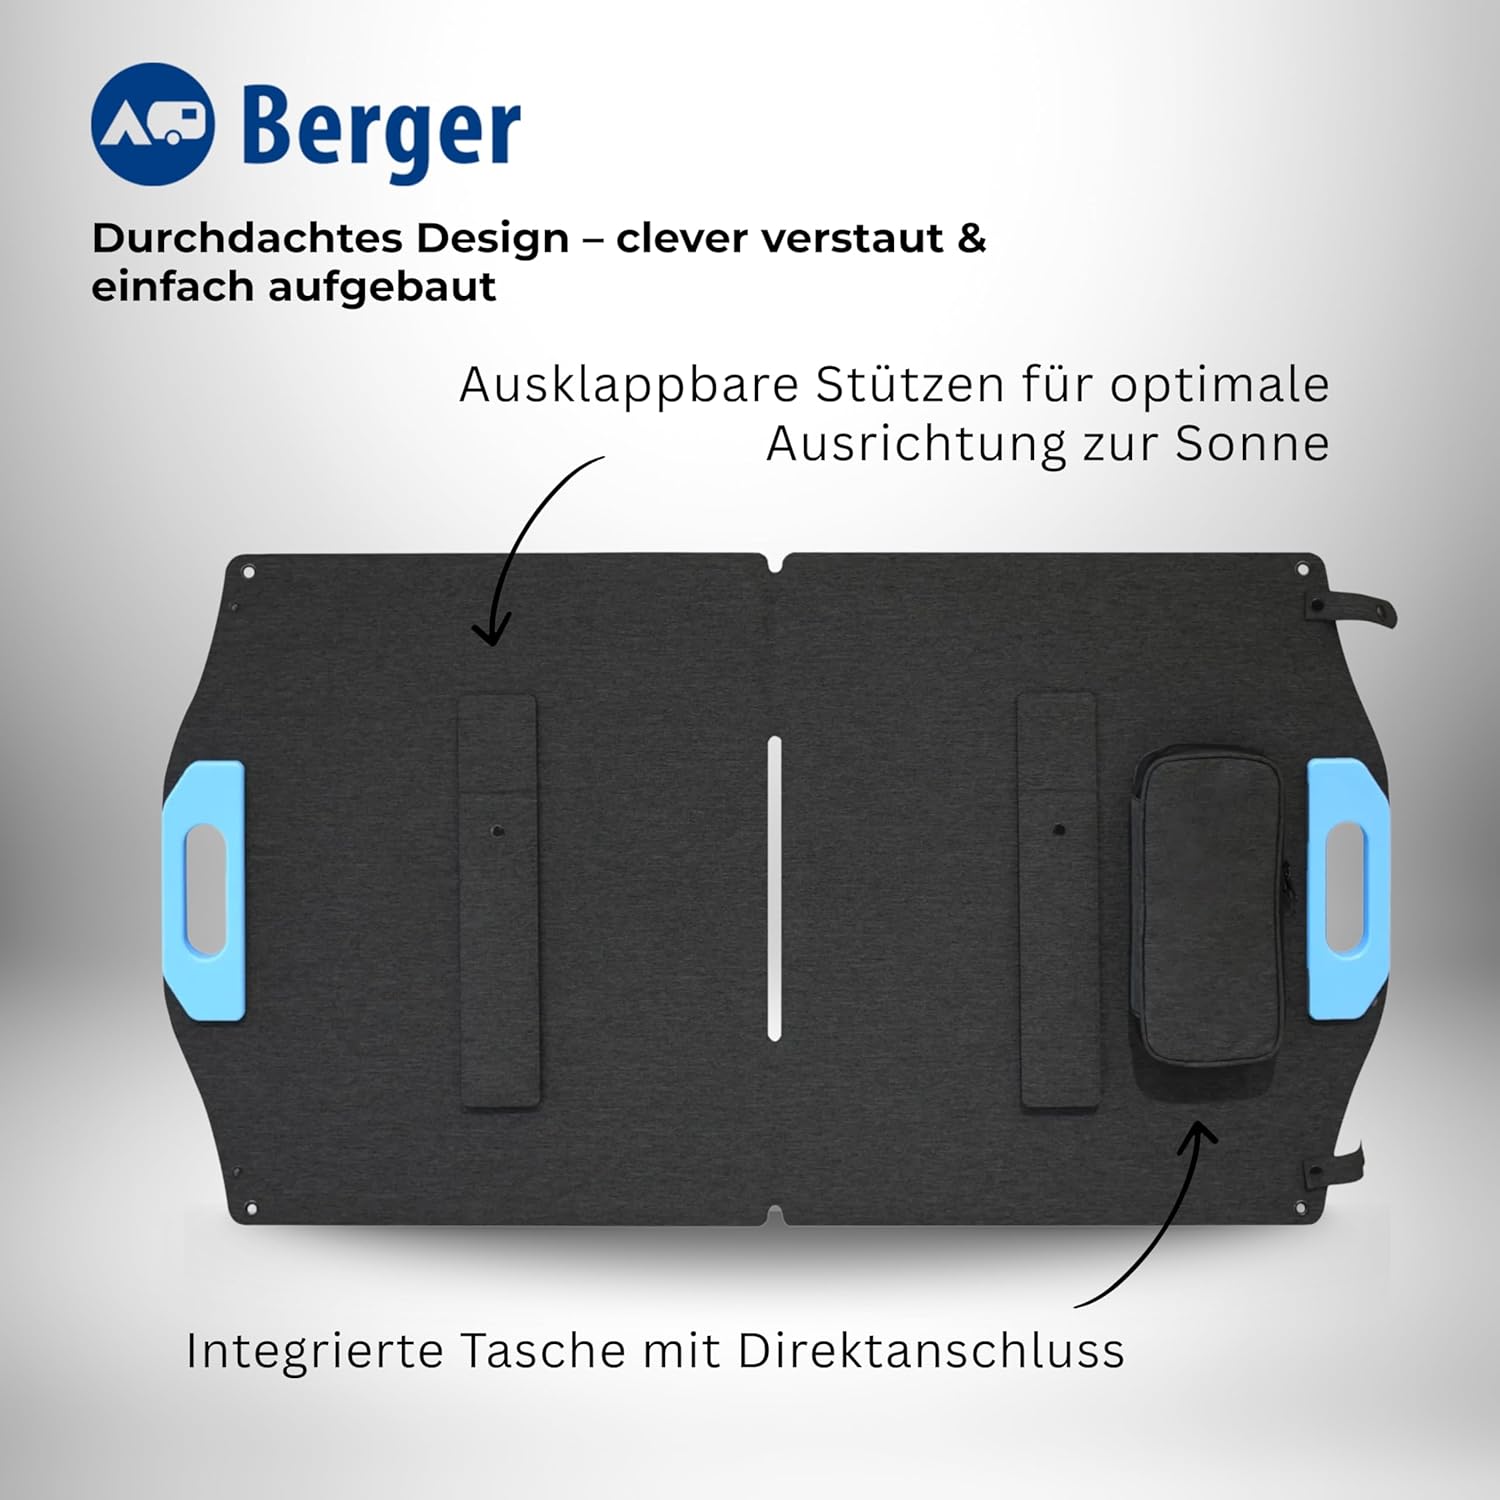
الصورة: الخلفية view of the solar panel, highlighting the foldable kickstands for optimal sun alignment and the integrated storage bag.

Image: The solar panel deployed on a grassy hill, demonstrating its stability and ease of setup in outdoor environments.
3. Connecting the Charge Controller
The solar panel features an integrated bag containing the MC4 connection cable. Connect this cable from the solar panel to the designated solar input terminals on the charge controller. Ensure the connections are secure.

Image: A close-up of the integrated storage bag on the solar panel, showing the MC4 cable ready for connection to the charge controller.
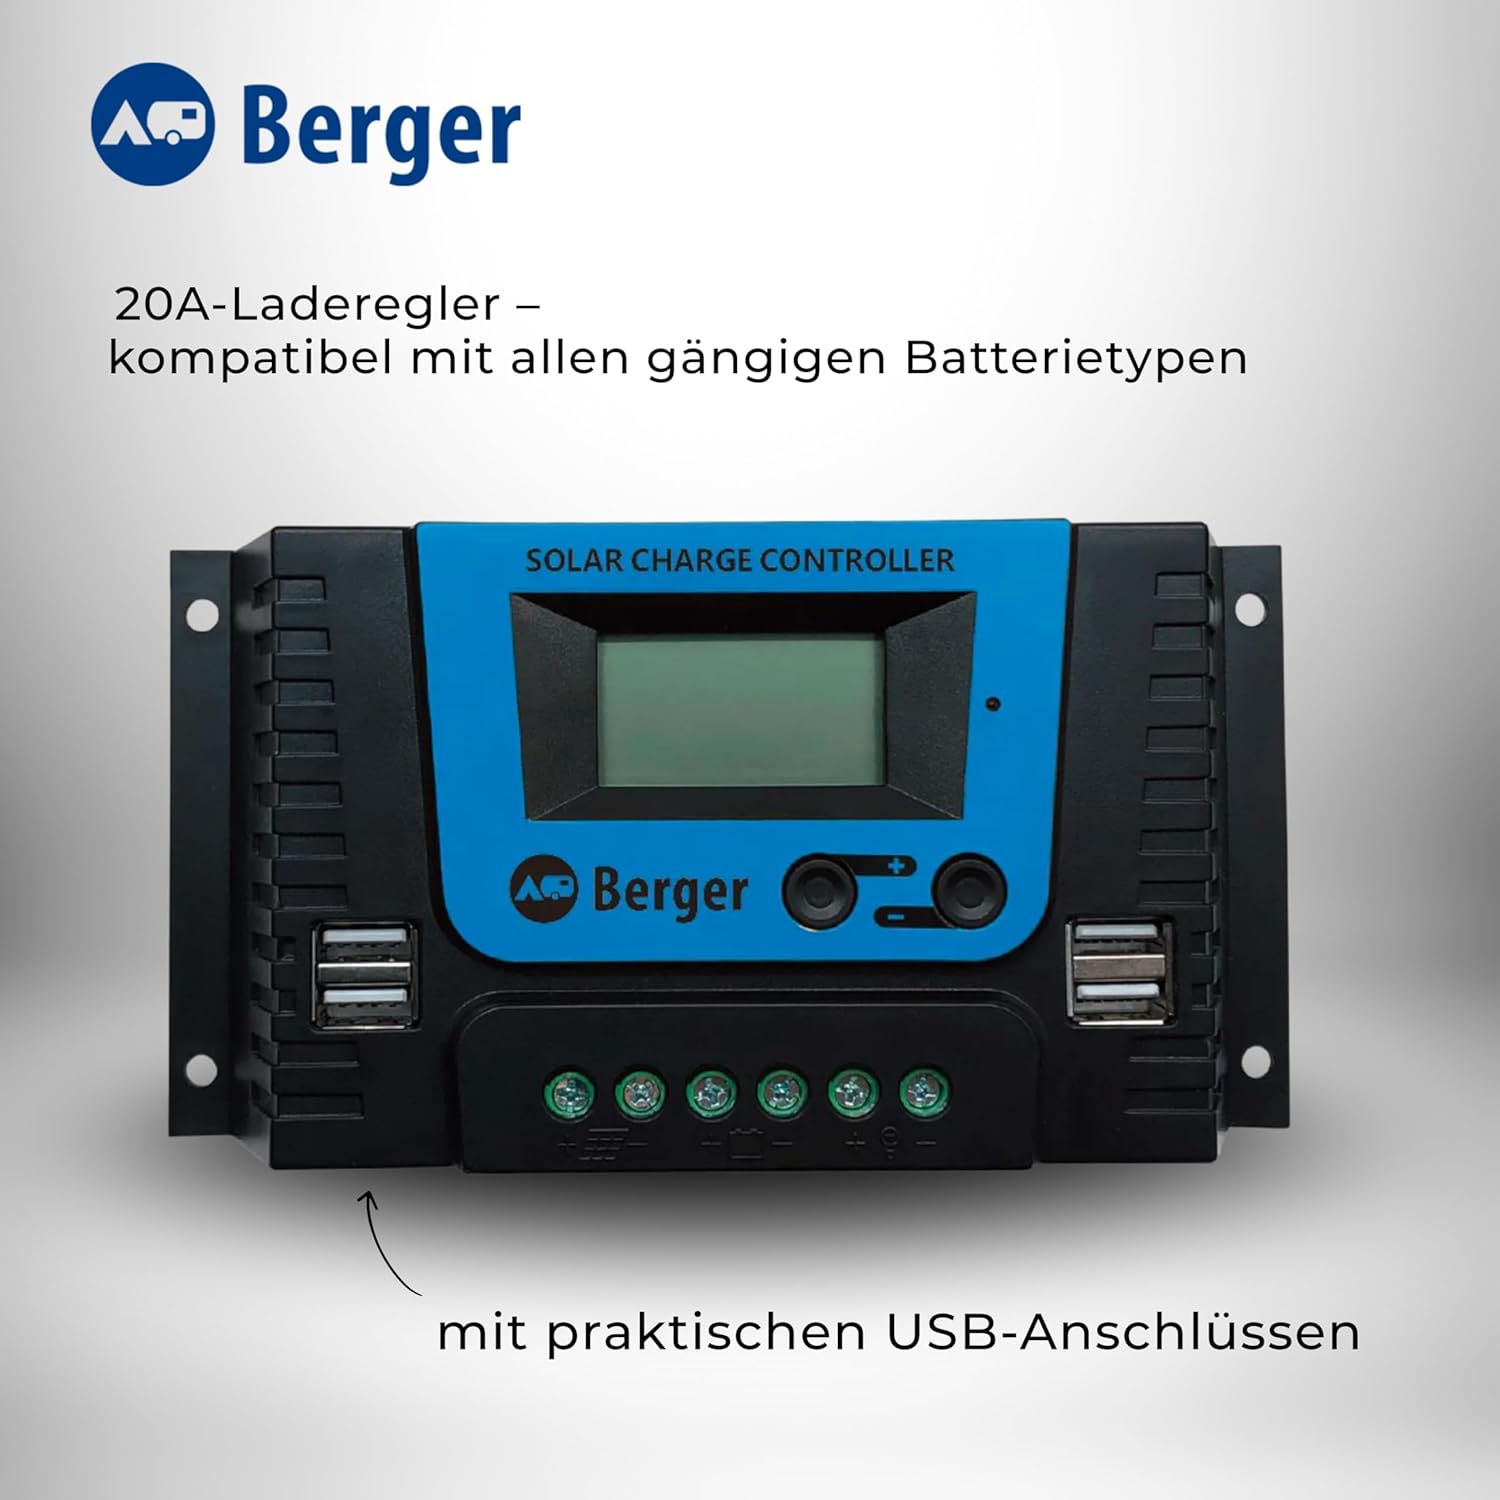
Image: The 20A solar charge controller, displaying its screen, buttons, and practical USB charging ports.
4. Connecting to Battery or Power Station
Connect the charge controller to your battery or power station using the appropriate cable:
- For direct connection to a power station, use the 3-meter extension cable with MC4 connectors.
- For direct connection to a LiFePO4, AGM, Gel, or Lead-Acid battery, use the cable with crocodile clamps.
Ensure correct polarity when connecting to batteries (positive to positive, negative to negative).
تعليمات التشغيل
Once set up, the solar panel will begin generating power. The charge controller manages the charging process and protects your battery from overcharging or deep discharge.
Charge Controller Operation
The 20A charge controller is compatible with Lead-Acid, Gel, Flooded, and Lithium batteries. The default setting is for Lithium batteries. Refer to the charge controller's specific manual for instructions on adjusting battery type settings if needed.
The display on the charge controller will show charging status, battery voltage, and current. Monitor these readings to ensure proper operation.
Maximizing Efficiency
The monocrystalline cells provide an impressive efficiency of 24%. To achieve maximum power output, ensure the panel is positioned directly facing the sun and is free from shadows or obstructions.

الصورة: تفصيلية view of the solar panel's monocrystalline cells, emphasizing their high efficiency for reliable power generation even in low light conditions.
صيانة
Regular maintenance ensures the longevity and efficiency of your solar panel set.
- تنظيف: قم بتنظيف سطح اللوحة الشمسية بشكل دوري باستخدام قطعة قماش ناعمة.amp cloth to remove dust, dirt, or debris. Avoid abrasive cleaners or harsh chemicals that could scratch the surface.
- الاتصالات: Regularly inspect all cable connections (MC4, crocodile clamps, charge controller terminals) to ensure they are tight and free from corrosion. Loose connections can lead to power loss or damage.
- تخزين: When not in use, fold the solar panel and store it in a dry, cool place, away from direct sunlight and extreme temperatures. The integrated bag provides convenient storage for cables.
- البحث الجسدي: Check the panel for any physical damage, such as cracks, dents, or frayed cables. Do not use the panel if it is damaged.
استكشاف الأخطاء وإصلاحها
If you encounter issues with your solar panel set, refer to the following common problems and solutions:
| مشكلة | السبب المحتمل | حل |
|---|---|---|
| No power output / Battery not charging |
|
|
| انخفاض انتاج الطاقة |
|
|
| Charge controller display off |
|
|
المواصفات الفنية
| المعلمة | قيمة |
|---|---|
| Power (Wp) | 100 واط |
| Power (Wh/Day) | 400 واط |
| المجلد الاسميtagالبريد (Vmp) | 23.9 فولت |
| Nominal Current (Imp) | 4.18 أ |
| فتح حجم الدائرةtagه المركبات العضوية المتطايرة) | 28.6 فولت |
| تيار الدائرة القصيرة (Isc) | 4.51 أ |
| شروط الاختبار القياسية (STC) | AM = 1.5, Temp=25 ± 2 ℃, 1000 W/m² |
| Dimensions (Open L x W x H) | 109.2 × 57.2 × 0.5 سم |
| Dimensions (Folded L x W x H) | 57.2 × 54.2 × 1.0 سم |
| وزن | 2.8 كجم |
| مادة | السيليكون البلوري |
| نوع الموصل | MC4 |
| Charge Controller Capacity | 20 Ampهنا |
| أنواع البطاريات المتوافقة | Lead-Acid, Gel, Flooded, Lithium (LiFePO4, AGM) |
الضمان والدعم
For any support needs or inquiries regarding your BERGER Foldable Solar Panel Set, please contact the manufacturer directly. Our team is available to provide quick, friendly, and reliable assistance.
While specific warranty details are not provided in this manual, please retain your proof of purchase for any warranty claims. For the most up-to-date warranty information, refer to the official BERGER webالموقع أو الاتصال بخدمة العملاء الخاصة بهم.
يمكنك أيضًا زيارة BERGER Store on Amazon لمزيد من المعلومات وخيارات الاتصال.


