1. المقدمة
This manual provides detailed instructions for the installation, operation, and maintenance of your PHORUS 48-inch Tropical Palm Leaf Ceiling Fan. Please read this manual thoroughly before installation and retain it for future reference. This ceiling fan is designed for both indoor and outdoor covered areas, offering a unique tropical aesthetic with modern functionality.
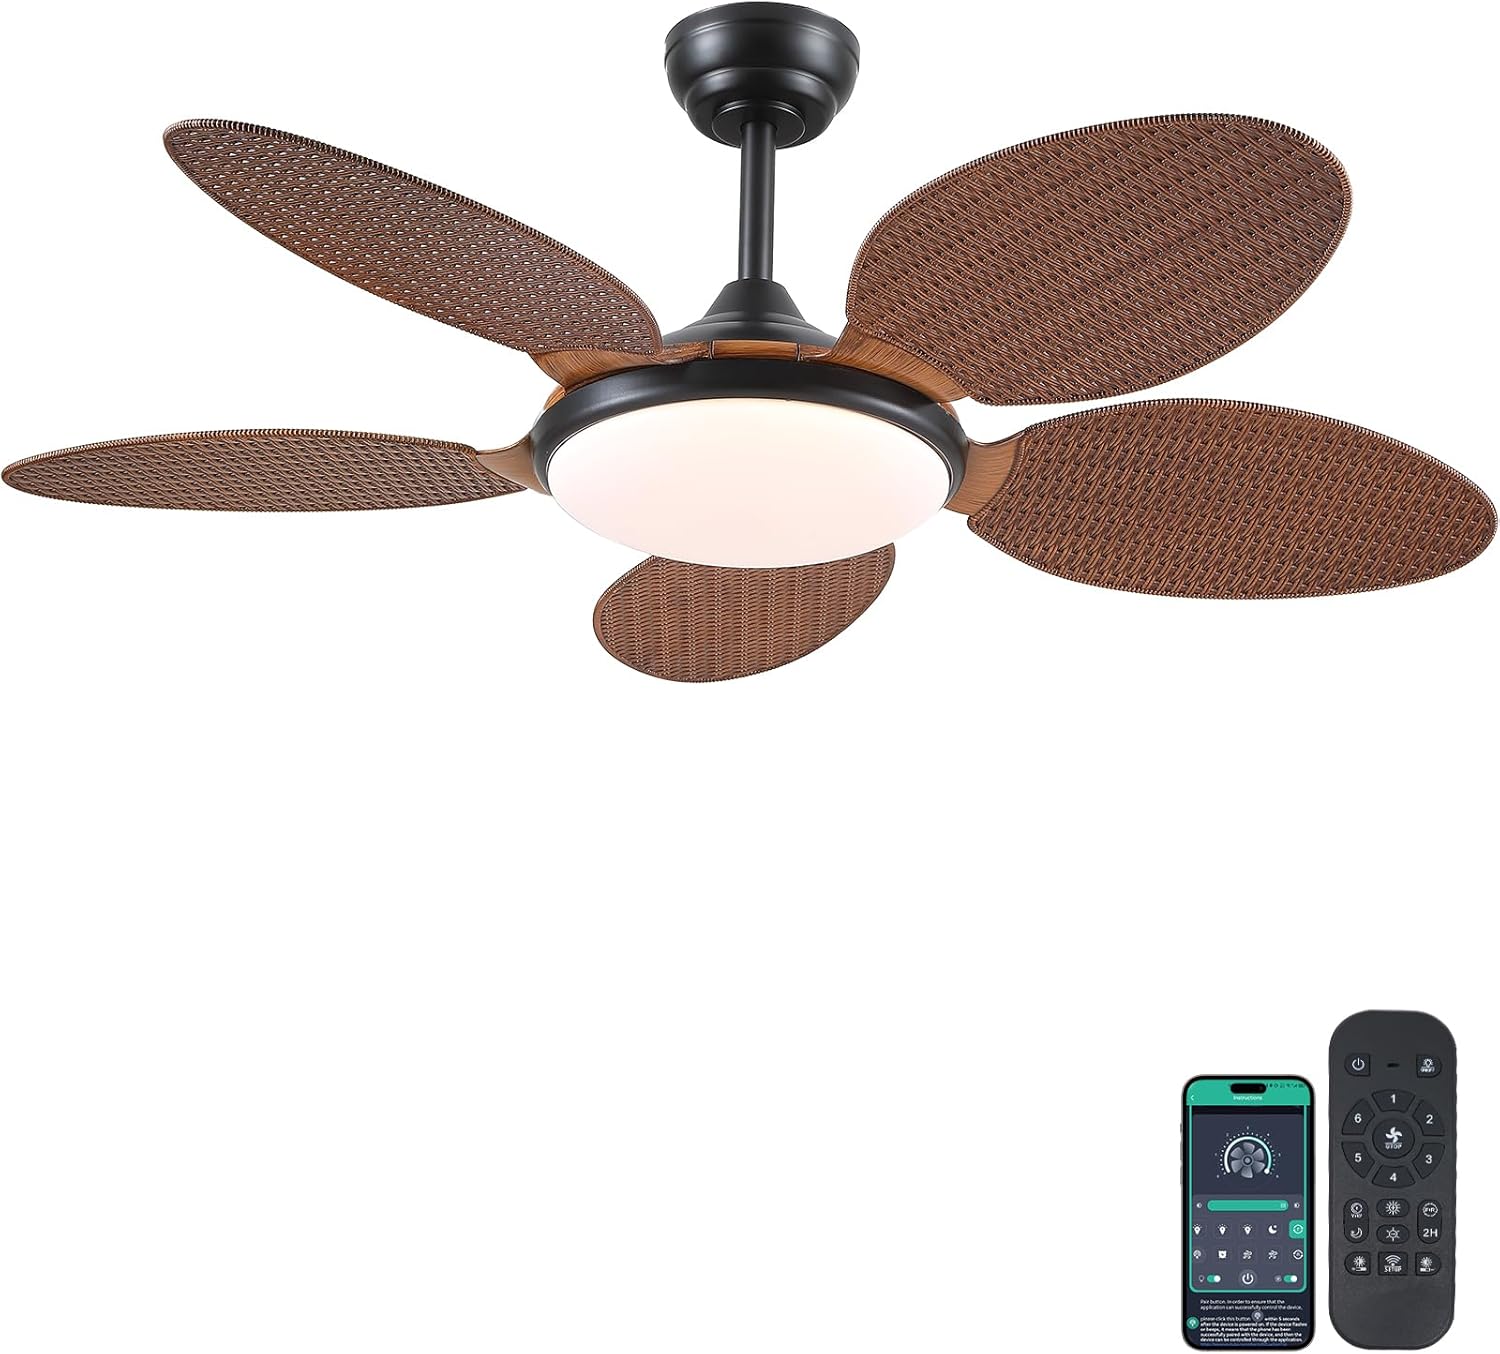
Image 1.1: PHORUS 48-inch Tropical Palm Leaf Ceiling Fan.
2. معلومات السلامة
- تأكد من فصل مصدر الطاقة الرئيسي قبل التركيب أو الصيانة أو التنظيف.
- All electrical connections must comply with local codes and ordinances, as well as national electrical codes. If you are unfamiliar with electrical wiring, consult a qualified electrician.
- The mounting structure must be capable of supporting the weight of the fan (approximately 12.58 pounds) plus the dynamic load during operation.
- لا تقم بثني حوامل الشفرات أثناء التركيب أو التنظيف.
- تأكد من وجود مسافة كافية بين شفرات المروحة وأي عوائق.
- This fan is suitable for use in damp ولكن لا ينبغي أن تتعرض مباشرة للماء.
3. محتويات العبوة
تأكد من تضمين جميع المكونات المذكورة أدناه في عبوتك. في حال وجود أي أجزاء مفقودة أو تالفة، يُرجى التواصل مع خدمة العملاء.

الصورة 3.1: انتهىview of included components and fan dimensions.
- تجميع جسم المروحة
- 5 Palm Leaf Blades
- المظلة
- قضبان التثبيت (خيارات 4 بوصات و 8 بوصات)
- Lamp ظل
- جهاز التحكم عن بعد
- جهاز الاستقبال عن بعد
- تزايد شريحة
- مجموعة الأجهزة (البراغي، صواميل الأسلاك، وما إلى ذلك)
- دليل التعليمات
4. الإعداد والتثبيت
Follow these steps carefully for proper installation. For a visual guide, please refer to the installation video provided below.
4.1. دليل فيديو التثبيت
Video 4.1: Detailed installation guide for the PHORUS 48-inch Palm Leaf Ceiling Fan with lights.
4.2. التثبيت خطوة بخطوة
- تحضير جسم المروحة: Attach the LED light board to the fan body assembly using the provided screws.
- تركيب شفرات المروحة: Secure each of the five palm leaf blades to the fan body. Ensure the correct side of the blade is facing upwards as indicated in the video.
- تركيب قضيب التثبيت: Insert the downrod through the canopy and secure it to the fan body. Feed the electrical wires through the downrod.
- تثبيت كتيفة التركيب: Secure the mounting bracket to your ceiling junction box. Ensure it is firmly attached and can support the fan's weight.
- التوصيلات السلكية: Connect the fan's electrical wires to your household wiring. Typically, this involves connecting the black live wire, white neutral wire, and yellow ground wire. Refer to the wiring diagram in the installation video for precise connections.
- شنق المروحة: ارفع مجموعة المروحة بحرص وعلقها على دعامة التثبيت.
- تثبيت جهاز الاستقبال عن بعد: Place the remote receiver within the canopy, ensuring wires are not pinched. Connect the receiver to the fan and household wiring as per the diagram.
- مظلة آمنة: Slide the canopy up to the ceiling and secure it to the mounting bracket with screws.
- قم بتثبيت Lamp الظل: قم بإرفاق lamp shade to the bottom of the fan body.
The fan is equipped with 4-inch and 8-inch downrods to accommodate various ceiling heights. It can also be used with sloped ceilings up to 15 degrees.
5. تعليمات التشغيل
Your PHORUS ceiling fan can be controlled via the included remote control or a smart application on your mobile device.
5.1. عملية التحكم عن بعد

Image 5.1: Remote control layout with function descriptions.
The remote control allows you to adjust the following settings:
- تشغيل/إيقاف التشغيل: قم بتشغيل المروحة والضوء أو إطفائهما.
- سرعة المروحة: Select from 6 wind speeds (1-6).
- تشغيل / إيقاف الضوء: Control the integrated LED light independently.
- درجة حرارة اللون: Adjust between 3 light colors: 3000K (Warm Light), 4500K (Natural Light), and 6000K (White Light).
- ضبط السطوع: قم بتعتيم أو زيادة سطوع الضوء من 10% إلى 100%.
- وظيفة عكسية: Change the direction of the fan blades for summer (downdraft) or winter (updraft) modes. Press the F\R key and wait 5-8 seconds for the fan to stop completely and then automatically reverse.
- المؤقت: اضبط مؤقتًا لمدة ساعتين للإيقاف التلقائي.
Remote Code Pairing:
If your remote control is not responding, you may need to pair it with the fan. Follow these steps:
- قم بإيقاف تشغيل مصدر الطاقة الرئيسي للمروحة لمدة دقيقة واحدة.
- Turn on the main power supply and simultaneously long-press the code key on the remote control for 3-5 seconds.
- The fan light will blink 2-3 times to indicate successful code matching.
Video 5.2: Instructions for remote code pairing.
5.2. التحكم الذكي بالتطبيق
The fan supports control via a smart application. Scan the QR code in Image 5.1 or visit https://www.jasonghost.com/fanlamppro/ to download the "Fan Lamp Pro" app.
Video 5.3: Guide for setting up and using the smart app control.
The app provides comprehensive control over fan speeds, light settings (color temperature and brightness), and the reverse function, similar to the remote control. All settings will be remembered after power cycling.

Image 5.4: Customizable light effects and dimming range.

Image 5.5: Fan airflow modes (summer/winter) and 6-speed settings.
6. الصيانة
تضمن الصيانة المنتظمة الأداء الأمثل وطول العمر لمروحة السقف الخاصة بك.
- تنظيف: Periodically clean the fan blades and light cover with a soft, damp قطعة قماش. لا تستخدم منظفات كاشطة أو مذيبات قد تتلف الطبقة الخارجية.
- شد المثبتات: Check all screws and fasteners on the fan body and mounting bracket annually. Tighten any loose connections to prevent wobbling or noise.
- الغبار: Dust the fan motor housing and canopy regularly to prevent dust buildup, which can affect performance.
7. استكشاف الأخطاء وإصلاحها
إذا واجهت مشاكل مع المروحة لديك، راجع المشاكل والحلول الشائعة التالية:
| مشكلة | السبب المحتمل | حل |
|---|---|---|
| المروحة لا تبدأ | No power supply; Loose wire connections; Remote not paired. | Check circuit breaker/wall switch; Verify all wire connections are secure; Perform remote code pairing (refer to Section 5.1). |
| الضوء لا يعمل | وصلة سلكية غير محكمة؛ مشكلة في مشغل مصابيح LED. | تحقق من توصيلات أسلاك الإضاءة؛ اتصل بدعم العملاء إذا كنت تشك في وجود مشكلة في مشغل LED. |
| تذبذب المروحة | شفرات مفكوكة أو أدوات تثبيت غير مثبتة بإحكام؛ شفرات غير متوازنة. | Ensure all blade screws and mounting bracket screws are tight; Use a balancing kit (not included) if necessary. |
| جهاز التحكم عن بعد لا يستجيب | بطارية منخفضة؛ جهاز التحكم عن بعد غير مقترن. | Replace AAA batteries (2 required, included); Perform remote code pairing (refer to Section 5.1). |
| ضوضاء مفرطة | براغي مفكوكة؛ مشكلة في المحرك. | Check and tighten all screws; Ensure blades are securely attached. If noise persists, contact customer support. |
8. المواصفات
- ماركة: فورس
- نموذج: B0FC1SY1B2
- لون: 48" Dark Brown
- مادة: الأكريليك والبلاستيك
- أسلوب: استوائي
- نوع الغرفة: Bedroom, Dining Room, Garage, Kids Room, Kitchen
- الاستخدام الداخلي/الخارجي: Indoor (suitable for damp المواقع)
- مصدر الطاقة: DC
- المميزات الخاصة: قابل للتشغيل عبر التطبيق، ضوء LED، تشغيل هادئ، التحكم عن بعد، مؤقت
- طريقة التحكم: التطبيق، عن بعد
- عدد مصادر الضوء: 1
- المكونات المتضمنة: Light Kit, Remote Control
- وزن السلعة: 12.58 رطل
- عدد العناصر: 1
- واتtage: 60 واط
- نوع تحكم: التحكم في التطبيق، التحكم عن بعد
- عدد الوحدات: 1.0 عدد
- نوع التركيب: التركيب على السقف
- التجميع مطلوب: نعم
- مقاس: Medium (48 inches)
- الاستخدامات الموصى بها للمنتج: دوران الهواء
- أبعاد المنتج: 48 × 48 × 15.15 بوصة
- البطاريات: 2 بطاريات AAA المطلوبة (مضمنة)
9. الضمان والدعم
PHORUS provides a one-year quality warranty for this product. We also offer free replacement service for any damage and quality problems encountered during the warranty period. If you have any questions or require assistance, please contact PHORUS customer support for a satisfactory answer within 24 hours.