1. المقدمة
The Hyperkin RetroN GX is a high-definition gaming console designed to play original TurboGrafx-16 HuCard/Turbo chip and PC Engine cartridges. It offers a modern gaming experience with classic titles, featuring 720p HD output, multiple aspect ratio options, and various video enhancements. This manual provides essential information for the proper setup, operation, and maintenance of your RetroN GX console.

Image 1.1: The Hyperkin RetroN GX console with its wired controller and game cartridges.
2. محتويات العبوة
Please verify that all items are present in your RetroN GX package:
- Hyperkin RetroN GX HD Console
- المراقب السلكية
- كابل HDMI
- كابل طاقة USB-C
- دليل المستخدم (هذا المستند)
3. انتهى المنتجview
Familiarize yourself with the console's components and ports.
3.1 Console Front and Top

الصورة 3.1: الأعلى view of the RetroN GX console, highlighting the cartridge slot and controller ports.
- فتحة الخرطوشة: Insert TurboGrafx-16 HuCard/Turbo chip and PC Engine cartridges here.
- منافذ وحدة التحكم: Two ports for connecting compatible controllers.
- منافذ USB: Two USB ports for additional controller options or accessories.
3.2 Console Rear Ports

الصورة 3.2: خلفي view of the RetroN GX console, displaying the USB-C power input, HDMI output, and system switches.
- مدخلات الطاقة USB-C: Connect the provided USB-C power cable here.
- مخرج HDMI: Connect to your TV or monitor for video and audio.
- System Switches: For various system settings (refer to setup section).
3.3 وحدة تحكم سلكية

Image 3.3: Close-up of the RetroN GX wired controller, showing its buttons and D-pad.
The included wired controller features a D-pad, action buttons, SELECT, RUN buttons, and auto-fire switches for an authentic retro gaming experience.
4. الإعداد
Follow these steps to connect your RetroN GX console:
- توصيل اتش دي ام اي: Insert one end of the HDMI cable into the HDMI OUT port on the back of the RetroN GX console and the other end into an available HDMI input on your television or monitor.
- توصيل الطاقة: Plug the USB-C power cable into the USB-C port on the back of the console. Connect the other end to a compatible USB power adapter (not included) or a powered USB port.
- ربط وحدة التحكم: Plug the wired controller into one of the controller ports on the front of the console.
- أدخل خرطوشة اللعبة: Gently insert your TurboGrafx-16 or PC Engine game cartridge into the cartridge slot on top of the console. Ensure it is fully seated.
- تشغيل الطاقة: Turn on your television and select the correct HDMI input. The RetroN GX console will power on automatically when connected to power.
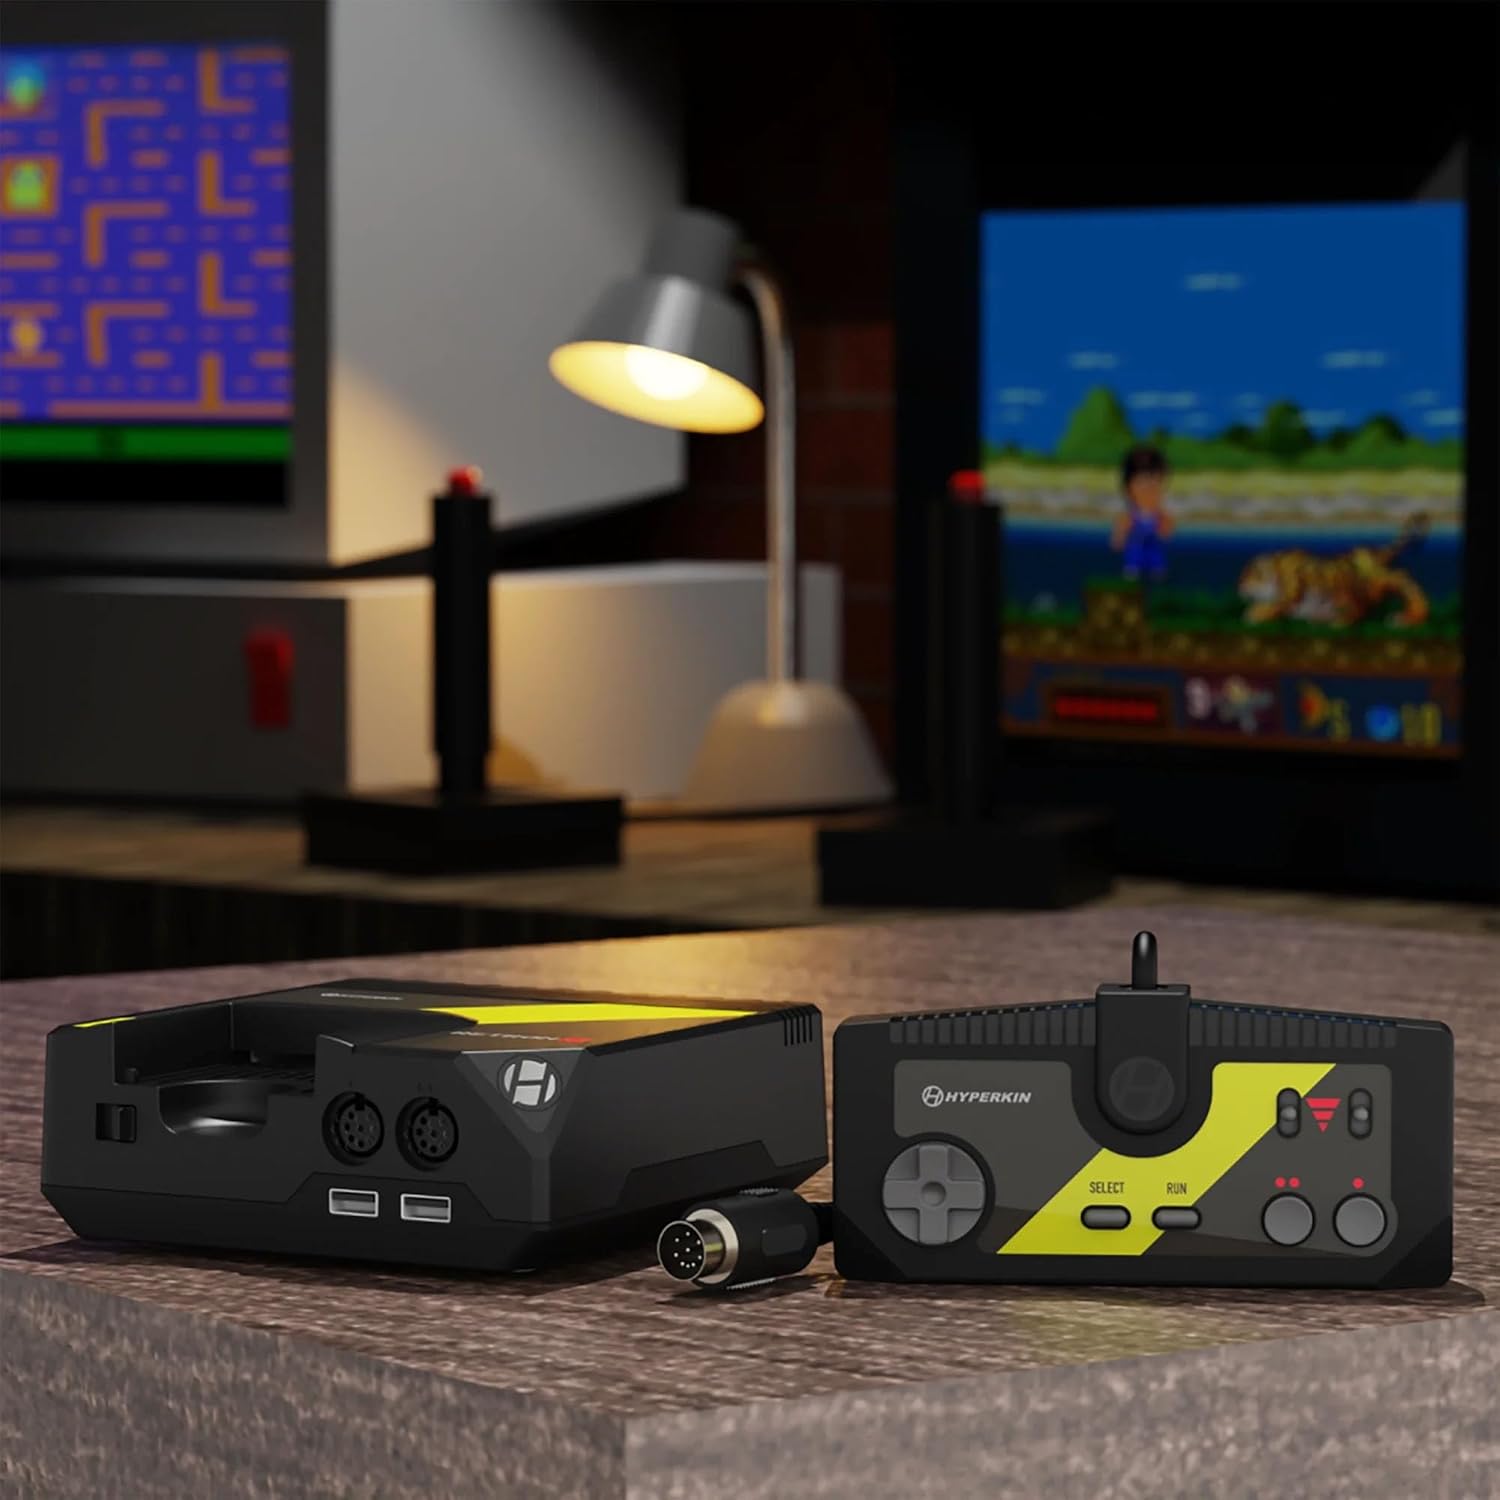
Image 4.1: The RetroN GX console and controller connected to a television, ready for gameplay.
5. تعليمات التشغيل
5.1 بدء اللعبة
After connecting the console and inserting a game cartridge, the system will boot up. The game should load automatically or present a menu to select the game.
5.2 In-Game Menu (Modern User Interface)
During gameplay, you can access the in-game menu to utilize various features. The specific button combination to access this menu may vary, but typically involves pressing a designated button on the controller (e.g., SELECT + RUN simultaneously, or a dedicated menu button if available on alternative controllers).

Image 5.1: The RetroN GX modern user interface, showing options like Rewind, Quicksave, Quickload, Save States, and Video Options.
تسمح لك القائمة بما يلي:
- الرجوع للخلف: Revert gameplay up to 12 seconds.
- Quicksave/Quickload: Instantly save and load your game progress.
- حفظ الولايات: Create multiple save points at any time.
- Reset Game: Restart the current game.
- خيارات الفيديو: Adjust display settings and enhancements.
- القياس: Switch between 4:3 and 16:9 aspect ratios.
- لغة: تغيير لغة النظام.
5.3 إزالة الخراطيش
To remove a game cartridge, gently pull it straight up from the cartridge slot. Do not force the cartridge or attempt to remove it while the system is actively saving or loading.
6. Gameplay Features
The RetroN GX enhances your retro gaming experience with several modern features:
- HD Gameplay: Enjoy your classic games in crisp 720p resolution.
- خيارات نسبة العرض إلى الارتفاع: Switch between original 4:3 and widescreen 16:9 aspect ratios.
- Rewind Function: Instantly rewind up to 12 seconds of gameplay to correct mistakes or retry challenging sections.
- Quick Save/Load: Pause and save your game at any moment, then jump back into the action with ease.
- حفظ الولايات: Create and manage multiple save states for different points in your games.

Image 6.1: Visual representation of the RetroN GX's gameplay features including Quick Save, Load States, Save States, and Rewind.
7. Video Enhancements
Customize your visual experience through the in-game menu's Video Options:
- Scanlines: Recreate the classic CRT monitor look.
- الأسود والأبيض: Apply a vintage monochrome filter.
- ناعم: Apply a smoothing filter for a more modern, less pixelated appearance.
8. توافق وحدة التحكم
The RetroN GX supports a variety of controllers:
- Original TurboGrafx-16 Controllers: Connect your original controllers to the console's dedicated ports.
- Hyperkin Specialist Controllers: Compatible Hyperkin brand controllers.
- Pixel Art Controllers: Other third-party controllers designed for retro systems may be compatible via the USB ports.

Image 8.1: The RetroN GX supports various controllers, including original TurboGrafx-16, Hyperkin Specialist, and Pixel Art controllers.
9. الصيانة
To ensure the longevity and optimal performance of your RetroN GX console:
- تنظيف: Use a soft, dry cloth to clean the exterior of the console. Avoid liquid cleaners. For cartridge slots, use specialized cleaning kits designed for retro consoles.
- تخزين: قم بتخزين الجهاز في مكان بارد وجاف بعيدًا عن أشعة الشمس المباشرة ودرجات الحرارة القصوى.
- تحديثات البرامج الثابتة: Periodically check the official Hyperkin website for firmware updates. Updates can improve compatibility and add new features. Follow the instructions provided by Hyperkin carefully when performing updates.
10. استكشاف الأخطاء وإصلاحها
If you encounter issues with your RetroN GX, refer to the following common problems and solutions:
| مشكلة | الحل المحتمل |
|---|---|
| لا يوجد إخراج فيديو أو صوت. |
|
| اللعبة لا يتم تحميلها أو تتجمد. |
|
| وحدة التحكم لا تستجيب. |
|
| System hangs on splash screen or after update. |
|
11. المواصفات
- رقم الموديل: M01138-BK
- أبعاد: 8.82 × 6.1 × 4.25 بوصة
- وزن: 2.07 رطل
- إخراج الفيديو: 720p HD via HDMI
- التوافق: Original TurboGrafx-16 HuCard/Turbo chip and PC Engine cartridges
- مدخلات الطاقة: يو اس بي-سي
12. الضمان والدعم
For warranty information, technical support, or further assistance, please visit the official Hyperkin webالموقع الإلكتروني أو تواصل مع قسم خدمة العملاء. احتفظ بإثبات الشراء لطلبات الضمان.
هايبركين الرسمي Webموقع: www.hyperkin.com


