1. المقدمة
Thank you for choosing the Leomru 5-in-1 Heat Press Machine. This versatile heat transfer machine is designed for applying designs onto various items such as T-shirts, hats, mugs, plates, and tumblers. It features a 12x15 inch platen, a 5.5x3 inch hat press, a 30oz tumbler press, and 5-inch and 6-inch plate presses. The machine incorporates a dual-tube heating design for uniform heat distribution, an upgraded control box for precise digital settings, and a 360° swing-away with slide-out design for enhanced safety and convenience.
2. تعليمات السلامة
- قم بتشغيل الجهاز دائمًا على سطح ثابت ومقاوم للحرارة.
- Keep hands clear of the heating elements during operation to prevent burns.
- التأكد من التهوية المناسبة في منطقة العمل.
- Do not touch hot surfaces without protective gloves.
- افصل الجهاز عندما لا يكون قيد الاستخدام أو قبل التنظيف.
- يحفظ بعيدًا عن متناول الأطفال.
- لا تقم بتشغيل الجهاز بأيدي مبللة أو في حالة الطقس البارد.amp شروط.
- In case of overheating, the machine will automatically shut off.
3. انتهى المنتجview
The Leomru 5-in-1 Heat Press Machine is designed for versatility and ease of use. Below is an overview من مكوناتها وميزاتها الرئيسية.

الشكل 1: انتهىview of the Leomru 5-in-1 Heat Press Machine with its interchangeable attachments for T-shirts, hats, mugs, and plates.
المميزات الرئيسية:
- مواد عالية الجودة: Upgraded aluminum heating plate with Teflon coating for durability and non-stick properties. Includes two additional Teflon sheets.
- 5 في 1 متعدد الاستخدامات: Includes 12x15 inch T-shirt press, 5.5x3 inch hat press, 30oz mug press, 5-inch plate press, and 6-inch plate press.
- التدفئة بالأنبوب المزدوج: Ensures even heat distribution across the entire surface for clear and high-quality patterns.
- Upgraded Control Box: Precise digital controls for temperature (30-450°F) and timer (0-999s). Features a counting function and automatic shut-off for overheating.
- 360° Swing Away & Slide-out Design: Provides maximum safety and convenience, allowing the heating plate to be moved aside and the operating platform to be pulled out.

Figure 2: Upgraded detailed design showing the pressure adjustment knob, spring-loaded bolts, silicone mat, and counterbalance bar.
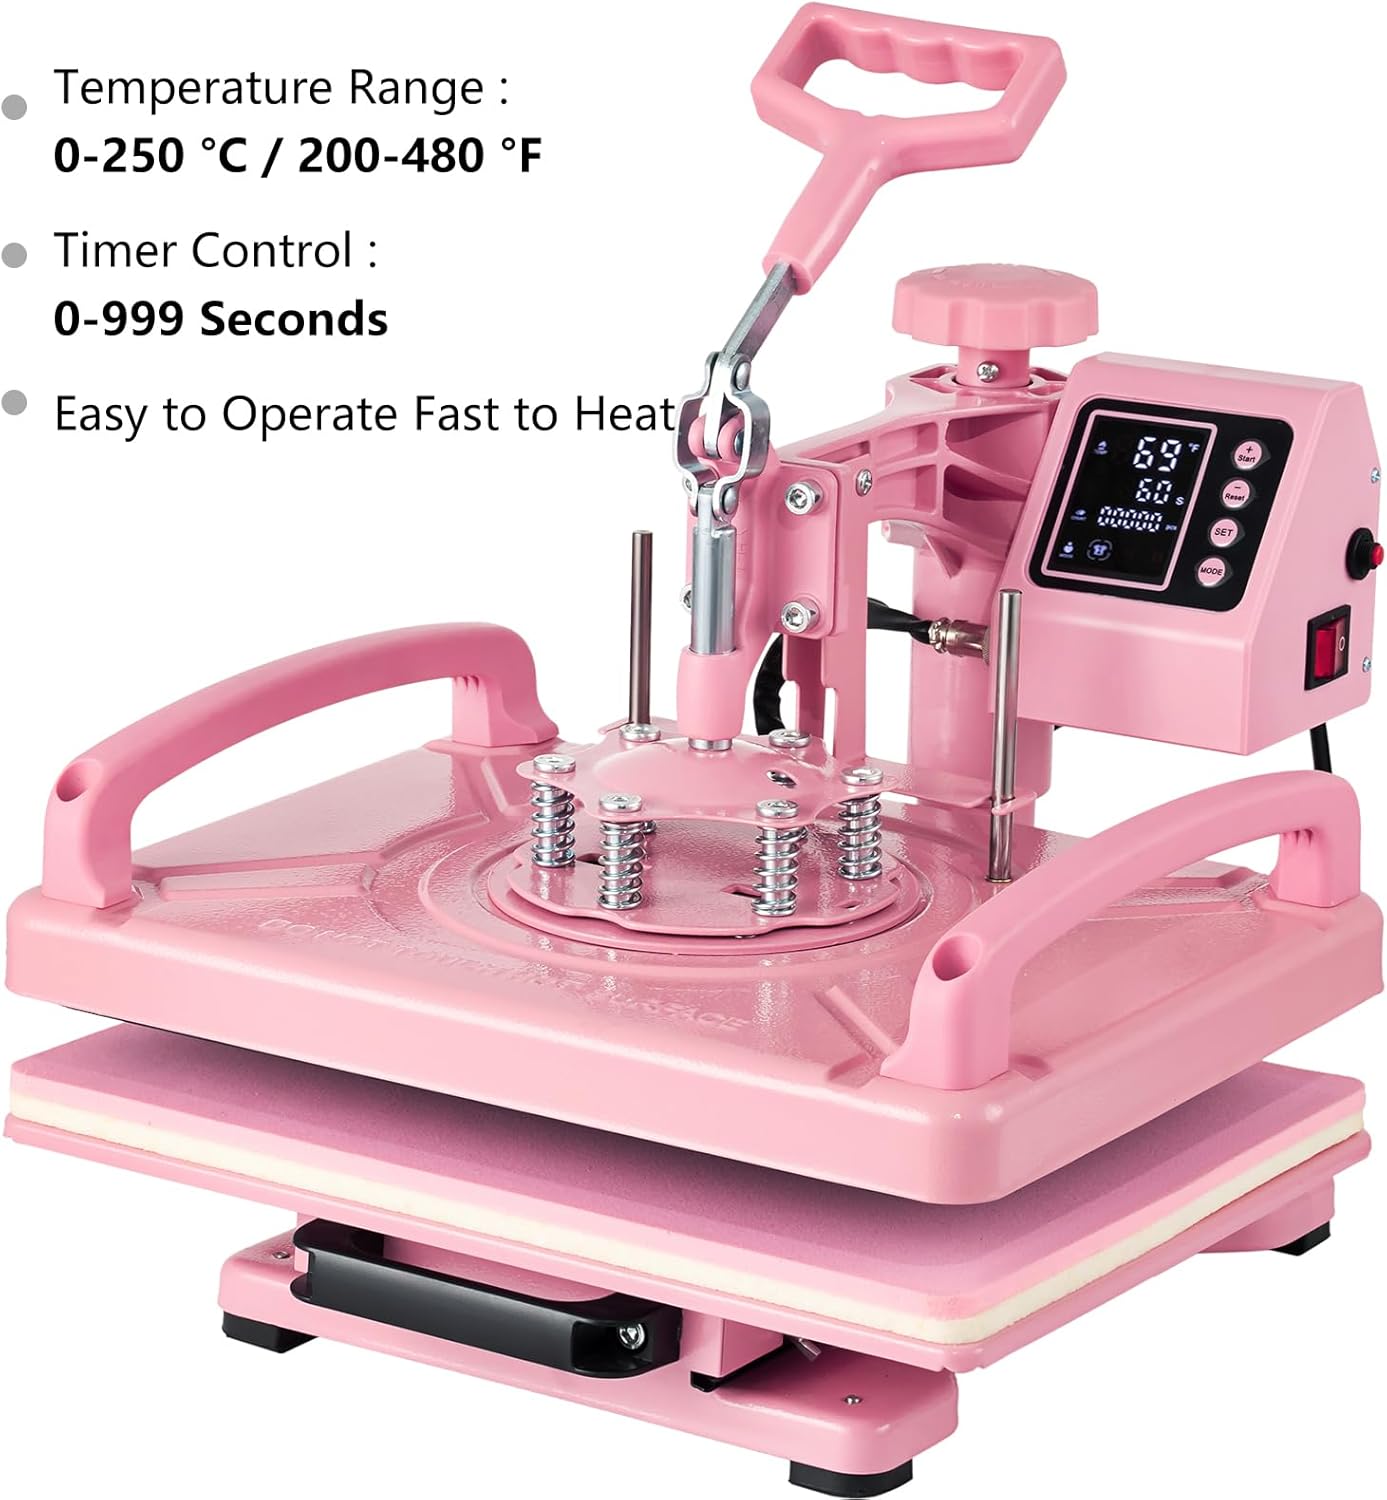
Figure 3: Digital control box for setting temperature and time.
4. الإعداد
The Leomru 5-in-1 Heat Press Machine comes with various attachments that can be easily interchanged. Always ensure the machine is powered off and cooled before changing attachments.
4.1 Attaching the Plate Press
To attach the plate press, remove the main flat platen if necessary. Secure the appropriate plate heating pad (5-inch or 6-inch) to the base. Connect the plate press attachment cable to the control box.
4.2 Attaching the Tumbler Press
The tumbler press attachment is designed for 30oz tumblers. Secure the tumbler press unit to the main machine frame. Connect its cable to the control box.

Figure 4: 30oz Tumbler Press attachment details.
4.3 Attaching the Hat Press
To attach the hat press, secure the hat press base to the machine frame. Mount the curved hat heating element. Connect the hat press attachment cable to the control box.
4.4 General Assembly and Accessory Installation
The control box is detachable and connects to each heating element via an aviation plug. Ensure the controller is securely connected before operation. The main press features a pressure adjustment knob to customize pressure based on material thickness, ensuring a seamless fit and consistent results.
Video 1: Detailed instructions on how to assemble the various accessories for the heat press machine, including connecting the controller and mounting different heating elements.
5. تعليمات التشغيل
Follow these steps for safe and effective operation of your Leomru Heat Press Machine.
5.1 General Operation (Temperature and Time Setting)
- Power on the machine using the side switch.
- Press the 'SET' button to enter temperature setting mode. The temperature display will flash.
- Use the '+' and '-' buttons to adjust the desired temperature (30-450°F).
- Press 'SET' again to enter time setting mode. The time display will flash.
- Use the '+' and '-' buttons to adjust the desired time (0-999 seconds).
- Press 'SET' one more time to confirm settings and exit the setting mode. The machine will begin heating to the set temperature.
- Once the set temperature is reached, the machine will beep. Press 'ENTER' to start the countdown.
Video 2: Guide on how to set the time and temperature on the digital control panel for optimal heat transfer results.
5.2 T-shirt Press Operation
- Place your T-shirt or fabric item onto the transfer plate.
- Position your design (e.g., sublimation paper, HTV) onto the fabric.
- Cover the design with a Teflon sheet or parchment paper for protection.
- Swing the heating platen over the design and press down the handle firmly.
- Start the timer. Once the timer completes, lift the handle and swing the platen away.
- Carefully peel off the transfer paper (refer to your transfer material instructions for hot or cold peel).

Figure 5: Main steps for printing on T-shirts.
Video 3: Demonstration of the digital heat press in 5-in-1 combo mode, showcasing its use for various items including T-shirts.
5.3 Mug/Tumbler Press Operation
- Attach the tumbler press accessory.
- Adjust the pressure knobs on the tumbler press to fit your mug or tumbler snugly.
- Wrap your design around the mug/tumbler and secure it with heat-resistant tape.
- Insert the mug/tumbler into the press and close the clamp.
- Start the timer. Once complete, open the clamp and carefully remove the hot mug/tumbler using protective gloves.
الفيديو 4: مراجعة شاملةview of the Slendor 12x15in 5-in-1 Heat Press Machine, including its 30oz tumbler functionality.
5.4 Hat Press Operation
- Attach the hat press accessory.
- Place the hat onto the curved platen.
- Position your design onto the hat.
- Lower the hat heating element and apply pressure.
- Start the timer. Once complete, lift the element and carefully remove the hat.
5.5 Plate Press Operation
- Attach the appropriate plate press accessory (5-inch or 6-inch).
- Place the plate onto the heating pad.
- Position your design onto the plate.
- Lower the heating element and apply pressure.
- Start the timer. Once complete, lift the element and carefully remove the plate.
6. الصيانة
- Regularly clean the heating platens with a soft, damp cloth when the machine is cool.
- Avoid using abrasive cleaners that could damage the Teflon coating.
- Store the machine in a dry, dust-free environment.
- Inspect electrical cords for any damage before each use.
7. استكشاف الأخطاء وإصلاحها
- حرارة غير متساوية: Ensure the pressure adjustment knob is set correctly for the material thickness. Verify the dual-tube heating is functioning.
- Design Not Sticking: Check that the temperature and time settings are appropriate for your transfer material. Ensure even pressure is applied.
- Error Code 'E1': This typically indicates a heating element issue. Power off the machine, check all connections, and if the problem persists, contact customer support.
- الجهاز لا يعمل: Check the power cord connection and the main power switch. Ensure the outlet is functional.
8. المواصفات
| مواصفة | التفاصيل |
|---|---|
| رقم الموديل | تي آر جي 5620 |
| المجلدtage | 110 فولت |
| واتtage | 1400 واط |
| أبعاد المنتج | 16.1 × 15.6 × 13.8 بوصة |
| تصنيف درجة الحرارة العليا | 450 درجة فهرنهايت |
| مادة | الألومنيوم، المعادن |
| لون | لون القرنفل |
9. الضمان والدعم
For warranty information and customer support, please refer to the documentation included with your product or visit the official Leomru website. If you encounter any issues not covered in this manual, please contact Leomru customer service for assistance.