1. المقدمة
This manual provides detailed instructions for the safe installation, operation, and maintenance of the Canarm Bellamy 3-Light Flush Mount Ceiling Light, Model IFM1149A19NBK. It covers product specifications, setup procedures, and troubleshooting tips to ensure proper functionality and longevity of your lighting fixture. Please read these instructions thoroughly before beginning installation and retain them for future reference.

Figure 1.1: Canarm Bellamy 3-Light Flush Mount Ceiling Light.
2. معلومات السلامة
WARNING: RISK OF ELECTRIC SHOCK. Disconnect power at the circuit breaker or fuse box before installation or servicing.
- Ensure the electrical supply to the fixture is disconnected before installation, maintenance, or bulb replacement.
- يجب أن تتوافق جميع التوصيلات الكهربائية مع القوانين واللوائح المحلية، أو مع قانون الكهرباء الوطني (NEC). تواصل مع فني كهربائي مؤهل إذا لم تكن على دراية بتوصيلات الأسلاك الكهربائية الصحيحة.
- استخدم فقط نوع المصباح وواط المحددينtagهـ. راجع قسم "المواصفات" للاطلاع على التفاصيل.
- Do not install this fixture in areas where it may be exposed to direct water spray or submersion. This fixture is damp-rated, suitable for covered outdoor porches or bathrooms, but not direct water exposure.
- Handle the fixture with care. Avoid dropping or striking the rattan shade or metal components.
- أبقِ المواد القابلة للاشتعال بعيدة عن وحدة الإضاءة أثناء تشغيلها.
3. محتويات العبوة
تأكد من وجود جميع المكونات قبل التخلص من مواد التغليف.
- Canarm Bellamy 3-Light Flush Mount Ceiling Light Fixture (1)
- مجموعة أدوات التثبيت (1)
- دليل التعليمات (1)
Note: Three 60W Type A bulbs are required but not included.

الشكل 3.1: داخلي view of the fixture with mounting plate and wiring connections.
4. المواصفات
| اسم الموديل | BELLAMY 19 in. 3-Light 60-Watt Boho Black Flush Mount with Natural Rattan Shade |
| رقم الموديل | IFM1149A19NBK |
| ماركة | كانارم |
| الأبعاد (الطول × العرض × الارتفاع) | 19 بوصة طول × 19 بوصة عرض × 8 بوصة ارتفاع |
| مادة | المعدن، الروطان |
| مادة الظل | الروطان |
| لون | Black (fixture base), Beige (rattan shade) |
| عدد مصادر الضوء | 3 |
| قاعدة المصباح | إي26 |
| ماكس واتtagه لكل لمبة | 60 Watts (Type A) |
| المجلدtage | 120 فولت (تيار متردد) |
| نوع التثبيت | تدفق جبل |
| الاستخدام الداخلي والخارجي | داخلي (دamp (مصنف) |
| المميزات الخاصة | Dimmable (with compatible dimmer switch and bulbs) |
| وزن العنصر | 7.48 رطل |

Figure 4.1: Product dimensions (19" W x 8" H).
5. الإعداد والتثبيت
The Canarm Bellamy fixture features an Easy Connect system for straightforward installation. Professional installation is recommended if you are not comfortable with electrical wiring.
5.1 الأدوات المطلوبة (غير متضمنة)
- فيليبس رئيس مفك
- أداة تجريد الأسلاك
- شريط كهربائي
- نظارات السلامة
- سُلُّم
5.2 خطوات التثبيت
- إيقاف تشغيل الطاقة: حدد موقع قاطع الدائرة أو صندوق المصهرات، ثم افصل التيار الكهربائي عن صندوق التوصيل حيث سيتم تركيب الجهاز. تأكد من انقطاع التيار الكهربائي باستخدام مقياس الجهد.tagه اختبار.
- تجهيز لوحة التثبيت: Attach the mounting plate (included in hardware kit) to the junction box using the provided screws. Ensure it is securely fastened.
- إجراء التوصيلات الكهربائية:
- قم بتوصيل أسود سلك من التركيبات إلى أسود السلك (الساخن) من صندوق الوصلات.
- قم بتوصيل أبيض سلك من التركيبات إلى أبيض السلك (المحايد) من صندوق الوصلات.
- قم بتوصيل green or bare copper سلك التأريض من التركيب إلى green or bare copper ground wire from the junction box.
- قم بتأمين جميع التوصيلات باستخدام صواميل الأسلاك والشريط الكهربائي.
- تركيب التركيبات: Carefully align the fixture with the mounting plate and secure it using the provided screws. Ensure no wires are pinched.
- تثبيت المصابيح: Screw three E26 base, 60W max Type A bulbs (not included) into the sockets.
- اعادة الطاقة: Turn the power back on at the circuit breaker or fuse box. Test the light fixture.
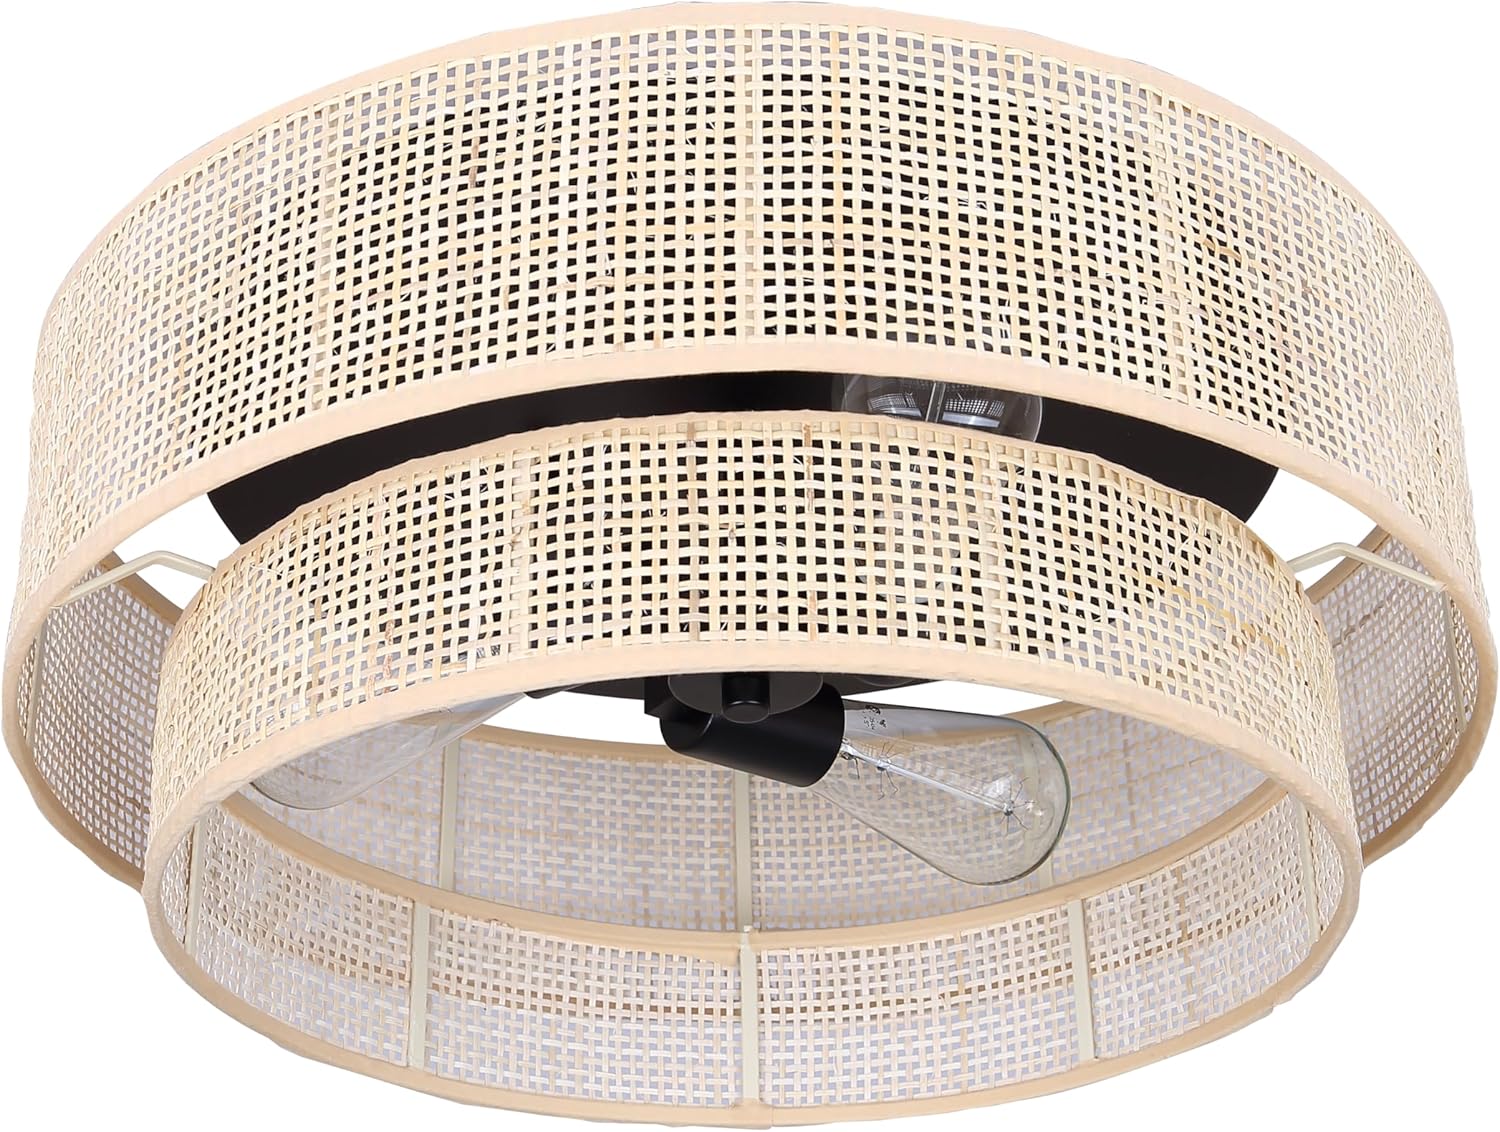
Figure 5.1: Bulb sockets for E26 base bulbs.

الشكل 5.2: داخلي view of the fixture showing bulb placement.
6. تعليمات التشغيل
Once installed and powered, the Canarm Bellamy 3-Light Flush Mount Ceiling Light operates via a standard wall switch connected to the circuit. If a dimmer switch is installed, ensure it is compatible with the bulbs used for dimming functionality.
- تشغيل/إيقاف: استخدم مفتاح الحائط لتشغيل وحدة الإضاءة أو إيقاف تشغيلها.
- يعتم (اختياري): If a compatible dimmer switch and dimmable bulbs are installed, adjust the dimmer switch to control the light intensity.
7. الصيانة
تضمن الصيانة الدورية طول عمر وأداءً مثالياً لوحدة الإضاءة الخاصة بك.
7.1 التنظيف
- افصل الطاقة دائمًا قبل تنظيف التركيبات.
- امسح الأجزاء المعدنية بقطعة قماش ناعمة وجافة.
- For the rattan shade, gently dust with a soft brush or a dry cloth. Do not use abrasive cleaners or solvents, as they may damage the finish or rattan material.
- تجنب رش المنظفات مباشرة على التركيبات.
7.2 استبدال المصباح
- اغلاق الطاقة to the fixture at the circuit breaker before replacing bulbs.
- اترك المصابيح تبرد تماماً قبل لمسها.
- قم بفك المصباح القديم عكس اتجاه عقارب الساعة.
- Screw in a new E26 base, 60W max Type A bulb clockwise until snug. Do not overtighten.
- أعد توصيل الطاقة واختبر المصباح الجديد.
8. استكشاف الأخطاء وإصلاحها
If you experience issues with your fixture, refer to the following common problems and solutions:
| مشكلة | السبب المحتمل | حل |
|---|---|---|
| الضوء لا يعمل. |
|
|
| وميض الضوء. |
|
|
| Rattan shade appears damaged. |
|
|
9. الضمان
هذا المنتج مغطى بـ ضمان الشركة المصنعة لمدة عامين. This warranty covers defects in materials and workmanship under normal use. It does not cover damage resulting from misuse, accident, modification, or improper installation. Please retain your proof of purchase for warranty claims.
10. دعم العملاء
For further assistance, technical support, or warranty inquiries, please contact Canarm customer service or visit their official webموقع.
يمكنك أيضًا زيارة Canarm Store on Amazon لمزيد من المعلومات عن المنتج.


