مقدمة
Thank you for choosing the Aigostar Wireless Doorbell. This manual provides detailed instructions for the installation, operation, and maintenance of your new doorbell system. Please read this manual carefully before use and retain it for future reference.
This wireless doorbell system offers convenience and reliability with its IP55 waterproof rating, a wide operating range of up to 150 meters, 60 selectable melodies, and 5 adjustable volume levels. It is designed to ensure you never miss a visitor.
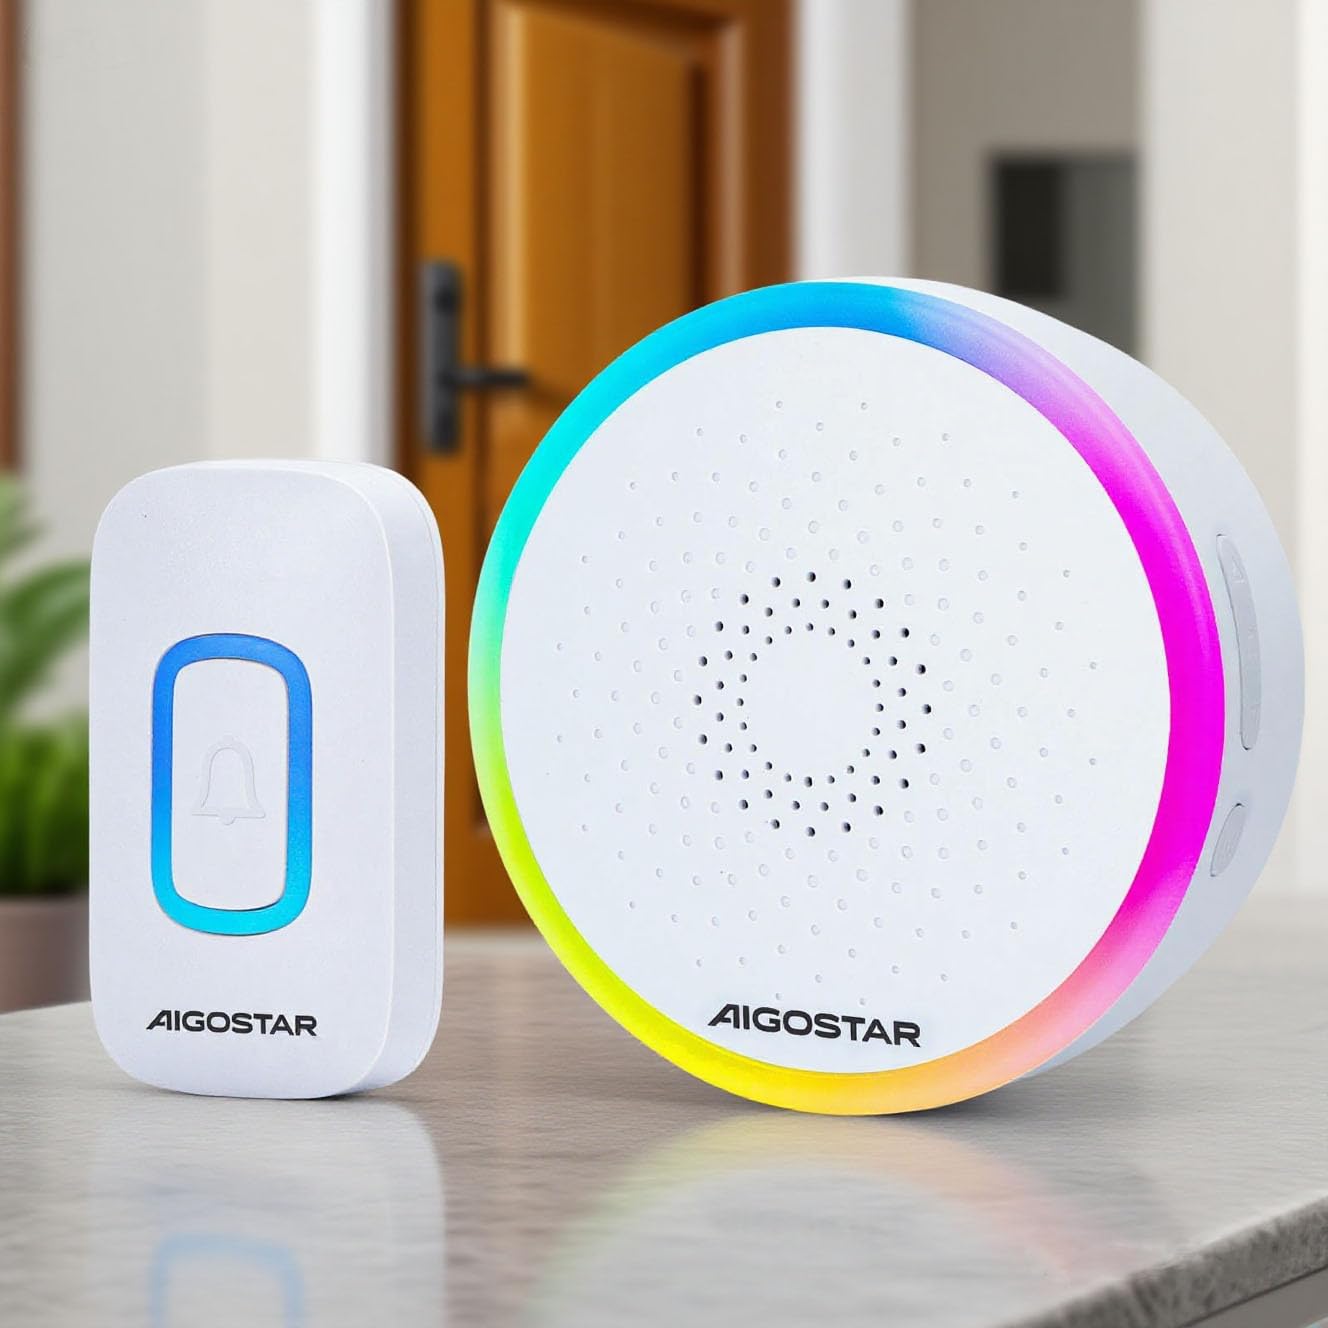
The Aigostar Wireless Doorbell set, featuring a white transmitter and receiver unit.
المنتج انتهىview والمكونات
The Aigostar Wireless Doorbell system includes the following components:
- 1x Wireless Transmitter (Push Button) - Battery Included
- 1x Wireless Receiver (Chime Unit) - Requires 3x AA batteries (not included)
- 1 × دليل المستخدم
- مسامير التثبيت ومقابس الحائط
- شريط لاصق مزدوج الجوانب

A visual representation of all items included in the product package: the wireless transmitter, the receiver, a user manual, mounting screws, and double-sided adhesive tape.
تحديد
| ماركة | أيجوستار |
| نموذج | B0D37B45P2 |
| لون | أبيض |
| تصنيف مقاومة الماء | IP55 |
| لاسلكي المدى | حتى 150 مترا (500 قدما) |
| الألحان | 60 نغمة قابلة للتحديد |
| مستويات الصوت | 5 levels (up to 120 dB) |
| قوة المرسل | Battery operated (included) |
| قوة الاستقبال | بطاريات زنومكس آ (غير مدرجة) |
| درجة حرارة التشغيل | -10 درجة مئوية إلى 50 درجة مئوية (14 درجة فهرنهايت إلى 122 درجة فهرنهايت) |
الإعداد والتثبيت
1. Install Receiver Batteries
- افتح حجرة البطارية الموجودة في الجزء الخلفي من وحدة الاستقبال.
- أدخل 3 بطاريات AA، مع التأكد من القطبية الصحيحة (+/-).
- أغلق حجرة البطارية بشكل محكم.
2. Mount the Transmitter
The transmitter can be mounted using either screws or double-sided adhesive tape.
Method 1: Screw Mounting
- Separate the back plate from the transmitter unit.
- Mark the desired mounting location on your wall.
- Drill two holes at the marked spots and insert the wall plugs.
- قم بتأمين اللوحة الخلفية على الحائط باستخدام البراغي المتوفرة.
- Attach the transmitter unit to the secured back plate.
Method 2: Adhesive Tape Mounting
- Clean the mounting surface thoroughly to ensure it is dry and free of dust.
- Peel off one side of the double-sided adhesive tape and attach it to the back of the transmitter unit.
- Peel off the other side of the tape and firmly press the transmitter onto the desired location for at least 30 seconds.

This image displays two installation options for the doorbell transmitter: using screws for a permanent fixture or double-sided adhesive tape for easier placement.
3. Pairing (Code-Learning)
The doorbell units are pre-paired from the factory. If re-pairing is needed or you add additional transmitters/receivers:
- Press and hold the 'Next/Code-learning' button on the receiver for 3 seconds until the LED indicator flashes.
- Immediately press the transmitter button. The receiver will chime, indicating successful pairing.
- كرر العملية لأي أجهزة إرسال إضافية.
تعليمات التشغيل
1. اختيار الألحان
The receiver offers 60 different melodies. To change the melody:
- Press the 'Previous/Mode Switching' button to cycle through the available melodies.
- Press the 'Next/Code-learning' button to cycle through the available melodies.
- The selected melody will be saved automatically.
2. ضبط الحجم
There are 5 adjustable volume levels. To adjust the volume:
- Press the 'Volume/Code-clearing' button repeatedly to cycle through the 5 volume levels (Mute, Low, Medium, High, Max).
- The selected volume level will be saved automatically.
3. Mute Mode / RGB Only Mode
The doorbell supports flexible modes:
- RGB Only Mode: The receiver will only flash its RGB light without producing sound. This is ideal for quiet environments or for individuals with hearing impairments.
- RGB + Ringtone Mode: The receiver will flash its RGB light and play the selected melody.
To switch between modes, use the 'Previous/Mode Switching' button. Your last settings are saved for continuous convenience.

This image demonstrates the doorbell's mute mode, where the light flashes without sound, ideal for not disturbing sleep.
صيانة
1. التنظيف
امسح أجهزة جرس الباب بقطعة قماش ناعمة وجافة. لا تستخدم المنظفات الكاشطة أو المذيبات.
2. استبدال البطارية
When the receiver's volume becomes low or the LED indicator on the transmitter shows low voltage, it's time to replace the batteries.
- المرسل: The transmitter comes with a pre-installed battery. When replacement is needed, open the transmitter casing carefully and replace the battery with a new one of the same type.
- المتلقي: Open the battery compartment on the back of the receiver and replace the 3x AA batteries with new ones, observing polarity.
3. تصنيف IP55 لمقاومة الماء
The transmitter is IP55 dustproof and waterproof, designed to withstand rain and varying temperatures. However, avoid submerging it in water or exposing it to extreme weather conditions for prolonged periods.
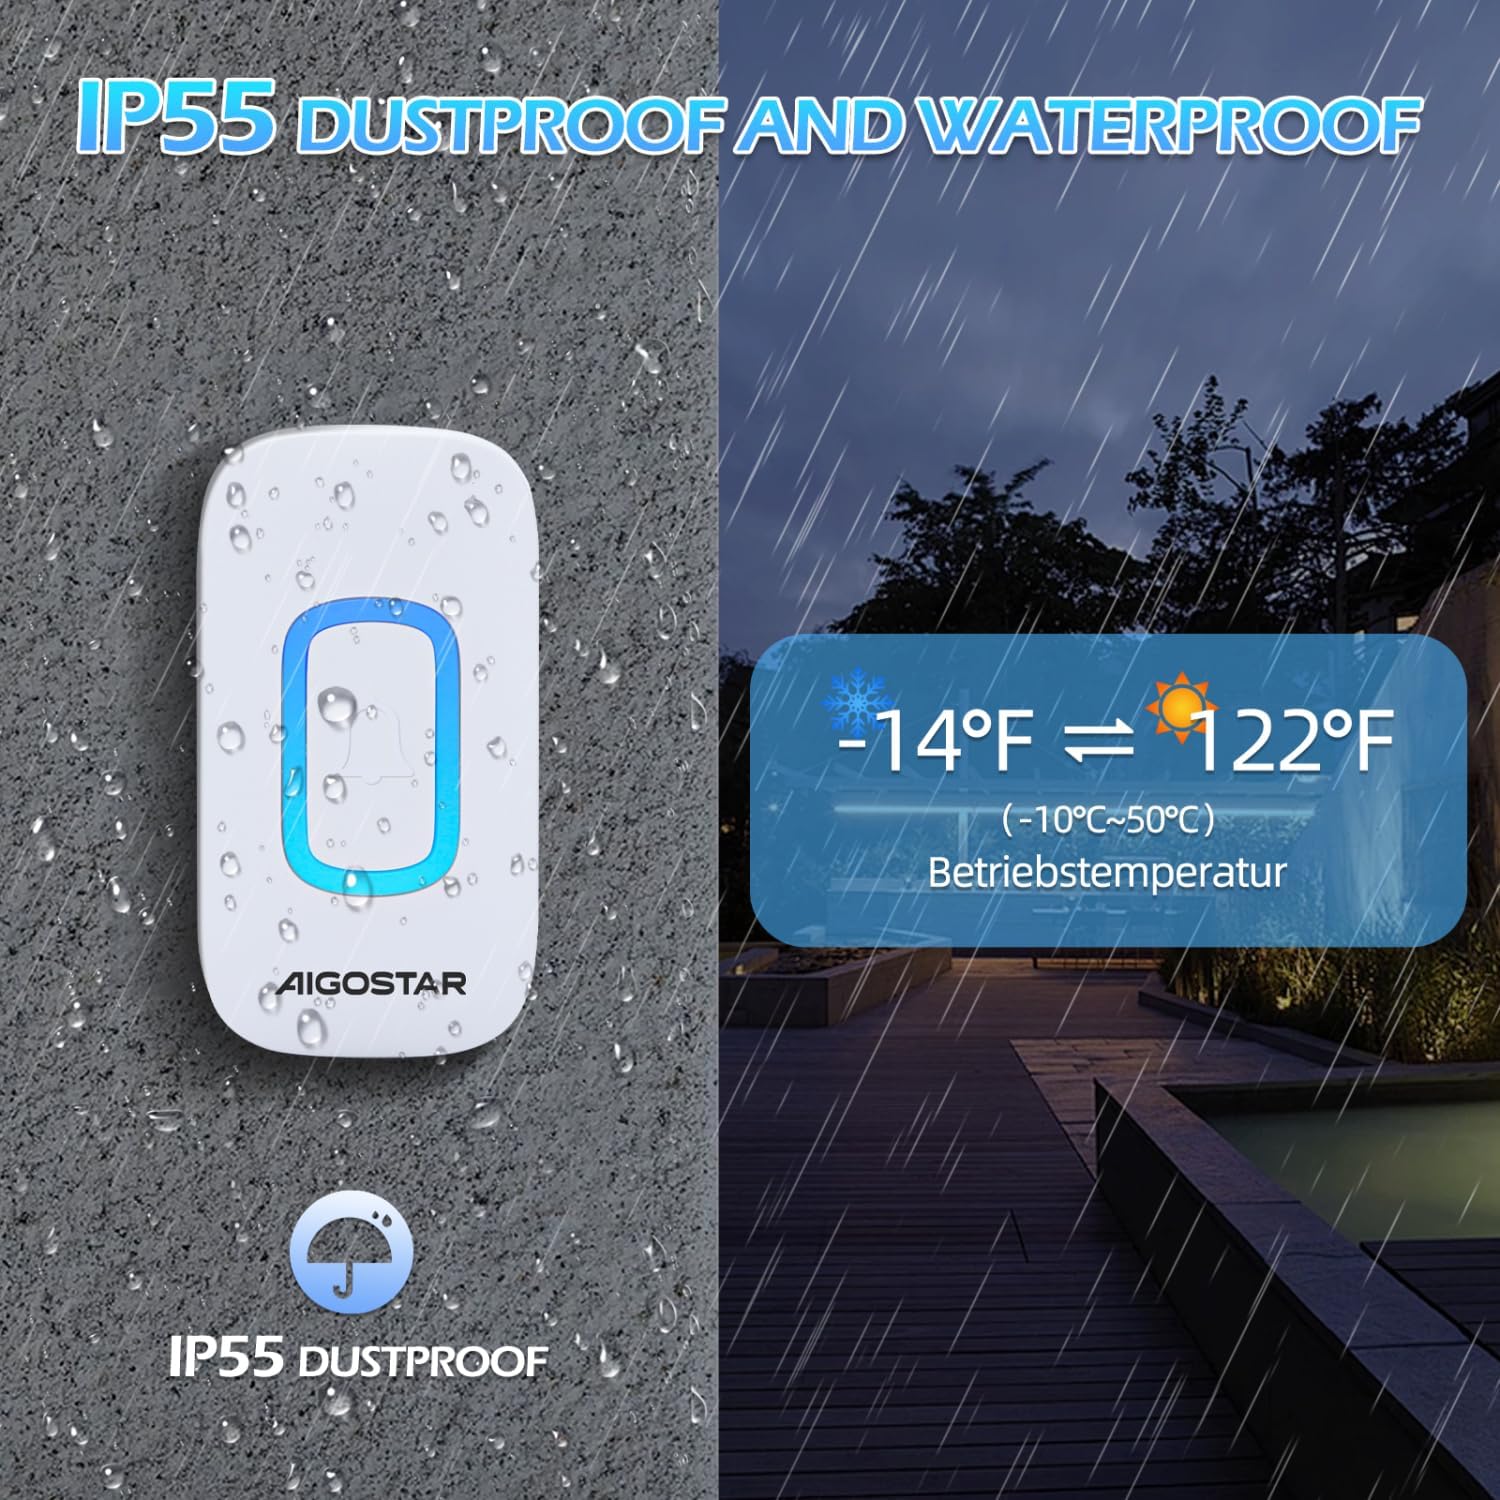
The doorbell transmitter is shown enduring rain, emphasizing its IP55 dustproof and waterproof capabilities, and its operational temperature range of -10°C to 50°C (14°F to 122°F).
استكشاف الأخطاء وإصلاحها
| مشكلة | السبب المحتمل | حل |
|---|---|---|
| جرس الباب لا يرن. | بطاريات منخفضة أو ميتة في جهاز الاستقبال أو الإرسال. | استبدال البطاريات في كلا الوحدتين. |
| يرن جرس الباب بشكل متقطع. | Interference from other wireless devices or obstacles. | Relocate the receiver or transmitter to minimize interference. Ensure no large metal objects are between units. |
| نطاق إرسال قصير. | Thick walls, metal structures, or other electronic devices. | Ensure the receiver is centrally located and not obstructed. Avoid mounting near large metal objects. |
| Receiver LED flashes but no sound. | Mute mode is activated. | Press the 'Volume/Code-clearing' button to increase the volume or switch to RGB + Ringtone mode. |
الضمان والدعم
Aigostar products are designed and manufactured to the highest quality standards. This product is covered by a standard manufacturer's warranty against defects in materials and workmanship from the date of purchase. Please refer to your purchase documentation for specific warranty terms and conditions.
For technical support, troubleshooting assistance, or warranty claims, please contact Aigostar customer service through the retailer where you purchased the product or visit the official Aigostar webموقع لمعلومات الاتصال.


