1. المقدمة
This manual provides comprehensive instructions for the safe and efficient operation of your Dioche Electronic Password Safe Deposit Box. Please read this manual thoroughly before installation and use to ensure proper functionality and to maximize the security features of your safe. Keep this manual for future reference.
2. معلومات السلامة
- لا تخزن مفاتيح الطوارئ داخل الخزنة. احتفظ بها في مكان آمن ومنفصل.
- تأكد من تثبيت الخزنة على سطح ثابت أو تثبيتها بإحكام على الحائط أو الأرضية لمنع إزالتها غير المصرح بها.
- Avoid exposing the safe to extreme temperatures or high humidity.
- Do not attempt to disassemble or modify the safe. This may compromise its security and void the warranty.
- Keep the safe and its components out of reach of children.
- The safe is designed to be fireproof but is not water-resistant. Avoid exposure to water.
3. محتويات العبوة
يرجى التحقق من محتويات الطرد بعناية. في حال وجود أي نقص أو تلف في المنتجات، يرجى التواصل مع خدمة العملاء.
- Dioche Electronic Password Safe Deposit Box
- مفاتيح الطوارئ (2)
- Mounting Hardware (bolts, washers)
- Floor Mat/Lining
- دليل المستخدم (هذا المستند)
- Batteries (4 x AA, typically included)

Image 3.1: The Dioche Electronic Password Safe Deposit Box shown with its included accessories, including emergency keys, mounting bolts, and batteries.
4. انتهى المنتجview
The Dioche Electronic Password Safe Deposit Box is constructed from heavy-duty cold-rolled alloy steel, offering robust security for your valuables. It features a dual unlocking mechanism: a digital keypad for password entry and a traditional key for emergency access.

الصورة 4.1: الجبهة view of the electronic safe, highlighting its multi-protection password system designed to prevent deciphering attempts.

Image 4.2: Close-up of the safe's digital panel, showing the keypad for code entry and the concealed keyhole for manual unlocking.
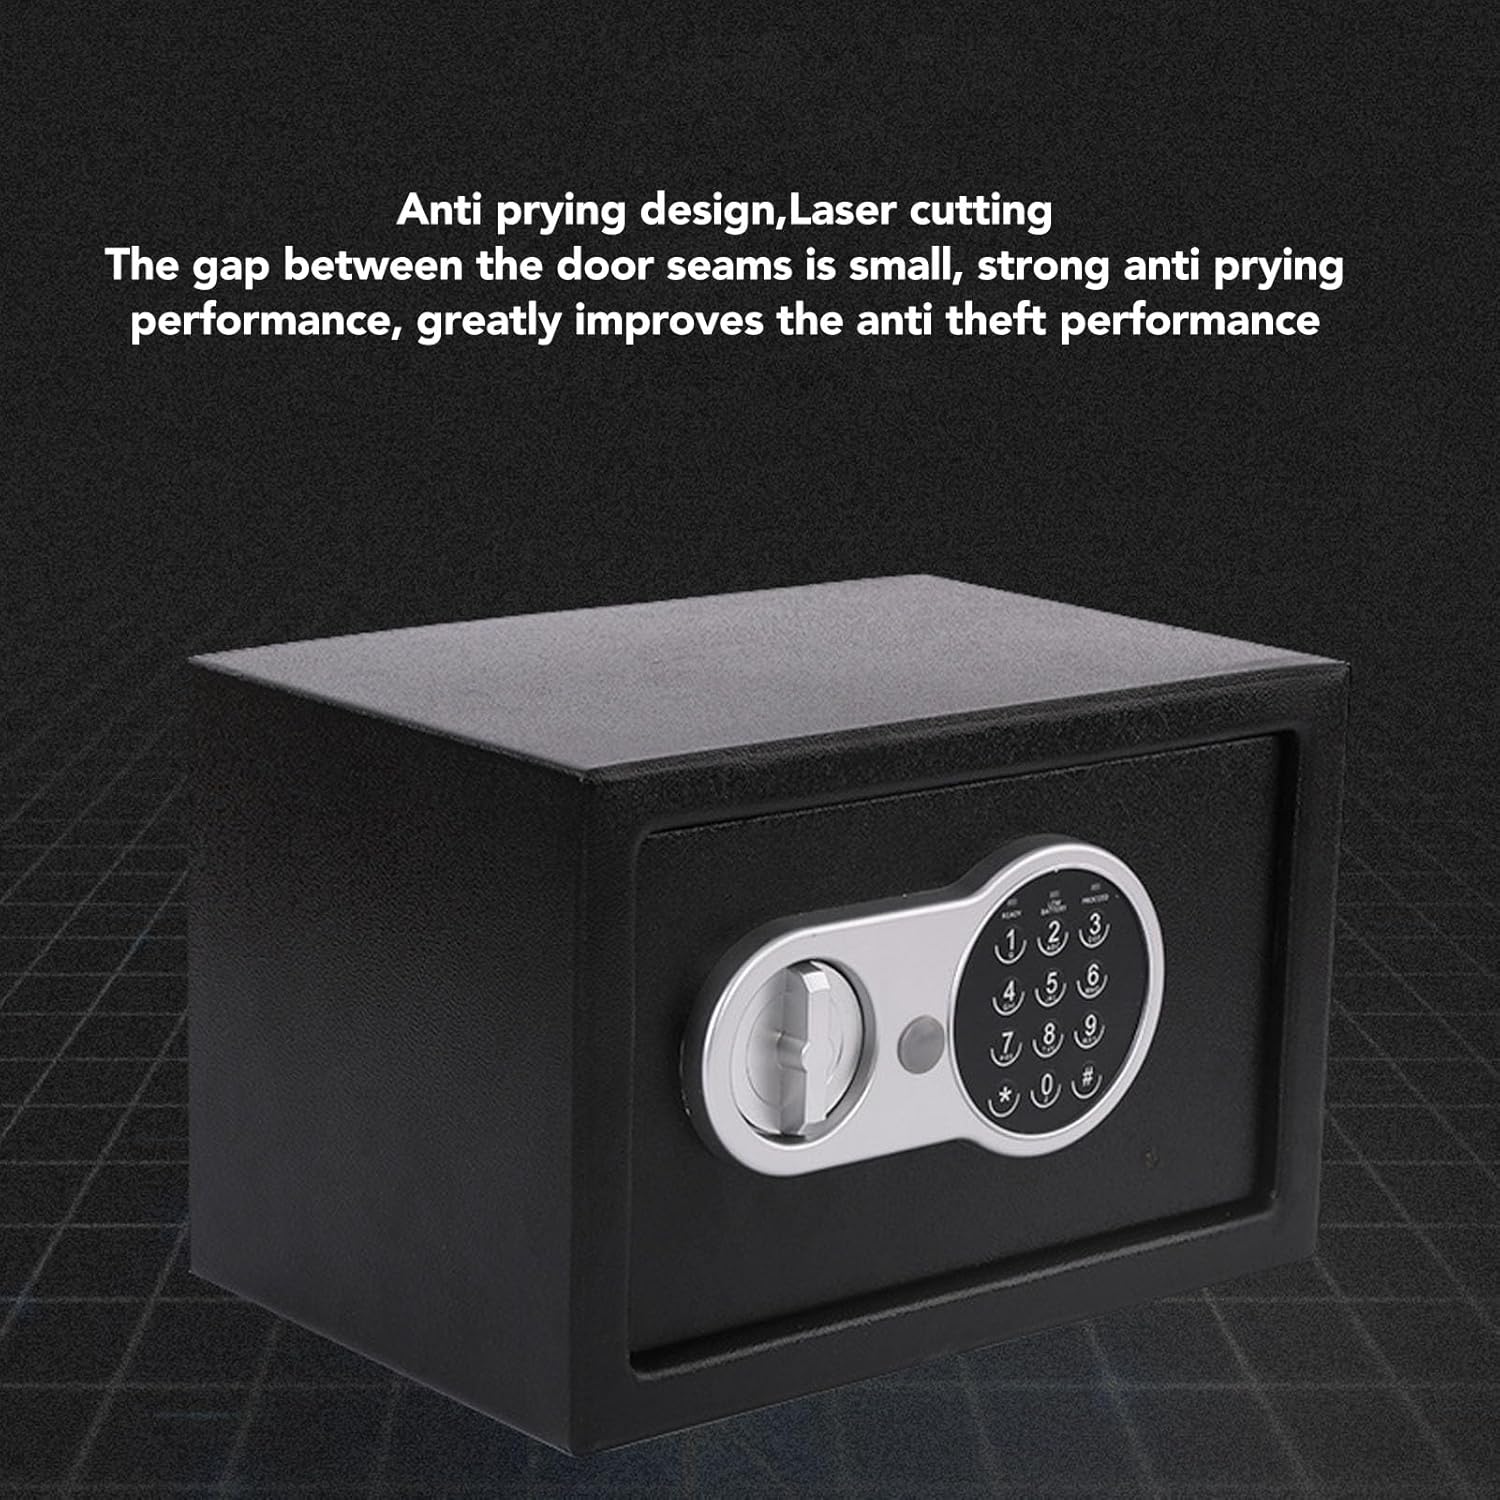
الصورة 4.3: View illustrating the safe's anti-prying design, featuring laser-cut seams that minimize gaps and enhance anti-theft performance.

الصورة 4.4: الداخلية view of the safe, demonstrating its multi-layer alloy steel plate construction for high strength and toughness.
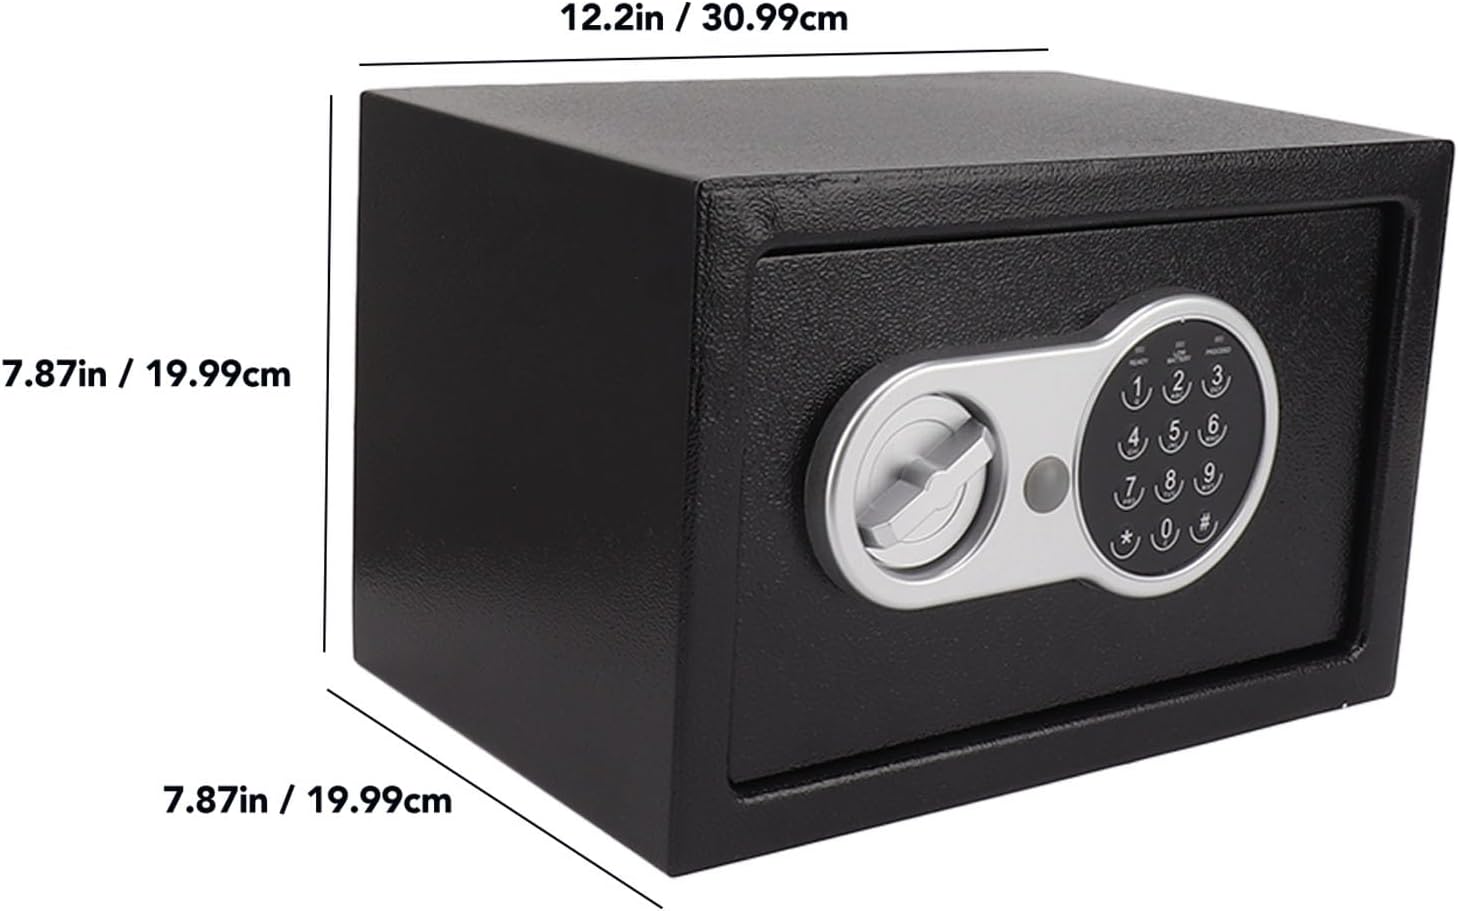
Image 4.5: Diagram showing the external dimensions of the safe: approximately 12.2 inches (30.99 cm) wide, 7.87 inches (19.99 cm) high, and 7.87 inches (19.99 cm) deep.
5. الإعداد
5.1 تركيب البطارية
- Locate the battery compartment, usually on the inside of the safe door.
- Insert 4 AA batteries (included) according to the polarity markings (+/-).
- أغلق غطاء حجرة البطارية جيدًا.
- The safe will emit a beep, indicating successful battery installation.
5.2 إعداد الرمز الأولي
The safe comes with a factory default code (e.g., "159"). It is crucial to change this immediately for security.
- With the safe door open, press the red reset button located on the inside of the door (often near the hinge). The yellow light on the keypad will illuminate.
- Enter your desired new password (3-8 digits) on the keypad.
- Press the "#" button to confirm. The safe will beep twice, and the yellow light will turn off, indicating the new code is set.
- Test the new code with the door open before closing it. Enter your new code, then turn the knob clockwise to ensure it opens.
مهم: If you forget your password, you will need to use the emergency key to open the safe.
5.3 Mounting the Safe (Optional)
For enhanced security, the safe can be mounted to a floor or wall using the provided hardware.
- Choose a suitable location. Ensure there are no electrical wires or plumbing in the wall/floor where you plan to drill.
- Open the safe door and remove the floor mat to expose the pre-drilled mounting holes.
- Mark the drilling points on the wall or floor through the holes in the safe.
- Drill pilot holes using an appropriate drill bit for your mounting surface.
- Position the safe and secure it using the provided expansion bolts and washers. Tighten firmly.
6. تشغيل الخزنة
6.1 الفتح باستخدام الرمز الرقمي
- Enter your 3-8 digit personal password on the keypad.
- Press the "#" button. The green light will illuminate, and the safe will beep.
- Within 5 seconds, turn the knob clockwise to open the door.
- If an incorrect code is entered three times, the system will lock for 20 seconds. Further incorrect attempts will increase the lockout time.
6.2 Opening with Emergency Key
The emergency key can be used if you forget your password or if the batteries are depleted.
- Locate the emergency keyhole, usually concealed behind a small cover on the keypad panel.
- إزالة الغطاء.
- Insert the emergency key and turn it counter-clockwise.
- While holding the key turned, turn the main knob clockwise to open the safe door.
- Once open, you can replace the batteries or reset the password as needed.
6.3 إغلاق الخزنة وقفلها
- أغلق باب الخزنة.
- Turn the knob counter-clockwise until it locks into place. The safe is now secured.
7. الصيانة
- استبدال البطارية: Replace batteries annually or when the "LOW BATTERY" indicator lights up. Always use 4 new AA batteries.
- تنظيف: امسح الجزء الخارجي من الخزنة بقطعة قماش ناعمة.amp القماش. تجنب استخدام المنظفات أو المذيبات الكاشطة.
- العناية بلوحة المفاتيح: Keep the keypad clean and dry. Avoid pressing buttons with excessive force.
8. استكشاف الأخطاء وإصلاحها
| مشكلة | السبب المحتمل | حل |
|---|---|---|
| الخزنة لا تفتح باستخدام رمز. | Incorrect password entered. Batteries are low or dead. | Re-enter the correct password carefully. Replace batteries. Use emergency key to open. |
| لوحة المفاتيح لا تستجيب. | البطاريات فارغة أو تم تركيبها بشكل غير صحيح. | تأكد من قطبية البطارية. استبدلها ببطاريات جديدة. |
| يصدر صوت تنبيه مستمر للحماية. | تحذير من انخفاض مستوى البطارية. | استبدل جميع بطاريات AA الأربعة على الفور. |
| هل نسيت كلمة السر. | نسيت كلمة المرور. | Use the emergency key to open the safe. Once open, reset the password using the reset button. |
9. المواصفات
- ماركة: ديوش
- نموذج: صندوق الإيداع الآمن بكلمة المرور الإلكترونية
- نوع القفل: الكترونية، مفتاح
- لون: أسود
- مادة: Alloy Steel (Cold Rolled Sheet)
- ميزة خاصة: مقاوم للحريق
- نوع التركيب: التركيب على الأرض، التركيب على الحائط
- المكونات المتضمنة: Safe, Keys, Mounting Hardware, Batteries
- مستوى مقاومة الماء: غير مقاوم للماء
- الأبعاد (تقريبية): 12.2 in (Width) x 7.87 in (Height) x 7.87 in (Depth)
10. الضمان والدعم
For warranty information or technical support, please refer to the retailer's policy or contact Dioche customer service directly. Keep your purchase receipt as proof of purchase.
لمزيد من المساعدة، قم بزيارة Dioche Store on Amazon.


