1. المقدمة
This manual provides detailed instructions for the setup, operation, maintenance, and troubleshooting of your Arducam USB 3.0 Camera. Please read this manual thoroughly before using the product to ensure optimal performance and longevity.
2. انتهى المنتجview
2.1. ماذا يوجد في الصندوق
- 1 x IMX283 USB3.0 Camera Module with Metal Case
- 1 x 1m USB A to Type-C Cable
2.2. الميزات الرئيسية
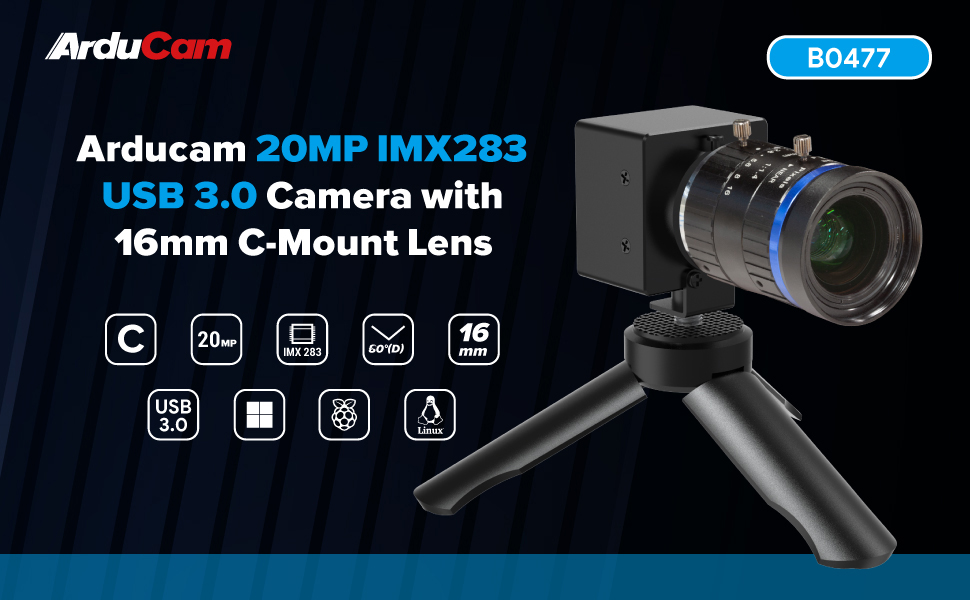
- Superior Imaging: Utilizes a 1-inch IMX283 CMOS sensor, achieving a maximum still resolution of 5472x3648 pixels.
- Flexible Frame Rates: Supports programmable frame rates, reaching up to 120fps at 720p resolution.
- المعالجة المتقدمة للصور: Features proprietary on-board ISP for image enhancement, including de-Bayer, gamma correction, BLC, AE, AWB, CCM, and RGB2YUV conversion.
- Telephoto Precision: Equipped with a 16mm C-mount lens, offering a 60° diagonal field of view (DFOV).
- تصميم سهل التركيب والتشغيل: Encased in a durable metal housing, designed for easy plug-and-play operation.
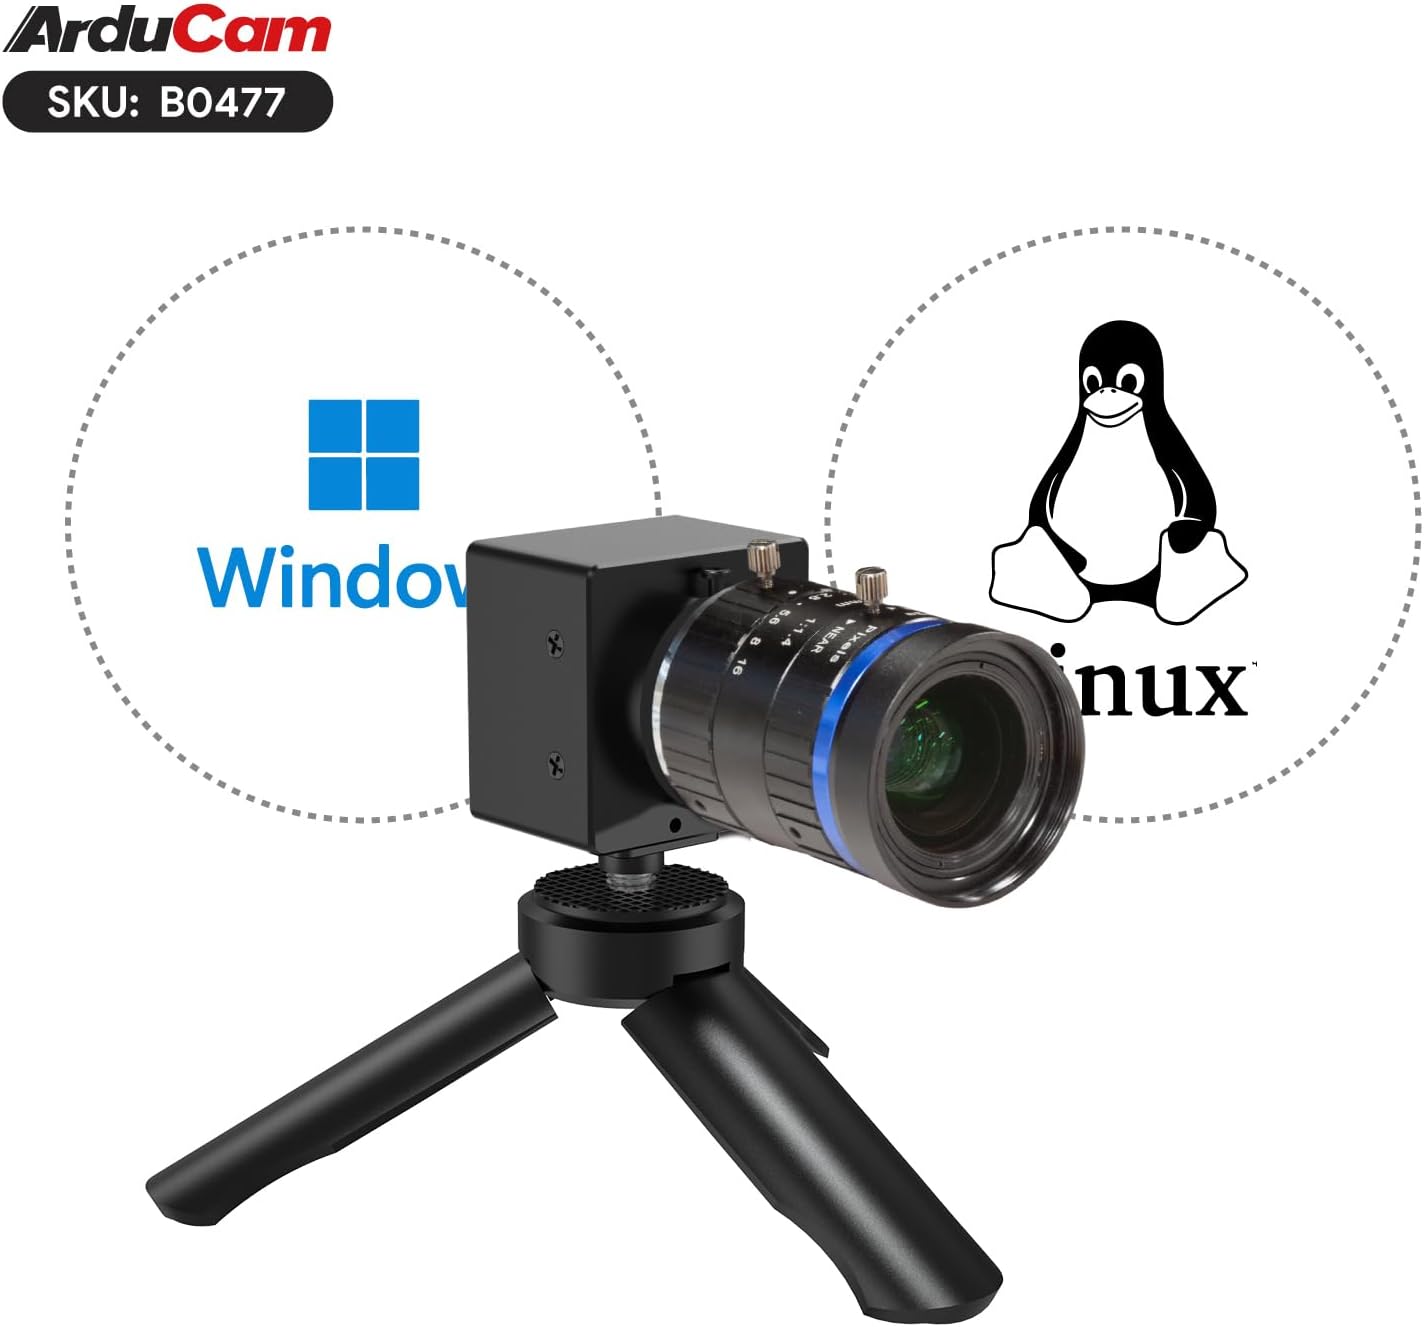
- توافق نظام التشغيل: Compatible with Windows and Linux operating systems.
2.3. مكونات المنتج


3. تعليمات الإعداد
3.1. تركيب العدسة
- Carefully remove the protective cap from the camera module's C-mount interface.
- Align the 16mm C-mount lens with the camera module's C-mount thread.
- Gently screw the lens onto the camera module until it is securely fastened. Avoid overtightening.
- قم بإزالة غطاء العدسة الأمامي.
3.2. الاتصال بالكمبيوتر
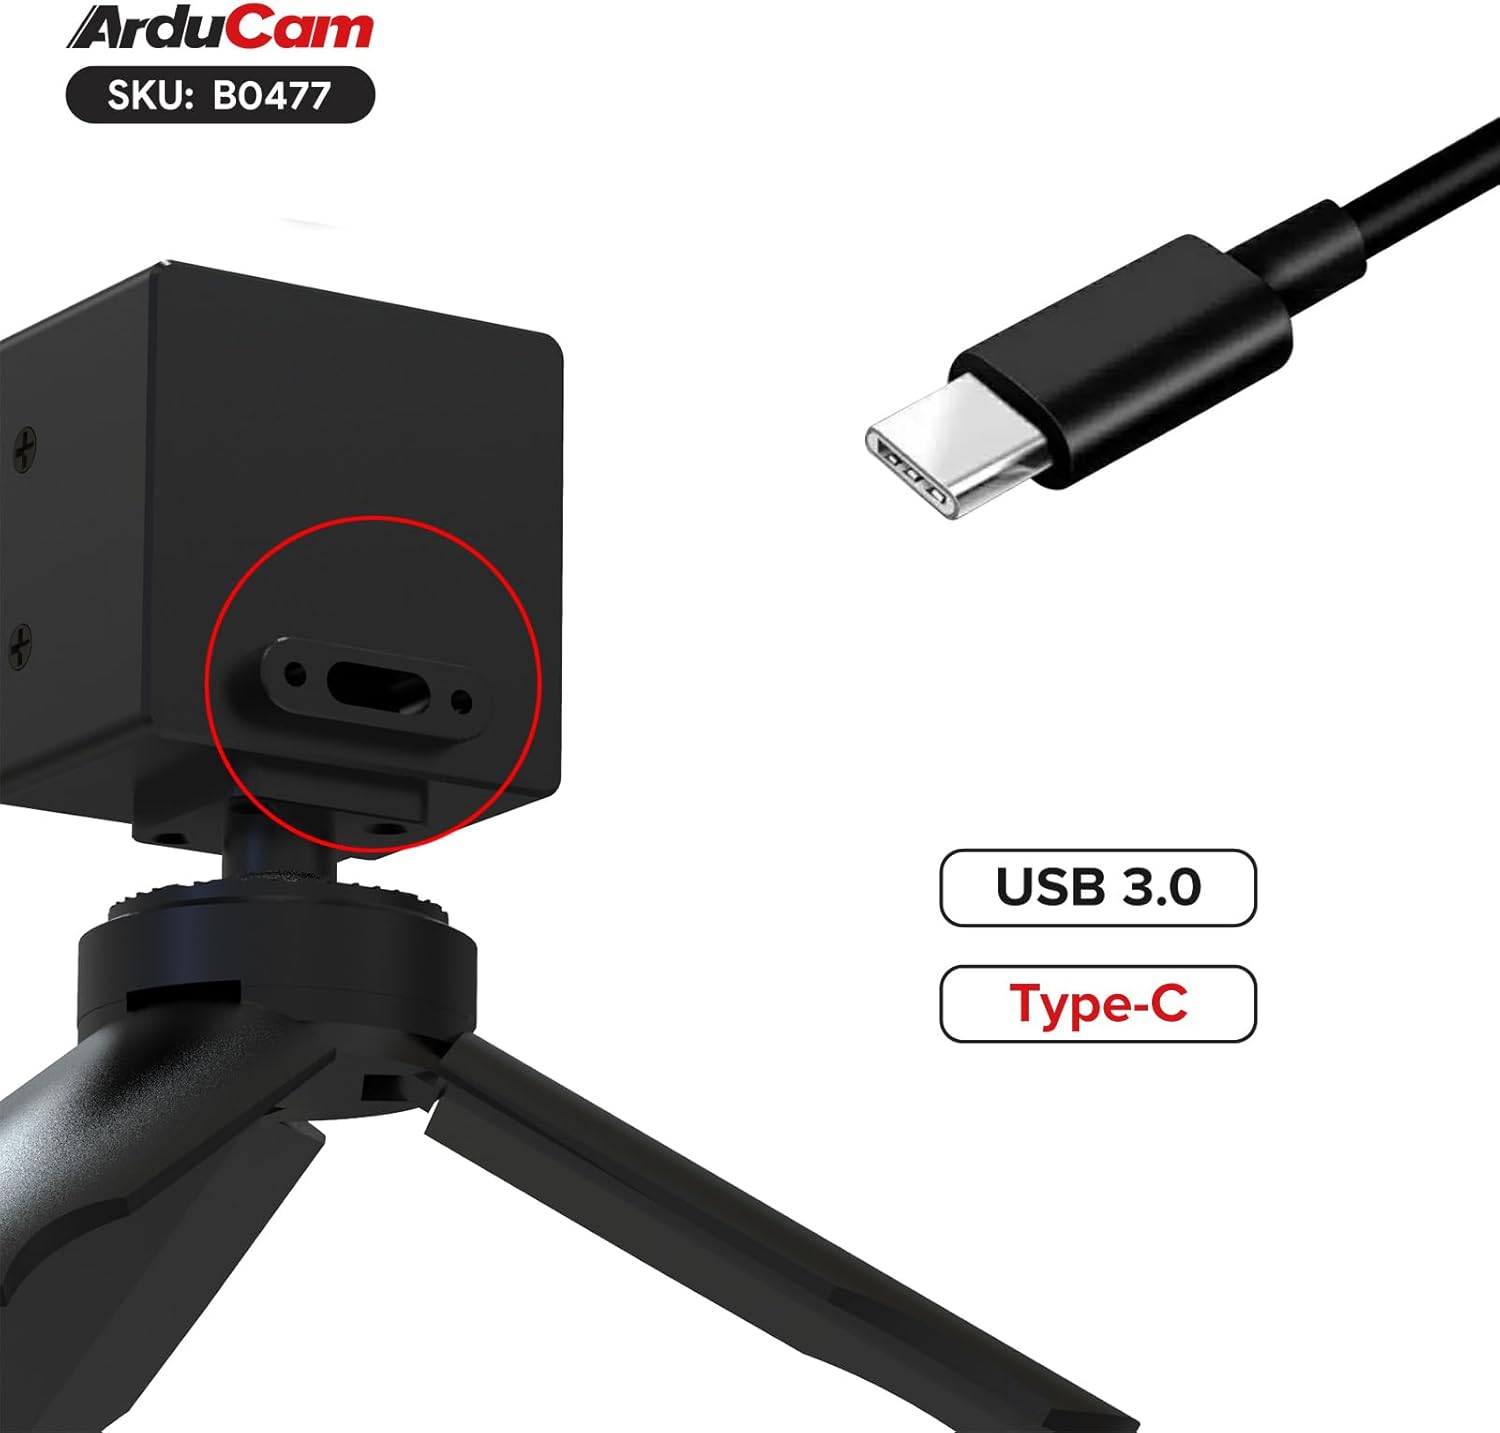
- Connect the USB Type-C end of the provided cable to the camera module's USB 3.0 port.
- Connect the USB-A end of the cable to an available USB 3.0 port on your computer. For optimal performance, ensure you use a USB 3.0 port (typically blue).
- The camera is UVC (USB Video Class) compliant and should be recognized automatically by most operating systems without requiring specific driver installation.
4. تعليمات التشغيل
4.1. Basic Operation (Windows)
- After connecting the camera, open a compatible camera application (e.g., Windows Camera app, OBS Studio, AmCap, or Arducam's own software if available).
- Select the Arducam USB 3.0 Camera as your video input device.
- Adjust resolution, frame rate, and other image settings (exposure, white balance, gain) within the application's settings. The camera supports up to 5472x3648 resolution and 120fps at 720p.
4.2. Basic Operation (Linux)
The camera is designed to be UVC compliant for Linux. You can use standard Linux camera applications like Cheese, VLC, or OBS Studio.
- Connect the camera to your Linux system.
- Open your preferred camera application and select the Arducam camera as the input source.
- Configure video settings as needed.
Note: Some users have reported intermittent issues with the camera not re-initializing correctly on Linux after closing an application. If this occurs, try unplugging and re-plugging the camera, or restarting your system. Ensure your Linux distribution and kernel are up-to-date for best compatibility.
4.3. ضبط العدسة
- ركز: Rotate the focus ring on the lens to achieve sharp imagery at your desired distance.
- فتحة: Adjust the aperture ring to control the amount of light entering the lens and the depth of field. A smaller aperture number (e.g., f/1.4) means a wider opening and shallower depth of field, while a larger number (e.g., f/16) means a narrower opening and greater depth of field.
5. الصيانة
5.1. Cleaning the Lens and Sensor
- Use a soft, lint-free microfiber cloth specifically designed for optical surfaces to clean the lens.
- لإزالة البقع العنيدة، استخدم كمية صغيرة من محلول تنظيف العدسات وضعها على قطعة قماش، وليس مباشرة على العدسة.
- Avoid touching the sensor directly. If dust is visible on the sensor, use an air blower to gently remove it. Do not use compressed air from a can, as it can leave residue.
- Important: Some units may have dust or fingerprints between the sensor and its protective window from manufacturing. If this significantly impacts image quality, contact Arducam support.
5.2. العناية العامة والتخزين
- قم بتخزين الكاميرا في بيئة جافة وخالية من الغبار عندما لا تكون قيد الاستخدام.
- Protect the lens with its cap when stored or transported.
- تجنب تعريض الكاميرا لدرجات الحرارة أو الرطوبة الشديدة.
- Handle the camera by its metal case, avoiding direct pressure on the lens or sensor area.
6. استكشاف الأخطاء وإصلاحها
- Problem: Camera not detected or showing a black screen.
حل:
- Ensure the USB cable is securely connected to both the camera and a USB 3.0 port on your computer.
- حاول استخدام منفذ USB أو كابل مختلف.
- أعد تشغيل الكمبيوتر الخاص بك.
- On Linux, if the camera stops working after closing an application, try unplugging and re-plugging the camera, or restarting your system.
- Verify that the camera is selected as the input device in your application.
- Problem: Image quality is poor or blurry.
حل:
- Adjust the focus ring on the 16mm C-mount lens until the image is sharp.
- Ensure the lens and sensor are clean (refer to Section 5.1).
- Check lighting conditions; insufficient light can lead to noisy or blurry images.
- Verify that the correct resolution and frame rate settings are applied in your camera application.
- Problem: Dust or spots visible in the image.
حل:
- Clean the front element of the lens.
- Use an air blower to gently clear any dust from the sensor surface.
- If the dust appears to be internal (between the sensor and its protective window), contact Arducam support for assistance.
7. المواصفات
| ميزة | التفاصيل |
|---|---|
| المستشعر | 1-inch IMX283 CMOS |
| Max Still Resolution | 5472x3648 (20MP) |
| دقة التقاط الفيديو | حتى 720 بكسل |
| الحد الأقصى لمعدل الإطارات | 120fps at 720p |
| نوع العدسة | 16mm C-Mount Lens |
| الحقل القطري View (دفوف) | 60° |
| الواجهة | USB 3.0 (Type-C connector on camera) |
| توافق نظام التشغيل | ويندوز، لينكس |
| الإسكان | حالة معدنية |
| وزن العنصر | 4.8 أونصات |
| أبعاد الحزمة | 3 × 2.7 × 2.7 بوصة |
8. الدعم والضمان
For technical support, product inquiries, or warranty information, please visit the official Arducam webيمكنك زيارة الموقع الإلكتروني أو الاتصال بخدمة العملاء مباشرةً. قد تختلف شروط الضمان المحددة حسب المنطقة ومكان الشراء.
يمكنك العثور على مزيد من المعلومات وموارد الدعم على متجر أردوكام على أمازون.


