مقدمة
This manual provides essential information for the safe and efficient operation, maintenance, and troubleshooting of your CONENTOOL 12V Cordless Drill Driver Kit. Please read this manual thoroughly before first use and keep it for future reference.
The CONENTOOL 12V Cordless Drill Driver is designed for drilling into wood, plastic, metal, and other materials, as well as for driving and removing screws. It features a powerful 35 N.m max torque, 25+1 torque settings, and two variable speeds for versatile applications.

Image: The CONENTOOL 12V Cordless Drill Driver Kit, including the drill, two batteries, charger, and a case filled with various drill bits and screwdriver bits.
تعليمات السلامة الهامة
اتبع دائمًا احتياطات السلامة الأساسية عند استخدام الأدوات الكهربائية لتقليل خطر الحريق والصدمة الكهربائية والإصابة الشخصية.
- ارتدِ معدات الوقاية الشخصية المناسبة (PPE) مثل نظارات السلامة والقفازات وواقيات الأذن.
- حافظ على منطقة عملك نظيفة وجيدة الإضاءة. تتسبب المناطق المزدحمة أو المظلمة في وقوع حوادث.
- لا تقم بتشغيل الأدوات الكهربائية في أجواء قابلة للانفجار، مثل وجود سوائل قابلة للاشتعال أو غازات أو غبار.
- تأكد من إيقاف تشغيل الأداة قبل إجراء أي تعديلات أو تغيير الملحقات أو تخزين الأداة.
- استخدم الأداة المناسبة لتطبيقك. لا تضغط عليها بقوة.
- قم بتخزين الأدوات الخاملة بعيدًا عن متناول الأطفال وغيرهم من الأشخاص غير المدربين.
مكونات المنتج وميزاته
Familiarize yourself with the various parts and features of your CONENTOOL Cordless Drill Driver.

Image: A detailed diagram of the CONENTOOL drill driver highlighting its key components: 3/8" keyless chuck, 25+1 adjustable clutch, LED light, variable speed switch, forward and reverse button, 2 variable speeds, and 2000 mAh lithium battery.
- ظرف بدون مفتاح مقاس 3/8 بوصة: For quick and easy bit changes. Features an all-metal automatic spindle lock.
- 25+1 Adjustable Clutch: Allows precise torque settings for various applications, preventing overtightening or stripping screws.
- ضوء LED: يضيء منطقة العمل لتحسين الرؤية في الأماكن المظلمة.
- مفتاح السرعة المتغيرة: يوفر التحكم الدقيق في سرعة الحفر والقيادة.
- Forward and Reverse Button: Easily switch between drilling/driving and unscrewing.
- 2 سرعة متغيرة: Low speed (0-450 RPM) for screwing, high speed (0-1650 RPM) for drilling.
- 2000 mAh Lithium Battery: Offers long-lasting power and reliable performance.
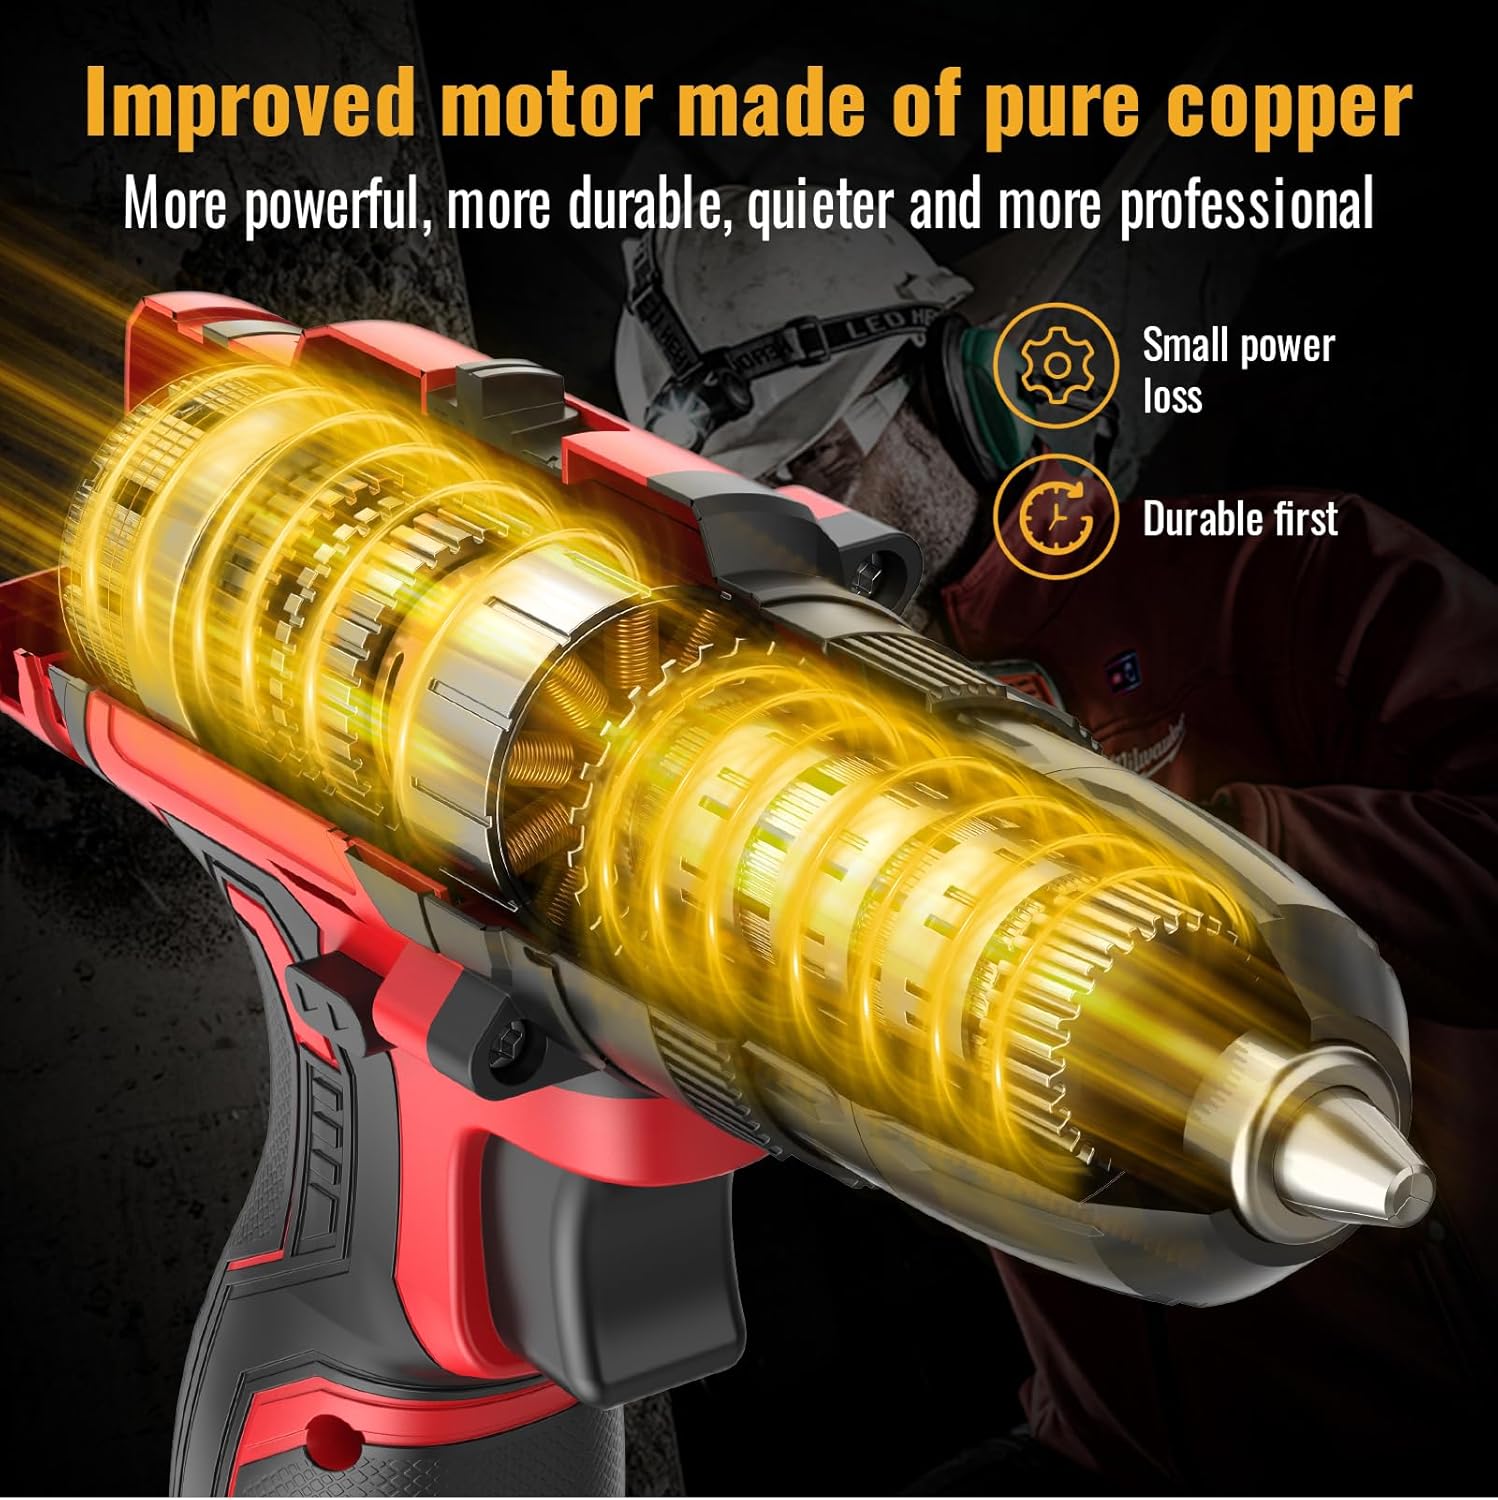
الصورة: داخلية view of the drill, highlighting the improved motor made of pure copper, designed for more power, durability, and quieter operation with small power loss.

Image: A graph illustrating the extended working hours provided by the 2x 2.0AH large capacity batteries compared to other batteries, showing a slower discharge rate over time.
يثبت
شحن البطارية
- قم بتوصيل الشاحن بمأخذ الطاقة القياسي.
- قم بإدخال حزمة البطارية فوق الشاحن حتى تستقر في مكانها.
- Allow the battery to charge fully before first use. The indicator light on the charger will change when charging is complete.
- Always disconnect the charger from the power supply and remove the battery once fully charged.
تركيب / نزع البطارية
- للتثبيت: قم بمحاذاة حزمة البطارية مع قاعدة مقبض المثقاب وقم بإدخالها حتى يتم تثبيتها بإحكام.
- To remove: Press the battery release button (usually located on the side of the battery pack) and slide the battery out.
Installing/Removing Drill Bits or Screwdriver Bits

Image: A close-up showing the operation of the 3/8" (10mm) self-locking drill chuck, demonstrating how to open and close it to insert or remove bits.
- تأكد من إيقاف تشغيل المثقاب وأن مفتاح التوجيه للأمام/الخلف موجود في الوضع الأوسط (مقفل).
- قم بتدوير المقبض عكس اتجاه عقارب الساعة لفتح الفكين.
- أدخل لقمة المثقاب أو لقمة المفك المطلوبة بالكامل في ظرف التثبيت.
- أدر ظرف التثبيت باتجاه عقارب الساعة لشد الفكين بإحكام حول رأس المثقاب. تأكد من أن رأس المثقاب في المنتصف ومثبت بإحكام.
- لإزالة القطعة: قم بتدوير ظرف التثبيت عكس اتجاه عقارب الساعة لفك الفكين وسحب القطعة للخارج.
تعليمات التشغيل
اختيار السرعة
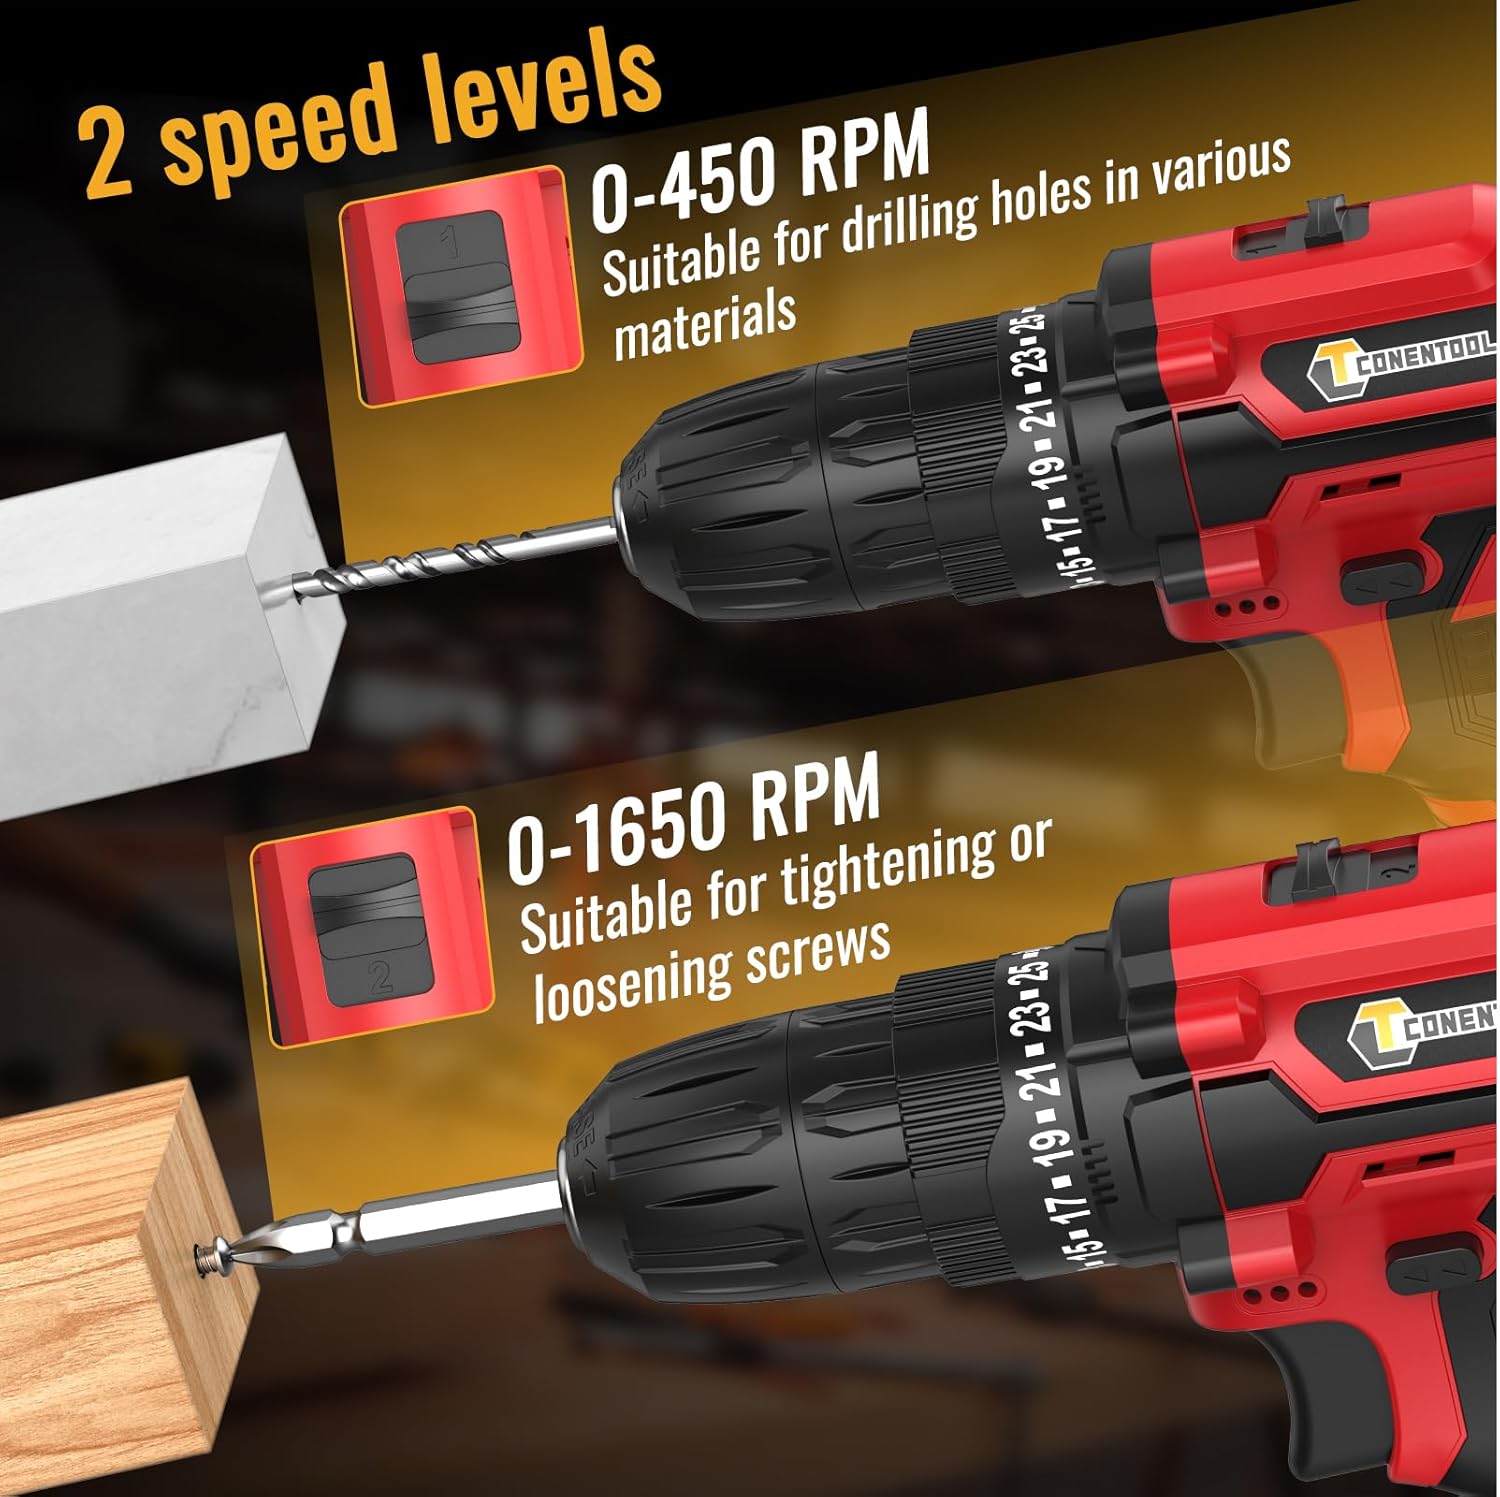
Image: A visual representation of the two-speed levels: 0-450 RPM for drilling holes in various materials (Speed 1) and 0-1650 RPM for tightening or loosening screws (Speed 2).
- Speed 1 (Low, 0-450 RPM): Ideal for driving screws, larger diameter drilling, or applications requiring higher torque.
- Speed 2 (High, 0-1650 RPM): Suitable for smaller diameter drilling and applications requiring faster speed.
- Adjust the speed by sliding the gear selector switch located on top of the drill.
Adjusting Torque (Clutch Setting)

Image: A chart illustrating the drill's multifunctional capabilities, showing increasing torque/power levels suitable for screws, wood, ceramics, brick, concrete, and steel, with distinct settings for drilling and screwdriving.
- The torque adjustment ring is located behind the chuck. Rotate it to select the desired torque setting from 1 to 25.
- The higher the number, the greater the torque. Start with a lower setting and increase as needed to prevent overtightening or damaging the workpiece.
- Use the drill symbol setting for drilling applications, which provides maximum torque without clutch engagement.
التشغيل للأمام/للخلف
- Push the forward/reverse selector switch (located above the trigger) to the left for forward rotation (drilling/driving screws).
- ادفع المفتاح إلى اليمين للدوران العكسي (إزالة البراغي).
- For safety, place the switch in the center position to lock the trigger and prevent accidental starting.
تشغيل المثقاب
- Ensure the correct bit is installed and the battery is charged.
- Select the appropriate speed and torque setting for your task.
- Position the drill bit on the workpiece.
- Press the trigger to start the drill. The LED light will illuminate the work area.
- استخدم ضغطًا ثابتًا ومتساويًا. لا تضغط بقوة على المثقاب.
- حرر الزناد لإيقاف التدريبات.
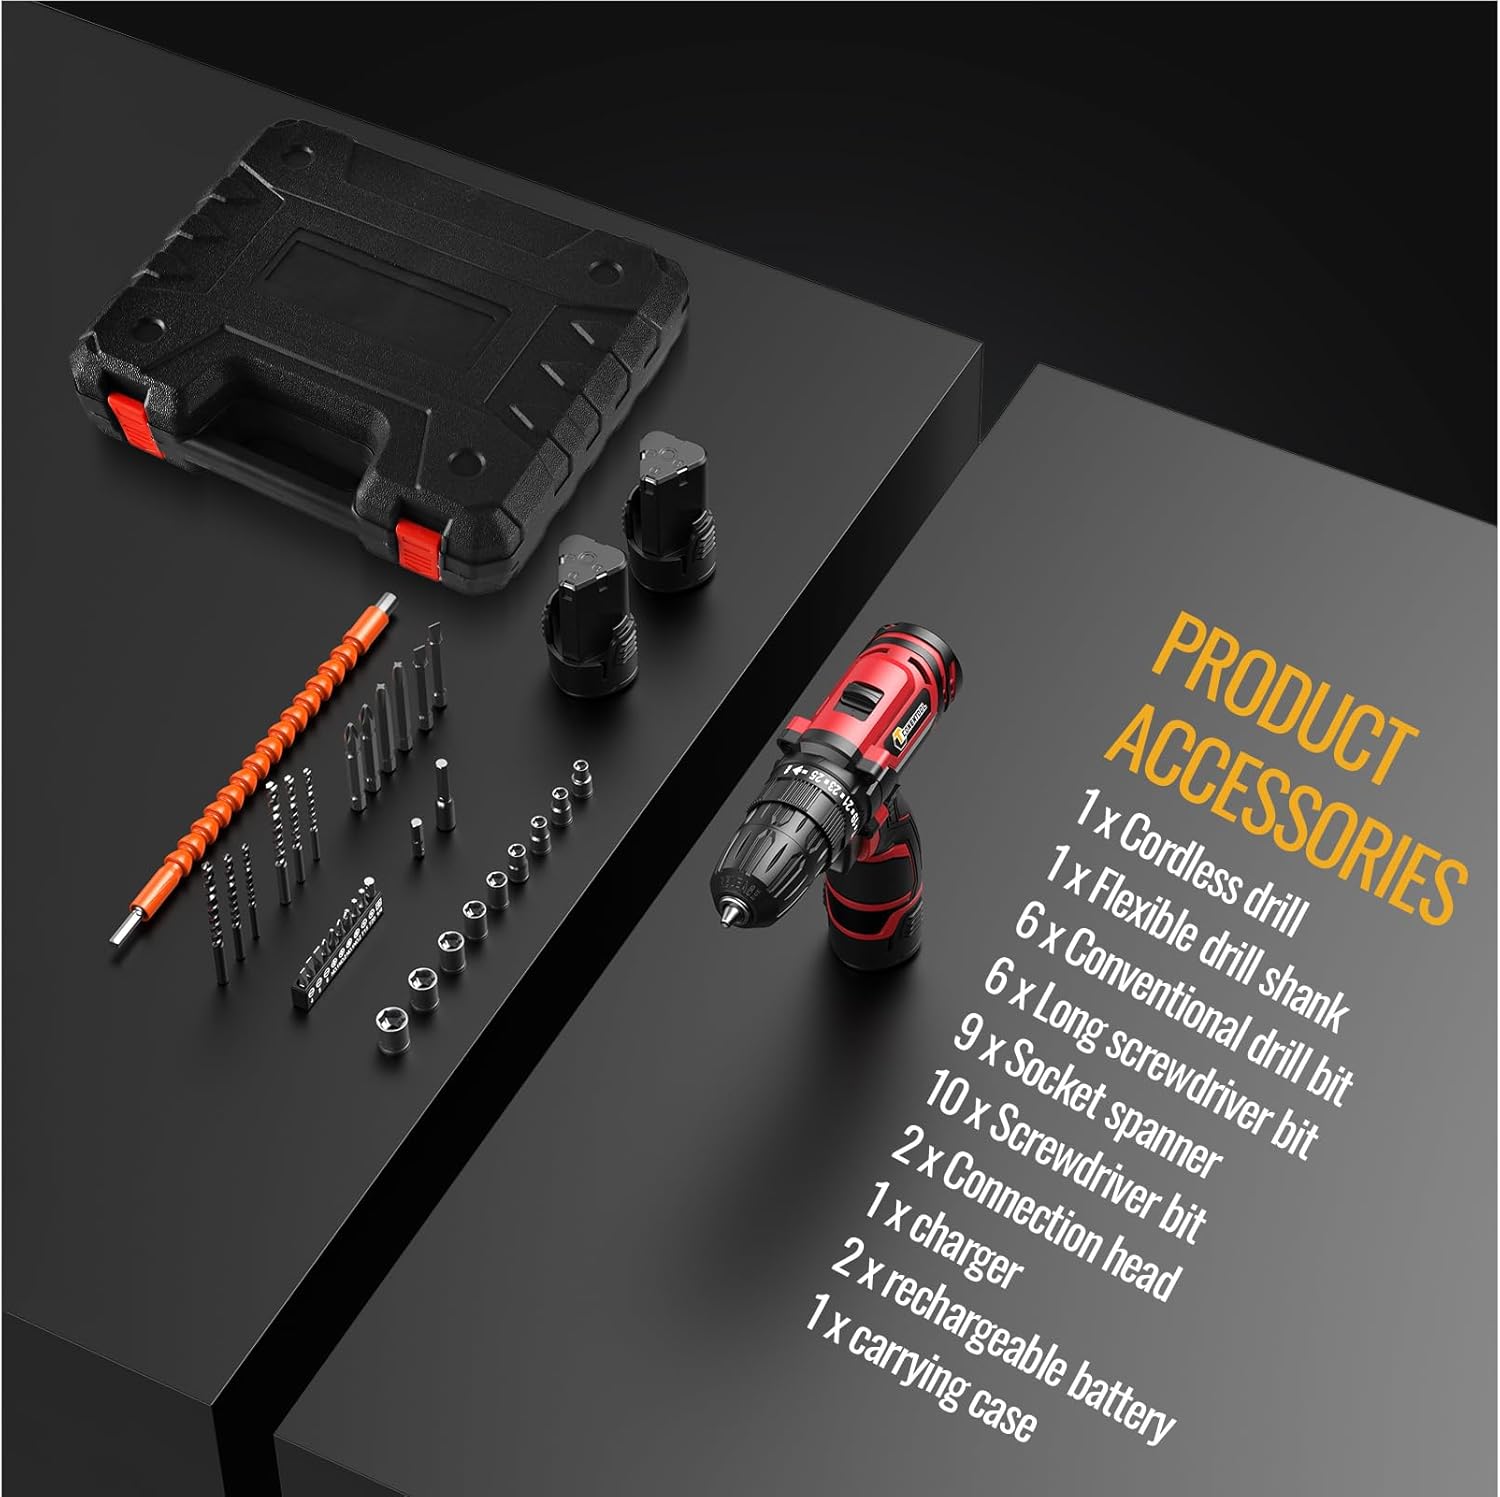
Image: A user demonstrating the versatility of the CONENTOOL drill, shown both drilling into wood and driving a screw into a wall, illustrating its practical application.
صيانة
التنظيف العام
- افصل دائمًا مجموعة البطارية قبل التنظيف.
- Wipe the tool with a clean, damp قماش. لا تستخدم مواد كيميائية قاسية أو منظفات كاشطة.
- حافظ على فتحات التهوية خالية من الغبار والأوساخ لمنع ارتفاع درجة الحرارة. استخدم الهواء المضغوط عند الحاجة.
العناية بالبطارية
- قم بتخزين البطاريات في مكان بارد وجاف بعيدًا عن أشعة الشمس المباشرة ودرجات الحرارة القصوى.
- لا تخزن البطاريات فارغةً لفترات طويلة. اشحنها دوريًا إذا لم تكن قيد الاستخدام.
- لا تقم بتقصير أطراف البطارية.
العناية بالملحقات
- Clean drill bits and screwdriver bits after use.
- Store accessories in the provided carrying case to prevent damage and loss.
استكشاف الأخطاء وإصلاحها
| مشكلة | السبب المحتمل | حل |
|---|---|---|
| الحفر لا يبدأ | Battery not charged or not properly installed. Forward/reverse switch in center (locked) position. | Charge battery fully. Reinstall battery securely. Move forward/reverse switch to desired direction. |
| فقدان الطاقة أثناء التشغيل | البطارية ضعيفة. تم تفعيل الحماية من الحمل الزائد. | أعد شحن البطارية. قلل الضغط أو استخدم إعداد عزم دوران أعلى. |
| يتمايل البت أو يسقط | Chuck not tightened properly. Bit shank is damaged. | Retighten chuck firmly. Replace damaged bit. |
| ارتفاع درجة الحرارة | Continuous heavy use. Blocked ventilation. | Allow tool to cool down. Clear ventilation openings. |
تحديد
| ميزة | التفاصيل |
|---|---|
| رقم الموديل | سي آر-314 |
| المجلدtage | 12 فولت |
| أقصى عزم دوران | 35 نيوتن متر |
| No-Load Speed (Low) | 0-450 دورة في الدقيقة |
| No-Load Speed (High) | 0-1650 دورة في الدقيقة |
| إعدادات القابض | 25+1 |
| تشاك الحجم | 3/8" (10mm) Keyless |
| نوع البطارية | ليثيوم أيون |
| سعة البطارية | 2000 mAh (2x included) |
| وزن | 2.13 كجم (مع البطارية) |
| الأبعاد (الطول × العرض × الارتفاع) | 31 × 25 × 9 سم |
الملحقات المتضمنة

Image: A display of all accessories included in the kit, such as the cordless drill, flexible drill shank, various drill bits, screwdriver bits, socket spanner, connection head, charger, rechargeable batteries, and carrying case.
- 1 x Cordless Drill
- 1 x Flexible Drill Shank
- 6 x Conventional Drill Bits
- 6 رؤوس مفك براغي طويلة
- 9 x Socket Spanners
- 10 × مفك القطع
- 2 x Connection Heads
- 1 × شاحن
- 2 x Rechargeable Batteries (2000 mAh each)
- 1 × حقيبة حمل
الضمان والدعم
CONENTOOL is committed to providing high-quality products. For any questions regarding your product, please refer to the seller's contact information or Amazon's customer service.
While specific warranty details are not provided in this manual, most products come with a standard manufacturer's warranty against defects in materials and workmanship. Please retain your proof of purchase for any warranty claims.
For further assistance or technical support, please contact the seller Zhen Hui Xiang EU through the Amazon platform.


