مقدمة
This manual provides comprehensive instructions for the setup, operation, maintenance, and troubleshooting of your Synology DiskStation DS120j Network Attached Storage (NAS) server. The DS120j is designed for home and small business environments, offering centralized data storage, file sharing, media streaming, and data protection capabilities.
المنتج انتهىview

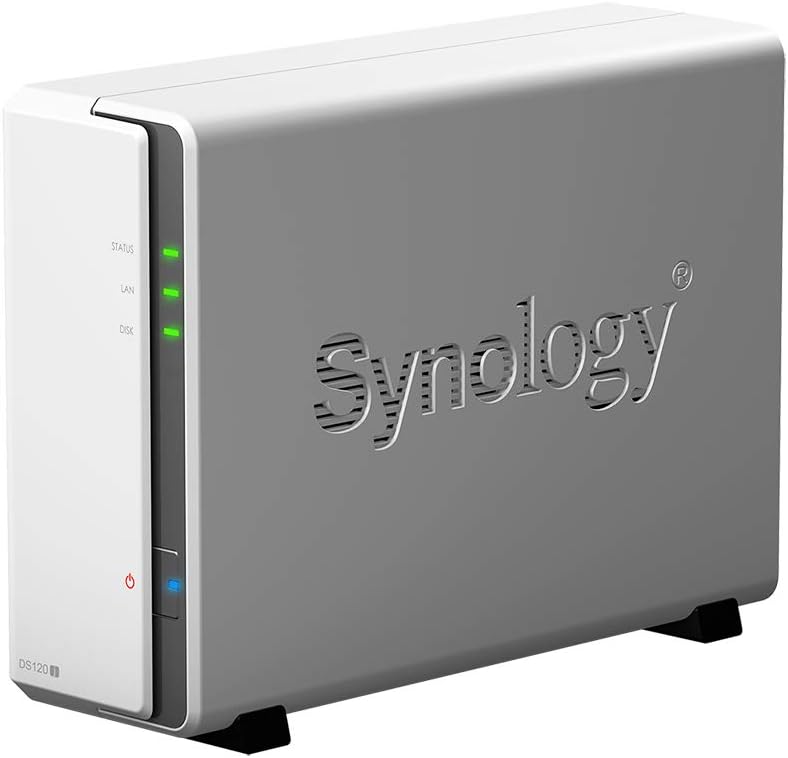
الشكل 1: أمام view of the Synology DS120j NAS server, showing the power button and indicator lights for STATUS, LAN, and DISK.

الشكل 2: واجهة بزاوية view of the Synology DS120j, highlighting the Synology branding and status indicators.

الشكل 3: مؤخرة view of the Synology DS120j, displaying the RJ-45 1GbE LAN port, two USB 2.0 ports, DC 12V power input, and reset button.

الشكل 4: قمة view of the Synology DS120j, showing the clean design of the casing.
الشكل 5: زاوية جانبية view of the Synology DS120j, providing another perspective of the unit.
محتويات الحزمة
- Synology DiskStation DS120j unit
- محول التيار المتردد
- سلك الطاقة المتردد
- RJ-45 LAN Cable
- دليل التثبيت السريع
- Screws for 3.5" HDDs
ملحوظة: Hard drives are not pre-installed and must be purchased and installed separately.
يثبت
1. تركيب الأجهزة
Before powering on your DS120j, you must install at least one 3.5-inch SATA hard drive.
- افتح مفتاح Casing: Gently slide the top cover of the DS120j backward to remove it.
- تثبيت القرص الصلب: Insert a 3.5-inch SATA HDD into the drive bay. Ensure it is securely seated.
- Secure Hard Drive: Use the provided screws to secure the hard drive to the chassis.
- أغلق حرف Casing: Slide the top cover back into place until it clicks.
- توصيل الكابلات:
- Connect the LAN cable from the DS120j's RJ-45 port to your router or switch.
- Connect the AC power adapter to the DS120j's power port and then to an electrical outlet.
- تشغيل الطاقة: اضغط على زر الطاقة على اللوحة الأمامية.
2. Software Installation (DSM)
After hardware installation, you need to install Synology DiskStation Manager (DSM), the operating system for your NAS.
- ابحث عن جهاز التخزين الشبكي الخاص بك: افتح web browser on a computer connected to the same network as your DS120j. Go to http://find.synology.com or use Synology Assistant (available on the Synology webموقع).
- Connect and Install: Follow the on-screen instructions to connect to your DS120j and install the latest version of DSM. This process will format your hard drive, so ensure it contains no important data.
- إنشاء حساب مسؤول: Set up your administrator account and password.
- QuickConnect Setup: Configure Synology QuickConnect for easy remote access to your files without complex network settings.
Operating Your DS120j
File الإدارة والمشاركة
- File محطة: استخدم File Station application within DSM to browse, organize, and share files and folders on your NAS.
- المجلدات المشتركة: Create shared folders and assign user permissions for collaborative work or family access.
- QuickConnect: الوصول إلى حسابك files remotely from any web browser or mobile device using your QuickConnect ID.
النسخ الاحتياطي للبيانات
- محرك أقراص Synology: تزامن files between your computer and NAS, or back up your PC/Mac data.
- فرط النسخ الاحتياطي: Create comprehensive backup tasks to external drives, other Synology NAS devices, or cloud services.
- Centralized Backup: Utilize the DS120j as a centralized backup target for multiple devices on your network.
Multimedia Streaming
- Video Station: Organize and stream your video collection to various devices.
- Audio Station: Manage and play your music library.
- Photo Station: Store, organize, and share your photos and albums.
- تطبيقات الهاتف المحمول: Use Synology's dedicated mobile apps (DS file, DS video, DS audio, DS photo) for convenient access and streaming on your smartphone or tablet.
صيانة
- تحديثات DSM: Regularly check for and install DSM updates via Control Panel > Update & Restore to ensure optimal performance and security.
- سلامة البيانات: Periodically run S.M.A.R.T. tests on your hard drive (Storage Manager > HDD/SSD > Health Info) to monitor its health.
- Backup Your NAS: Even though your NAS stores data, it is crucial to back up the NAS itself to an external drive or cloud service using Hyper Backup.
- التنظيف المادي: Keep the DS120j in a well-ventilated area. Occasionally clean dust from the vents using compressed air.
- إدارة الطاقة: Configure power schedules (Control Panel > Hardware & Power > Power Schedule) to save energy and prolong hardware lifespan.
استكشاف الأخطاء وإصلاحها
أضواء المؤشر
- مؤشر LED للحالة:
- أخضر (صلب): DSM is ready.
- أخضر (وامض): DSM is starting up, shutting down, or performing a volume operation.
- برتقالي (ثابت): Volume degraded, crashed, or DSM not installed.
- Orange (Flashing): DSM cannot be installed, or there is a system error.
- مؤشر LED للشبكة المحلية:
- أخضر (صلب): Network connection is established.
- أخضر (وامض): نشاط الشبكة.
- عن: لا يوجد اتصال بالشبكة.
- DISK LED:
- أخضر (صلب): Hard drive is ready.
- أخضر (وامض): Hard drive is being accessed.
- برتقالي (ثابت): Hard drive error or bad sector detected.
- عن: No hard drive or hard drive not ready.
القضايا الشائعة
- Cannot find NAS on network: Ensure LAN cable is securely connected, router is functioning, and firewall is not blocking access. Try find.synology.com.
- الأداء البطيء: Check network speed, hard drive health, and ensure no intensive tasks are running.
- Disk errors: If a DISK LED is orange, check Storage Manager in DSM for details on the affected drive. Consider replacing a failing drive.
- هل نسيت كلمة السر: Use the reset button on the back panel (press for 4 seconds) to reset network settings and administrator password. This will not erase data.
تحديد
| ميزة | التفاصيل |
|---|---|
| اسم الموديل | DS120j |
| وحدة المعالجة المركزية | Marvell Armada 3700 88F3720 2-Core 800MHz |
| ذاكرة | 512MB DDR3L non-ECC |
| حجرات القيادة | 1 x 3.5" SATA HDD |
| ميناء LAN | 1 x RJ-45 1GbE |
| منافذ USB | 2 × يو اس بي 2.0 |
| داخلي File نظام | اكست4 |
| أبعاد المنتج (الطول × العرض × الارتفاع) | 14 × 10 × 12 بوصة |
| وزن العنصر | 12 رطل |
| نظام التشغيل | سينولوجي DSM |
الضمان والدعم
Your Synology DiskStation DS120j is covered by a limited warranty. For specific warranty terms and conditions, please refer to the warranty card included with your product or visit the official Synology webموقع.
For technical support, product documentation, and software downloads, please visit the official Synology Support Center: https://www.synology.com/support.


