1. المقدمة
شكرا لك على الشراءasing the SHARP R670S 2-in-1 Microwave with Grill. This appliance combines the convenience of a microwave oven with the versatility of a grill, offering efficient cooking solutions. To ensure safe and optimal performance, please read this instruction manual thoroughly before operating the appliance and retain it for future reference.
معلومات هامة حول السلامة
Always follow basic safety precautions when using electrical appliances to reduce the risk of fire, electric shock, injury to persons, or exposure to excessive microwave energy. This includes:
- اقرأ كافة التعليمات قبل استخدام الجهاز.
- لا تقم بتشغيل الفرن في حالة تلفه أو تعطله.
- تأكد من التهوية المناسبة حول الجهاز.
- لا تقم بتسخين السوائل أو الأطعمة الأخرى في أوعية محكمة الغلق لأنها عرضة للانفجار.
- لا تسمح للأطفال باستخدام الفرن دون إشراف إلا بعد إعطائهم التعليمات المناسبة حتى يتمكن الطفل من استخدام الفرن بطريقة آمنة ويفهم مخاطر الاستخدام غير السليم.
2. محتويات العبوة
تأكد من أن جميع المكونات موجودة وغير تالفة عند فك العبوة:
- SHARP R670S Microwave Oven Unit
- القرص الدوار الزجاجي
- Turntable Support Ring with Rollers
- دليل التعليمات

الشكل 2.1: Glass Turntable. This circular glass tray rotates during operation to ensure even cooking.

الشكل 2.2: Turntable Support Ring. This ring with rollers supports the glass turntable and allows it to rotate smoothly.
3. انتهى المنتجview
Familiarize yourself with the main components and control panel of your SHARP R670S microwave oven.

الشكل 3.1: أمام view of the SHARP R670S Microwave with Grill. This image displays the appliance's front, including the door, control panel, and LED display.

الشكل 3.2: واجهة بزاوية view of the SHARP R670S Microwave with Grill. This perspective shows the side profile and front controls, highlighting the compact design.
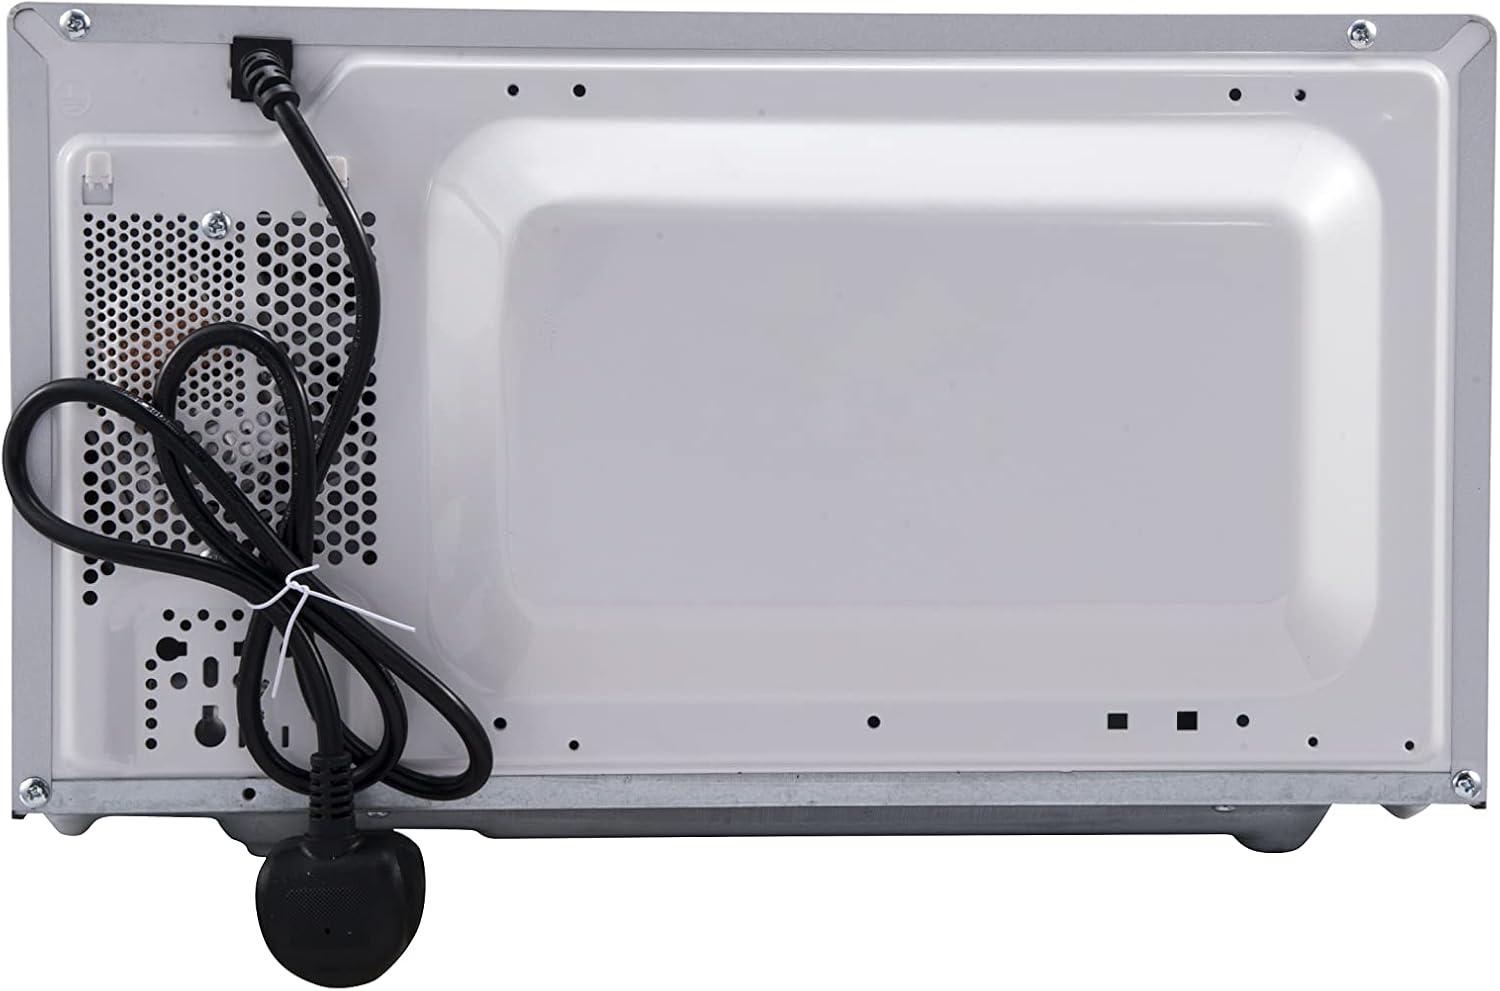
الشكل 3.3: مؤخرة view of the SHARP R670S Microwave with Grill. This image shows the back of the appliance, including the power cord and ventilation openings.
انتهت لوحة التحكمview
The digital control panel features an LED display and various buttons for operation:
- عرض الصمام: يعرض الوقت ومستوى الطاقة ومؤشرات البرنامج.
- Time Adjustment Buttons (10 min, 1 min, 10 sec): يُستخدم لضبط وقت الطهي.
- كوك السيارات: Accesses pre-programmed cooking settings.
- تذويب: Initiates defrosting by time or weight.
- مستوى الطاقة: Selects microwave power output.
- Grill / Combi: Activates grill or combination cooking modes.
- Start / Auto Minute: Starts cooking or adds 1 minute of cooking time.
- توقف / مسح: يوقف الطهي أو يمسح الإعدادات.
- مؤقت المطبخ: Functions as a separate kitchen timer.
4. الإعداد والاستخدام الأول
4.1 التنسيب
- ضع الفرن على سطح مستوٍ وثابت قادر على تحمل وزنه.
- Ensure adequate ventilation: leave at least 10 cm of space at the back, 20 cm at the top, and 5 cm on each side. Do not block any ventilation openings.
- احتفظ بالفرن بعيدًا عن مصادر الحرارة والمجالات المغناطيسية القوية.
4.2 مجموعة القرص الدوار
- ضع حلقة دعم القرص الدوار في منتصف تجويف الفرن.
- Position the glass turntable securely on top of the support ring, ensuring it sits correctly in the center drive.
4.3 التوصيل الكهربائي
Plug the power cord into a grounded 230V, 50Hz electrical outlet. The LED display will illuminate, indicating the oven is ready for use.
5. تعليمات التشغيل
5.1 أساسيات الطهي باستخدام الميكروويف
- Place food in a microwave-safe container on the glass turntable. Close the oven door.
- Press the 'Power Level' button repeatedly to select the desired power level (e.g., P100 for 800W, P80 for 80% power). There are 10 power levels available.
- Use the '10 min', '1 min', and '10 sec' buttons to set the cooking time.
- Press 'Start / Auto Minute' to begin cooking.
5.2 الطبخ على الشواية
- Place food on a heat-resistant rack (if provided, or suitable for grilling) on the turntable. Close the oven door.
- Press the 'Grill / Combi' button once to select the grill function.
- Use the '10 min', '1 min', and '10 sec' buttons to set the grilling time.
- Press 'Start / Auto Minute' to begin grilling.
5.3 الطبخ المركب
This mode combines microwave and grill functions for faster cooking and browning.
- Place food in a suitable container. Close the oven door.
- Press the 'Grill / Combi' button repeatedly to select the desired combination mode (e.g., C-1 for Microwave + Grill).
- اضبط وقت الطهي باستخدام أزرار ضبط الوقت.
- Press 'Start / Auto Minute' to begin combination cooking.
5.4 برامج الطهي التلقائي
The oven features 13 pre-set Auto Cook programs for various food types. These programs automatically adjust cooking time and power levels.
- Press the 'Auto Cook' button. The display will show a program number (e.g., A-1).
- Rotate the dial or press 'Auto Cook' repeatedly to select the desired program (e.g., Popcorn, Pizza, Potato).
- For some programs, you may need to select the food weight or quantity.
- Press 'Start / Auto Minute' to begin the Auto Cook program.
5.5 وظيفة تذويب
The defrost function allows you to defrost food by time or by weight.
- Place the frozen food in the oven. Close the oven door.
- اضغط على زر "إزالة الجليد".
- Select either time defrost or weight defrost. For weight defrost, enter the weight using the time buttons.
- Press 'Start / Auto Minute' to begin defrosting.
5.6 قفل الأطفال
To prevent unintended operation, activate the child lock:
- للتفعيل: Press and hold the 'Stop / Clear' button for approximately 3 seconds until a lock indicator appears on the display.
- للإلغاء: Press and hold the 'Stop / Clear' button again for approximately 3 seconds until the lock indicator disappears.
5.7 مؤقت المطبخ
The Kitchen Timer operates independently of the cooking functions.
- Press the 'Kitchen Timer' button.
- Set the desired time using the '10 min', '1 min', and '10 sec' buttons.
- Press 'Start / Auto Minute' to start the timer. An audible alert will sound when the time expires.
6. الصيانة والتنظيف
سيضمن التنظيف والصيانة المنتظمين طول عمر فرن الميكروويف الخاص بك وكفاءة تشغيله.
6.1 تنظيف الجزء الخارجي
امسحي الأسطح الخارجية بقطعة ناعمة ، دamp قطعة قماش. لا تستخدم المنظفات الكاشطة أو المواد الكيميائية القاسية.
6.2 تنظيف الجزء الداخلي
- بعد كل استخدام، امسح التجويف الداخلي بالإعلان.amp قطعة قماش لإزالة بقع الطعام.
- For stubborn stains, place a bowl of water with lemon juice inside and microwave on high for 2-3 minutes. The steam will loosen the residue, making it easier to wipe clean.
- Ensure the oven is unplugged before cleaning the interior.
6.3 Cleaning the Turntable and Support Ring
The glass turntable and support ring can be washed in warm, soapy water or in a dishwasher. Ensure they are completely dry before placing them back in the oven.
7. استكشاف الأخطاء وإصلاحها
إذا واجهتك مشكلات مع فرن الميكروويف الخاص بك، فراجع المشكلات والحلول الشائعة التالية:
| مشكلة | السبب المحتمل | حل |
|---|---|---|
| الفرن لا يبدأ | Power cord unplugged; Door not closed properly; Child lock activated; Fuse blown. | Check power connection; Close door firmly; Deactivate child lock; Check household fuse/circuit breaker. |
| الطعام لا يسخن | مستوى الطاقة أو وقت الطهي غير صحيح؛ الباب غير مغلق بشكل صحيح. | اضبط مستوى الطاقة والوقت؛ وتأكد من إغلاق الباب بإحكام. |
| القرص الدوار لا يدور | Turntable or support ring not correctly placed; Obstruction under turntable. | Re-position turntable and ring; Remove any obstructions. |
| ضجيج غير عادي أثناء التشغيل | حاوية الطعام تلامس جدران الفرن؛ القرص الدوار غير مثبت بشكل صحيح. | Ensure container clears walls; Re-seat turntable. |
إذا استمرت المشكلة بعد محاولة هذه الحلول، فيرجى الاتصال بدعم العملاء.
8. المواصفات الفنية
| ميزة | مواصفة |
|---|---|
| رقم الموديل | ر670س |
| يكتب | ميكروويف 2 في 1 مع شواية |
| سعة | 20 لتر |
| انتاج طاقة الميكروويف | 800 واط |
| مخرج طاقة الشواية | 1000 واط |
| مستويات الطاقة | 10 |
| برامج الطبخ التلقائي | 13 |
| Max Timer Setting | 99 دقيقة و 99 ثانية |
| قطر القرص الدوار | 24.5 سم |
| الأبعاد الخارجية (العرض × العمق × الارتفاع) | 45.2 × 36.2 × 26.2 سم |
| الأبعاد الداخلية (العرض × العمق × الارتفاع) | 32.9 × 31.5 × 21.0 سم |
| الوزن الصافي | 12.3 كجم |
| المجلدtage | 230 فولت |
| المميزات الخاصة | Digital Control, Defrost, Grill Function, Timer, Turntable, LED Display, Child Lock |
9. الضمان ودعم العملاء
9.1 معلومات الضمان
This SHARP R670S microwave oven comes with a manufacturer's warranty. Please refer to the warranty card included with your purchase or contact your retailer for specific terms and conditions regarding warranty coverage and duration.
9.2 دعم العملاء
For technical assistance, troubleshooting beyond this manual, or spare parts inquiries, please contact your retailer or the official Sharp customer service in your region. Have your model number (R670S) and purchase details ready when contacting support.


