مقدمة
This manual provides detailed instructions for the installation, operation, and maintenance of your AXAGON ADSA-ST USB 3.0 Docking Station. This device is designed to connect 2.5" and 3.5" SATA SSDs and HDDs to your computer via a USB 3.0 interface, offering fast data transfer speeds.
يرجى قراءة هذا الدليل جيداً قبل استخدام المنتج لضمان الأداء السليم ومنع حدوث أي تلف.
محتويات الحزمة
تأكد من وجود جميع المكونات في العبوة:
- AXAGON ADSA-ST Docking Station
- USB 3.0 Type-A to Micro-B cable
- محول الطاقة
- دليل المستخدم (هذا المستند)

Image: The AXAGON ADSA-ST Docking Station shown alongside its retail packaging, illustrating the product and its box.
الميزات الرئيسية
- Supports 2.5" and 3.5" SATA I/II/III SSDs and HDDs.
- USB 3.0 (USB 3.2 Gen 1) interface with up to 5 Gbps transfer speed.
- SATA 6G (SATA III) support.
- UASP (USB Attached SCSI Protocol) support for enhanced performance.
- TRIM support for SSDs.
- HDD Auto Spindown function.
- LED indication for power and activity.
- Compact design with aluminum body.

الصورة: أ view of the AXAGON ADSA-ST Docking Station highlighting its 5 Gbps USB 3.2 Gen 1 speed and compact size.
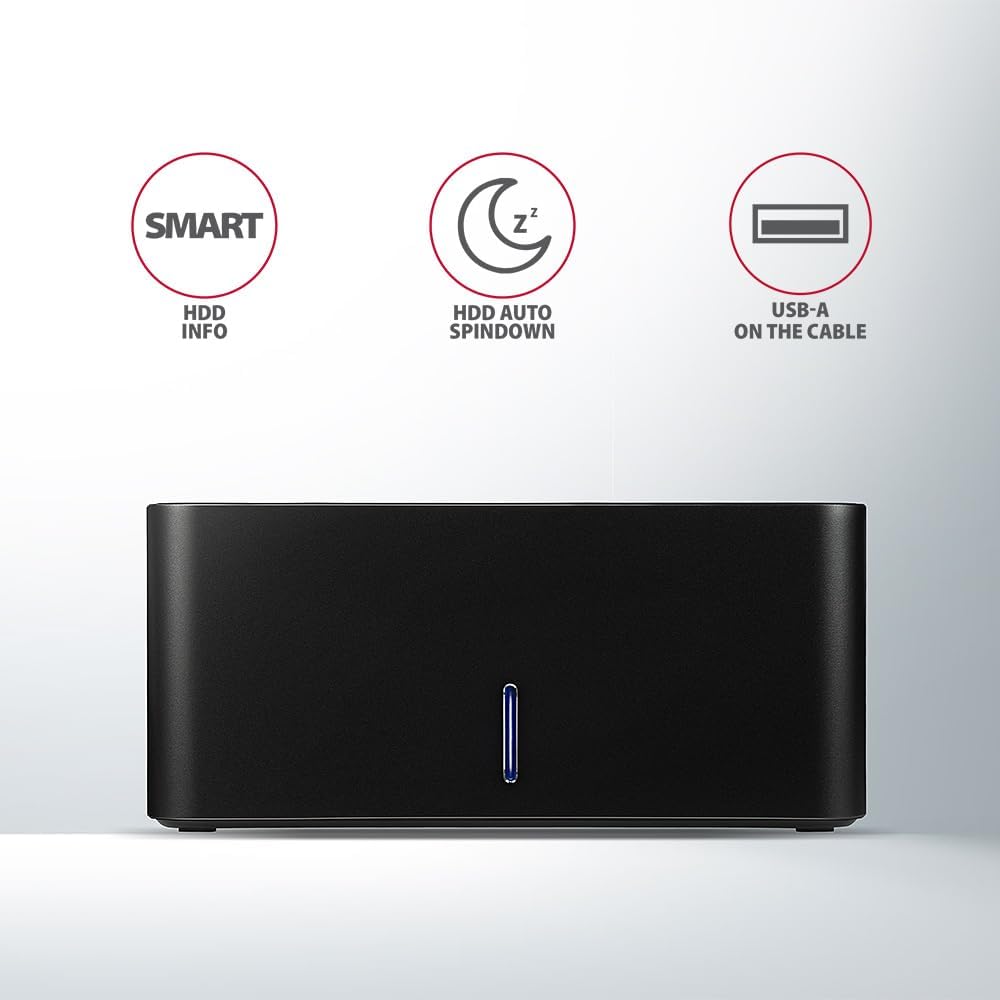
Image: The docking station from the front, indicating features like SMART HDD info, automatic HDD spindown, and USB-A connectivity.
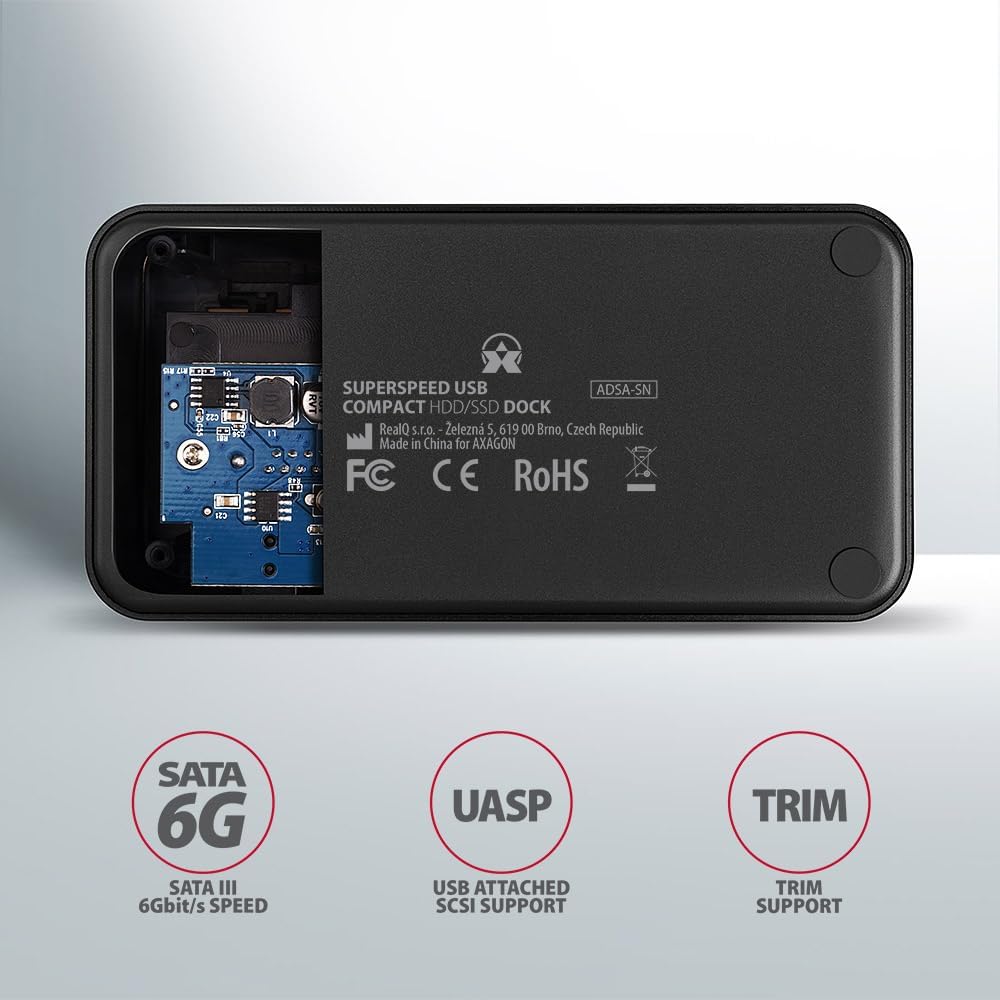
Image: The underside of the docking station, showing internal components and highlighting SATA 6G, UASP, and TRIM support.
تعليمات الإعداد
- توصيل محول الطاقة: Plug the included power adapter into the DC IN port on the back of the docking station and then into a power outlet.
- الاتصال بجهاز الكمبيوتر: Connect the USB 3.0 cable from the docking station's Micro-B port to an available USB 3.0 (or higher) port on your computer.
- Insert HDD/SSD:
- For 2.5" SSD/HDD: Gently slide the 2.5" drive into the slot until it connects firmly with the SATA connector.
- For 3.5" HDD: Gently slide the 3.5" drive into the slot until it connects firmly with the SATA connector.
Ensure the drive is inserted correctly with the SATA connector facing the correct direction. Do not force the drive.

Image: A 2.5-inch SSD being inserted into the docking station, demonstrating compatibility with smaller drives.
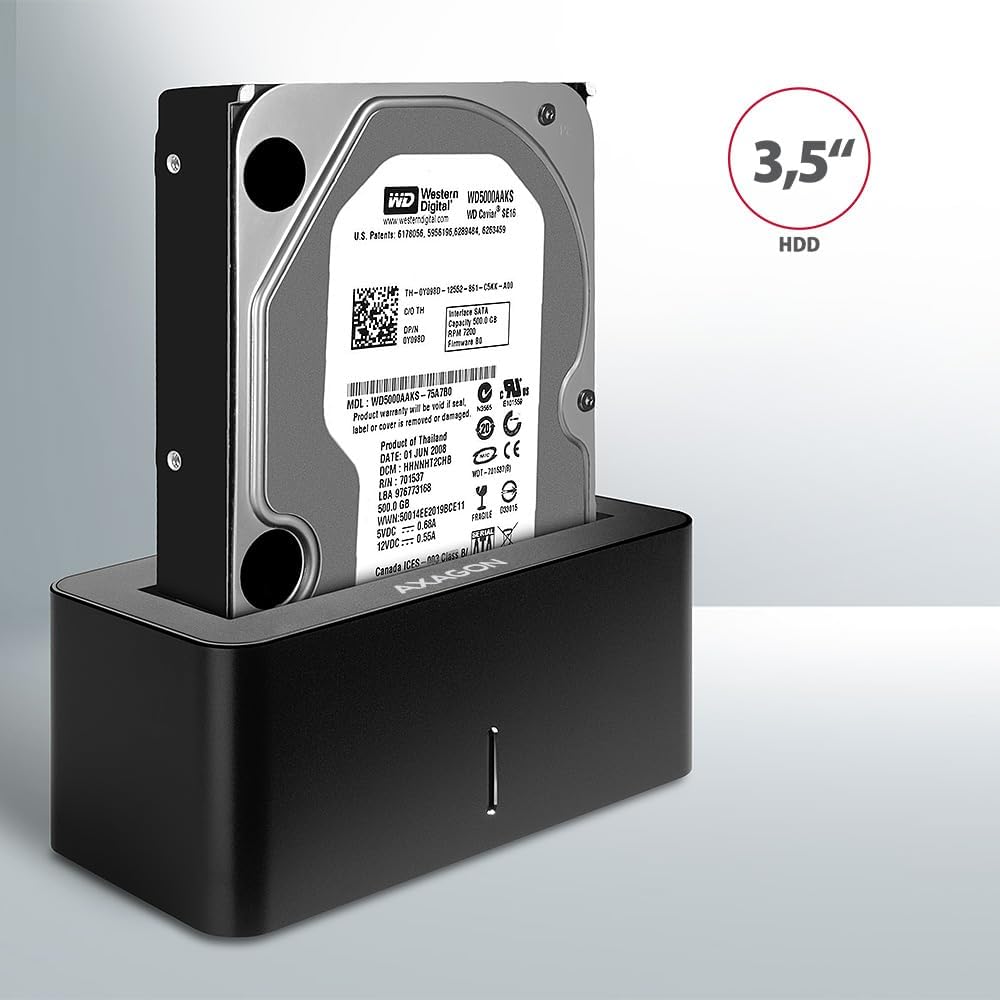
Image: A 3.5-inch HDD being inserted into the docking station, demonstrating compatibility with larger drives.
- تشغيل الطاقة: Press the power button located on the back of the docking station. The LED indicator on the front will illuminate.
Image: The rear panel of the docking station, showing the power button, USB Micro-B port, and power input for connection.
تعليمات التشغيل
التعرف على السائق
Once powered on and connected, your operating system should automatically detect the inserted drive. If it's a new drive, you may need to initialize and format it through Disk Management (Windows) or Disk Utility (macOS) before it appears in File مستكشف/باحث.
مؤشر LED
The LED indicator on the front of the docking station provides status information:
- الأزرق الصلبة: Power on, drive idle.
- وامض أزرق: Drive activity (reading or writing data).
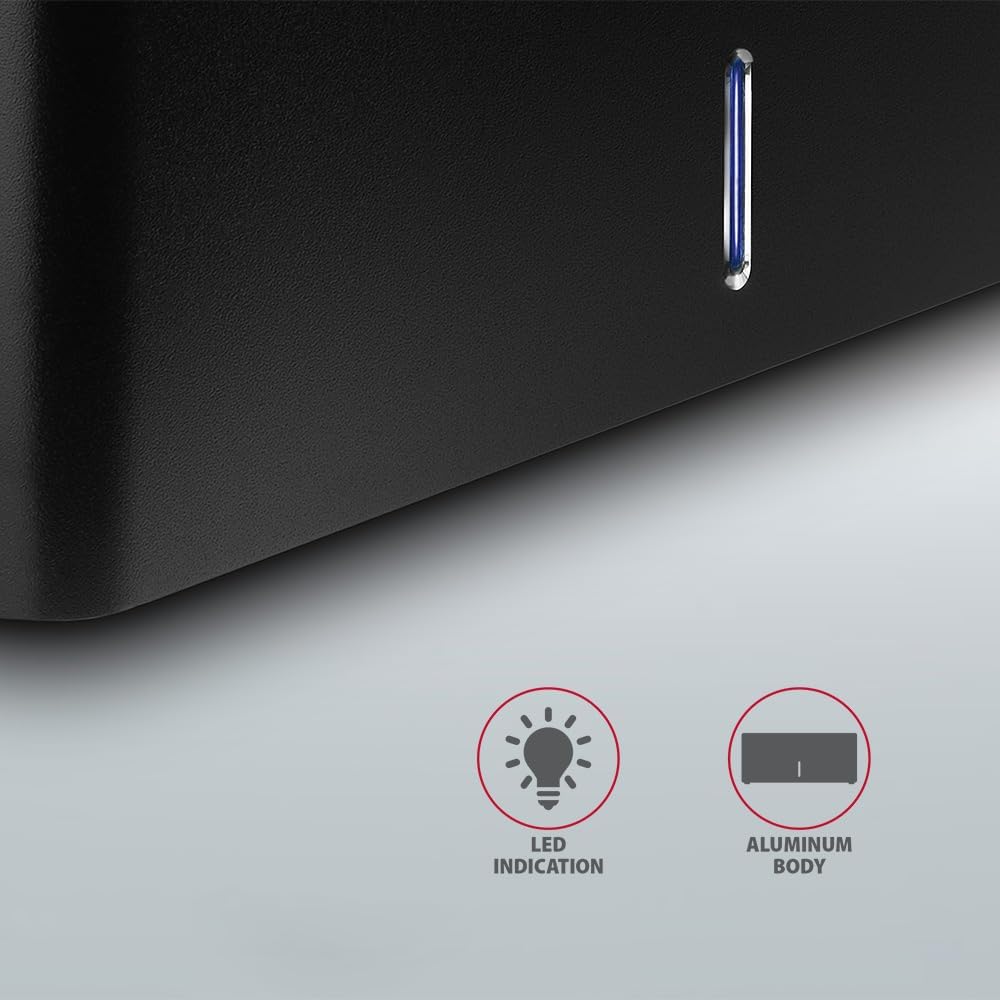
الصورة: لقطة مقربة view of the docking station's front panel, highlighting the LED indicator light.
Removing a Drive
Before removing a drive, always safely eject it from your operating system to prevent data corruption. After ejection, gently pull the drive straight out of the docking station slot.
إيقاف تشغيل القرص الصلب التلقائي
The docking station supports automatic spindown of the HDD when it is idle for a certain period, conserving power and extending drive lifespan. This feature is managed by the operating system or the drive itself.
صيانة
- حافظ على نظافة قاعدة الشحن وخلوها من الغبار. استخدم قطعة قماش ناعمة وجافة للتنظيف.
- تجنب تعريض الجهاز لدرجات حرارة شديدة أو رطوبة أو أشعة الشمس المباشرة.
- لا تحاول تفكيك الجهاز أو إصلاحه بنفسك. استشر فني صيانة مؤهلًا.
- Ensure proper ventilation around the docking station during operation.
استكشاف الأخطاء وإصلاحها
- لم يتم اكتشاف محرك الأقراص:
- تأكد من توصيل محول الطاقة بشكل آمن وتشغيل محطة الإرساء.
- Verify the USB cable is properly connected to both the docking station and the computer.
- جرب منفذ USB مختلفًا على جهاز الكمبيوتر الخاص بك.
- Ensure the HDD/SSD is fully seated in the docking station's slot.
- Check Disk Management (Windows) or Disk Utility (macOS) to see if the drive is recognized but uninitialized/unformatted.
- Test with a different HDD/SSD to rule out a drive issue.
- سرعات نقل بطيئة:
- Ensure the docking station is connected to a USB 3.0 (or higher) port on your computer. USB 2.0 ports will limit speeds.
- Verify your operating system and drivers are up to date.
- The actual speed depends on the drive's performance and your computer's USB controller.
- Drive disconnects randomly:
- تحقق من كافة توصيلات الكابلات.
- تأكد من أن محول الطاقة يوفر طاقة مستقرة.
- Disable USB power saving features in your computer's operating system settings.
المواصفات الفنية
| ميزة | التفاصيل |
|---|---|
| ماركة | اكساجون |
| رقم الموديل | ADSA-SN |
| منصة الأجهزة | PC |
| الأجهزة المتوافقة | كمبيوتر محمول، كمبيوتر مكتبي |
| توافق محرك الأقراص | 2.5" / 3.5" SATA I/II/III SSD/HDD |
| الواجهة | USB 3.0 (USB 3.2 الجيل الأول) |
| معدل نقل البيانات | Up to 5 Gbps (USB 3.0), 6 Gbps (SATA III) |
| إجمالي منافذ USB | 1 (Micro-B) |
| عدد فتحات القيادة | 1 |
| لون | أسود |
| وزن العنصر | 2.2 رطل (حوالي 1 كجم) |
| أبعاد الحزمة | 3.94 × 0.79 × 0.39 بوصة (حوالي 10 × 2 × 1 سم) |
| تاريخ أول توفر | 30 مارس 2021 |
الضمان والدعم
For warranty information and technical support, please refer to the official AXAGON webالموقع أو تواصل مع موزعك المحلي. احتفظ بإيصال الشراء لطلبات الضمان.


