1. معلومات السلامة
Please read and understand all safety information and operating instructions before using this multimeter. Failure to follow these instructions may result in electric shock, fire, or damage to the meter.
- Always ensure the test leads are properly connected and the function switch is set to the correct range before making any measurements.
- لا تحاول قياس المجلدtages or currents exceeding the maximum rated values for this meter.
- توخ الحذر الشديد عند العمل مع الدوائر الكهربائية الموصولة بالتيار. جهد عالٍtagيمكن أن تكون خطيرة.
- Never open the meter casing unless specifically instructed for battery or fuse replacement. Ensure test leads are disconnected before opening.
- استبدل البطارية عند ظهور مؤشر انخفاض مستوى البطارية لضمان دقة القراءات.
- لا تستخدم جهاز القياس إذا بدا تالفًا أو إذا كان العزل الموجود على أسلاك الاختبار متضررًا.
الشكل 1: مؤخرة view of the Rebel MIE-RB-830 Multimeter, showing the battery compartment cover and a warning label. The label advises removing test leads before opening the case to avoid electrical shock and to install fuses with correct amp/volt ratings. It also indicates the power supply is a 9V battery, type NEDA 1604 9V 6F22.
2. انتهى المنتجview
The Rebel MIE-RB-830 is a compact, battery-operated digital multimeter designed for measuring DC/AC voltage, DC current, resistance, diode, and transistor (hFE) values. It is suitable for general electrical testing and troubleshooting.
2.1. المكونات
- وحدة قياس متعددة رقمية
- أسلاك الاختبار (الأحمر والأسود)
- 9V Battery (may be included or sold separately)
- دليل المستخدم (هذا المستند)

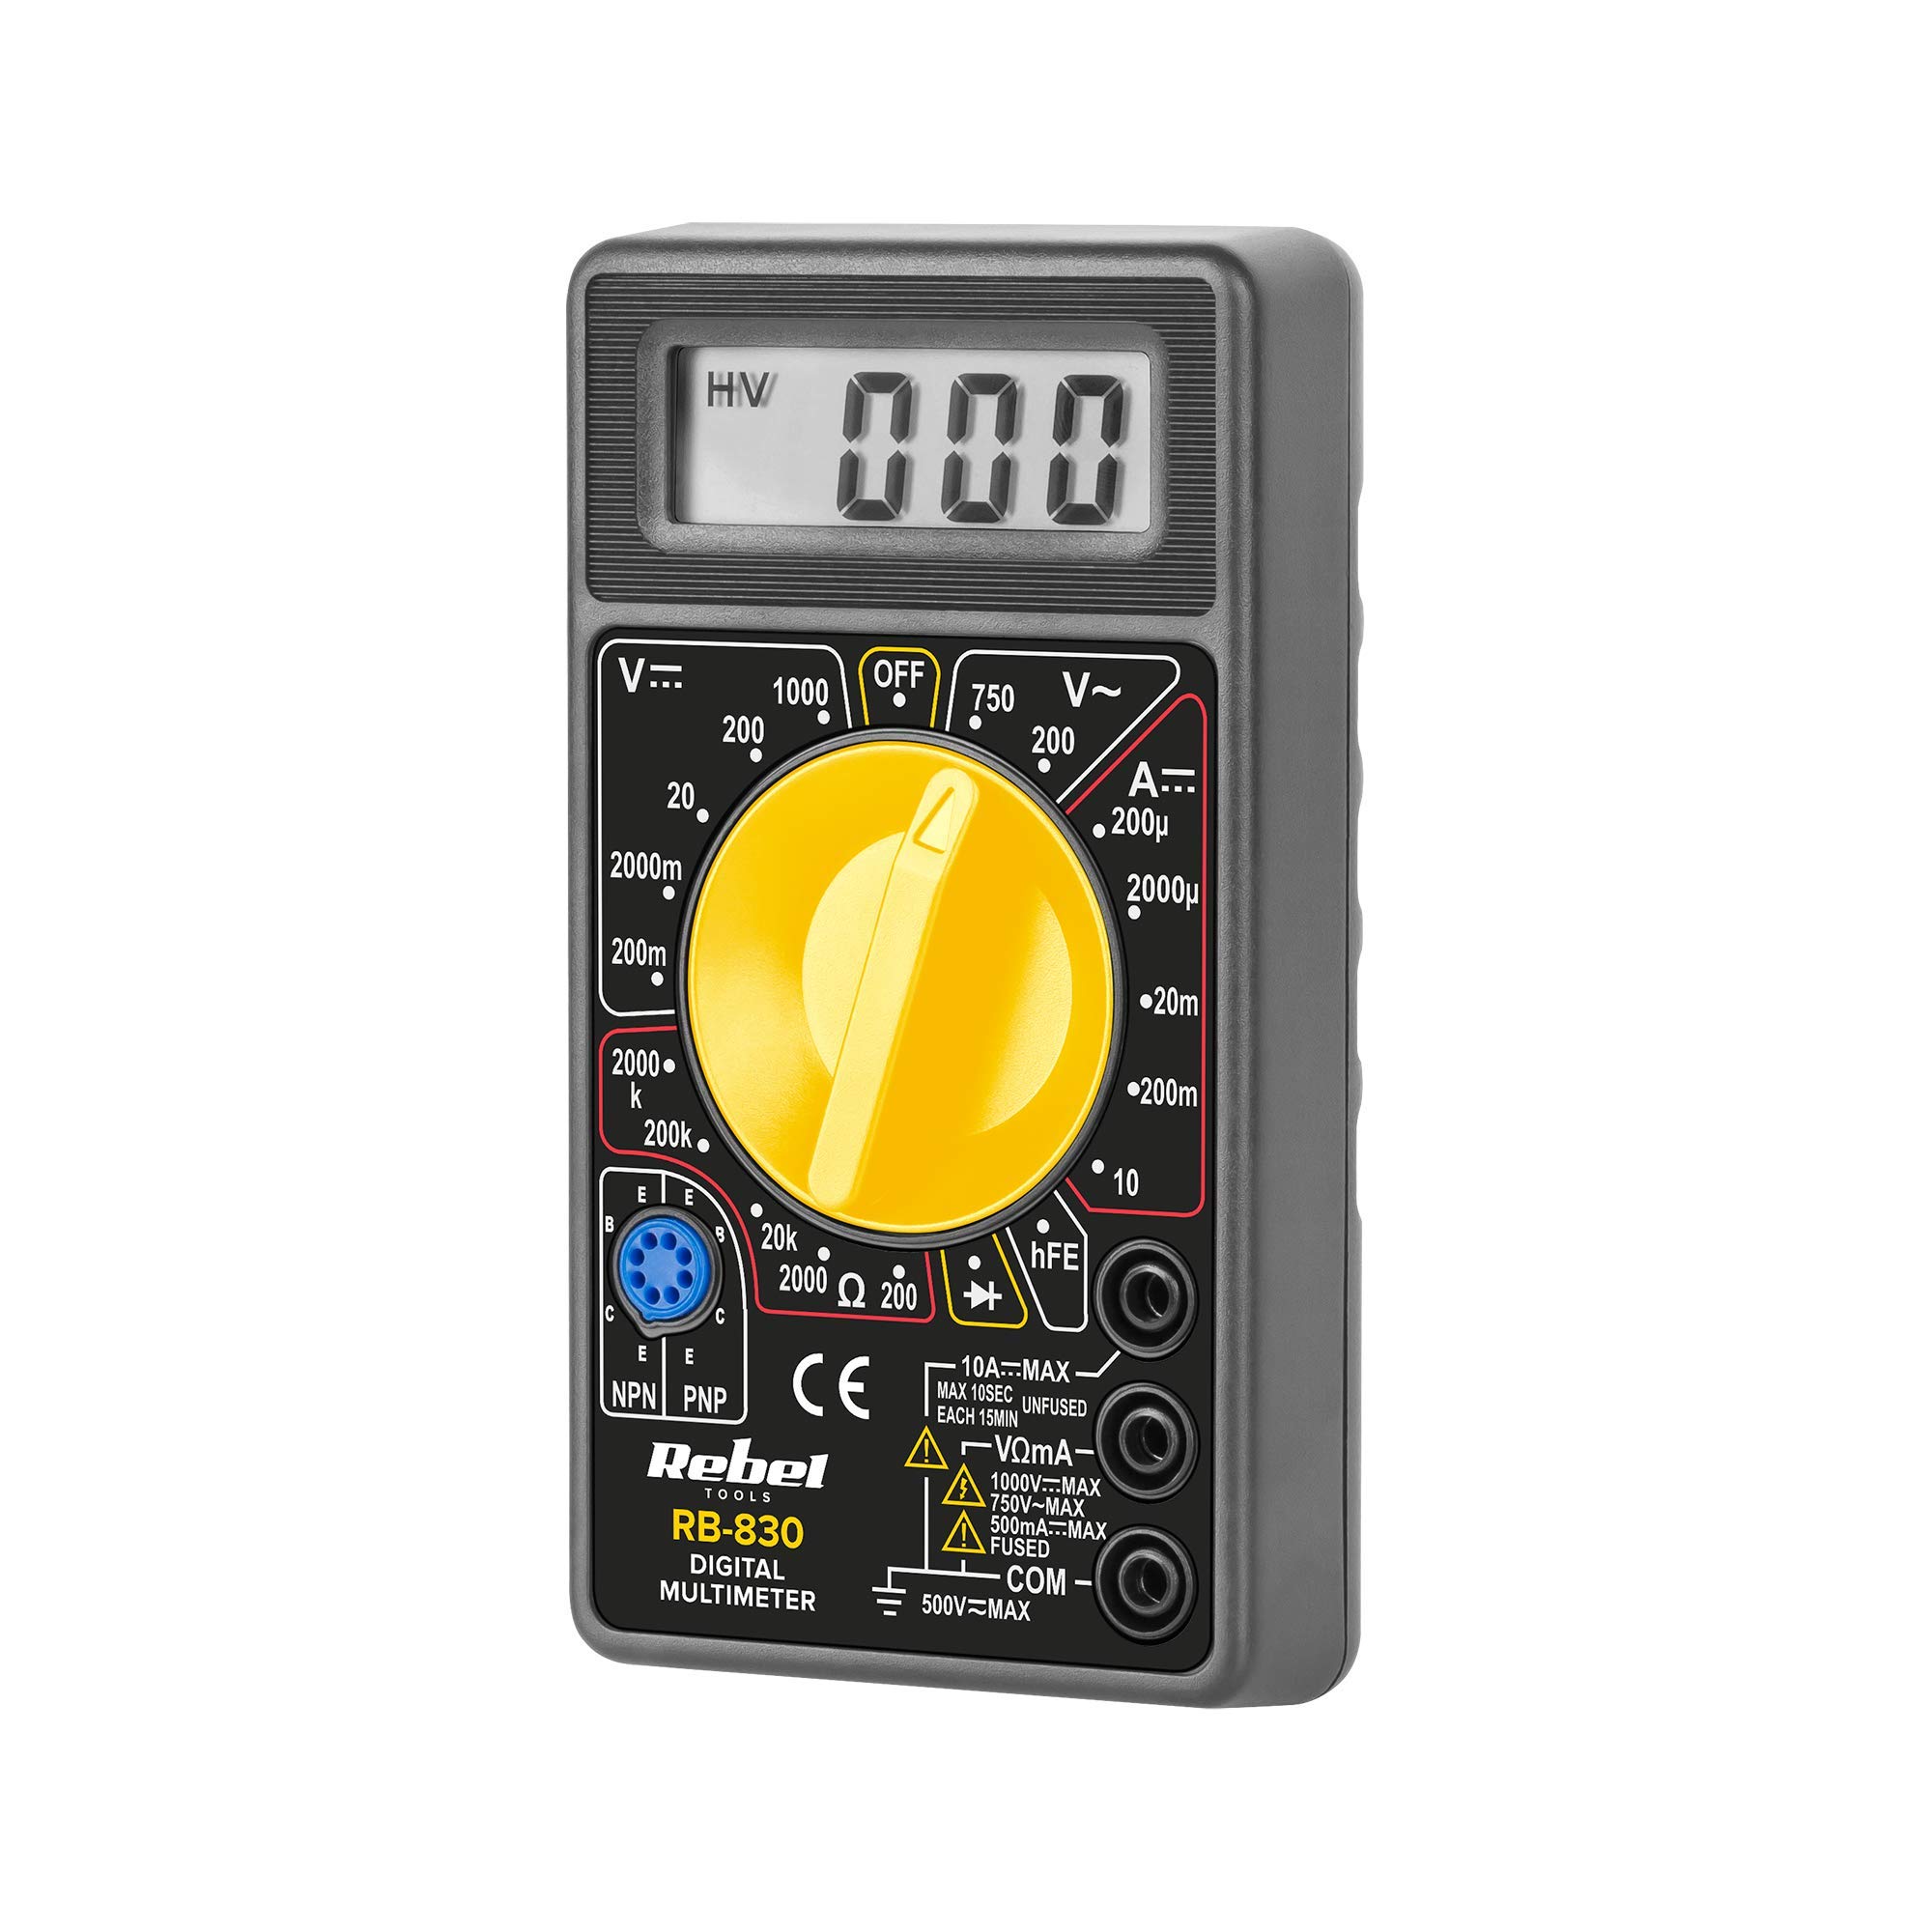
الشكل 2: The Rebel MIE-RB-830 Digital Multimeter shown with its accompanying red and black test leads. The multimeter features a large LCD display and a rotary function switch.

الشكل 3: عن قرب view of the red and black test leads. These leads are essential for connecting the multimeter to the circuit under test.
3. الإعداد
3.1. تركيب البطارية
- تأكد من إيقاف تشغيل جهاز القياس المتعدد وفصل جميع أسلاك الاختبار.
- Locate the battery compartment cover on the back of the meter (refer to Figure 1).
- قم بفك البراغي المثبتة وقم بإزالة الغطاء بعناية.
- Insert a new 9V battery (NEDA 1604 or 6F22 type), observing the correct polarity (+ and -).
- أعد تركيب غطاء حجرة البطارية وثبته بالبرغي (البراغي).
3.2. توصيل أسلاك الاختبار
- قم بتوصيل أحمر test lead to the "VΩmA" input jack.
- قم بتوصيل أسود test lead to the "COM" (common) input jack.
- For current measurements exceeding 200mA (up to 10A), connect the red test lead to the "10A" input jack.
4. تعليمات التشغيل
4.1. اختيار الوظيفة
Turn the rotary switch to the desired measurement function and range. Always start with a higher range if the approximate value is unknown to prevent overloading the meter.
4.2. قياس جهد التيار المستمرtage (V–)
- اضبط المفتاح الدوار على جهد التيار المستمر المطلوبtage (V–) range (e.g., 20V, 200V).
- قم بتوصيل سلك الاختبار الأحمر بالجانب الموجب (+) من الدائرة وسلك الاختبار الأسود بالجانب السالب (-).
- اقرأ المجلدtagقيمة e على شاشة LCD.
4.3. قياس حجم التيار المترددtage (V∼)
- اضبط المفتاح الدوار على جهد التيار المتردد المطلوبtage (V∼) range (e.g., 200V, 750V).
- قم بتوصيل أسلاك الاختبار عبر جهد التيار المترددtagالمصدر هـ.
- اقرأ المجلدtagقيمة e على شاشة LCD.
4.4. Measuring DC Current (A–)
حذر: To measure current, the meter must be connected in series with the circuit. Never connect the meter in parallel with a voltage source when in current mode, as this can damage the meter and the circle.
- اضبط المفتاح الدوار على نطاق التيار المستمر المطلوب (A–) (على سبيل المثال، 20 مللي أمبير، 200 مللي أمبير، 10 أمبير).
- For currents up to 200mA, ensure the red lead is in the "VΩmA" jack. For currents up to 10A, move the red lead to the "10A" jack.
- افتح الدائرة التي سيتم قياس التيار فيها وقم بتوصيل جهاز القياس على التوالي.
- اقرأ القيمة الحالية على شاشة LCD.
4.5. قياس المقاومة (Ω)
حذر: تأكد من فصل التيار الكهربائي عن الدائرة أو المكون قيد الاختبار قبل قياس المقاومة.
- Set the rotary switch to the desired Resistance (Ω) range (e.g., 200Ω, 2kΩ, 200kΩ).
- قم بتوصيل أسلاك الاختبار عبر المكون أو الدائرة المراد قياسها.
- اقرأ قيمة المقاومة على شاشة LCD.
4.6. اختبار الثنائي (→|–)
- Set the rotary switch to the Diode Test (→|–) position.
- قم بتوصيل سلك الاختبار الأحمر بقطب الأنود للثنائي وسلك الاختبار الأسود بقطب الكاثود.
- ستعرض الشاشة مستوى الصوت الأماميtage drop (typically 0.5V to 0.8V for silicon diodes).
- اعكس أطراف التوصيل. يجب أن تظهر على الشاشة عبارة "OL" (حلقة مفتوحة) للدلالة على أن الصمام الثنائي سليم.
4.7. Transistor (hFE) Test
- اضبط المفتاح الدوار على وضع hFE.
- حدد ما إذا كان الترانزستور من نوع NPN أو PNP.
- Insert the transistor's emitter, base, and collector leads into the corresponding sockets on the hFE test socket.
- Read the hFE (DC current gain) value on the display.
5. الصيانة
5.1. استبدال البطارية
When the low battery indicator appears on the display, replace the 9V battery as described in Section 3.1. Using a low battery can lead to inaccurate readings.
5.2. استبدال الصمامات
If the current measurement function stops working, the fuse may need replacement. This operation should only be performed by qualified personnel.
- تأكد من إيقاف تشغيل جهاز القياس المتعدد وفصل جميع أسلاك الاختبار.
- افتح الجزء الخلفيasing of the meter (this may involve more screws than just the battery compartment).
- Locate the blown fuse and replace it with a fuse of the exact same type and rating (e.g., F200mA/250V for mA range, F10A/250V for 10A range). Refer to the internal markings or specifications for precise fuse ratings.
- Carefully reassemble the meter, ensuring all screws are tightened.
5.3. التنظيف
امسح العداد بالإعلاناتamp cloth and mild detergent. Do not use abrasives or solvents. Keep the meter dry.
6. استكشاف الأخطاء وإصلاحها
| مشكلة | السبب المحتمل | حل |
|---|---|---|
| لا يوجد عرض أو عرض خافت | بطارية منخفضة أو فارغة | استبدل بطارية 9V. |
| قراءات غير صحيحة | Low battery; Incorrect range selection; Poor test lead connection | Replace battery; Select appropriate range; Ensure leads are firmly connected. |
| القياس الحالي لا يعمل | Blown fuse; Incorrect lead connection for current | Replace fuse (see Section 5.2); Ensure red lead is in "VΩmA" or "10A" jack as appropriate. |
| تم عرض "OL" (حمل زائد) | Measured value exceeds selected range; Open circuit (for resistance/continuity) | Select a higher range; Check circuit for breaks. |
7. المواصفات
| دالة القياس | يتراوح | دقة |
|---|---|---|
| المجلد العاصمةtage (V–) | 200 مللي فولت، 2 فولت، 20 فولت، 200 فولت، 1000 فولت | ±(0.5% + 2 أرقام) |
| المجلد ACtage (V∼) | 200 فولت، 750 فولت | ±(1.2% + 10 أرقام) |
| DC Current (A–) | 200 ميكرو أمبير، 2 مللي أمبير، 20 مللي أمبير، 200 مللي أمبير، 10 أمبير | ±(1.0% + 2 أرقام) |
| المقاومة (Ω) | 200Ω, 2kΩ, 20kΩ, 200kΩ, 2MΩ | ±(0.8% + 2 أرقام) |
| اختبار الصمام الثنائي | نعم | إلى الأمام المجلدtagه قطرة |
| اختبار الترانزستور (hFE) | نعم | hFE value |
| مزود الطاقة | 9V Battery (NEDA 1604 or 6F22) | |
| عرض | 3½ Digit LCD, Max. 1999 | |
| أبعاد | تقريبا. 13.5 x 10 x 4 cm | |
| وزن | Approx. 107 grams (without battery) | |
| درجة حرارة التشغيل | 0 درجة مئوية إلى 40 درجة مئوية (32 درجة فهرنهايت إلى 104 درجة فهرنهايت) | |
| درجة حرارة التخزين | -10 درجة مئوية إلى 50 درجة مئوية (14 درجة فهرنهايت إلى 122 درجة فهرنهايت) | |
| معايير السلامة | CE، RoHS |
8. الضمان والدعم
This Rebel MIE-RB-830 Digital Multimeter is covered by a standard manufacturer's warranty against defects in materials and workmanship. Please refer to the warranty card included with your purchase or contact your retailer for specific warranty terms and conditions.
For technical support or service inquiries, please contact the point of purchase or visit the official Rebel webموقع لمعلومات الاتصال.


