1. المقدمة
This manual provides instructions for the HunterDouglas Restring Kit, designed for repairing honeycomb shades. This kit includes essential components to replace worn or broken strings, restoring functionality to your shade.
The kit is commonly used for Hunter Douglas and 3DayBlind honeycomb shades.
2. محتويات المجموعة
Please verify that all components listed below are present in your kit:
- Two (2) spools with flat tape. Each spool contains approximately 60 inches (5 feet) of flat tape.
- One (1) restring needle, approximately 6 inches long.
- Two (2) pockets & buckles.

Figure 2.1: All components included in the HunterDouglas Honeycomb Shade Restring Kit. This image displays two white spools of flat tape, a thin metal restring needle, and two small white plastic pieces identified as pockets and buckles.
3. Setup and Installation (Restringing Process)
Restringing a honeycomb shade requires careful attention. Detailed, step-by-step instructions are provided with your physical product kit. It is highly recommended to refer to those specific instructions for the most accurate guidance.
الإرشادات العامة:
- تحضير: Carefully remove the shade from its mounting brackets. Lay it on a clean, flat surface. Identify the path of the existing strings.
- Remove Old Strings: Note how the old strings are routed through the shade's cells and headrail. Remove the old, broken strings.
- Thread New Tape: Use the provided restring needle to guide the new flat tape through the shade's honeycomb cells. Ensure the tape follows the correct path, mimicking the original stringing.
- Attach to Spools: Securely attach the ends of the flat tape to the spools. The pockets and buckles are used to manage the tape within the headrail mechanism.
- إعادة التجميع والاختبار: Reinstall the shade. Carefully test the raising and lowering mechanism to ensure smooth operation and proper tension. Adjust as necessary.
اعتبارات هامة:
- The flat tape length per spool is 60 inches. For shades longer than 5 feet, this kit may not provide sufficient tape.
- Many users find visual aids helpful. Searching for "HunterDouglas honeycomb shade restringing" videos online (e.g., on YouTube) can supplement the written instructions.
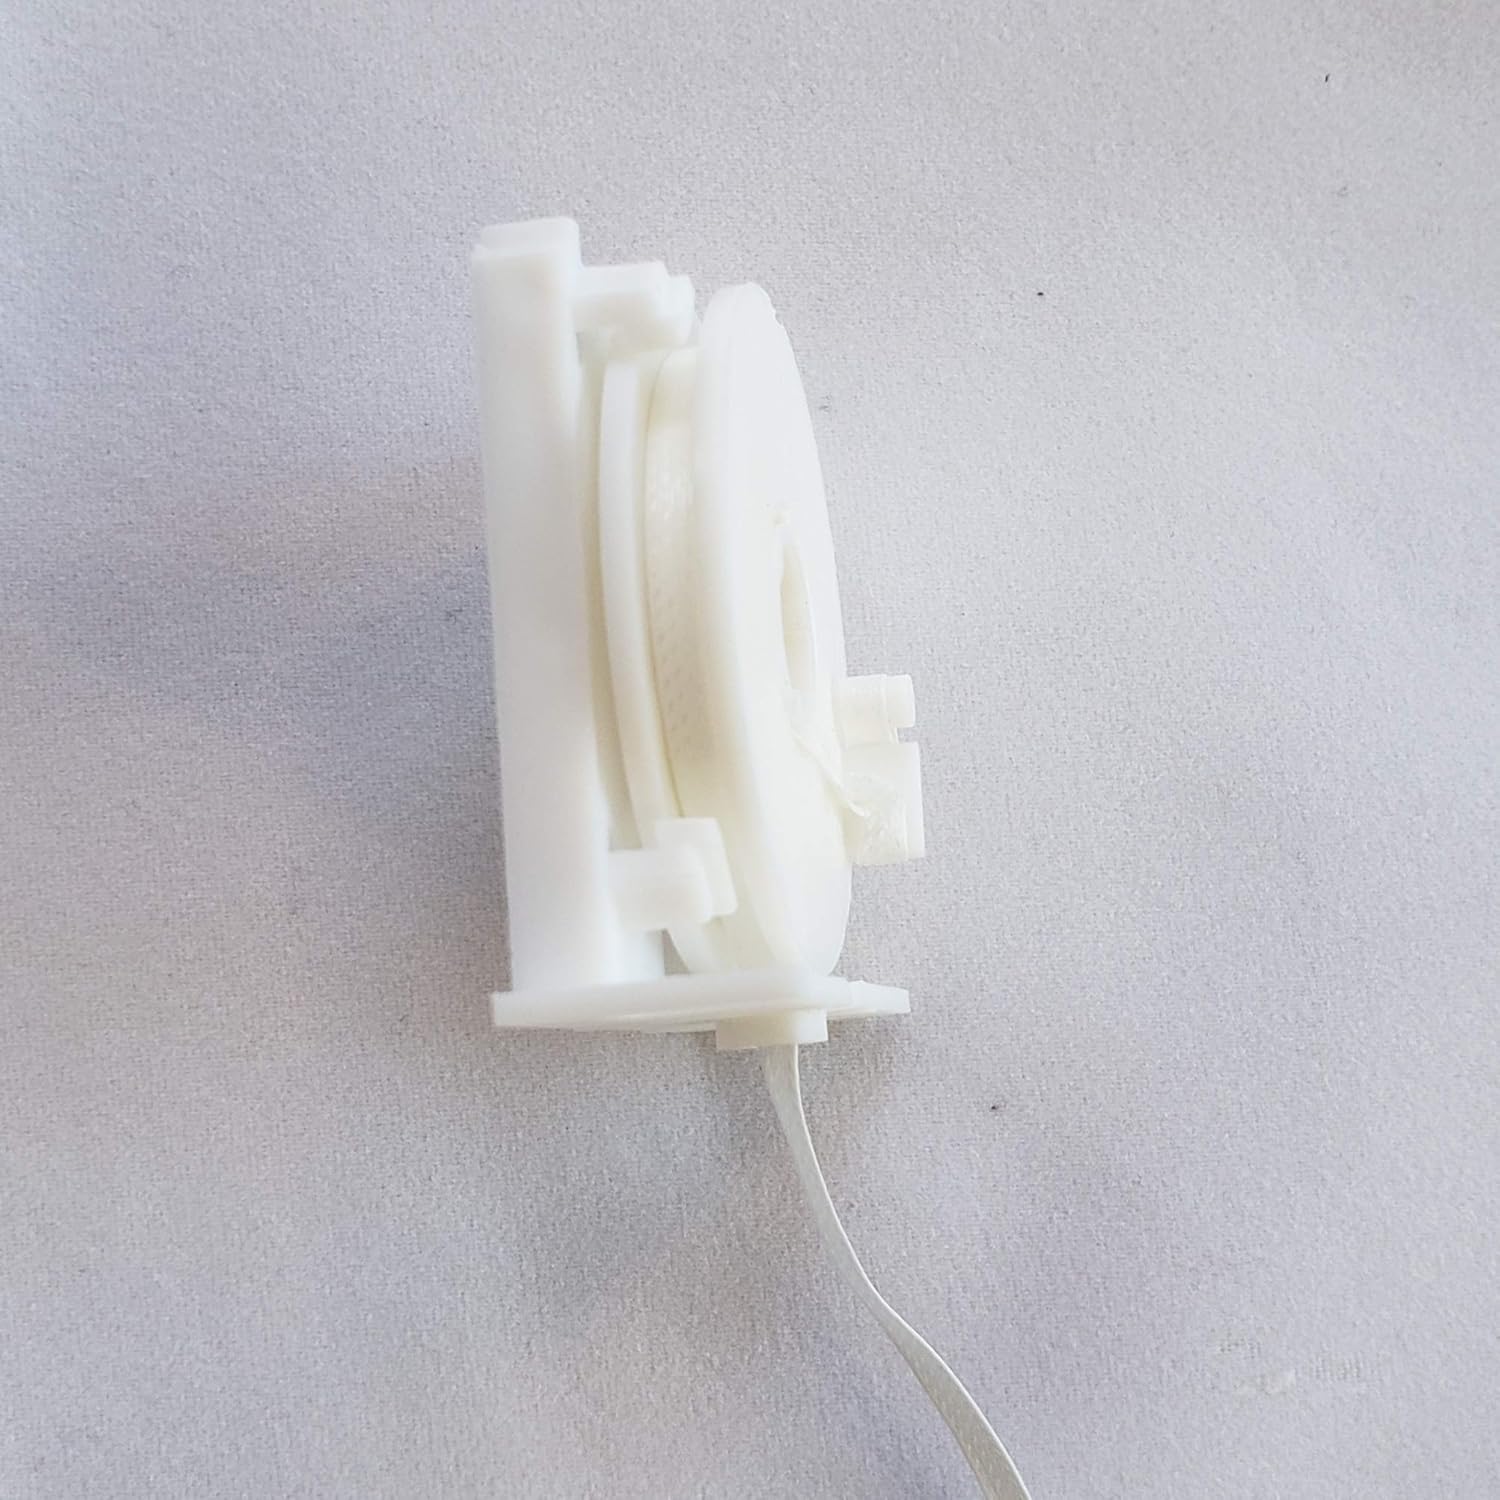
الشكل 3.1: عرض جانبيfile view of one of the white spools included in the kit, showing the flat tape wound around it. This illustrates the design of the tape spool.

Figure 3.2: Two white spools of flat tape, as supplied in the kit, shown from an elevated angle. This image provides a clearer view of how the flat tape is secured on each spool.
4. Operating the Repaired Shade
After successful restringing, your honeycomb shade should operate as intended. Gently pull the lift cord to raise or lower the shade. Ensure the shade moves smoothly and maintains its position when the cord is released.
- Avoid forcing the shade if it snags or resists movement.
- Pull the cord at a consistent angle to prevent uneven lifting.
5. الصيانة
To prolong the life of your honeycomb shade and its restringing components:
- تنظيف: Dust the shade regularly with a soft cloth or vacuum with a brush attachment. For spot cleaning, use a damp cloth with mild soap, blotting gently.
- العناية بالحبل: Avoid tugging or yanking the lift cords. Operate them smoothly.
- تقتيش: Periodically inspect the cords and tape for signs of wear or fraying. Early detection can prevent complete breakage.
6. استكشاف الأخطاء وإصلاحها
If you encounter issues after restringing your honeycomb shade, consider the following:
- Shade Does Not Lift/Lower Smoothly:
- Check for tangled cords or tape within the headrail or cells.
- Ensure the tape is correctly routed through all guides and cells.
- Verify that the tension on the cords is appropriate and balanced.
- Shade Sags or Does Not Stay Up:
- The cord lock mechanism might not be engaging properly. Inspect it for obstructions or damage.
- The tape might be too loose. Re-tension the tape if possible, following the detailed instructions.
- Tape Length Insufficient:
- Each spool provides 60 inches of flat tape. If your shade is longer than 5 feet, you may require additional tape or a different kit.
7. المواصفات
| ماركة | هنتر دوغلاس |
| معرف النموذج | Restring Kit (ASIN: B07YQ73B83) |
| المكونات المضمنة | 2 Spools with Flat Tape, 1 Restring Needle, 2 Pockets & Buckles |
| Tape Length per Spool | 60 بوصة (حوالي 5 قدمًا) |
| وزن العنصر | 4.8 أونصات |
| أبعاد الحزمة | 8 × 6 × 1 بوصة |
| الشركة المصنعة | هانتر دوغلاس |
| تاريخ أول توفر | 4 أكتوبر 2019 |
8. معلومات الضمان
No specific warranty information is provided with this product kit in the available documentation. Please refer to the packaging or contact the seller for any warranty details.
9. الدعم
For further assistance with the restringing process or product-related inquiries, please refer to the detailed instructions included with your purchase. If additional support is needed, contact the seller directly through the platform where the kit was purchased.


