1. المقدمة
This manual provides essential instructions for the installation, operation, and maintenance of your Lorex 1080p 8-Channel 1TB Wired DVR Security System. Please read this manual thoroughly before using the product to ensure proper setup and functionality.

الصورة 1.1: انتهىview of the Lorex 1080p 8-Channel 1TB Wired DVR Security System components.
1.1 محتويات الصندوق
- 1080p Full HD 8-Channel Security System with 1 TB DVR
- Four 1080p Night Vision Dome Cameras
- Power adapters for DVR and cameras
- Video cables for camera connection
- ماوس USB
- كابل إيثرنت
- معدات التركيب
2. الإعداد
2.1 اتصال جهاز التسجيل الرقمي
- قم بتوصيله بشاشة: Use an HDMI or VGA cable to connect the DVR to a compatible monitor.
- قم بتوصيل فأرة USB: Plug the included USB mouse into an available USB port on the DVR.
- اتصال الشبكة (اختياري): لجهاز التحكم عن بعد viewقم بتوصيل كابل إيثرنت من منفذ LAN الخاص بجهاز DVR إلى جهاز التوجيه الخاص بك.
- توصيل الطاقة: قم بتوصيل محول الطاقة الخاص بجهاز التسجيل الرقمي بجهاز التسجيل الرقمي نفسه، ثم قم بتوصيله بمأخذ كهربائي.

Image 2.1: Rear panel of the DVR with connection ports.
2.2 تركيب الكاميرا
The included dome cameras are designed for both indoor and outdoor use, featuring IP67 weatherproof rating and durable metal housing.
- حدد موقع التركيب: اختر موقعًا يوفر المطلوب viewing angle and is within reach of the video and power cables. Consider areas that offer optimal coverage and minimize blind spots.
- تركيب الكاميرات: Use the provided mounting hardware to securely attach the cameras to a wall or ceiling. Ensure the camera is positioned correctly for the desired field of view.
- Connect Video and Power: Connect the camera's video cable to an available BNC input on the DVR. Connect the camera's power cable to the power adapter and then to a power source.

Image 2.2: Dome camera mounted on an exterior wall.

Image 2.3: Dome camera mounted under eaves for subtle security.
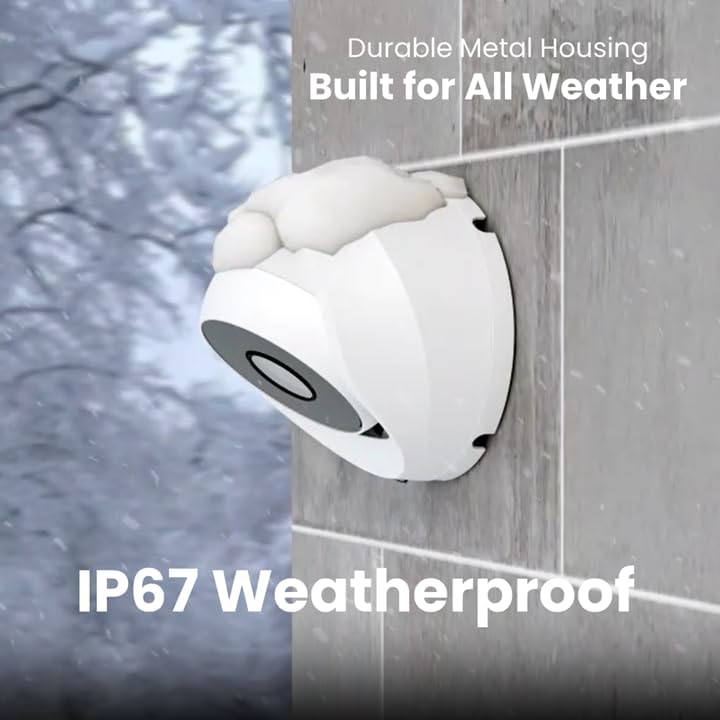
Image 2.4: Camera demonstrating IP67 weatherproof durability.
2.3 التكوين الأولي
After powering on the DVR, follow the on-screen prompts to complete the initial setup, which typically includes:
- اختيار اللغة
- إعدادات التاريخ والوقت
- Password creation
- Network settings (if connected)
3. تشغيل النظام
3.1 مباشر View والتسجيل
بمجرد إعداد النظام، يمكنك view live feeds from all connected cameras on your monitor. The DVR is configured for 24/7 continuous recording to the internal 1TB hard drive.
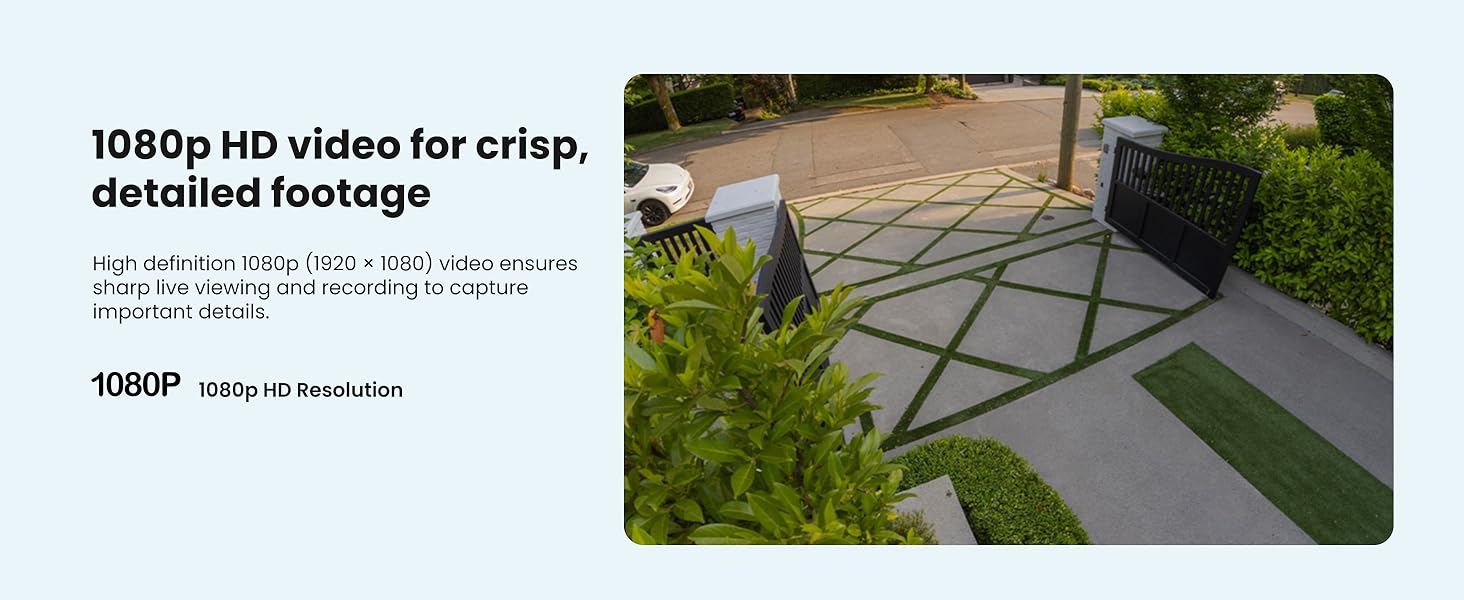
الصورة 3.1: مثالample of 1080p HD video resolution.
3.2 كشف الحركة الذكية
The system features Smart Motion Detection, which can differentiate between people and vehicles. This helps reduce false alarms and ensures you receive relevant alerts.
- إعدادات: Access the DVR's menu to configure motion detection zones and sensitivity for each camera.
- التنبيهات: Enable push notifications through the Lorex App for real-time alerts on your smartphone when person or vehicle motion is detected.
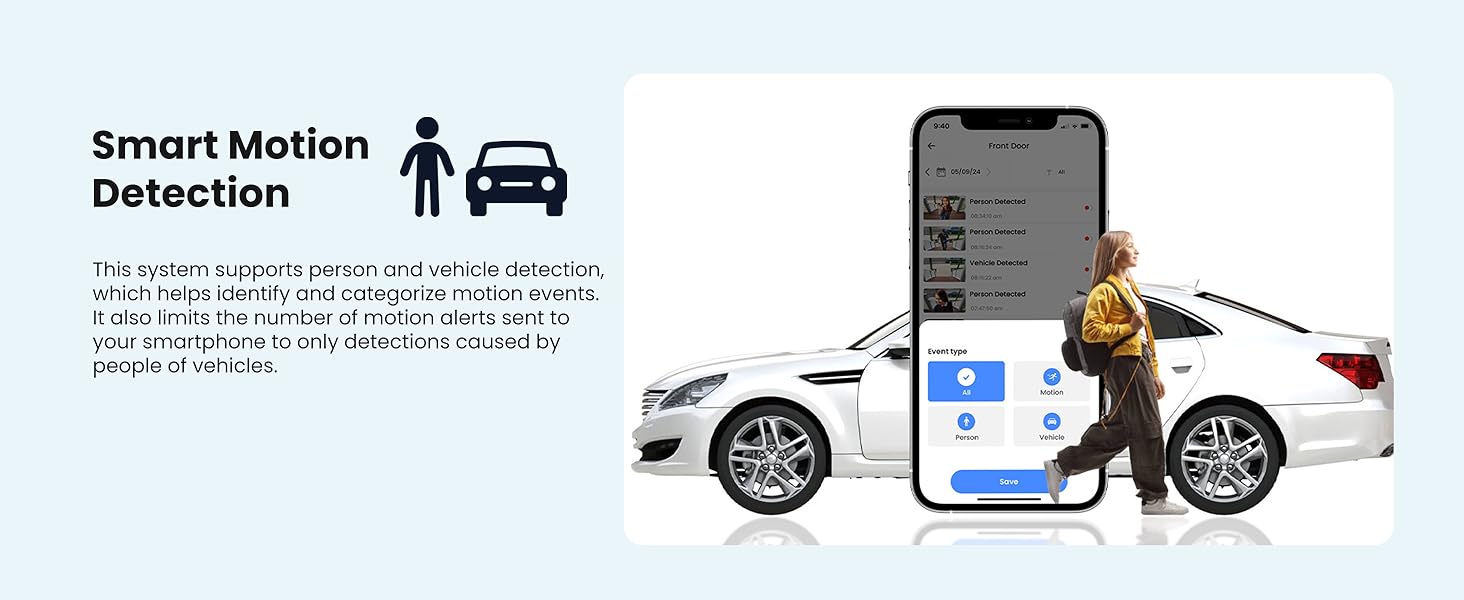
Image 3.2: Smart Motion Detection identifying a person and vehicle.
3.3 الرؤية الليلية
The cameras are equipped with Smart Infrared (IR) night vision, providing clear black and white video footage up to 65 feet in low-light conditions. The IR mode activates automatically.
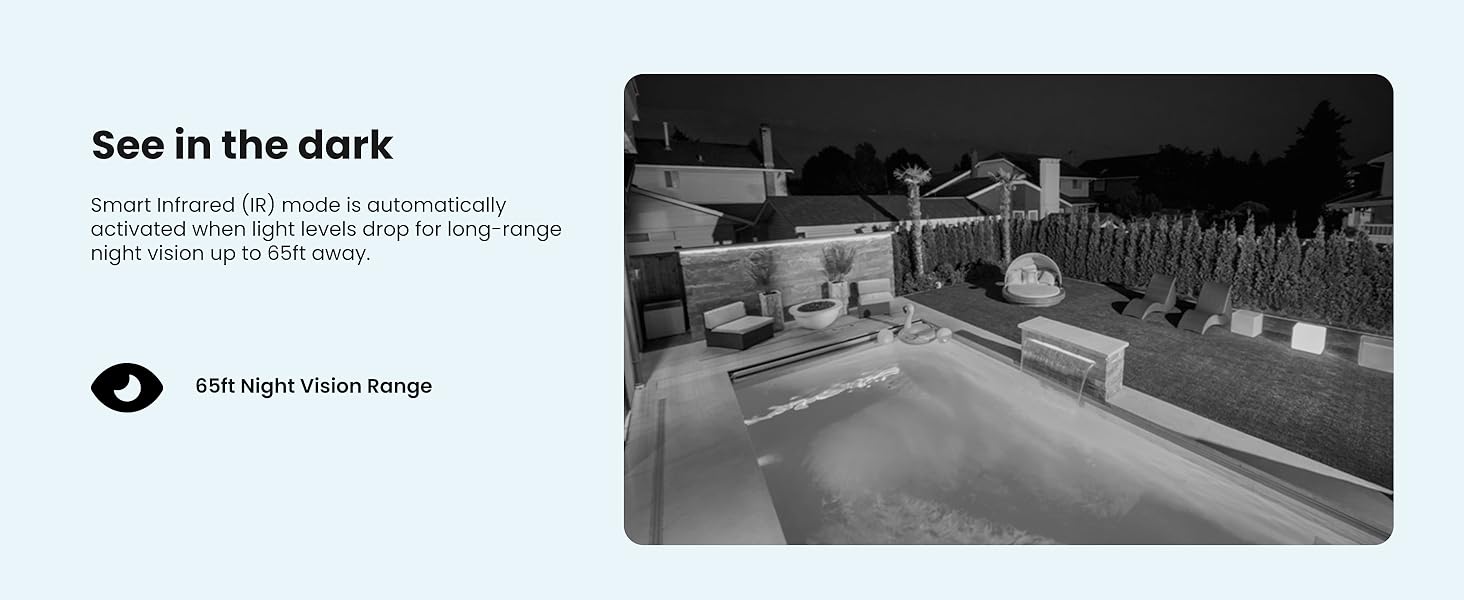
Image 3.3: Comparison of daytime and infrared night vision.
3.4 التشغيل والتكبير الرقمي
Review تم تسجيل فوtage directly from the DVR. The system also supports digital zoom on both live and recorded video for closer inspection of details.

Image 3.4: Digital zoom functionality on recorded video.
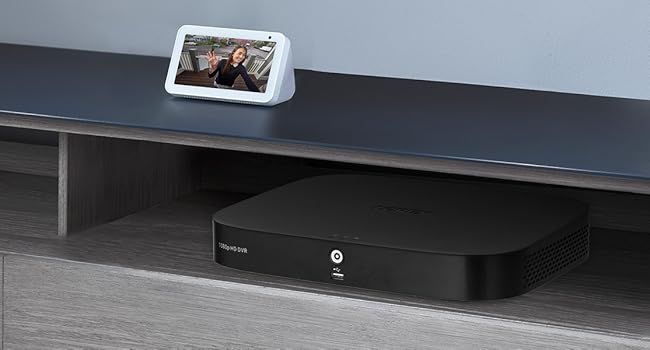
Image 3.5: Quick search feature for reviewجي فوtage.
3.5 Remote Access (Lorex App)
Download the Lorex App on your smartphone or tablet to access live views, playback recordings, and receive alerts remotely. Ensure your DVR is connected to the internet for this feature.
4. الصيانة
4.1 إدارة القرص الصلب
The 1TB internal hard drive provides ample storage for continuous recording without the need for monthly fees or subscriptions. The system automatically overwrites the oldest footage عندما يكون القرص الصلب ممتلئًا.

Image 4.1: 1TB hard drive for local storage.
4.2 التنظيف
- عدسات الكاميرا: Periodically clean camera lenses with a soft, lint-free cloth to ensure clear image quality. Avoid abrasive cleaners.
- DVR Unit: Keep the DVR unit free from dust and ensure proper ventilation to prevent overheating.
4.3 تحديثات البرامج الثابتة
Check the Lorex support website periodically for firmware updates. Keeping your DVR's firmware updated ensures optimal performance and access to the latest features and security enhancements.
5. استكشاف الأخطاء وإصلاحها
If you encounter issues with your Lorex security system, refer to the following common troubleshooting steps:
- لا يوجد عرض فيديو: Ensure all cables (power, video, monitor) are securely connected. Verify the monitor input source is correct.
- لا تسجيل: Check if the hard drive is properly installed and initialized. Verify recording schedules and motion detection settings.
- مشكلات الوصول عن بعد: Confirm the DVR is connected to the internet and has a stable network connection. Ensure the Lorex App is updated and configured correctly.
- ضعف جودة الصورة: Clean camera lenses. Check cable connections for damage. Adjust camera position if glare or obstructions are present.
For more detailed troubleshooting guides and technical support, visit the official Lorex support webموقع.
6. المواصفات
| ميزة | مواصفة |
|---|---|
| ماركة | Lorex |
| رقم الموديل | AZT-D24281-2ND4-1 |
| تكنولوجيا الاتصال | سلكي |
| دقة التقاط الفيديو | 1080 بكسل (1920 × 1080) |
| عدد القنوات | 8 |
| سعة تخزين الذاكرة | 1 تيرابايت |
| المميزات الخاصة | App Control, Night Vision, Vehicle Detection, Weatherproof |
| نطاق الرؤية الليلية | حتى 65 قدم |
| تصنيف مانعة لتسرب الماء | IP67 |
| درجة حرارة التشغيل | 140°F/60°C Heat Rating and -40°F/-40°C Cold Rating |
| Viewزاوية جي | 94 درجة |
| مصدر الطاقة | كهرباء سلكية |
| أبعاد العنصر (الطول × العرض × الارتفاع) | 19.7 × 19.2 × 10.3 بوصة |
| وزن العنصر | 21.7 رطل |
| رمز المنتج الموحد | 695529022086 |
7. الضمان والدعم
7.1 معلومات الضمان
For detailed warranty information regarding your Lorex 1080p 8-Channel 1TB Wired DVR Security System, please refer to the warranty card included with your product or visit the official Lorex webقد تختلف شروط وأحكام الضمان.
7.2 دعم العملاء
If you require further assistance, technical support, or have questions not covered in this manual, please contact Lorex customer support through their official website. Online resources, FAQs, and contact information are available to help you.
Lorex Official Webموقع: www.lorex.com