مقدمة
شكرا لك على الشراءasing the Powell Chadwick Hall Tree. This manual provides essential information for safe assembly, operation, and maintenance of your new furniture. Please read all instructions carefully before beginning assembly and retain this manual for future reference.
The Chadwick Hall Tree is designed to enhance your entryway or hall with its classic style and practical features. It includes a top shelf, four mounted hooks, and a hinged storage seat, all finished in a rich cherry tone. The storage seat is equipped with child-safe hinges for added safety.

Image: The Powell Chadwick Hall Tree in Cherry finish, showcasinج- تصميمه ووظائفه.
معلومات السلامة
تحذير: قد يعرضك هذا المنتج لمواد كيميائية، بما في ذلك غبار الخشب، المعروف في ولاية كاليفورنيا بأنه يسبب السرطان. لمزيد من المعلومات، تفضل بزيارة www.P65Warnings.ca.gov.
To ensure safe use of this product, please observe the following:
- لا تقم بربط البراغي بشكل كامل حتى تتم محاذاة جميع البراغي بالكامل وإدخالها في الثقوب/الصواميل.
- لا تفرط في إحكام ربط المسامير الملولبة والبراغي لتجنب نزعها.
- Always use hand tools to assemble this product. Do not use power tools.
- The storage seat lid is equipped with non-slam child-safe hinges to prevent sudden closing and potential injury.
- The unit includes breath holes within the storage compartment for safety.
- Install the anti-tipping hardware as instructed to prevent the unit from tipping over, which can cause serious injury.
- لا تسمح للأطفال بالتسلق أو التعليق على الأدراج أو الأبواب أو الأرفف.
- Do not remove or disable the power interlock system.
Video: Demonstration of the safety hinges feature, designed to prevent slamming and pinching.
مميزات المنتج
- أبعاد: Fully assembled size is 40.47 inches (W) x 18 inches (D) x 64 inches (H).
- تصميم: Features recessed back panel details for a seamless blend of style and function.
- السنانير: Four mountable double hook coat hangers, each with a weight limit of 7 pounds, ideal for coats, hoodies, and hats.
- ينهي: Rich cherry tone suitable for entryways, mudrooms, or hallways.
- Storage Seat: Lid equipped with non-slam child-safe hinges for safety. Seat height is 18 inches with a weight limit of 275 pounds.
- التخزين المخفي: Ample hidden storage space underneath the seat, with dimensions of 34.5 inches (W) x 13 inches (D) x 12 inches (H).
فيديو: انتهىview of the hidden storage feature, demonstrating how to access and utilize the space.

Image: The Chadwick Hall Tree with its storage seat lid open, revealing the internal storage compartment.
قائمة الأجزاء
Before assembly, ensure all parts and hardware are present. Refer to the exploded diagram below for identification.

Image: Exploded diagram showing all individual components of the Hall Tree with letter labels.
قائمة الأجهزة:
| غرض | وصف | كمية |
|---|---|---|
| H1 | وتد خشب | 20 |
| H2 | كام لوك | 14 |
| H3 | كام بولت | 14 |
| H4 | أفسد | 13 |
| H5 | الترباس | 04 |
| H6 | برغي طويل | 02 |
| H7 | المفصلة اليسرى | 01 |
| H8 | المفصلة اليمنى | 01 |
| H9 | برغي صغير | 08 |
| ح10 | خطاف | 04 |
| ح11 | برغي هوك | 08 |
| ح12 | ألان رانتش | 01 |
| ح13 | غطاء بلاستيكي | 05 |
| ح14 | برغي رأس فيليبس | 02 |
تعليمات التجميع
Some assembly is required. Please follow these steps carefully. It is recommended to have two people for certain steps.
Step 1: Assemble the Back Panel Support
Attach the back panel support (M) to the side panels (J) using bolts (H5) and cam locks (H2). Secure with the Allen wrench (H12).

Image: Detailed diagram for assembling the back panel support in Step 1.
Step 2: Connect Side and Front Panels
Connect the side panels (J, I) and front panel (G) to the base using cam bolts (H1) and cam locks (H2). Ensure all connections are snug but do not overtighten.

Image: Diagram illustrating the connection of side and front panels to the base in Step 2.
Step 3: Attach the Top Panel of the Storage Bench
Secure the top panel (K) to the assembled base using cam bolts (H3) and cam locks (H2). Use wood dowels (H1) for alignment. Cover exposed cam locks with plastic caps (H13).

Image: Diagram showing how to attach the storage bench top panel in Step 3.
Step 4: Install Bun Feet
Attach the bun feet (L) to the bottom of the storage bench (J, I, G, K).

Image: Diagram for installing the bun feet to the base of the hall tree in Step 4.
Step 5: Attach Hooks to Back Panels
Secure the hooks (H10) to the back panels (B and C) using hook screws (H11) and Phillips head screws (H14).

Image: Diagram showing the attachment of hooks to the back panels in Step 5.
الخطوة 6: توصيل الألواح الخلفية
Join the two back panels (B and C) together using wood dowels (H1).

Image: Diagram for connecting the two back panels in Step 6.
Step 7: Attach Side Supports to Back Panels
Attach the side supports (D and E) to the assembled back panels using screws (H4) and the Allen wrench (H12).

Image: Diagram showing the attachment of side supports to the back panels in Step 7.
الخطوة 8: تركيب اللوحة العلوية
Secure the top panel (A) to the upper back assembly using wood dowels (H1), cam locks (H2), cam bolts (H3), long screws (H6), and plastic caps (H13). Use the Allen wrench (H12) as needed.

Image: Diagram for attaching the top panel to the upper back assembly in Step 8.
Step 9: Attach Back Panel (F)
Attach the back panel (F) to the upper back assembly using wood dowels (H1), cam locks (H2), cam bolts (H3), and plastic caps (H13). Use the Allen wrench (H12) as needed.

Image: Diagram for attaching the back panel (F) to the upper back assembly in Step 9.
Step 10: Connect Upper and Lower Sections
Carefully place the assembled upper section onto the storage bench. Secure them together using wood dowels (H1), screws (H4), and the Allen wrench (H12).

Image: Diagram showing the connection of the upper and lower sections of the hall tree in Step 10.
Step 11: Install Storage Seat Hinges
Attach the left hinge (H7) and right hinge (H8) to the storage seat lid and the storage bench using small screws (H9) and Phillips head screws (H14). Ensure the hinges operate smoothly for the non-slam feature.

Image: Diagram for installing the storage seat hinges in Step 11.
Anti-Tipping Hardware Installation
IMPORTANT: For your safety, to prevent the danger of this unit tipping over, it is important that the wall anchor is properly attached.
Step 1: Prepare Wall Anchor
Put wall anchor (C) into the wall and attach mounting bracket (B) to the wall with long screw (E). Ensure the wall anchor is properly secured.

Image: Diagram showing the installation of the wall anchor and mounting bracket.
Step 2: Attach Mounting Bracket to Hall Tree
Attach mounting bracket (B) to the back of the hall tree with short screw (D).
Image: Diagram showing the attachment of the mounting bracket to the back of the hall tree.
Step 3: Secure Hall Tree to Wall
Slide the strap (A) through the mounting brackets and pull to tighten the Hall Tree snug against the wall.

Image: Diagram illustrating how to secure the hall tree to the wall using the anti-tipping strap.
تعليمات التشغيل
The Powell Chadwick Hall Tree is designed for straightforward use:
- خطافات المعاطف: Use the four double hooks to hang coats, jackets, hats, scarves, and bags. Ensure items do not exceed the 7-pound weight limit per hook.
- الرف العلوي: The top shelf provides additional space for decorative items or small storage bins.
- مقعد التخزين: The hinged seat opens to reveal a spacious storage compartment. Lift the seat gently; the safety hinges will prevent it from slamming shut. Close the lid gently to engage the non-slam mechanism.
- الجلوس: The bench seat can support up to 275 pounds, providing a convenient spot for sitting while putting on or taking off shoes.
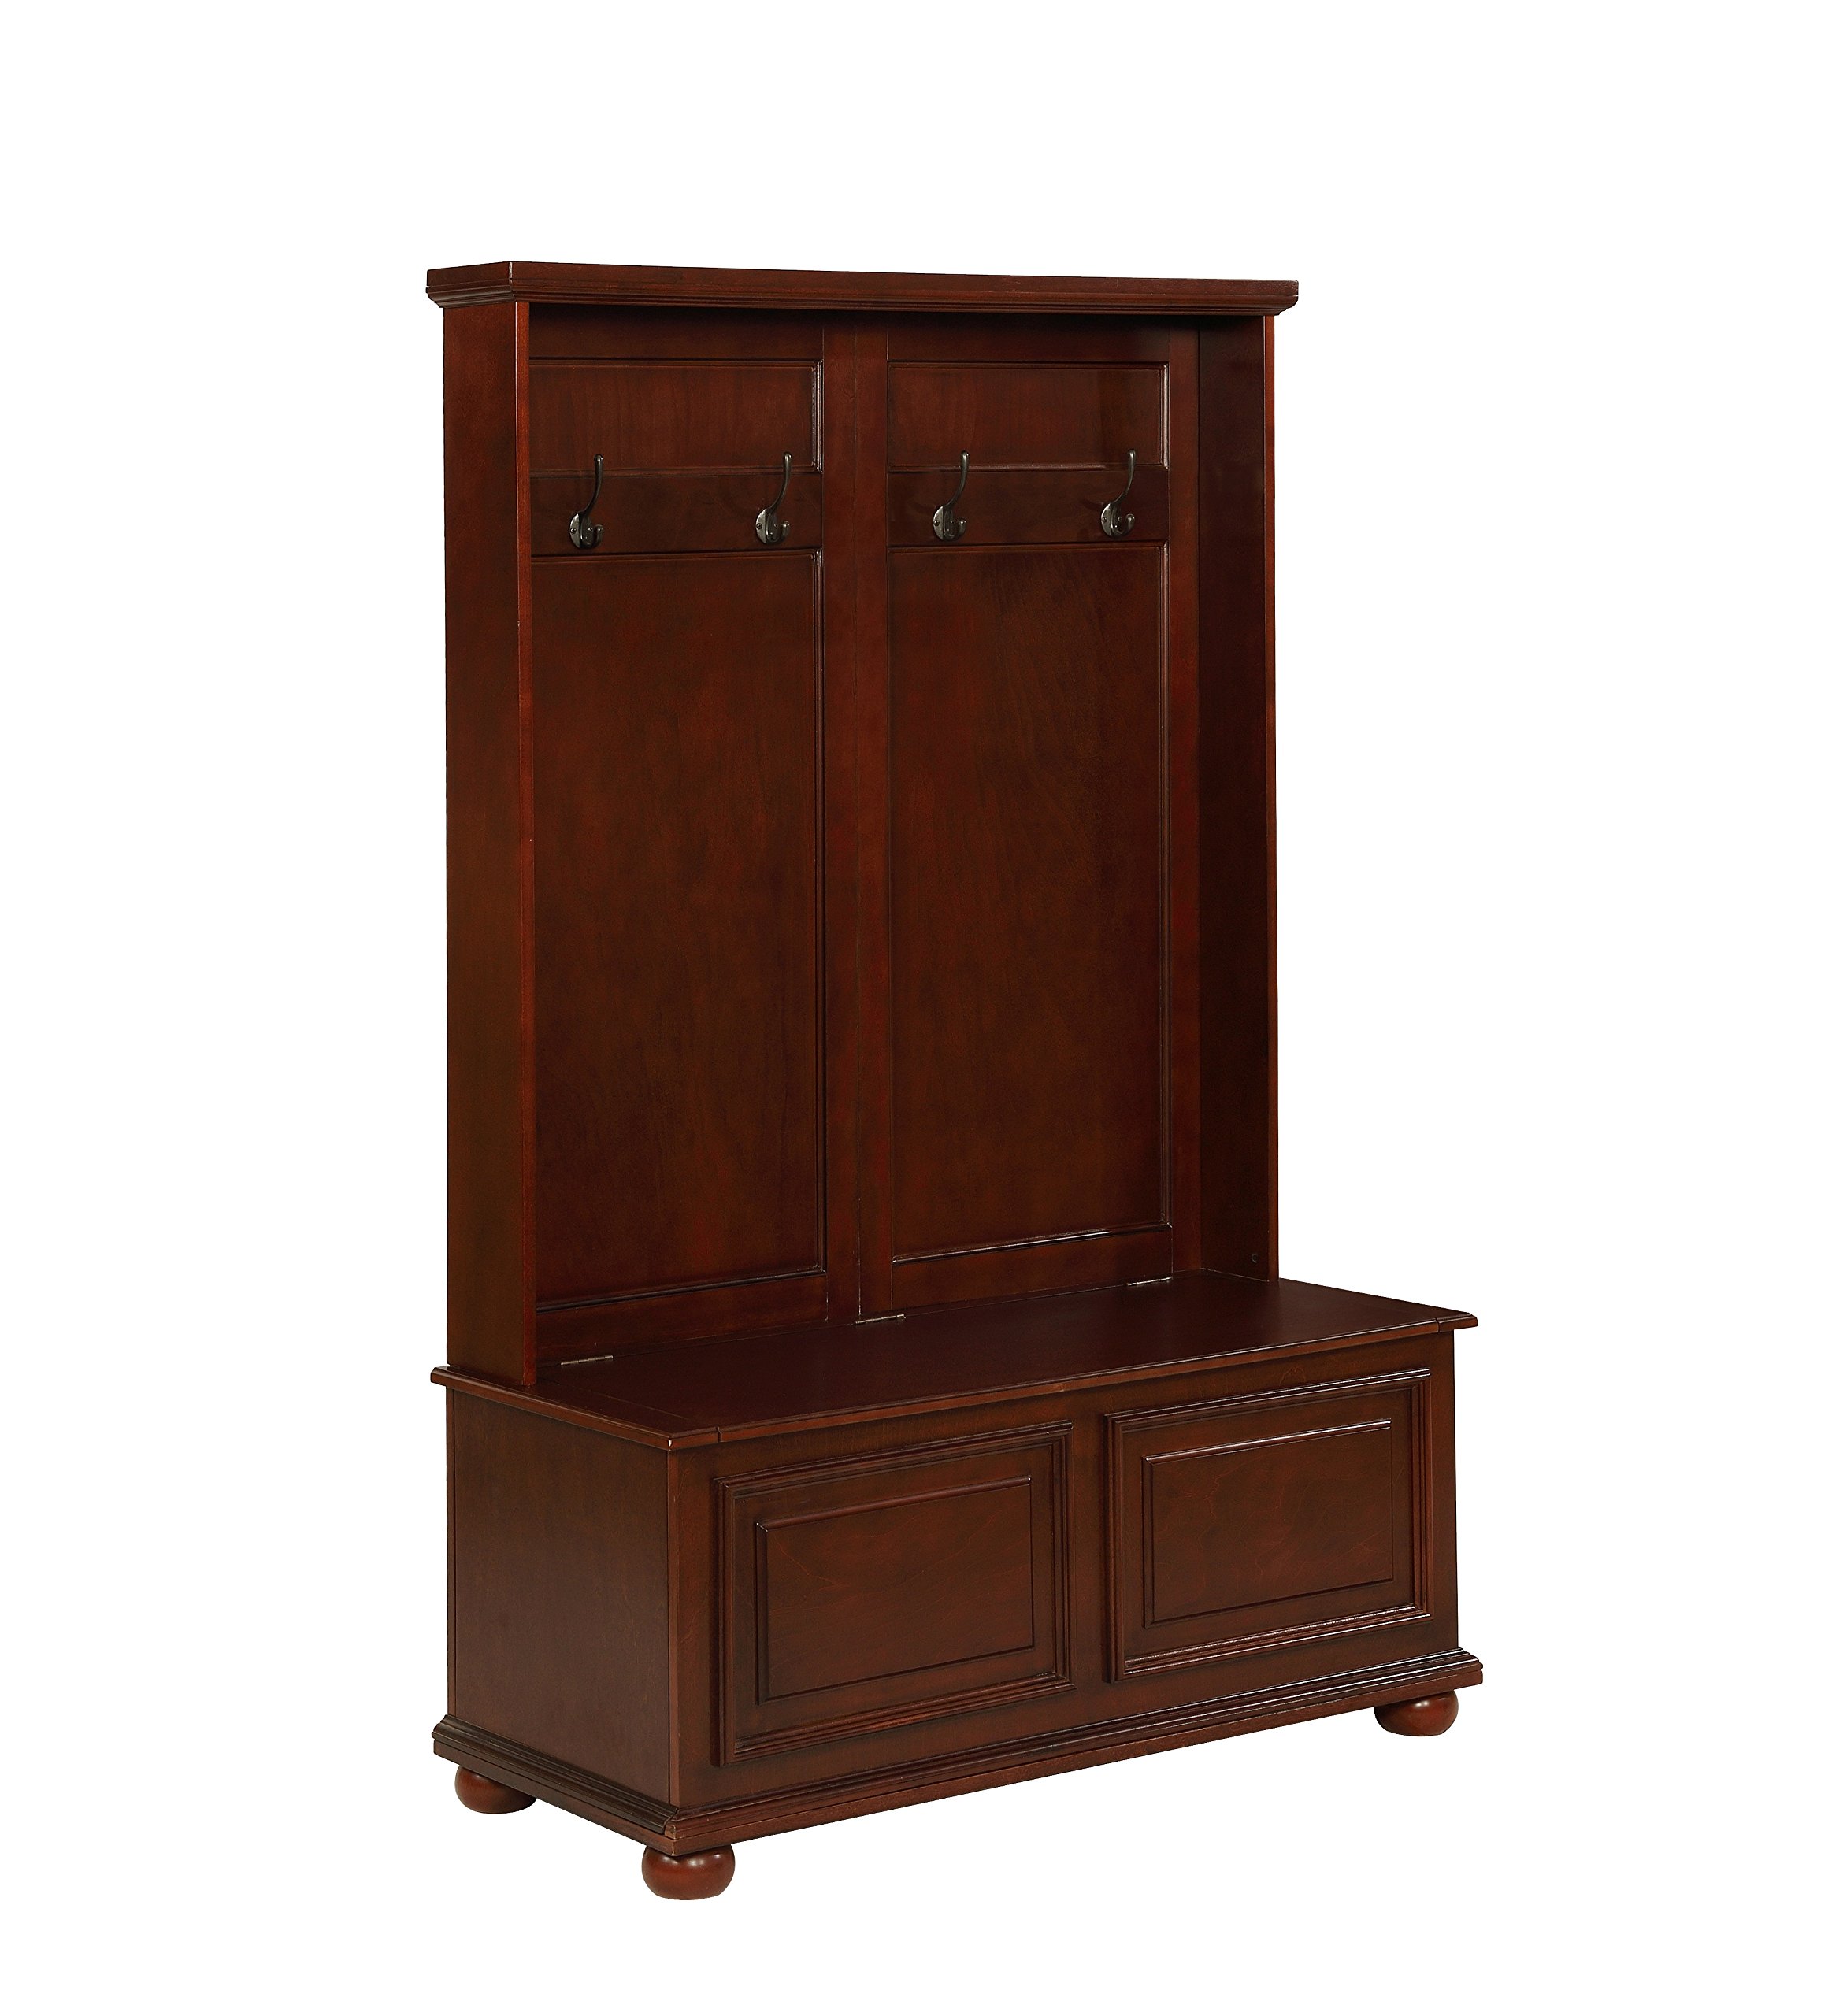
Image: The Chadwick Hall Tree in a home setting, demonstrating its use for hanging items and providing seating.
صيانة
To maintain the beauty and longevity of your Chadwick Hall Tree, follow these simple care instructions:
- تنظيف: مسح الأسطح بمادة ناعمة، دamp قماش. تجنب استخدام المواد الكيميائية القاسية أو المنظفات الكاشطة أو مواد التلميع التي قد تتلف السطح.
- الغبار: قم بتنظيفه بانتظام بقطعة قماش جافة وناعمة.
- الانسكابات: قم بإزالة الانسكابات على الفور باستخدام قطعة قماش نظيفة وجافة.
- الأجهزة: Periodically check all bolts and screws to ensure they are tight. Re-tighten if necessary, but do not overtighten.
- ضوء الشمس: تجنب التعرض لأشعة الشمس المباشرة لفترات طويلة، مما قد يؤدي إلى بهتان أو تغير لون الخشب.
- رطوبة: حافظ على مستوى رطوبة ثابت في منزلك لمنع الخشب من التمدد أو الانكماش، مما قد يؤدي إلى تشققات أو التواء.
استكشاف الأخطاء وإصلاحها
If you encounter any issues with your Hall Tree, consider the following common solutions:
- وحدة متذبذبة: Ensure all assembly bolts and screws are securely tightened. Check that the unit is placed on a level surface.
- Storage Lid Not Closing Smoothly: Verify that the safety hinges are correctly installed and free from obstruction. Do not force the lid.
- اجزاء مفقودة: If any parts were missing upon delivery, please contact customer support with your model number and a description of the missing items.
- الأجزاء التالفة: If any components arrived damaged, contact customer support for assistance.
تحديد
| ميزة | التفاصيل |
|---|---|
| وزن العنصر | 97 رطل |
| أبعاد المنتج | 18 × 40.47 × 64 بوصة |
| رقم موديل العنصر | 15أ7058 |
| الارتفاع المجمع | 64.25 بوصة |
| عرض تجميعها | 18 بوصة |
| طول تجميعها | 40.5 بوصة |
| ارتفاع المقعد المجمع | 18 بوصة |
| حد وزن المقعد | 275 رطل |
| Hook Weight Limit | 7 جنيها لكل منهما |
| أبعاد التخزين | 34.5 بوصة (عرض) × 13 بوصة (عمق) × 12 بوصة (ارتفاع) |
| ASIN | B07587B2GX |
| تاريخ أول توفر | 1 أغسطس 2016 |

Image: Detailed diagram showing the dimensions of the Chadwick Hall Tree.
الضمان والدعم
For warranty information or customer support, please refer to the documentation included with your purchase or visit the official Powell Furniture website. If you require replacement parts or further assistance, please have your model number (15A7058) and ASIN (B07587B2GX) ready when contacting support.


