1. المقدمة
This manual provides detailed instructions for the installation, operation, maintenance, and troubleshooting of the Hikvision DS-9632NI-I8 32-Channel 4K Network Video Recorder (NVR). Please read this manual thoroughly before using the product to ensure proper and safe operation. Keep this manual for future reference.
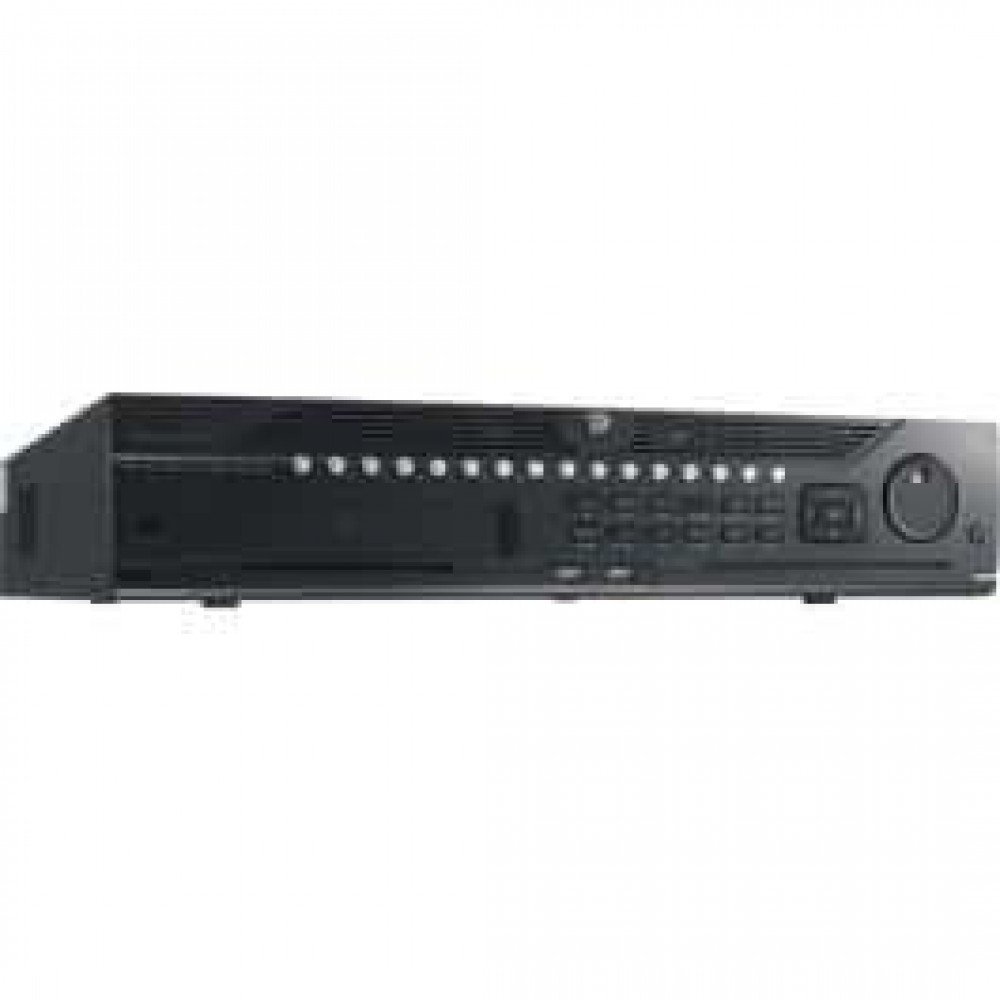
الشكل 1: الجبهة view of the Hikvision DS-9632NI-I8 NVR, showing its robust chassis and various interface ports.
2. معلومات السلامة
اتبع دائمًا احتياطات السلامة الأساسية للحد من مخاطر الحريق والصدمات الكهربائية والإصابات. ويشمل ذلك، على سبيل المثال لا الحصر:
- استخدم فقط محول الطاقة المحدد من قبل الشركة المصنعة.
- تأكد من التهوية المناسبة لمنع ارتفاع درجة الحرارة.
- لا تعرض جهاز تسجيل الفيديو الشبكي للماء أو الرطوبة.
- Avoid placing the NVR near heat sources or in direct sunlight.
- قم بإحالة جميع أعمال الصيانة إلى موظفي الخدمة المؤهلين.
3. محتويات العبوة
Verify that all items are present and in good condition. If any item is missing or damaged, contact your dealer immediately.
- Hikvision DS-9632NI-I8 NVR Unit
- محول الطاقة/الكابل
- ماوس USB
- براغي لتثبيت القرص الصلب
- دليل البدء السريع
- قرص مضغوط (يحتوي على البرنامج ودليل المستخدم الكامل)
4. الإعداد
4.1 تركيب الأجهزة
- Prepare Hard Disk Drives (HDDs): The DS-9632NI-I8 supports up to 8 SATA HDDs. Install HDDs into the NVR chassis using the provided screws. Ensure each HDD is securely mounted.
- توصيل الأجهزة الطرفية:
- قم بتوصيل شاشة بمنفذ إخراج HDMI أو VGA.
- Connect the included USB mouse to a USB port.
- قم بتوصيل NVR بشبكتك باستخدام كابل Ethernet.
- تشغيل الطاقة: Connect the power adapter to the NVR and then to a power outlet. Press the power button on the front panel.
4.2 التكوين الأولي
عند التشغيل الأول، سيقوم جهاز تسجيل الفيديو الشبكي (NVR) بإرشادك خلال معالج الإعداد الأولي.
- تعيين كلمة مرور المسؤول: Create a strong password for the 'admin' user.
- إعدادات الشبكة: Configure network parameters (DHCP or Static IP). Ensure the NVR is accessible on your local network.
- التاريخ والوقت: اضبط التاريخ والوقت والمنطقة الزمنية بشكل صحيح.
- تهيئة القرص الصلب: The NVR will prompt you to initialize the installed HDDs. This process will format the drives for recording.
- Add IP Cameras: Use the wizard to search for and add compatible Hikvision IP cameras to the NVR.
5. تعليمات التشغيل
5.1 مباشر View
بعد تسجيل الدخول، سيعرض جهاز NVR البث المباشر view interface, showing feeds from connected cameras. You can switch between different camera viewوالتصاميم.
- كاميرا واحدة View: Double-click a camera window to view إنها على الشاشة الكاملة.
- اختيار التخطيط: Use the layout icons at the bottom of the screen to choose different grid arrangements (e.g., 4-channel, 9-channel).
5.2 إدارة التسجيل
يدعم جهاز تسجيل الفيديو الشبكي (NVR) التسجيل المستمر والمجدول والتسجيل الذي يتم تشغيله عند وقوع حدث معين.
- Configure Recording Schedule: انتقل إلى التكوين > التخزين > إعدادات الجدولة to define recording times for each camera.
- التسجيل اليدوي: انقر على أيقونة التسجيل في البث المباشر view واجهة لبدء/إيقاف التسجيل اليدوي.
5.3 التشغيل
لإعادةview تم تسجيل فوtage:
- اذهب الى التشغيل قائمة طعام.
- حدد الكاميرا (الكاميرات) المطلوبة ونطاق التاريخ/الوقت.
- استخدم المخطط الزمني للتنقل بين التسجيلات.
- Playback controls (play, pause, fast forward, rewind) are available.
5.4 الوصول عن بعد
يمكن الوصول إلى جهاز تسجيل الفيديو الشبكي (NVR) عن بُعد عبر web browser or Hik-Connect mobile app.
- Web المتصفح: أدخل عنوان IP الخاص بجهاز تسجيل الفيديو الشبكي (NVR) في web المتصفح.
- هيك-كونكت: قم بتنزيل تطبيق Hik-Connect، وقم بإنشاء حساب، وأضف جهاز NVR الخاص بك عن طريق مسح رمز الاستجابة السريعة (QR) أو إدخال رقمه التسلسلي.
6. الصيانة
6.1 تحديثات البرامج الثابتة
Regularly check for and install firmware updates to ensure optimal performance and security. Firmware can be downloaded from the official Hikvision webموقع.
- انتقل إلى Configuration > System > Maintenance > Upgrade.
- Follow the on-screen instructions to perform the upgrade. Do not power off the NVR during the update process.
6.2 إدارة القرص الصلب
Monitor the health of your HDDs and manage storage space.
- حالة القرص الصلب: Check HDD status in Configuration > Storage > HDD Management.
- وضع الكتابة الفوقية: Configure the NVR to overwrite old recordings when storage is full (default behavior).
6.3 التنظيف
Keep the NVR clean to prevent dust buildup, which can affect performance and lifespan.
- Power off and unplug the NVR before cleaning.
- استخدم قطعة قماش ناعمة وجافة لمسح السطح الخارجي.
- استخدم الهواء المضغوط لإزالة الغبار من فتحات التهوية.
7. استكشاف الأخطاء وإصلاحها
| مشكلة | السبب المحتمل | حل |
|---|---|---|
| لا يوجد إخراج فيديو على الشاشة. | وصلة كابل غير محكمة، مصدر إدخال غير صحيح على الشاشة، جهاز تسجيل الفيديو الشبكي غير مُشغّل. | تحقق من توصيلات كابل HDMI/VGA. تأكد من ضبط الشاشة على المدخل الصحيح. تحقق من تشغيل جهاز التسجيل الشبكي (NVR). |
| لا يمكن الوصول إلى جهاز تسجيل الفيديو الشبكي (NVR) عن بُعد. | Network configuration issues, firewall blocking, incorrect port forwarding. | Verify NVR network settings. Check router firewall and port forwarding rules. Ensure Hik-Connect is properly configured. |
| Cameras not recording. | HDD not initialized, recording schedule not set, HDD full. | Initialize HDDs. Configure recording schedule. Check HDD status and capacity. |
| نسيت كلمة مرور المسؤول. | لقد فقدت كلمة المرور. | Refer to the full manual or Hikvision support for password reset procedures. This often involves a security code or a physical reset button. |
8. المواصفات
| ميزة | التفاصيل |
|---|---|
| نموذج | DS-9632NI-I8 |
| مدخل الفيديو | 32-Channel IP Video Input |
| مخرج الفيديو | HDMI (up to 4K), VGA |
| تنسيق فك التشفير | H.265 + / H.265 / H.264 + / H.264 |
| إدخال/إخراج الصوت | 1-ch, RCA (2.0 Vp-p, 1 kΩ) / 2-ch, RCA (Linear, 1 kΩ) |
| ساتا | منفذان SATA لمحركي أقراص صلبة |
| سعة | Up to 10 TB for each HDD (example, actual capacity may vary) |
| واجهة الشبكة | 2 RJ-45 10M/100M/1000M self-adaptive Ethernet interfaces |
| واجهة USB | اللوحة الأمامية: منفذ USB 2.0 واحد؛ اللوحة الخلفية: منفذ USB 3.0 واحد |
| الأبعاد (العرض × العمق × الارتفاع) | 23 × 22 × 8 بوصات (تقريبًا) |
| مزود الطاقة | من 100 إلى 240 فولت من التيار المتردد ، ومن 50 إلى 60 هرتز |
9. الضمان والدعم
9.1 الضمان المحدود
Hikvision products are covered by a limited warranty. The specific terms and duration of the warranty may vary by region and product type. Please refer to the official Hikvision webللحصول على معلومات مفصلة حول الضمان، يرجى زيارة الموقع الإلكتروني أو الاطلاع على وثائق الشراء الخاصة بك.
- احتفظ بإثبات الشراء الخاص بك لمطالبات الضمان.
- Unauthorized repairs or modifications may void the warranty.
9.2 الدعم الفني
For technical assistance, product inquiries, or service requests, please contact Hikvision support through the following channels:
- رسمي Webموقع: يزور www.hikvision.com للحصول على موارد الدعم والأسئلة الشائعة ومعلومات الاتصال.
- خدمة العملاء: Refer to the contact details provided on the Hikvision webالموقع الخاص بمنطقتك المحددة.
- الموزعون المعتمدون: Your authorized Hikvision dealer can also provide support and service.


