1. المقدمة
شكرا لك على الشراءasing the Sharp XL-HF201P Micro Hi-Fi System. This system is designed to provide high-quality audio playback from various sources, including CDs, USB devices, and iPods. This manual provides essential information for the safe and efficient operation of your new audio system. Please read it thoroughly before use and retain it for future reference.
2. معلومات هامة حول السلامة
- مصدر الطاقة: قم بتوصيل الوحدة فقط بمأخذ تيار متردد من نوع voltage المحددة على اللوحة الخلفية للوحدة.
- تهوية: Ensure adequate ventilation. Do not block ventilation openings. Avoid placing the unit on soft surfaces that may block vents.
- الماء والرطوبة: لا تعرض الجهاز للمطر أو الرطوبة أو السوائل المتساقطة أو المتناثرة. لا تضع أشياء مملوءة بالسوائل، مثل المزهريات، على الجهاز.
- حرارة: احتفظ بالوحدة بعيدًا عن مصادر الحرارة مثل المشعات أو فتحات التدفئة أو المواقد أو الأجهزة الأخرى (بما في ذلك ampالمُضخِّمات) التي تنتج الحرارة.
- تنظيف: افصل الجهاز عن مقبس الكهرباء قبل التنظيف. استخدم قطعة قماش جافة فقط.
- الخدمة: لا تحاول خدمة هذا المنتج بنفسك. قم بإحالة جميع أعمال الصيانة إلى أفراد الخدمة المؤهلين.
3. محتويات العبوة
يرجى التأكد من تضمين جميع العناصر المدرجة أدناه في الحزمة الخاصة بك:
- Main Unit (CD Player/Receiver)
- Left Speaker (x1)
- Right Speaker (x1)
- جهاز تحكم عن بعد (مع بطاريتين AA)
- هوائي FM
- هوائي حلقة AM
- سلك الطاقة
- دليل التعليمات (هذا المستند)
4. الإعداد
4.1 التفريغ والتنسيب
Carefully remove all components from the packaging. Place the main unit and speakers on a stable, flat surface. Ensure there is sufficient space around the unit for proper ventilation.
4.2 توصيل مكبرات الصوت
Connect the speaker wires to the corresponding terminals on the main unit and speakers. Match the positive (+) and negative (-) terminals. For optimal sound, ensure the wires are securely connected. If the speaker wires do not insert directly into the screw-knobs, wrap the bare wire ends around the terminal posts and then tighten the screw-knobs to secure them.
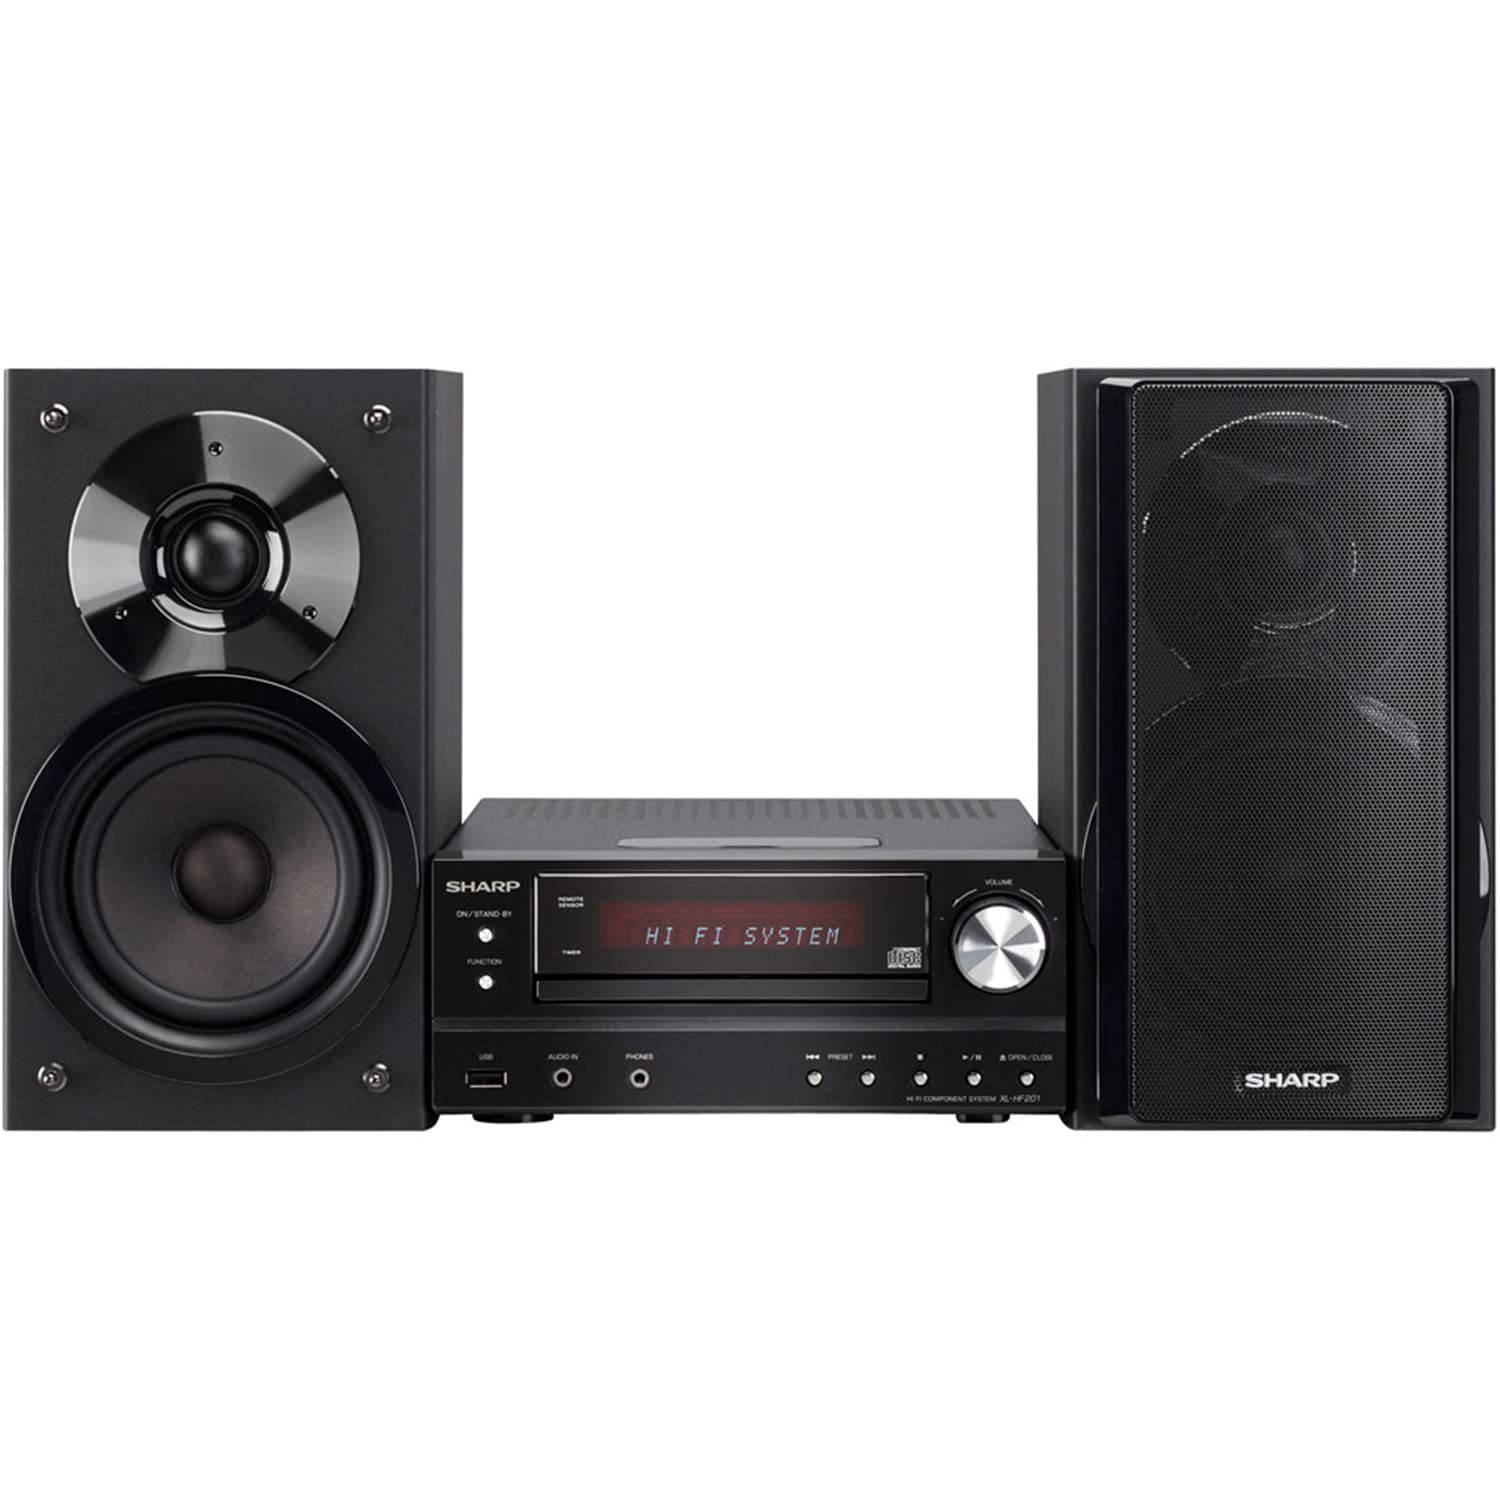
Image 4.2.1: The Sharp XL-HF201P Micro Hi-Fi System, showing the main unit and two speakers. This image illustrates the overall appearance of the system, which includes a central receiver with a CD tray and an iPod dock on top, flanked by two dark-colored speakers.
4.3 Connecting the Antennas
- هوائي FM: Connect the supplied FM wire antenna to the FM antenna terminal on the rear of the main unit. Extend the wire for better reception.
- هوائي AM: Assemble the AM loop antenna and connect it to the AM antenna terminals. Position the antenna for optimal AM reception.
4.4 توصيل الطاقة
After all other connections are made, plug the power cord into the AC inlet on the rear of the main unit, then plug the other end into a wall outlet.
5. تعليمات التشغيل
5.1 تشغيل/إيقاف التشغيل
اضغط على قوة button on the front panel or the remote control to turn the unit on or off (standby mode).
5.2 اختيار المصدر
اضغط على وظيفة button on the front panel or the remote control repeatedly to cycle through available sources: CD, USB, iPod, FM, AM, AUX.
تشغيل أقراص مضغوطة 5.3
- حدد CD وظيفة.
- اضغط على فتح/إغلاق زر لفتح علبة الأقراص المضغوطة.
- Place a CD (CD-DA, MP3, WMA) with the label side up on the tray.
- يضعط فتح/إغلاق أغلق الدرج مرة أخرى. سيبدأ التشغيل تلقائيًا.
- يستخدم تشغيل/إيقاف مؤقت, قف, يتخطى (forward/backward) buttons for control.
5.4 تشغيل USB
- Insert a USB device (containing MP3 or WMA files) في منفذ USB الموجود على اللوحة الأمامية.
- حدد USB وظيفة.
- Playback will begin automatically or you may need to select a track.
- يستخدم تشغيل/إيقاف مؤقت, قف, يتخطى أزرار للتحكم.
5.5 iPod / iPhone Dock
- Carefully place your compatible iPod or iPhone onto the dock connector on top of the main unit.
- حدد آيبود وظيفة.
- Your device will begin charging and you can control playback using the system's remote or your device's controls.
5.6 ضبط الراديو
- حدد FM or AM وظيفة.
- استخدم ضبط buttons (or knob on the unit) to manually tune to a station.
- اضغط مع الاستمرار على ضبط buttons for automatic station scanning.
- لضبط المحطات مسبقًا، اضبط الراديو على المحطة المطلوبة، ثم اضغط ذاكرة متبوعًا بزر رقم محدد مسبقًا.
5.7 التحكم في مستوى الصوت
اضبط مستوى الصوت باستخدام ملف الحجم +/- buttons on the remote control or the volume knob on the main unit.
6. الصيانة
6.1 تنظيف الوحدة
Wipe the exterior of the unit with a soft, dry cloth. Do not use abrasive cleaners, waxes, or solvents as they may damage the finish. For stubborn stains, lightly dampبللي القماش بالماء والمنظف المعتدل، ثم امسحي حتى يجف.
6.2 العناية بعدسات الأقراص المدمجة
Avoid touching the CD lens. If the lens becomes dirty, use a commercially available CD lens cleaner. Do not use compressed air or liquid cleaners directly on the lens.
7. استكشاف الأخطاء وإصلاحها
| مشكلة | السبب المحتمل | حل |
|---|---|---|
| لا يوجد طاقة | سلك الطاقة غير متصل بشكل آمن. | تحقق من توصيل سلك الطاقة بالوحدة ومأخذ الحائط. |
| لا يوجد صوت | مستوى الصوت منخفض جدًا أو مكتوم. أسلاك السماعات غير موصلة بشكل صحيح. | Increase volume. Check speaker wire connections, ensuring correct polarity (+/-). |
| القرص المضغوط لا يعمل | CD is dirty, scratched, or inserted incorrectly. Incorrect function selected. | Clean or replace CD. Insert CD with label side up. Select CD function. |
| لم يتم التعرف على جهاز USB | USB device is not formatted correctly or contains unsupported files. | Ensure USB device is FAT16/FAT32 formatted and contains MP3/WMA files. Try another USB device. |
| استقبال الراديو ضعيف | Antenna not properly positioned or connected. Interference. | اضبط وضع الهوائي. أبعد الوحدة عن الأجهزة الإلكترونية الأخرى. |
| جهاز التحكم عن بعد لا يعمل | البطاريات فارغة أو مُركّبة بشكل غير صحيح. يوجد عائق بين جهاز التحكم عن بُعد والوحدة. | Replace batteries (2 AA). Ensure clear line of sight to the unit's remote sensor. |
8. المواصفات
- ماركة: حاد
- نموذج: XL-HF201P
- طاقة الإخراج: 100 واتس RMS
- الوسائط المدعومة: CD-DA, MP3, WMA (CD, USB)
- الاتصال: USB, iPod Dock, AUX Input, FM/AM Tuner
- نوع السماعة: Subwoofers (integrated into speaker design)
- مصدر الطاقة: كهرباء سلكية
- أبعاد المنتج (الوحدة الرئيسية): حوالي 13 × 15.09 × 20.15 بوصة
- وزن السلعة: حوالي 20.3 رطل
- البطاريات (الريموت): بطاريتان AA (متضمنتان)
9. الضمان والدعم
للحصول على معلومات الضمان ودعم العملاء، يرجى الرجوع إلى بطاقة الضمان المرفقة مع المنتج أو زيارة موقع شارب الرسمي. website. You may also contact Sharp customer service directly for assistance with product registration, technical support, or service inquiries.
الدعم عبر الإنترنت: www.sharpusa.com


