
1. المقدمة
This manual provides essential information for the safe and efficient operation of your PowMr 4000W Hybrid Solar Inverter. This device is designed to convert 24VDC battery power into 110/120VAC pure sine wave electricity, integrating a 140A MPPT charge controller for optimal solar energy utilization. It supports various battery types and off-grid system configurations. Please read this manual thoroughly before installation and use, and retain it for future reference.
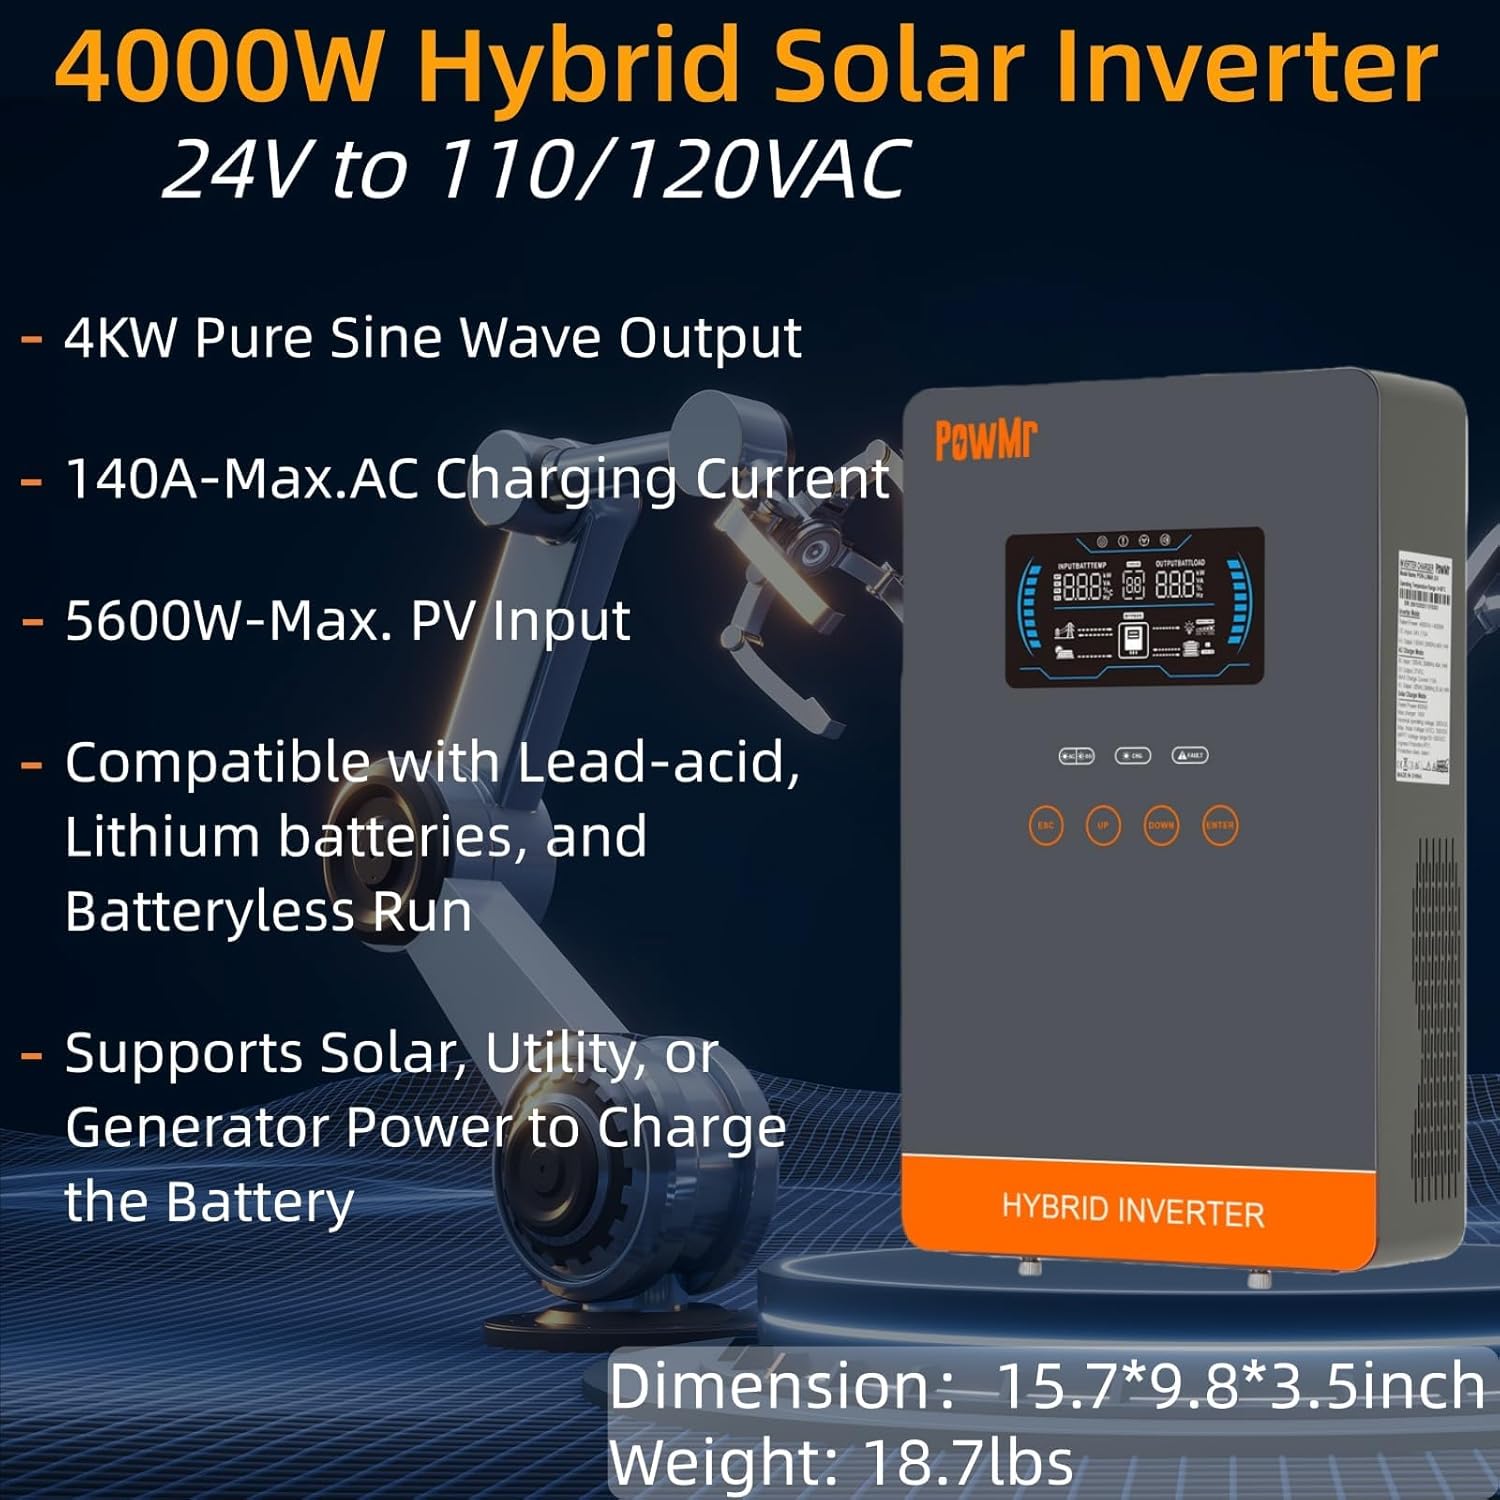
Image: The PowMr 4000W Hybrid Solar Inverter, highlighting its 4KW pure sine wave output, 140A max AC charging current, 5600W max PV input, compatibility with various batteries, and support for solar, utility, or generator power to charge the battery. Dimensions are 15.7"L x 9.8"W x 3.5"H and weight is 18.7lbs.
2. تعليمات السلامة
اتبع دائمًا احتياطات السلامة التالية لتقليل خطر الصدمة الكهربائية أو الحريق أو الإصابة:
- يجب أن يتم التثبيت بواسطة موظفين مؤهلين.
- تأكد من أن جميع الأسلاك ذات حجم مناسب ومعزولة بشكل صحيح.
- لا تقم بفكّ العاكس. لا يحتوي على أي أجزاء قابلة للصيانة.
- قم بإبقاء العاكس بعيدًا عن المواد القابلة للاشتعال والرطوبة وأشعة الشمس المباشرة.
- تأكد من وجود تهوية كافية حول العاكس لمنع ارتفاع درجة الحرارة.
- افصل دائمًا جميع مصادر الطاقة (الخلايا الكهروضوئية، والبطارية، ومدخل التيار المتردد) قبل إجراء أي صيانة أو توصيل أسلاك.
- ارتدِ معدات الحماية الشخصية المناسبة أثناء التركيب والصيانة.
3. انتهى المنتجview
3.1. المميزات
- إخراج موجة جيبية نقية: يوفر طاقة مستقرة ونظيفة مناسبة للأجهزة الإلكترونية الحساسة.
- وحدة تحكم الشحن MPPT المدمجة: نظام تتبع نقطة الطاقة القصوى (MPPT) بقدرة 140 أمبير لشحن الطاقة الشمسية بكفاءة.
- توافق واسع للبطارية: Supports AGM, Gel, Lead-acid, Lithium-ion, and LiFePO4 batteries.
- Batteryless Mode: Can power loads directly from PV/AC grid without a connected battery.
- أوضاع شحن متعددة: Solar Only, Mains Only, Mains & Solar Hybrid.
- Multiple Load Output Modes: Utility Priority, Solar Priority, Solar and SBU Priority.
- الحماية المتقدمة: ماس كهربائى ، أكثر من المجلدtagه ، تحت المجلدtage, overload, reverse polarity, over-temperature, and backfill protection.
- واجهة سهلة الاستخدام: 6.25-inch LCD screen with touch controls for real-time data display.
- منافذ الاتصالات: RS485 and RS232 for monitoring and control.
3.2. تحديد المكون

Image: A detailed diagram of the PowMr Hybrid Solar Inverter, showing its front panel and connection ports. Key components labeled include: 1. LCD display, 2. Status indicator, 3. Charging indicator, 4. Fault indicator, 5. Function touch buttons, 6. On/off switch, 7. AC input, 8. AC output, 9. PV input, 10. Battery input, 11. RS485/RS232 communication port.
3.3. ميزات الحماية

Image: An illustration detailing the comprehensive protection features of the inverter, including Short Circuit Protection, Over-Load Protection, Over Current Protection, Backfill Protection, Over Voltagالحماية الإلكترونية، الحماية من درجة الحرارة الزائدة، انخفاض مستوى الصوتtagالحماية، وحماية من الشحن الزائد.
4. محتويات العبوة
عند فتح العبوة، يرجى التأكد من وجود جميع العناصر وأنها غير تالفة:
- PowMr 4000W Hybrid Solar Inverter
- دليل التعليمات (هذا المستند)
- Communication Cables (if applicable, check packaging)
- أدوات التثبيت (إن وجدت، تحقق من العبوة)
5. التثبيت والإعداد
5.1. تركيب العاكس
Select a suitable location for mounting the inverter. It should be:
- في الداخل، محميًا من أشعة الشمس المباشرة والمطر والغبار.
- جيدة التهوية للسماح بتبديد الحرارة.
- بالقرب من مجموعة البطاريات لتقليل طول الكابل وحجمهtagه قطرة.
- On a solid, non-flammable surface.
5.2. مخطط الأسلاك
Follow the wiring diagram carefully. Incorrect wiring can cause damage to the inverter, batteries, or connected loads, and may pose a safety hazard.

Image: A comprehensive wiring diagram illustrating connections for PV input, Mains/Generator input, AC output, and Battery input. It specifies voltage ranges, current ratings, and recommended wire gauges for each connection point.
5.3. اتصال البطارية
The inverter is compatible with various 24V battery types. Ensure your battery bank matches the inverter's voltagالمتطلبات.

Image: An illustration showing the inverter's compatibility with various battery types including AGM, GEL, FLD (Flooded), LI (Lithium-ion), SLD (Sealed Lead-Acid), and USER-defined settings. It also indicates a maximum battery charging current of 140A (utility charging + solar charging).
- Connect the battery cables to the inverter's battery terminals, ensuring correct polarity (positive to positive, negative to negative).
- أحكم ربط جميع الوصلات بإحكام.
5.4. PV Array Connection
- Connect the solar panel array to the PV input terminals, observing correct polarity.
- Ensure the PV array's open circuit voltagالطاقة الكهربائية ضمن مواصفات العاكس.
5.5. توصيل مدخل/مخرج التيار المتردد
- قم بتوصيل شبكة التيار المتردد أو المولد الكهربائي بأطراف إدخال التيار المتردد.
- قم بتوصيل أحمال التيار المتردد بمنافذ إخراج التيار المتردد.
- Ensure all AC connections are properly grounded.
6. تعليمات التشغيل
6.1. تشغيل / إيقاف التشغيل
- لتشغيل: Ensure all connections are secure. First, connect the battery, then the PV array, and finally the AC input. Press the On/Off switch.
- لإيقاف التشغيل: Disconnect the AC input, then the PV array, and finally the battery. Press the On/Off switch.
6.2. شاشة LCD وعناصر التحكم
The LCD screen displays real-time system data. Use the touch buttons to navigate menus and adjust settings.
6.3. Setting Charging and Output Modes
يوفر العاكس أوضاع شحن وإخراج مرنة لتناسب احتياجات إدارة الطاقة المختلفة.

Image: An illustration detailing the three charging modes (1. Only Solar, 2. Only Utility, 3. Solar+Utility) and three output modes (1. Utility First, 2. Solar First (default), 3. SBU priority). Steps to set programs are also provided: 1. Long press and hold ENTER button for 3s, 2. Press UP and DOWN to select setting programs, 3. Press ENTER to confirm or ESC to exit.
6.3.1. طرق الشحن
- الطاقة الشمسية فقط: يشحن البطاريات حصريًا من الألواح الشمسية.
- للشبكة الرئيسية فقط: Charges batteries exclusively from the AC utility grid or generator.
- الطاقة الرئيسية والطاقة الشمسية الهجينة: Prioritizes solar charging, supplementing with AC utility/generator if solar power is insufficient.
6.3.2. أوضاع إخراج التحميل
- أولوية المرافق: Loads are primarily powered by the AC utility grid. Inverter switches to battery/solar if utility fails.
- الأولوية للطاقة الشمسية: Loads are primarily powered by solar and battery. Inverter switches to utility if solar/battery power is insufficient.
- أولوية وحدة الأعمال الاستراتيجية (الطاقة الشمسية - البطاريات - المرافق): Loads are primarily powered by solar, then battery, and finally by utility as a last resort.
7. الصيانة
تضمن الصيانة المنتظمة الأداء الأمثل وطول عمر العاكس الخاص بك.
- تنظيف: Periodically clean the inverter's exterior with a dry cloth. Do not use liquid cleaners.
- تهوية: Ensure cooling fan vents are clear of dust and obstructions. The triple cooling fan design helps dissipate heat efficiently.
- الاتصالات: قم بفحص جميع التوصيلات الكهربائية سنوياً للتأكد من إحكامها وخلوها من علامات التآكل.
- بيئة: Maintain a clean, dry, and well-ventilated environment around the inverter. The dust-proof design helps prevent dust ingress.
8. استكشاف الأخطاء وإصلاحها
If you encounter issues, refer to the following common problems and solutions. For persistent issues, contact customer support.
| مشكلة | السبب المحتمل | حل |
|---|---|---|
| العاكس لا يعمل | لا يوجد اتصال بالبطارية؛ انخفاض مستوى شحن البطاريةtage; On/Off switch off | Check battery connections; Charge battery; Turn on switch |
| لا يوجد مخرج تيار متردد | زيادة الحمل؛ قصر الدائرة؛ عطل في العاكس | Reduce load; Check for short circuits; Restart inverter |
| لا يعمل شحن الألواح الشمسية الكهروضوئية | PV array disconnected; Insufficient sunlight; PV voltagمنخفض/مرتفع جدًا | Check PV connections; Ensure adequate sunlight; Verify PV array specifications |
| تحذير الزائد | Connected loads exceed inverter capacity | Disconnect some loads; Ensure total load is within 4000W |
| تحذير من ارتفاع درجة الحرارة | Poor ventilation; Ambient temperature too high | Clear vents; Improve airflow; Relocate inverter if necessary |
9. المواصفات
Technical specifications for the PowMr 4000W Hybrid Solar Inverter:
| المعلمة | قيمة |
|---|---|
| رقم الموديل | POW-LVM4K-24V-FBA2 |
| تصنيف انتاج الطاقة | 4000 واط |
| حجم الإدخالtagه (دس) | 24 فولت تيار مستمر |
| حجم الإخراجtagه (AC) | 110/120 فولت تيار متردد |
| شكل الموجة الناتجة | موجة جيبية نقية |
| الأعلى. PV Open Circuit Voltage | 350 فولت تيار مستمر |
| PV صفيف MPPT Voltage المدى | 55-350 فولت تيار مستمر |
| الحد الأقصى لطاقة الإدخال الكهروضوئية | 5600 واط |
| حجم إدخال الشبكة المقدرtage | 110/120 فولت تيار متردد |
| Max. Hybrid Charging Current (AC+PV) | 140 أمبير |
| تواصل | RS485، RS232 |
| نوع العرض | شاشة الكريستال السائل |
| الأبعاد (الطول × العرض × الارتفاع) | 15.7 بوصة طول × 9.8 بوصة عرض × 3.5 بوصة ارتفاع |
| وزن | 18.7 lbs (approximate, derived from image) |
10. الضمان والدعم
10.1. معلومات الضمان
The PowMr 4000W Hybrid Solar Inverter comes with an ضمان لمدة 18 شهرًا يسري هذا الضمان من تاريخ الشراء. ويغطي عيوب المواد والتصنيع في ظل الاستخدام العادي. ولا يغطي الأضرار الناجمة عن التركيب غير الصحيح، أو سوء الاستخدام، أو الحوادث، أو التعديلات غير المصرح بها، أو الكوارث الطبيعية.
10.2. دعم العملاء
For technical assistance, warranty claims, or any questions regarding your PowMr inverter, please contact PowMr customer support through the retailer's platform or the official PowMr website. Please have your model number (POW-LVM4K-24V-FBA2) and purchase date available when contacting support.