
1. المقدمة
This manual provides detailed instructions for the setup, operation, and maintenance of your Magcubic HY320Pro projector. Please read this manual thoroughly before using the product to ensure proper function and safety.
2. معلومات السلامة
Always observe the following safety precautions to prevent damage to the projector and ensure user safety:
- لا تسدّ فتحات التهوية. تأكد من وجود تدفق هواء كافٍ حول جهاز العرض.
- لا تعرض جهاز العرض للمطر أو الرطوبة لتجنب نشوب حريق أو حدوث صدمة كهربائية.
- تجنب النظر مباشرة إلى عدسة جهاز العرض عندما يكون lamp هو على.
- استخدم فقط محول الطاقة المرفق مع جهاز العرض.
- لا تحاول تفكيك جهاز العرض أو إصلاحه بنفسك. اتصل بفنيي الصيانة المؤهلين.
- أبقِ جهاز العرض بعيدًا عن مصادر الحرارة وأشعة الشمس المباشرة.
3. محتويات العبوة
تأكد من وجود جميع العناصر في الحزمة الخاصة بك:
- Magcubic HY320Pro Projector
- محول الطاقة
- جهاز التحكم عن بعد
- دليل المستخدم (هذا المستند)
4. انتهى المنتجview
Familiarize yourself with the components of your Magcubic HY320Pro projector.
4.1 الجبهة View
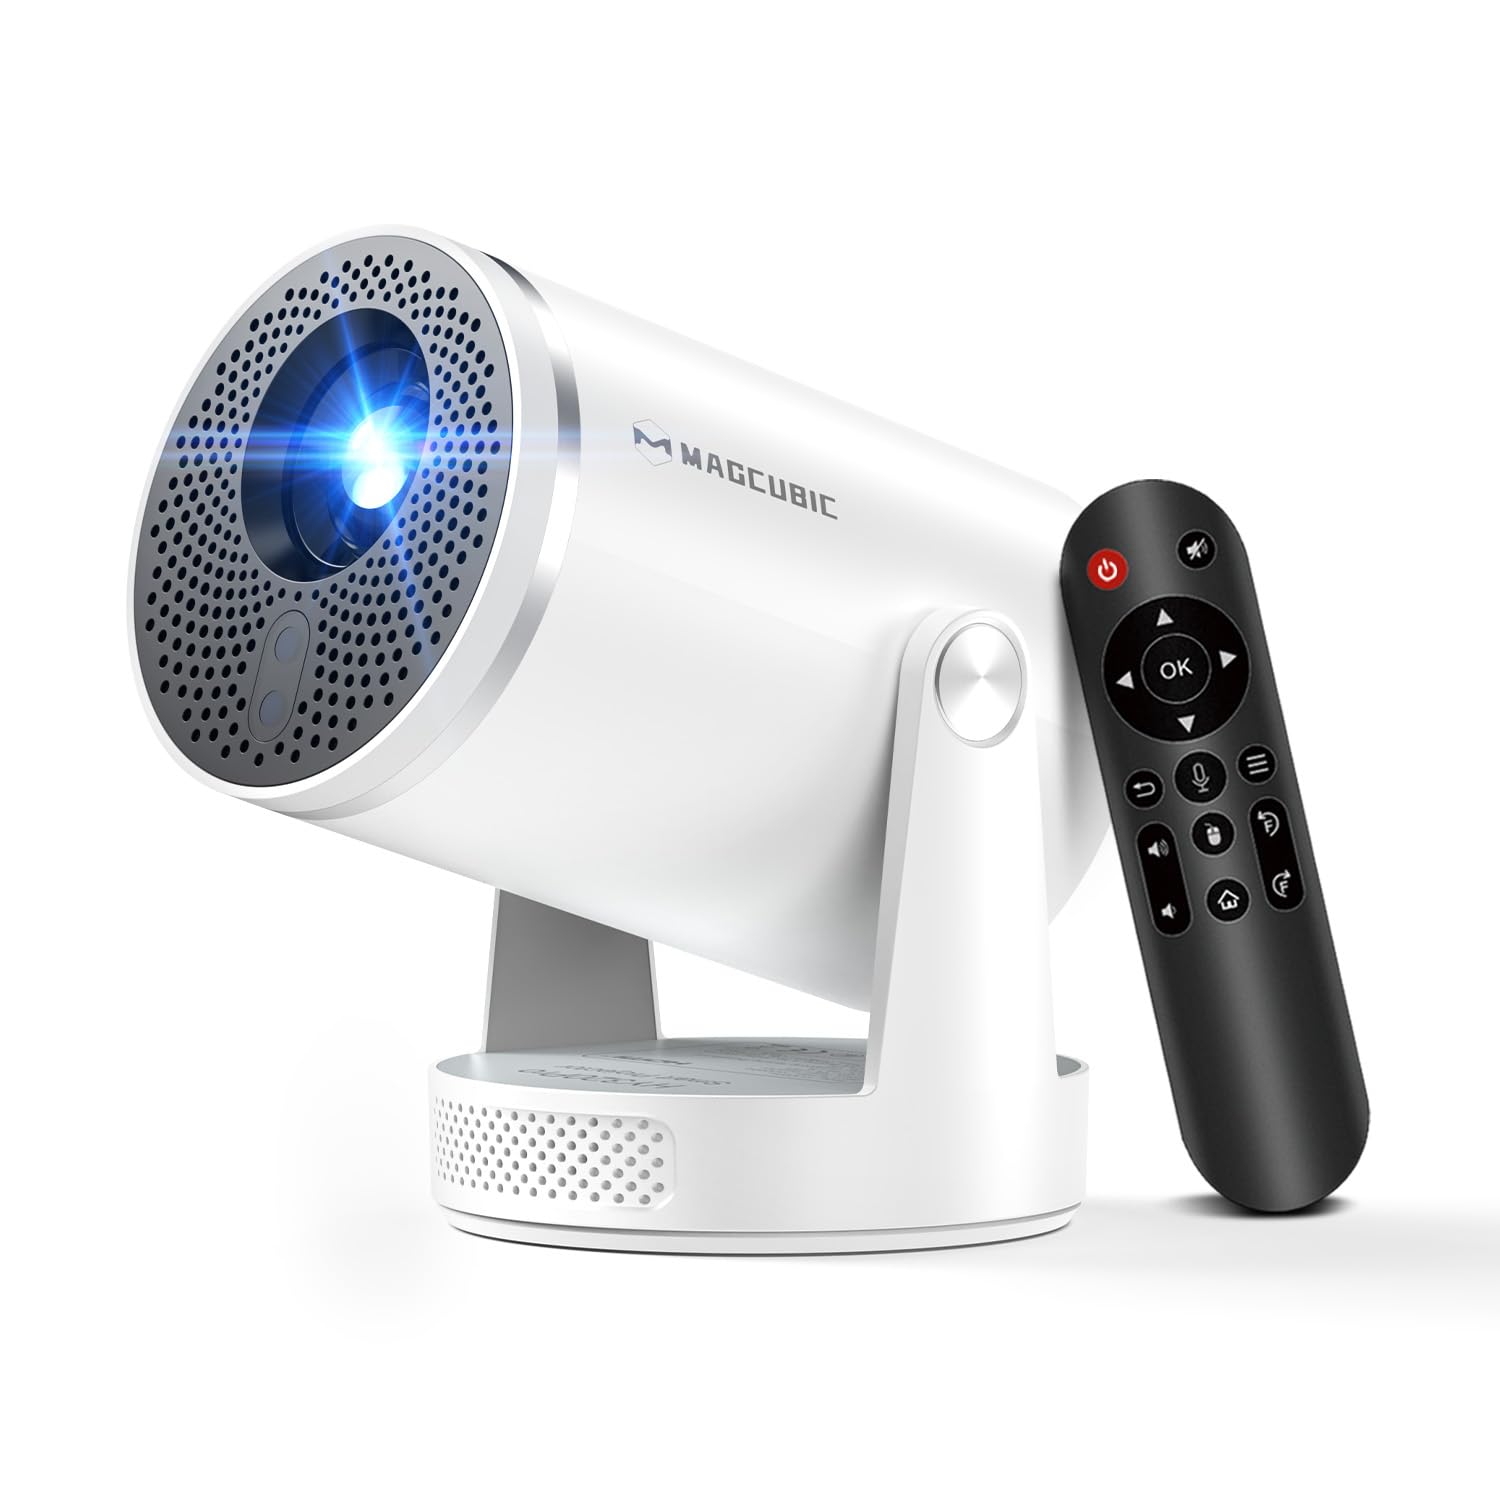
الصورة: الجبهة view of the Magcubic HY320Pro projector, highlighting the projection lens and front ventilation grille.
4.2 الخلفي والجانبي Views

صورة: من الخلف والجانب view of the projector, illustrating the various input ports (HDMI, USB) and power connection.
4.3 التحكم عن بعد

Image: The remote control for the Magcubic HY320Pro projector, featuring navigation, volume, and power buttons, along with an Air Mouse function button.
5. الإعداد
5.1 التنسيب
Position the projector on a stable, flat surface. The HY320Pro features a 180-degree rotatable projection, allowing it to project onto walls or ceilings.

Image: The projector positioned to project an image onto a ceiling, demonstrating its 180-degree rotation capability.
Refer to the projection distance table for optimal screen sizes:
| Projection Size (inches) | Projection Distance (feet) |
|---|---|
| 80" | 5.2 قدم |
| 100" | 6.5 قدم |
| 120" | 7.5 قدم |
| 140" | 8.5 قدم |
Table: Recommended projection distances for various screen sizes with the HY320Pro (0.8:1 projection ratio).
5.2 توصيل الطاقة
Connect the provided power adapter to the projector's power input and then plug it into a wall outlet.
5.3 التشغيل الأولي وضبط الصورة
Press the power button on the projector or remote control to turn it on. The projector features automatic focus and vertical keystone correction. The image will become clear within approximately 3 seconds.

Image: A visual representation of the projector's automatic focus and vertical keystone correction features, showing an image sharpening and aligning on a screen.
Manual horizontal keystone correction is available if needed. The zoom function allows adjustment of image size from 80% to 100%.
6. تعليمات التشغيل
6.1 توصيل الأجهزة الخارجية
يدعم جهاز العرض خيارات اتصال متنوعة:
- HDMI: Connect gaming consoles, Blu-ray players, or other HDMI-enabled devices.
- USB: قم بتوصيل محركات أقراص USB لتشغيل الوسائط.
- بلوتوث شنومكس: Pair with external headphones or speakers for enhanced audio.

Image: An illustration of various compatible devices that can be connected to the projector, such as smartphones, TV boxes, USB drives, and gaming consoles.
6.2 Wi-Fi Connection and Screen Mirroring
The projector features Wi-Fi 6 and dual-band (2.4 GHz + 5 GHz) network support for stable screen mirroring.
- انتقل إلى إعدادات الواي فاي في القائمة الرئيسية لجهاز العرض.
- اختر الشبكة التي تريدها وأدخل كلمة المرور.
- For screen mirroring, select the appropriate option (e.g., AirPlay for iOS, Miracast for Android/Windows) from the projector's menu and follow the on-screen instructions to connect your device.

Image: A projector displaying content wirelessly, illustrating Wi-Fi 6 connectivity and compatibility with iOS, Windows, and Android devices for screen mirroring.
6.3 استخدام جهاز التحكم عن بعد للفأرة الهوائية
The remote control includes a voice control feature and an Air Mouse function for easier navigation.
- تفعيل البلوتوث: Ensure Bluetooth is enabled on the projector.
- الاقتران: Press and hold the left and right buttons on the remote simultaneously to establish the Bluetooth connection.
- وظيفة ماوس الهواء: Once paired, you can use the remote as an Air Mouse by moving it in the air to control the on-screen cursor.
- التحكم الصوتي: Use the voice button on the remote to search for content quickly.

Image: Step-by-step guide on how to activate and use the Air Mouse function of the remote control, including Bluetooth pairing instructions.
6.4 Android 14 System and Applications
The projector runs on Android 14, providing access to over 6,000 applications for streaming and entertainment.
- From the home screen, navigate to the "Store" or "Apps" section to browse and install applications like YouTube, Spotify, Disney+, Netflix, and more.
- Ensure a stable internet connection for optimal streaming performance.

Image: A projector screen displaying a wide array of streaming applications, demonstrating the Android 14 system's access to various entertainment platforms.
7. الصيانة
تضمن الصيانة المناسبة طول عمر جهاز العرض الخاص بك وأدائه.
- تنظيف العدسة: استخدم قطعة قماش ناعمة وخالية من الوبر، مُخصصة للعدسات البصرية. لا تستخدم منظفات كاشطة.
- تنظيف الجزء الخارجي: امسح الجزء الخارجي من جهاز العرض بقطعة قماش ناعمة وجافة. وللأوساخ المستعصية، استخدم قطعة قماش ناعمة قليلاً.amp القماش ثم تجفيفه جيدا.
- تهوية: تأكد بانتظام من أن فتحات التهوية خالية من الغبار والحطام لمنع ارتفاع درجة الحرارة.
- تخزين: عند عدم استخدام جهاز العرض لفترات طويلة، قم بتخزينه في مكان بارد وجاف، بعيدًا عن الغبار.
8. استكشاف الأخطاء وإصلاحها
إذا واجهت مشكلات مع جهاز العرض الخاص بك، فراجع المشكلات والحلول الشائعة التالية:
| مشكلة | السبب المحتمل | حل |
|---|---|---|
| لا توجد صورة معروضة | Power cable disconnected, input source incorrect, lens cap on. | تحقق من توصيل الطاقة، وحدد مصدر الإدخال الصحيح (HDMI/USB)، ثم قم بإزالة غطاء العدسة. |
| الصورة ضبابية | Out of focus, projector not perpendicular to screen. | Allow auto-focus to complete. Adjust manual keystone correction if needed. Ensure projector is placed squarely. |
| لا يوجد صوت | مستوى الصوت منخفض جدًا، أو جهاز الصوت الخارجي غير متصل، أو تم تحديد إخراج صوتي غير صحيح. | Increase volume. Check Bluetooth connection for external speakers/headphones. Verify audio output settings. |
| جهاز التحكم عن بعد لا يعمل | Batteries low/dead, remote not paired (for Air Mouse). | Replace batteries. Re-pair the remote control via Bluetooth as described in section 6.3. |
| اتصال Wi-Fi غير مستقر | Weak signal, interference, incorrect password. | Move projector closer to router. Ensure no obstructions. Re-enter Wi-Fi password. Try 5GHz band if available. |
9. المواصفات
Key technical specifications for the Magcubic HY320Pro projector:
| ميزة | مواصفة |
|---|---|
| ماركة | ماجكوبيك |
| رقم الموديل | HY320Pro |
| الدقة الأصلية | 1920 × 1080 (1080 بكسل) |
| الحد الأقصى لدقة العرض | 4096 × 2160 (دعم دقة 4K) |
| سطوع | شموم شمعة أنسي |
| نسبة التباين | 10000:1 |
| تكنولوجيا الاتصال | واي فاي 6، بلوتوث 5.4 |
| نوع العرض | قاد |
| عامل الشكل | محمول |
| نوع التركيب | جبل الأرض |
| الاستخدامات الموصى بها | Educational, Home Cinema, Office |
| ميزة خاصة | Short Throw, Auto Focus, Auto Vertical Keystone Correction, Manual Horizontal Keystone Correction, 180° Projection |
| رئيس المتكاملة | 5W |
| نظام التشغيل | أندرويد 14 |
| أقصى مسافة للإسقاط | 3.25 مترا |
| الحد الأقصى لحجم الصورة | 140 بوصة |
| Min Image Size | 40 بوصة |
| واجهة الأجهزة | اتش دي ام اي، يو اس بي |
| وزن العنصر | 1.3 رطل (حوالي 0.59 كجم) |
| الأبعاد (تقريبًا) | 198.85 × 116 × 110 ملم |
10. الضمان والدعم
The product comes with a 1-year warranty. For technical support, warranty claims, or service inquiries, please contact your retailer or the manufacturer directly. Refer to the contact information provided with your purchase documentation.