
مقدمة
The UltraPro 800 Series Z-Wave On/Off Switch (Model 76601) is designed to provide smart control over your lights, fans, and other fixtures. This in-wall smart switch integrates with compatible Z-Wave hubs, allowing for remote operation, scheduling, and automation. Featuring Z-Wave Plus Long Range technology, it offers extended wireless coverage and enhanced security for your smart home system. This manual provides detailed instructions for installation, operation, and troubleshooting to ensure optimal performance of your device.
معلومات السلامة
RISK OF FIRE, ELECTRIC SHOCK, OR PHYSICAL INJURY
- تم تصميم هذا الجهاز للتركيب وفقًا لقانون الكهرباء الوطني واللوائح المحلية.
- Always turn OFF power at the circuit breaker or fuse box before installation or servicing.
- تأكد من أن جميع توصيلات الأسلاك آمنة ومعزولة بشكل صحيح لمنع حدوث دوائر قصر.
- Do not exceed the maximum load ratings for this switch (15A resistive, 1800W incandescent, 1/2 HP motor).
- استخدم الأسلاك النحاسية فقط للتوصيلات.
- إذا لم تكن متأكدًا من أي جزء من هذه التعليمات ، فاستشر كهربائيًا مؤهلًا.
محتويات الحزمة
- 1 x UltraPro 800 Series Z-Wave On/Off Switch (Model 76601)
- 1 x Wallplate (optional, may be sold separately)
سمات
- التحكم الصوتي: Compatible with Amazon Alexa and Google Assistant when connected to a Z-Wave certified hub.
- DIY Design (QuickFit): Reduced housing depth and elimination of heat tabs for easier installation in crowded electrical boxes. Color-coded flying leads simplify wiring.
- Multi-Switch Capable: Supports single-pole or multi-switch configurations. Works with up to four compatible add-on switches for full functionality from multiple locations, or one standard three-way switch for ON/OFF control.
- التوافق العالمي: Supports Z-Wave Plus Long Range (up to 1,300ft.) and Z-Wave Classic (up to 150ft.) for flexible network integration.
- خيارات التخصيص: Features a customizable LED indicator with eight colors and four operation modes.
الإعداد والتثبيت
ملاحظات هامة قبل التثبيت:
- مطلوب سلك محايد للتثبيت.
- This switch is designed for use with permanently installed fixtures only.
- Ensure the electrical box has sufficient space for the switch and wiring.
مخطط الأسلاك والوصلات:
The UltraPro 76601 switch features color-coded flying leads for easy identification and connection. Refer to the image below for a visual guide to the wiring connections.

الصورة: الخلف view of the UltraPro Z-Wave switch showing the pre-stripped, color-coded wires for Line, Load, Neutral, Ground, and Traveler connections.
- أطفئ الطاقة: Locate the circuit breaker controlling the switch location and turn it OFF. Verify power is off by toggling the light switch.
- إزالة المفتاح القديم: Unscrew and carefully pull the existing switch from the wall box. Disconnect all wires from the old switch.
- تحديد الأسلاك: Identify the following wires in your wall box:
- LINE (Hot): Black wire, typically coming from the circuit breaker.
- تحميل: Black wire, going to the light fixture or appliance.
- محايد: White wire, usually bundled with other white wires. (Required)
- أرض: Green or bare copper wire.
- TRAVELER (for 3-way/4-way setups): Red or other color wire, used to connect to an add-on switch or another standard 3-way switch.
- قم بتوصيل مفتاح جديد: Using wire nuts, connect the corresponding wires from the wall box to the UltraPro switch's flying leads:
- قم بتوصيل black LINE wire from the wall box to the السلك الأسود على التبديل.
- قم بتوصيل black LOAD wire from the wall box to the السلك الأحمر على التبديل.
- قم بتوصيل white NEUTRAL wire from the wall box to the السلك الأبيض على التبديل.
- قم بتوصيل bare/green GROUND wire from the wall box to the السلك الأخضر على التبديل.
- For 3-way/4-way installations, connect the TRAVELER wire from the wall box to the سلك أصفر on the switch. If not using a multi-switch setup, cap off the yellow wire with a wire nut.
- التبديل الآمن: Carefully fold the wires and push the switch into the electrical box. Secure it with the provided screws.
- تثبيت لوحة الحائط: Attach the wallplate (not included) over the switch.
- اعادة الطاقة: قم بتشغيل الطاقة مرة أخرى عند قاطع الدائرة.
أبعاد:
The QuickFit design of the UltraPro switch features a reduced housing depth for easier installation. Refer to the dimensions below:

Image: Diagram showing the physical dimensions of the UltraPro Z-Wave switch, including housing depth (1.13 inches) and overall faceplate dimensions (1.69 x 4.14 inches).
تعليمات التشغيل
التحكم اليدوي:
The UltraPro Z-Wave switch can be operated manually using the paddle switch:
- Press the top of the paddle: To turn the connected light or appliance ON.
- Press the bottom of the paddle: To turn the connected light or appliance OFF.
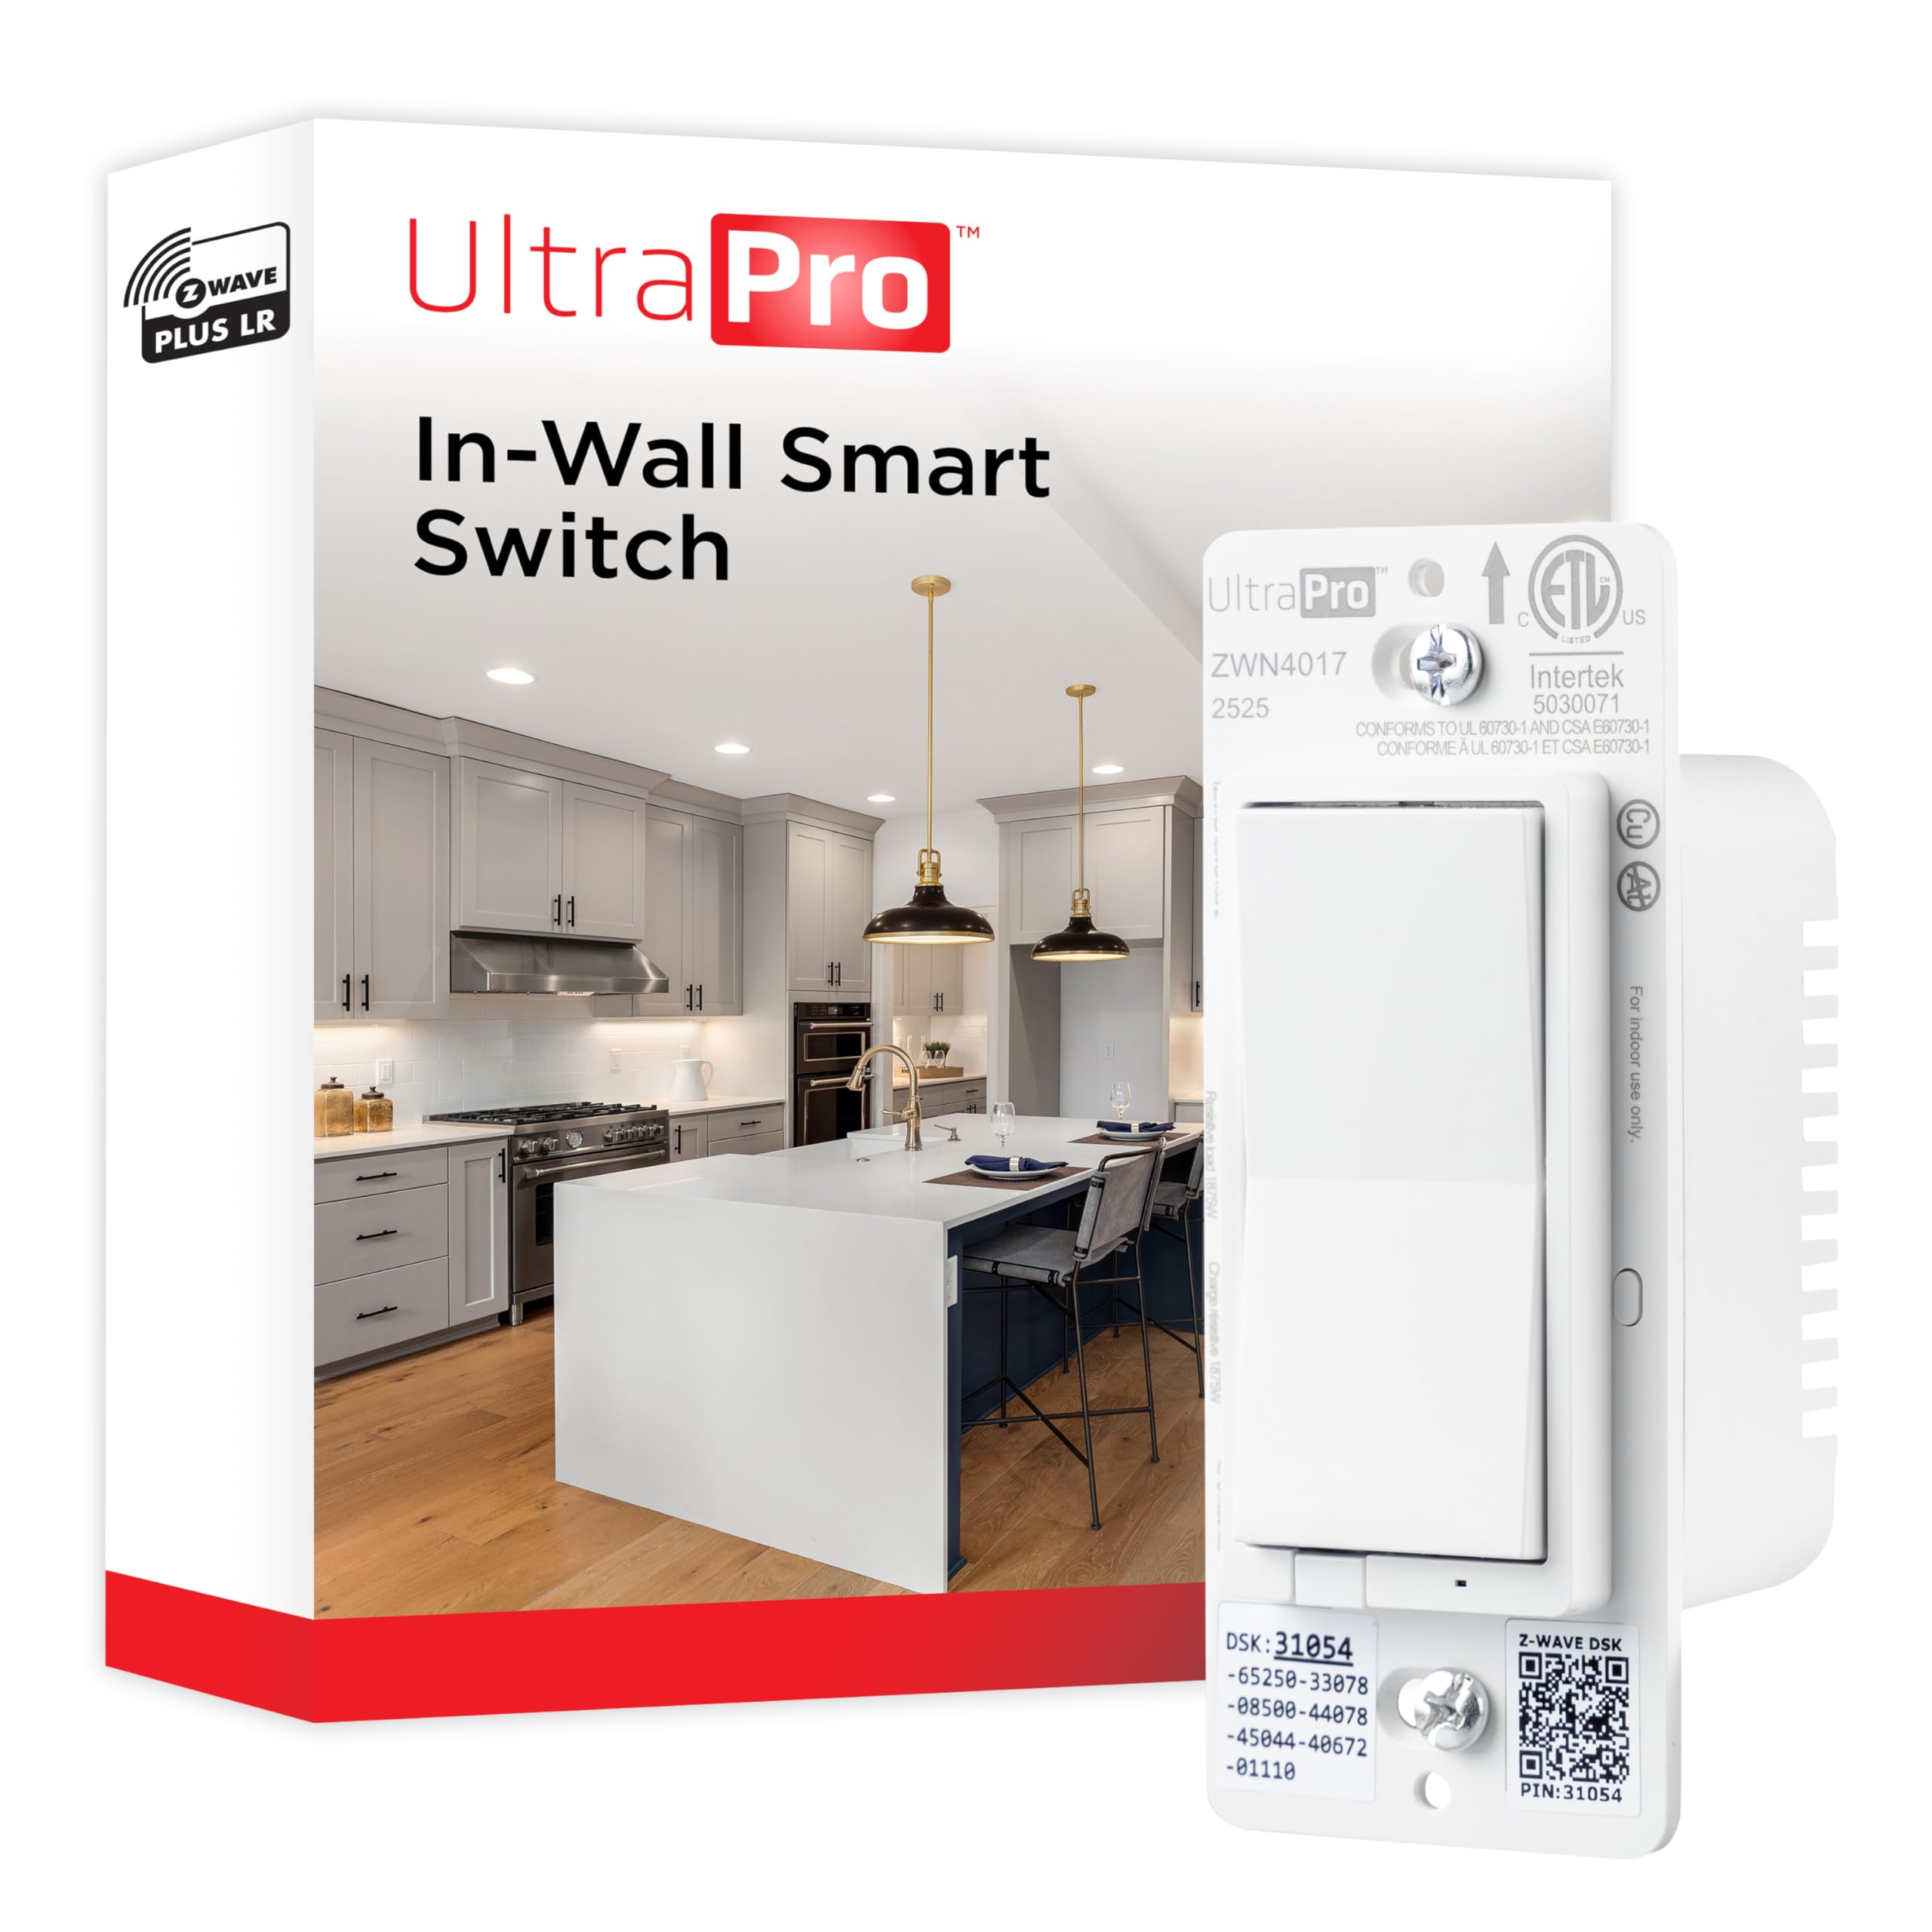
الصورة: الجبهة view of the UltraPro Z-Wave On/Off Switch, showing the large paddle for manual control.
التحكم في Z- الموجة:
Once paired with a Z-Wave certified hub, you can control the switch remotely through your hub's application or interface. This allows for scheduling, scene creation, and integration with other smart devices.
التحكم الصوتي:
When connected to a compatible Z-Wave hub that supports Amazon Alexa or Google Assistant integration, you can control the switch using voice commands. For example, say "Alexa, turn on the kitchen light" or "Hey Google, turn off the living room fan."
Multi-Switch Configuration
The UltraPro 76601 switch supports both traditional 3-way wiring and multi-location control with UltraPro add-on switches. For 3-way or 4-way installations, ensure the traveler wire is correctly connected as described in the installation section.
- With UltraPro Add-on Switches: Connect up to four compatible UltraPro add-on switches to maintain full smart functionality from all control points.
- With Standard 3-Way Switch: The UltraPro 76601 can also be used with one standard 3-way switch for basic ON/OFF control from two locations.
Z-Wave Pairing (Inclusion)
Follow these steps to add your UltraPro Z-Wave switch to your Z-Wave network:
- Place your Z-Wave controller/hub into inclusion (pairing) mode. Refer to your hub's instruction manual for specific steps.
- On the UltraPro switch, press the top or bottom of the paddle مرة واحدة. The LED indicator will begin to flash.
- The hub will confirm successful inclusion. The switch's LED will stop flashing and return to its normal state.
- If prompted by your hub, enter the 5-digit Device Specific Key (DSK) or scan the QR code located on the switch or its packaging for S2 security pairing.
The switch supports both Z-Wave Plus Long Range and Z-Wave Classic inclusion. The type of inclusion will depend on your gateway's capabilities.
استبعاد الموجة Z
To remove your UltraPro Z-Wave switch from a Z-Wave network:
- Place your Z-Wave controller/hub into exclusion (unpairing) mode. Refer to your hub's instruction manual for specific steps.
- On the UltraPro switch, press the top or bottom of the paddle مرة واحدة. The LED indicator will begin to flash.
- The hub will confirm successful exclusion. The switch's LED will stop flashing.
Z-Wave Reset (Factory Reset)
A factory reset will restore the switch to its default settings and remove it from any Z-Wave network. This should only be used when the primary controller is missing or inoperable.
- Press the top of the paddle three (3) times quickly.
- Then, press the bottom of the paddle three (3) times quickly.
- Finally, press the top of the paddle once more and hold it for at least 10 seconds.
- The LED indicator will flash rapidly to confirm the reset.
تخصيص مؤشر LED
The UltraPro 76601 switch features a customizable LED indicator. You can configure its color and operation mode through your Z-Wave hub's advanced settings or by following specific manual button press sequences (refer to the manufacturer's website or your hub's documentation for detailed instructions).
- Eight Colors: Choose from a range of colors to suit your preference or indicate status.
- Four Operation Modes: Customize how the LED behaves (e.g., ON when load is OFF, OFF when load is ON, always ON, always OFF).
استكشاف الأخطاء وإصلاحها
If you experience issues with your UltraPro Z-Wave switch, consider the following:
- المفتاح لا يستجيب: Ensure power is ON at the circuit breaker. Check all wiring connections for tightness and correctness.
- لا يمكن الاقتران بالجهاز المركزي: Ensure your hub is in inclusion mode. Try performing a Z-Wave exclusion first, then attempt inclusion again. Ensure the switch is within range of your Z-Wave network.
- Light Flickering or Not Turning On/Off: Verify the load connected to the switch does not exceed its maximum wattage or current rating. Ensure the neutral wire is properly connected.
- تدخل: Z-Wave LR is designed to penetrate walls, but large metal objects or other wireless devices can still cause interference. Try repositioning your Z-Wave hub or adding Z-Wave repeaters.
- Consult Hub Documentation: For specific Z-Wave network issues, refer to the user manual of your Z-Wave certified hub.
تحديد
| مواصفة | قيمة |
|---|---|
| نموذج | 76601 |
| وضع التشغيل | تشغيل/إيقاف |
| التقييم الحالي | 15 Amps |
| حجم التشغيلtage | 120 فولت |
| واتtage | 1800 واط |
| بروتوكول الاتصال | موجة زد |
| طريقة التحكم | Voice, Manual |
| نوع وحدة التحكم | Amazon Alexa, Google Assistant, SmartThings (via Z-Wave hub) |
| أبعاد العنصر (الطول × العرض × الارتفاع) | 1.75 × 1.75 × 4.25 بوصة |
| عمق السكن | 1.13 بوصة |
| نوع الدائرة | 3-way (with add-on switch or standard 3-way) |
| نوع التركيب | حامل الحائط |
| تصنيف درجة حرارة أقل | 32 درجة فهرنهايت (0 درجة مئوية) |
| تصنيف درجة الحرارة العليا | 104 درجة فهرنهايت (40 درجة مئوية) |
| مادة | معدن (المكونات الداخلية)، بلاستيك (الهيكل) |
| شهادة | استخراج وتحويل وتحميل |
| رمز المنتج الموحد | 030878766012 |
الضمان والدعم
UltraPro products are manufactured by Jasco Products Company, LLC. For warranty information, technical support, or to register your product, please visit the official UltraPro website or contact Jasco customer service. Keep your proof of purchase for warranty claims.