
1. المقدمة
This manual provides essential information for the installation, operation, and maintenance of your Hikvision IDS-7208HQHI-M1/XT 8-Channel 5MP Turbo HD DVR. Please read this manual thoroughly before using the product to ensure correct and safe operation. Keep this manual for future reference.
The Hikvision IDS-7208HQHI-M1/XT is an advanced 8-channel Digital Video Recorder designed for high-definition surveillance systems. It supports various video input formats, including Turbo HD, AHD, CVI, CVBS, and IP cameras, offering versatile compatibility. Key features include 5MP recording capability, H.265+ video compression for efficient storage, AcuSense technology for intelligent motion detection, and remote access via the Hik-Connect app.
2. محتويات العبوة
Verify that all items are present and in good condition upon unpacking. If any items are missing or damaged, contact your supplier immediately.
- DVR main unit
- محول الطاقة
- ماوس USB
3. مواصفات المنتج
The Hikvision IDS-7208HQHI-M1/XT DVR offers a range of features designed for effective surveillance:
- 8-Channel DVR with 5MP HD Support: Supports multiple analog HD camera formats and up to 8 channels of real-time video monitoring and recording.
- Two-Way Audio Support: Enables audio communication through compatible cameras.
- Built-In AcuSense Technology: Smart analysis minimizes false alarms by focusing on human and vehicle-based motion detection.
- Remote Access via Hik-Connect App: View live video, playback recordings, and receive alerts anytime on your smartphone.
- Efficient Storage with H.265+ Compression: Saves bandwidth and hard disk space while maintaining clear video quality.
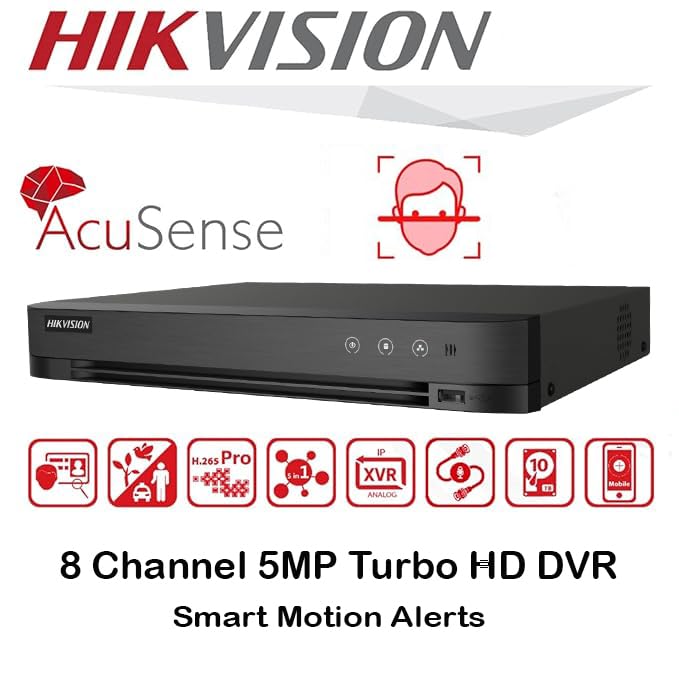
الصورة: أكثر منview of key features including AcuSense, H.265+ compression, and 5MP resolution support.
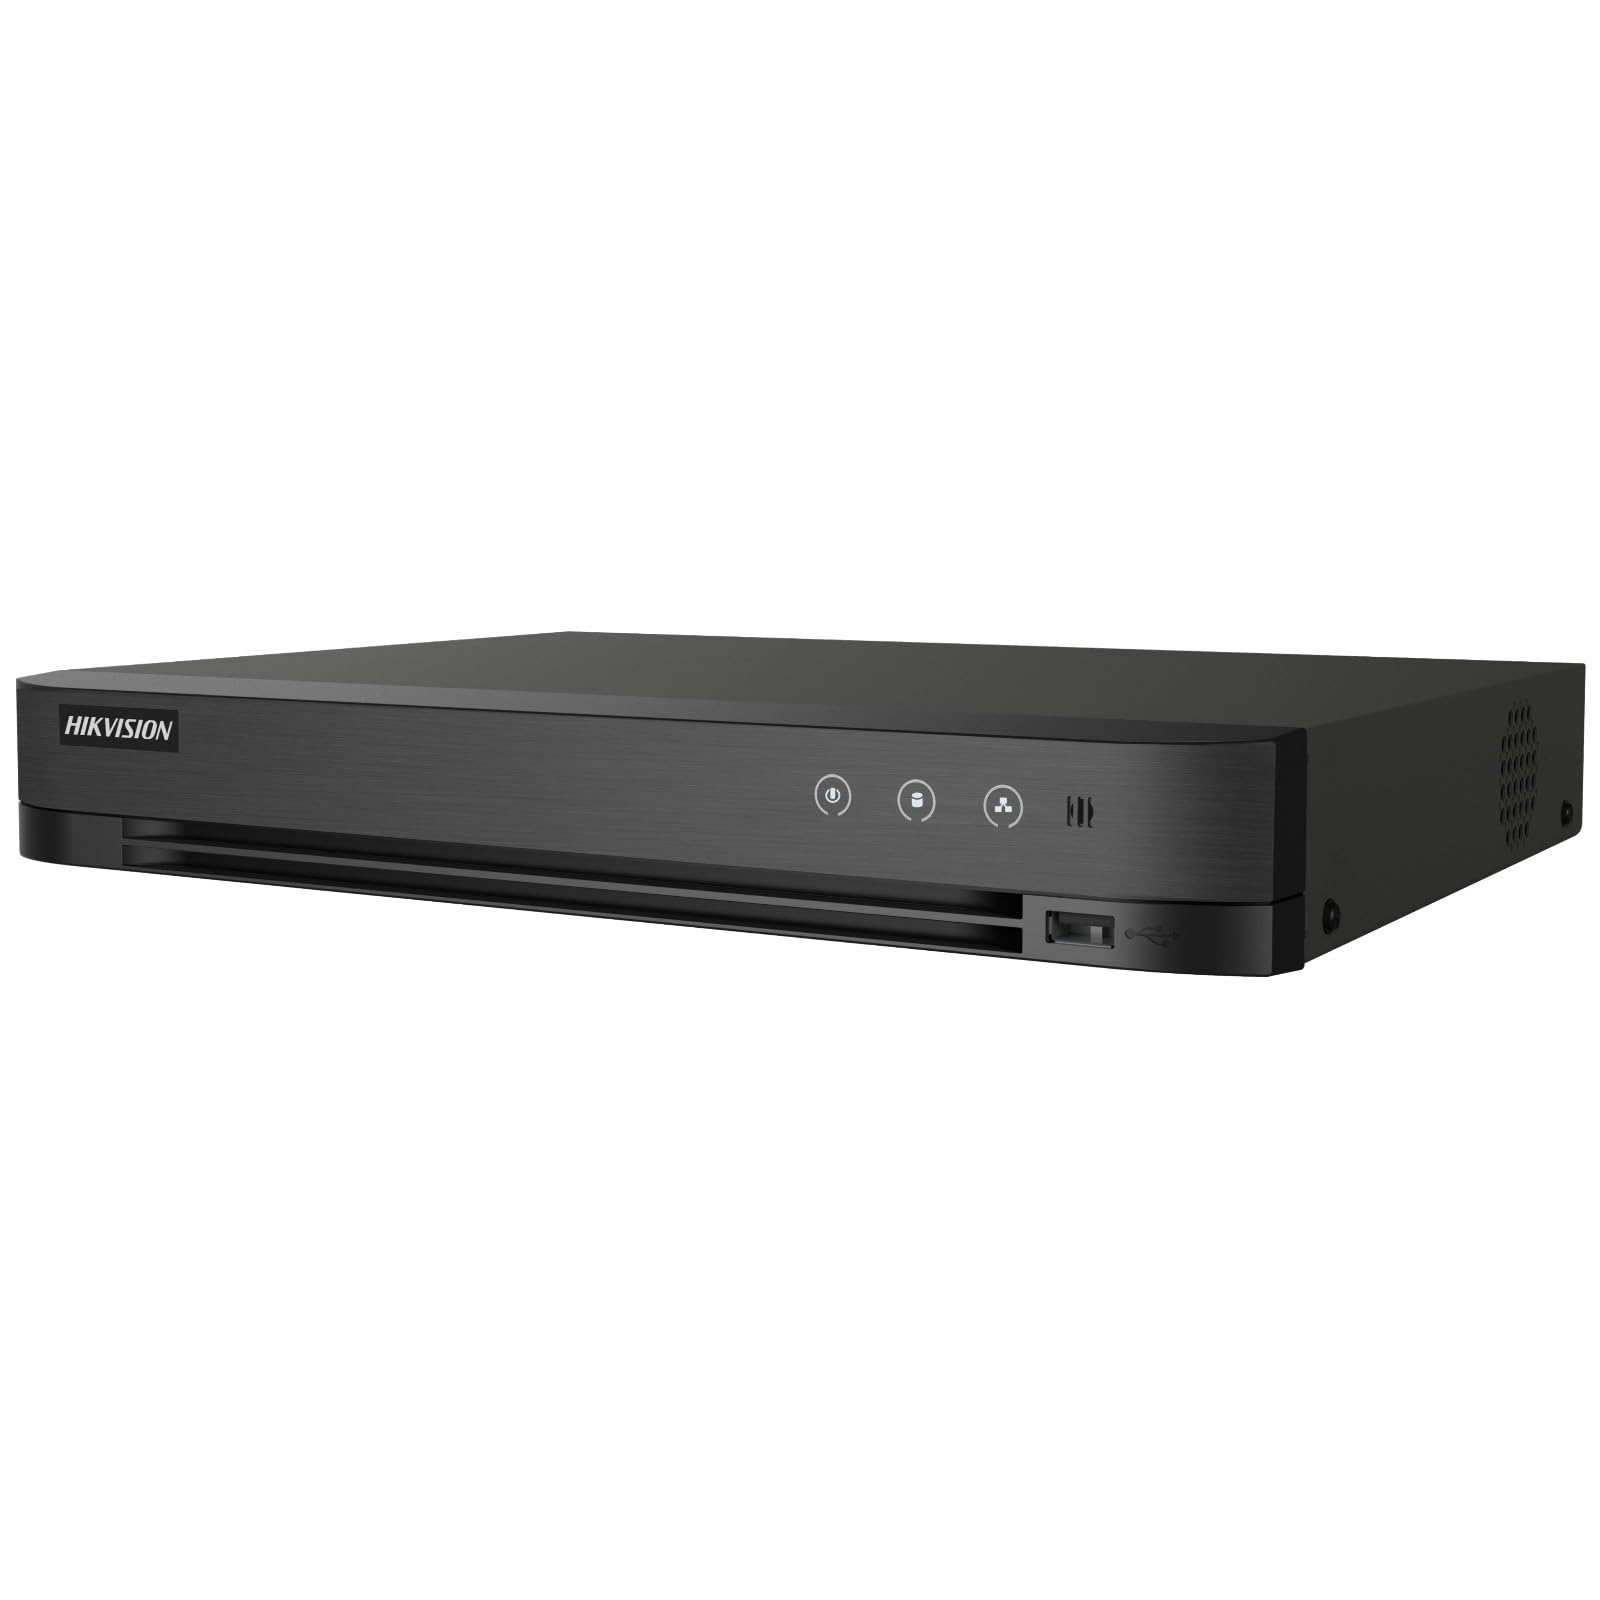
Image: The Hikvision Turbo HD DVR highlighting its support for two-way audio cameras, enabling interactive communication.
4. الواجهة المادية
Familiarize yourself with the ports and indicators on the DVR unit. The following diagram illustrates the rear panel of the Hikvision IDS-7208HQHI-M1/XT DVR:

Image: Rear panel connections of the DVR, showing video inputs, audio ports, network, and power.
- إدخال الفيديو (BNC): Connect analog HD cameras (Turbo HD, AHD, CVI, CVBS).
- Video Out (BNC): Connect to a monitor for local display.
- مدخل الصوت (RCA): Connect external audio input devices.
- مخرج HDMI: Connect to an HDMI-compatible monitor or TV for high-definition video output.
- مخرج في جي ايه: Connect to a VGA-compatible monitor.
- مخرج الصوت (RCA): Connect to external audio output devices.
- منافذ USB: Connect a USB mouse, USB flash drive for backup, or external storage.
- منفذ الشبكة المحلية (RJ45): Connect to your network for remote access and IP camera integration.
- RS-485: For PTZ camera control (if supported).
- مدخلات الطاقة 12 فولت تيار مستمر: قم بتوصيل محول الطاقة المرفق.
- محطة أرضية: لتأريض الجهاز.
5. الإعداد
Follow these steps for initial setup of your DVR system:
5.1 تركيب القرص الصلب (إذا لم يكن مثبتًا مسبقًا)
- قم بفك وإزالة الغطاء العلوي لجهاز التسجيل الرقمي.
- قم بتوصيل كابل البيانات SATA وكابل الطاقة بالقرص الصلب.
- قم بتثبيت القرص الصلب على هيكل جهاز التسجيل الرقمي باستخدام البراغي المرفقة.
- أعد تركيب الغطاء العلوي وثبته بالمسامير.
5.2 توصيل الأجهزة الطرفية
- Connect your cameras to the فيديو في (BNC) ports.
- قم بتوصيل الشاشة بالكمبيوتر منفذ HDMI or في جي ايه منفذ الإخراج.
- Connect the USB mouse to a منفذ يو اس بي.
- Connect the DVR to your network router using an Ethernet cable plugged into the ميناء LAN.
- قم بتوصيل محول الطاقة بـ 12V DC مدخلات الطاقة and then plug it into a power outlet.
5.3 التكوين الأولي
- عند التشغيل الأول، سيقوم جهاز التسجيل الرقمي (DVR) بإرشادك خلال معالج الإعداد.
- Set a strong password for the administrator account.
- قم بضبط إعدادات الشبكة (عادةً ما يكون بروتوكول DHCP كافيًا لمعظم الشبكات المنزلية).
- Initialize the hard drive if prompted. This will format the drive for recording.
- Adjust date, time, and other system preferences as needed.
6. التشغيل
Once the DVR is set up, you can begin monitoring and recording.
6.1 مباشر View
بعد تسجيل الدخول، سيعرض جهاز التسجيل الرقمي البث المباشر view من الكاميرات المتصلة على الشاشة. يمكنك التبديل بين وضع الكاميرا الواحدة view وشبكة متعددة الكاميرات view باستخدام عناصر التحكم التي تظهر على الشاشة أو الماوس.
6.2 التسجيل
The DVR is typically configured to record continuously or based on motion detection. You can adjust recording schedules and settings through the DVR's menu system (Configuration > Record > Schedule).
6.3 التشغيل
لإعادةview تم تسجيل فوtagهـ، انتقل إلى التشغيل menu. Select the date, time, and camera channel to view recordings. Use the playback controls (play, pause, fast forward, rewind) to navigate through the footage.
6.4 Remote Access (Hik-Connect App)
The Hik-Connect app allows you to access your DVR remotely from a smartphone or tablet.
- قم بتنزيل تطبيق Hik-Connect من متجر التطبيقات الخاص بجهازك.
- Create a Hik-Connect account and log in.
- Add your DVR by scanning the QR code on the DVR's label or by manually entering its serial number.
- Follow the in-app instructions to complete the device addition.
- بمجرد الإضافة، يمكنك view live feeds, play back recordings, and receive push notifications for events.

Image: Illustration of the Hik-Connect mobile application interface, demonstrating remote access to live video and recordings.
7. الصيانة
تضمن الصيانة الدورية الأداء الأمثل وطول عمر نظام التسجيل الرقمي الخاص بك.
- Clean the DVR: Periodically clean the exterior of the DVR with a soft, dry cloth. Ensure ventilation openings are free from dust to prevent overheating.
- تحديثات البرامج الثابتة: تحقق من موقع هيكفيجن الرسمي website for firmware updates. Updating firmware can improve performance, add features, and fix bugs. Follow update instructions carefully.
- حالة القرص الصلب: Monitor the health of your hard drive through the DVR's system menu (إدارة الأقراص الصلبة). Replace the hard drive if it shows signs of failure.
- قم بعمل نسخة احتياطية من الأطعمة المهمةtage: قم بعمل نسخ احتياطية منتظمة لملفات الفيديو المهمةtage to an external USB drive or network storage.
- أمان كلمة المرور: Change your DVR and Hik-Connect passwords periodically to maintain security.
8. استكشاف الأخطاء وإصلاحها
يتناول هذا القسم المشكلات الشائعة التي قد تواجهها.
8.1 لا يوجد إخراج فيديو على الشاشة
- Check if the monitor is powered on and correctly connected to the DVR's HDMI or VGA port.
- تأكد من تحديد مصدر الإدخال الصحيح على شاشتك.
- Try connecting to a different monitor or using a different cable.
8.2 الكاميرات لا تعرض البيانات
- Verify that cameras are powered on and properly connected to the DVR's BNC inputs.
- Check camera power supplies.
- Ensure the camera type (TVI, AHD, CVI, CVBS) is compatible with the DVR and configured correctly in the DVR settings.
8.3 Remote Access Not Working
- Ensure the DVR is connected to the internet via the LAN port.
- تحقق من إعدادات الشبكة على جهاز التسجيل الرقمي (DVR)Configuration > Network).
- Verify that the Hik-Connect service is enabled on the DVR.
- تأكد من أن هاتفك الذكي لديه اتصال نشط بالإنترنت.
- Re-add the device to the Hik-Connect app if necessary.
8.4 ممنوع التسجيل
- Check if a hard drive is installed and properly initialized (Configuration > HDD).
- Verify recording schedules are set correctly (Configuration > Record > Schedule).
- تأكد من وجود مساحة كافية على القرص الصلب.
9. المواصفات
Detailed technical specifications for the Hikvision IDS-7208HQHI-M1/XT DVR:
| ميزة | مواصفة |
|---|---|
| رقم الموديل | IDS-7208HQHI-M1/XT |
| مدخل الفيديو | 8-Channel (Turbo HD/AHD/CVI/CVBS/IP) |
| ضغط الفيديو | H.265 + / H.265 / H.264 + / H.264 |
| دقة التسجيل | تصل إلى 5 ميجا بكسل |
| مخرج الفيديو | HDMI, VGA, BNC |
| إدخال/إخراج الصوت | 2-Way Audio Support |
| واجهة الشبكة | 1 RJ45 10M/100M Ethernet Interface |
| واجهة USB | 2 × يو اس بي 2.0 |
| دعم محركات الأقراص الصلبة | واجهة SATA واحدة (سعة تصل إلى 10 تيرابايت لكل قرص صلب) |
| مزود الطاقة | 12 فولت تيار مستمر |
| الأبعاد (الطول × العرض × الارتفاع) | 19.7 × 19.2 × 4.1 سم |
| وزن | 1.5 كجم |
| الشركة المصنعة | HIKVISION, Prama Hikvision India Pvt. Ltd. |
10. الضمان والدعم
For warranty information and technical support, please refer to the warranty card included with your product or visit the official Hikvision webالموقع. احتفظ بإيصال الشراء الخاص بك كإثبات للشراء في حالة مطالبات الضمان.
For further assistance, contact Hikvision customer support or your authorized dealer.