1. المقدمة
This manual provides detailed instructions for the installation, operation, and maintenance of your ELUSH 60Amp MPPT Solar Charge Controller. This device is designed to efficiently manage power from your solar panels to charge various battery types, including LiFePO4, AGM, and Gel batteries, in 12V, 24V, and 48V systems.
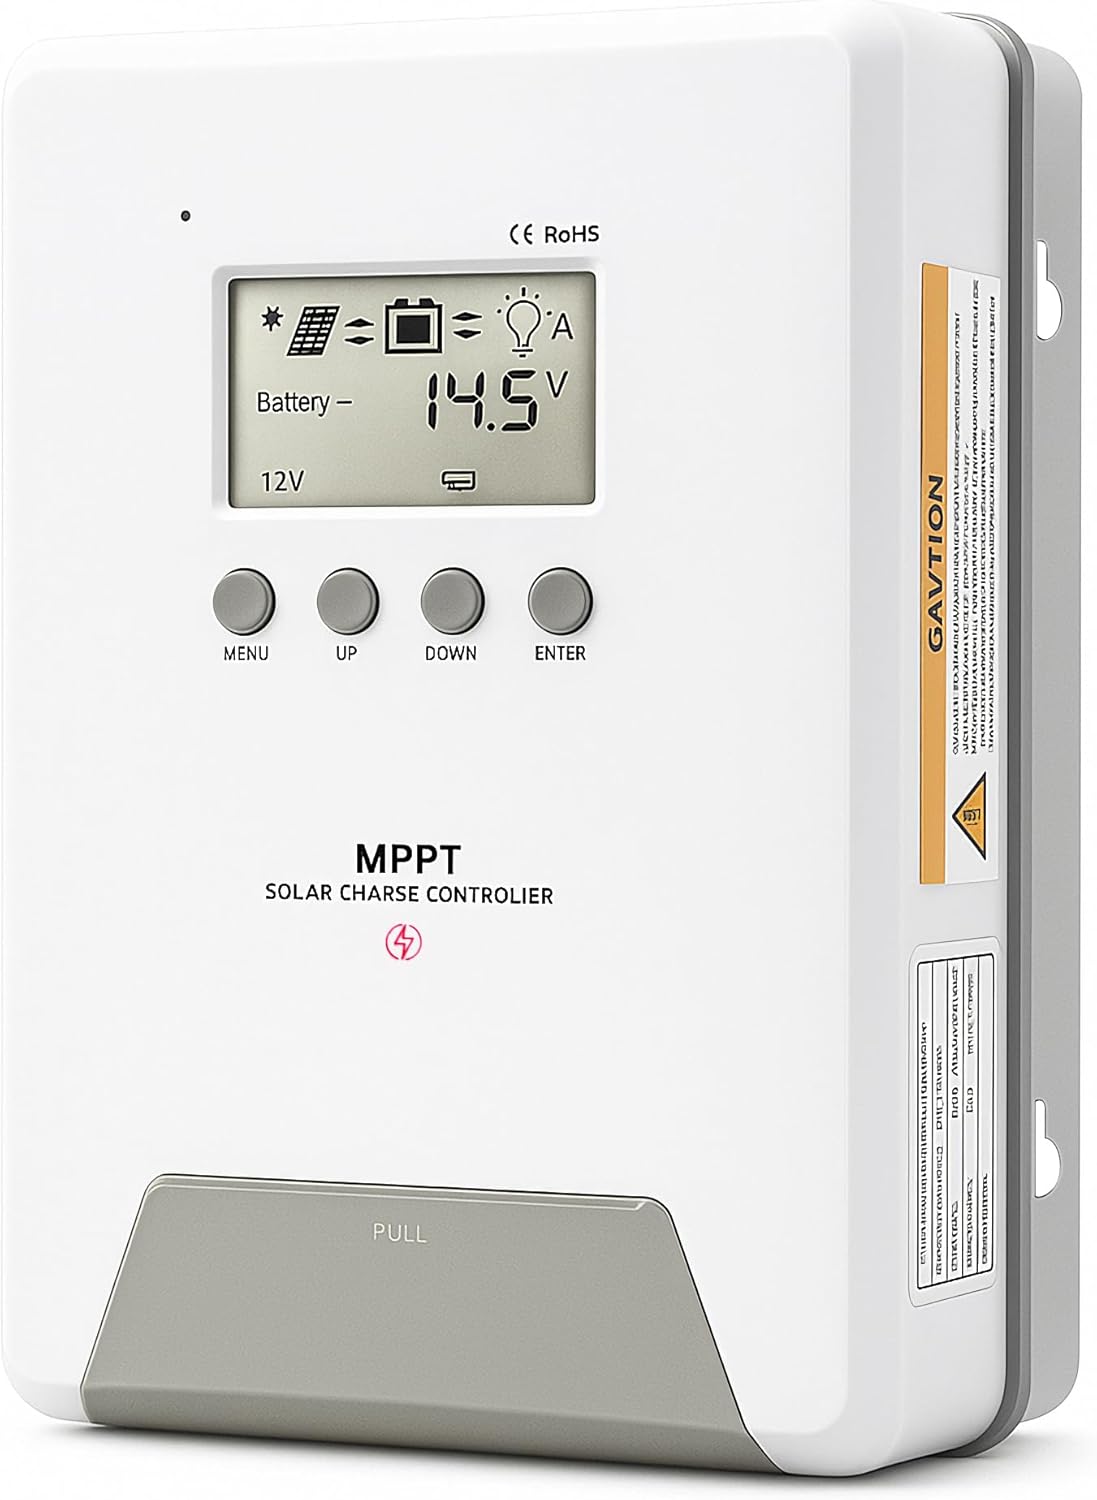
Image 1.1: ELUSH 60Amp وحدة تحكم شحن الطاقة الشمسية بتقنية MPPT.
2. الميزات الرئيسية
- تكنولوجيا MPPT المتقدمة: Maximizes energy harvest from solar panels with tracking efficiency no less than 99% and peak conversion efficiency up to 98%.
- System Auto-Detection: Automatically detects 12V, 24V, and 48V DC system voltages upon startup.
- توافق واسع مع البطاريات: Supports Sealed (AGM), Gel, Flooded lead-acid batteries, and Lithium batteries (LiFePO4, Ternary Lithium/Li-ion).
- شاشة LCD واضحة: Provides real-time monitoring of PV voltagه ، حجم البطاريةtage/current, charging power, accumulated energy generation, and load status.
- Essential Built-in Protections: Includes safeguards against overvoltagه ، التيار الزائد ، undervoltagهـ، ودرجة حرارة عالية.
- تبديد الحرارة بكفاءة: Features a high-quality aluminum heatsink for stable operation and optimal performance.

Image 2.1: MPPT Technology highlighting 99% tracking efficiency and 98% peak conversion efficiency.
3. Safety Information and System Protection
The ELUSH MPPT Solar Charge Controller is equipped with multiple protection features to ensure safe and reliable operation of your solar power system. Always adhere to local electrical codes and safety guidelines during installation and operation.
- Over-discharging Protection: Prevents batteries from being discharged below a safe voltagالمستوى الإلكتروني.
- حماية من التحميل الزائد: Safeguards against excessive current draw from the load terminals.
- Short-circuiting Protection: Protects against short circuits in the solar panel, battery, or load circuits.
- عكس حماية قطبية: Prevents damage from incorrect battery or solar panel connections.
- حماية من الشحن الزائد: Ensures batteries are not overcharged, extending their lifespan.
- تعويض درجة الحرارة: Adjusts charging parameters based on battery temperature for optimal charging.
- حماية التيار العكسي: Prevents current from flowing back from the battery to the solar panel at night.

Image 3.1: Visual representation of the controller's system protection features.
4 التركيب والأسلاك
يُعدّ التركيب الصحيح أمراً بالغ الأهمية لضمان التشغيل الآمن والفعّال لجهاز التحكم بشحن الطاقة الشمسية. اتبع هذه الخطوات بعناية.
4.1 تسلسل الاتصال
قم دائمًا بتوصيل المكونات بالترتيب التالي لمنع التلف:
- قم بتوصيل البطارية: Connect the battery to the controller's battery terminals. Ensure correct polarity (+ to + and - to -). The battery terminals should be installed with safety fuses. Ensure the distance does not exceed 150mm.
- ربط الحمل: قم بتوصيل أحمال التيار المستمر الخاصة بك بأطراف الحمل الخاصة بوحدة التحكم.
- Connect the solar panel: Connect the solar panel to the controller's solar energy terminals. Ensure correct polarity.
- تشغيل وحدة التحكم: The controller will automatically power on once all connections are secure.
ملحوظة: If you want to connect an inverter, connect it directly to the battery, not to the load terminal of the controller.

Image 4.1: Diagram showing the connection points for solar energy, battery, and load.

Image 4.2: Step-by-step visual guide for connecting the system components.
4.2 Hidden Installation Wiring
For a clean and secure installation, the wiring can be routed and hidden. After all connections are properly made and tested, tighten the screws on the terminals and close the bottom cover of the controller to complete the installation. This protects the wiring and provides a neat appearance.
5. تعليمات التشغيل
The controller features an intuitive LCD display and buttons for monitoring and configuration.
5.1 شاشة LCD والأزرار
The LCD screen provides real-time information about your system. The buttons allow you to navigate menus and adjust settings.
- مستشعر درجة الحرارة: Located on the controller, it measures ambient temperature for accurate charging compensation.
- شاشة LCD: يعرض حجم الخلايا الكهروضوئيةtagه ، حجم البطاريةtage, charging current, load status, and other system parameters.
- زر القائمة: Used to enter and exit menu settings.
- زر لأعلى: Navigates upwards through menu options or increases values.
- زر لأسفل: Navigates downwards through menu options or decreases values.
- زر الإدخال: تأكيد الاختيارات أو الدخول إلى القوائم الفرعية.
Image 5.1: The controller's LCD display and button layout for user interaction.
5.2 حجم تلقائيtage Recognition and Battery Compatibility
The controller automatically detects the system voltage (12V, 24V, or 48V) upon startup. It is compatible with a wide range of battery types, ensuring efficient and safe charging for your specific setup.
- Lithium-ion batteries (Li): For standard lithium-ion chemistries.
- Lithium Iron Phosphate batteries (LiFePO4): Specifically designed for LiFePO4 batteries.
- Lead-acid batteries (BAT): Includes Sealed (AGM), Gel, and Flooded types.

Image 5.2: Illustration of automatic voltagالتعرف الإلكتروني والتوافق مع أنواع البطاريات المختلفة.
6. المواصفات
| ماركة | ELUSH |
| رقم الموديل | دي ام 60ا |
| التقييم الحالي | 60 أمبير |
| حجم النظامtage | 12V/24V/48V Auto Detection |
| الحد الأقصى لحجم إدخال PVtage | 150 فولت |
| مادة | الألومنيوم |
| نوع العرض | شاشة الكريستال السائل |
| لون | أسود |
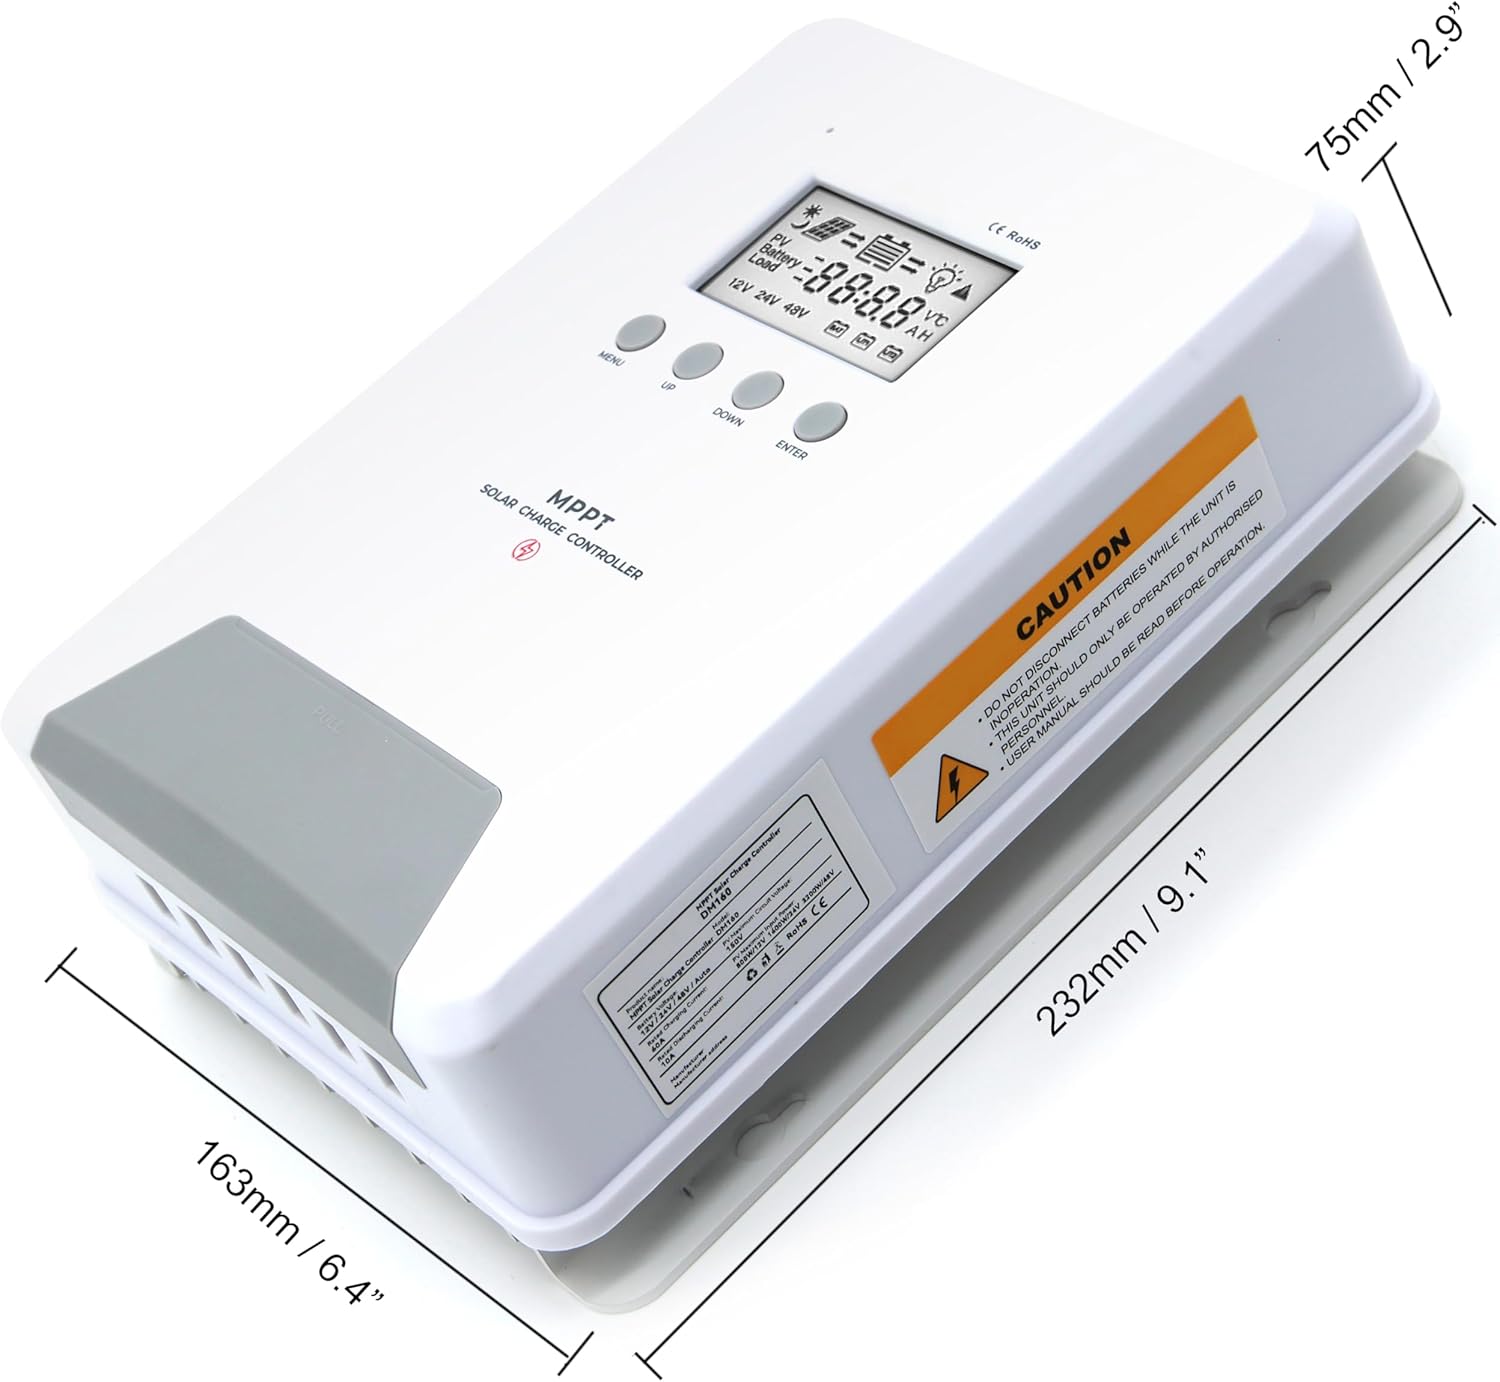
Image 6.1: Physical dimensions of the ELUSH 60Amp وحدة تحكم شحن الطاقة الشمسية بتقنية MPPT.
7. الصيانة
لضمان الأداء الأمثل وطول عمر جهاز التحكم في شحن الطاقة الشمسية، يوصى بالصيانة الدورية:
- فحص الاتصالات: افحص جميع توصيلات الأسلاك بشكل دوري للتأكد من إحكامها وخلوها من التآكل. فالتوصيلات غير المحكمة قد تتسبب في ارتفاع درجة الحرارة وتلف الأسلاك.
- تنظيف وحدة التحكم: حافظ على نظافة وحدة التحكم وخلوها من الغبار والأوساخ. استخدم قطعة قماش جافة لمسح الجزء الخارجي. تأكد من عدم انسداد فتحات التهوية.
- مراقبة الأداء: Regularly check the LCD display for normal operating parameters. Note any unusual readings or error codes.
- صحة البطارية: تأكد من صيانة بطارياتك بشكل جيد وفقًا لإرشادات الشركة المصنعة.
8. استكشاف الأخطاء وإصلاحها
If you encounter issues with your ELUSH MPPT Solar Charge Controller, refer to the following basic troubleshooting steps:
- لا يوجد عرض/لا يوجد طاقة: تحقق من توصيلات البطارية وتأكد من مستوى شحن البطاريةtage is within the controller's operating range. Verify fuses are intact.
- البطارية لا تشحن: Confirm solar panel connections and polarity. Check for sufficient sunlight and ensure solar panel voltage أعلى من حجم البطاريةtage. Verify battery type settings are correct.
- التحميل لا يعمل: Check load connections and ensure the load current does not exceed the controller's rating. Verify load output settings on the controller.
- رموز الخطأ: If the LCD displays an error code, consult the full product manual (if available) or contact technical support for specific guidance.
- ارتفاع درجة الحرارة: Ensure the controller is installed in a well-ventilated area, away from direct sunlight or heat sources. Check for any obstructions to the heatsink.
9. الضمان والدعم
ELUSH provides professional technical support for its products. If you have any questions, require assistance with installation, operation, or troubleshooting, please feel free to contact us. Refer to your purchase documentation for specific warranty terms and contact information.