
تعليمات التشغيل
قبل تشغيل هذه الوحدة ، يرجى قراءة هذا الدليل جيدًا والاحتفاظ به للرجوع إليه في المستقبل.
This JET Drill Press has been designed, engineered, and manufactured for dependability and performance. Proper use and careful maintenance are essential for faultless operation, preventing delays and costly repairs.
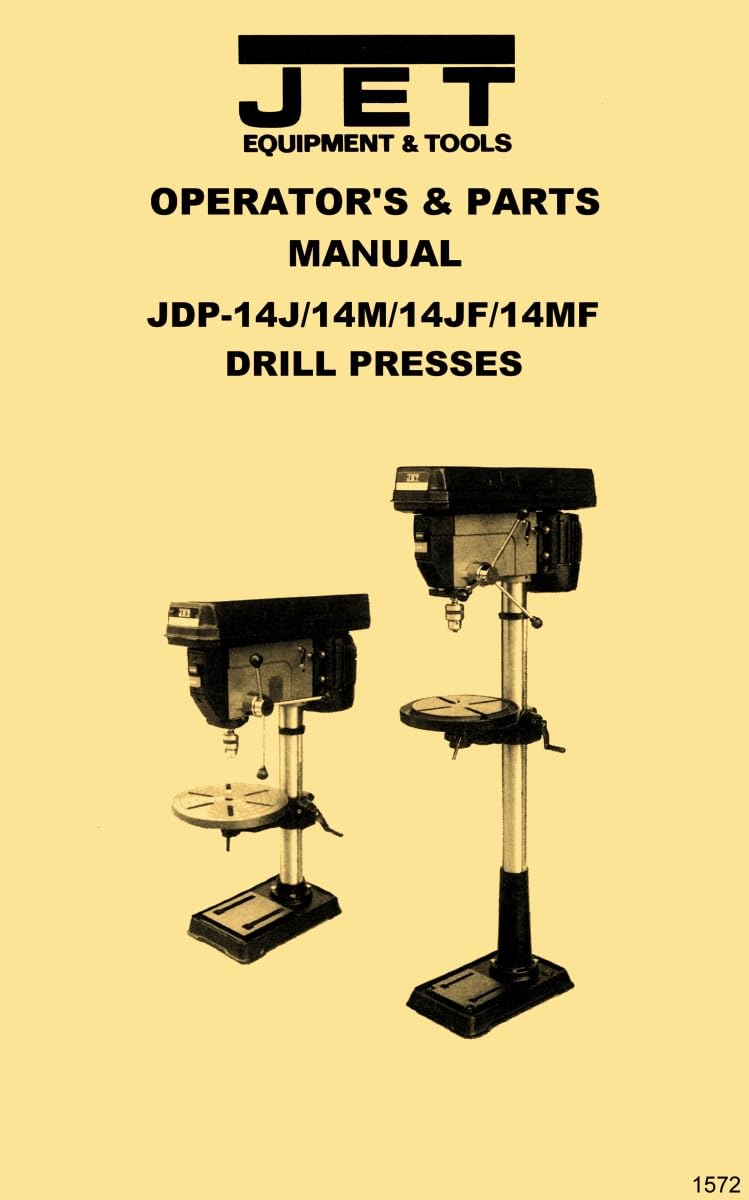
Figure 1: JET 14-inch Drill Presses (JDP-14J/M and JDP-14JF/MF models).
تعليمات السلامة
تعليمات السلامة العامة
- Always wear eye protection when operating the drill press.
- تأكد من أن قطعة العمل بإحكام clamped to the drill press table before drilling.
- Keep hands clear of the rotating drill bit and other moving parts.
- Disconnect power from the machine before making any adjustments, changing bits, or performing maintenance.
- Maintain a clean, well-lit, and organized work area to prevent accidents.
- Do not operate the drill press under the influence of drugs, alcohol, or medication that may impair judgment.
- Use the correct drill bit type and size for the material being drilled.
قواعد أمان إضافية
- تأكد من تركيب جميع وسائل الحماية بشكل صحيح وأنها تعمل بشكل سليم قبل التشغيل.
- Avoid wearing loose clothing, gloves, or jewelry that could become entangled in moving parts.
- Do not overreach; maintain proper footing and balance at all times.
- Never leave the drill press running unattended.
تحديد
معلومات عامة عن المنتج
- النماذج المغطاة: JDP-14J, JDP-14M, JDP-14JF, JDP-14MF
- Drill Press Size: 14 بوصة
المواصفات اليدوية
- طول الطباعة: 24 صفحة
- أبعاد: 11 × 8.5 × 0.5 بوصة
- Recommended Reading Age: 18 سنوات وما فوق
المتطلبات الكهربائية
Ensure the electrical supply at your location matches the voltage and frequency requirements specified on the drill press motor nameplate. Always use a grounded electrical outlet.
- تأكد من أن مصدر الطاقة في مستوى الصوتtage and frequency are compatible with the drill press.
- Connect the drill press to a properly grounded electrical circuit.
- Avoid using extension cords. If an extension cord is absolutely necessary, ensure it is rated for the tool's power requirements and is in good condition.
- If you have any doubts regarding electrical connections, consult a qualified electrician.
Getting to Know Your Drill Press
Before operating your JET Drill Press, take time to familiarize yourself with all its components and controls. Understanding the function of each part is crucial for safe and efficient operation. Key components typically include:
- المحرك: Provides power for drilling.
- رئيس الجمعية: Contains the motor, spindle, and speed adjustment mechanism.
- مغزل: The rotating shaft that holds the chuck.
- تشاك: يثبت لقمة المثقاب بإحكام.
- طاولة: Supports the workpiece and can be adjusted for height and angle.
- عمود: The main vertical support for the head and table.
- قاعدة: Provides stability for the entire machine.
تعليمات التجميع
Follow these general steps for assembling your drill press. Refer to the detailed diagrams in the Parts Breakdown section for specific component identification.
- Unpack all components carefully and verify against the provided parts list to ensure everything is present.
- Securely attach the column to the base using the provided fasteners.
- Mount the head assembly onto the top of the column.
- Install the drill press table and its support bracket onto the column.
- Attach the chuck to the spindle taper.
- Ensure all fasteners are tightened according to the torque specifications (if provided) to ensure stability and safety.
العمليات
تثبيت تشاك
Clean the tapered surfaces of both the spindle and the chuck thoroughly to ensure a secure fit. Align the chuck with the spindle taper and firmly push it into place. A light tap with a soft mallet on the chuck body may be used to seat it securely.
إزالة تشاك وأربور
Lower the spindle to its lowest position. Insert the chuck key into the chuck and open the jaws fully. Locate the slot above the chuck on the spindle. Insert a suitable wedge or drift key into this slot and tap gently with a hammer to separate the chuck from the spindle taper.
Depth Stop Adjustment
The depth stop mechanism allows for precise control over the drilling depth. To adjust, loosen the depth stop lock nut, position the stop to the desired depth, and then firmly re-tighten the lock nut to secure the setting.
سرعات المغزل
Your drill press offers various spindle speeds, which are crucial for optimal drilling performance across different materials and drill bit sizes. Refer to the speed chart, typically located inside the belt cover, for recommended speeds.
Changing Spindle Speeds and Tensioning Belt
To change spindle speeds, first disconnect the power. Open the belt cover. Loosen the motor mounting bolts to relieve tension on the drive belt. Move the belt to the desired pulley combination on both the motor and spindle pulleys. Re-tension the belt by adjusting the motor position, ensuring the belt is taut but not excessively tight. Close the belt cover before reconnecting power and operating the machine.
عودة تعديل الربيع
The return spring assists in smoothly raising the spindle after a drilling operation. If the spindle return is too slow or too fast, the spring tension may need adjustment. Exercise extreme caution during this procedure as the spring is under considerable tension. Consult the detailed diagrams in the Parts Breakdown for specific adjustment points.
Basic Operational Hints
- Always use sharp drill bits for clean and efficient drilling.
- Apply steady, even pressure when drilling; avoid forcing the bit.
- Clear chips regularly to prevent overheating of the bit and workpiece, and to improve cut quality.
- Use appropriate cutting fluid when drilling metals to extend bit life and improve finish.
تشحيم
Regular lubrication of all moving parts is critical for maintaining the performance, accuracy, and longevity of your JET Drill Press. Refer to the lubrication schedule and diagrams in the Parts Breakdown section for specific lubrication points and recommended lubricants. Ensure the machine is disconnected from power before performing any lubrication.
Electrical Breakdown
This section provides a detailed diagram and explanation of the electrical components and wiring within your drill press. It is intended for diagnostic purposes. For safety, all electrical inspection, maintenance, or repair work should be performed exclusively by qualified and certified personnel.
تعطل الأجزاء
انفجرت view diagram is provided to illustrate all individual components of the drill press. This diagram is essential for identifying specific parts for maintenance, repair, or ordering replacements. Each part is typically numbered for easy reference.
قائمة الأجزاء
A comprehensive list of all components, including their corresponding part numbers and descriptions, is provided to facilitate the ordering of replacement parts. When ordering, always refer to the part numbers listed to ensure accuracy.
معلومات الطراز والرقم التسلسلي
The model and serial numbers of your JET Drill Press are typically located on the front of the belt cover. It is important to record these numbers below for your records and for any future correspondence, warranty claims, or parts inquiries related to this product.
نموذج:
الرقم التسلسلي.:
صيانة
Regular maintenance ensures the safe and efficient operation of your drill press. Perform the following checks and tasks routinely:
- Keep the entire machine clean, free from dust, metal chips, and debris.
- Inspect drive belts for any signs of wear, cracks, or fraying, and ensure proper tension.
- Periodically check and tighten all fasteners, bolts, and nuts to prevent vibration and ensure structural integrity.
- Lubricate moving parts according to the schedule and points specified in the Lubrication section.
- Inspect electrical cords, plugs, and connections for any damage or wear.
استكشاف الأخطاء وإصلاحها
This section provides solutions to common operational issues. If a problem persists after attempting these solutions, consult a qualified service technician.
| مشكلة | السبب المحتمل | حل |
|---|---|---|
| مثقاب الضغط لا يبدأ | No power supply, faulty power switch, motor issue | Check power cord and outlet, inspect power switch, consult service manual or technician |
| الاهتزاز المفرط أثناء التشغيل | Loose components, unbalanced chuck or drill bit, worn bearings | Tighten all fasteners, ensure chuck and bit are properly seated and balanced, inspect bearings for wear |
| ينزلق لقمة الحفر في المقبض | Chuck jaws not sufficiently tightened, dirty chuck taper, worn chuck jaws | Ensure chuck jaws are tightened firmly, clean chuck and spindle tapers, replace chuck if jaws are worn |
| عمق حفر غير دقيق | Depth stop not properly set or secured | Re-adjust and firmly secure the depth stop lock nut |