
1. انتهى المنتجview
The Kaidi KD 951 is a compact and portable 10000mAh power bank designed to charge your mobile devices on the go. It features integrated cables with both Micro USB and Lightning connectors, making it compatible with a wide range of smartphones and tablets.
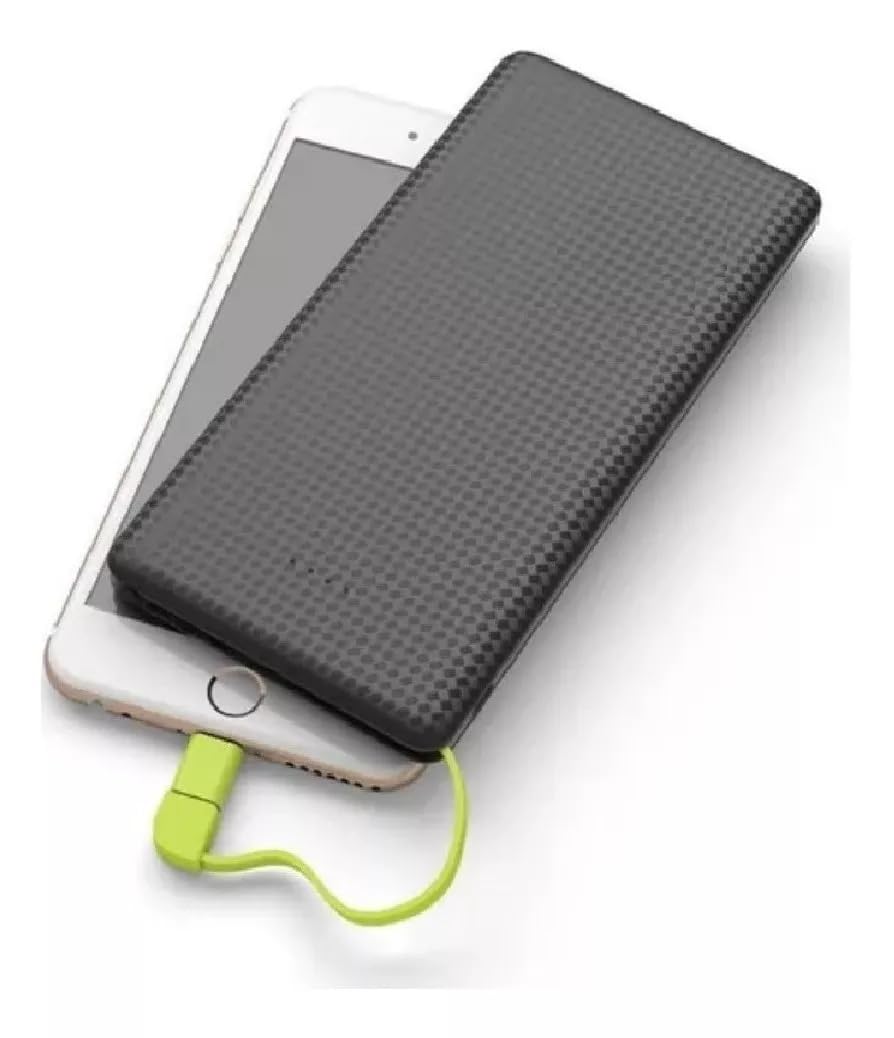
Image 1: The Kaidi KD 951 Power Bank and its retail packaging. The power bank is black with a textured surface, and a red integrated cable is visible. The packaging highlights the 10000mAh capacity.
2. الإعداد والشحن الأولي
2.1 فك الصندوق والفحص
Carefully remove the power bank from its packaging. Inspect the device for any visible damage. Ensure all integrated cables and ports are intact.
2.2 شحن بنك الطاقة
Before first use, fully charge your Kaidi KD 951 power bank. Connect a standard USB wall adapter (not included) to the power bank's Micro USB input port using the integrated Micro USB cable or a separate USB-A to Micro USB cable. The LED indicators will illuminate to show the charging status.

Image 2: Detailed diagram of the Kaidi KD 951 Power Bank showing its components. Labels include LED Indicator, USB output interface, Built-in slot for connectors, 8 Pin connector (Lightning), Micro USB connector, and Charge interface of PN-951 (Micro USB input).
3. تعليمات التشغيل
3.1 شحن جهازك
- Identify the correct connector for your device: either the integrated Micro USB or the Lightning adapter.
- Pull out the integrated cable from its storage slot.
- If your device uses a Lightning port (e.g., iPhone), attach the Lightning adapter to the Micro USB connector.
- Connect the appropriate connector to your mobile device's charging port.
- The power bank will automatically begin charging your device. If not, press the power button (if available) to initiate charging.

Image 3: The Kaidi KD 951 Power Bank connected to a smartphone, demonstrating a device being charged. The integrated cable with a red connector is plugged into the phone.
3.2 فحص مستوى البطارية
The Kaidi KD 951 power bank features LED indicators to display its remaining battery capacity. Press the power button once to activate the indicators. The number of lit LEDs corresponds to the charge level:
- 4 المصابيح: 75-100٪ مشحونة
- 3 المصابيح: 50-75٪ مشحونة
- 2 المصابيح: 25-50٪ مشحونة
- 1 ليد: 0-25% مشحونة (إعادة الشحن قريبًا)
4. الصيانة
- تخزين: قم بتخزين بنك الطاقة في مكان بارد وجاف بعيدًا عن أشعة الشمس المباشرة ودرجات الحرارة القصوى.
- تنظيف: استخدم قطعة قماش ناعمة وجافة لتنظيف الجزء الخارجي من بنك الطاقة. لا تستخدم مواد كيميائية قاسية أو مواد كاشطة.
- العناية بالبطارية: To prolong battery life, fully charge the power bank at least once every three months, even if not in regular use. Avoid completely draining the battery frequently.
- التعامل: تجنب إسقاط بنك الطاقة أو تعريضه لصدمات قوية.
5. استكشاف الأخطاء وإصلاحها
- بنك الطاقة لا يشحن: Ensure the charging cable is securely connected to both the power bank's input port and the power source. Try a different USB wall adapter or cable.
- الجهاز لا يشحن من بنك الطاقة: Ensure the integrated cable is correctly and securely connected to your device. Check if the power bank has sufficient charge. Try pressing the power button on the power bank.
- الشحن البطيء: Ensure you are using a compatible charging cable and adapter. Some devices may charge slower if they require higher current than the power bank can provide, or if the cable is damaged.
- مؤشرات LED لا تعمل: The power bank might be completely discharged or damaged. Try charging it for an extended period. If the issue persists, contact customer support.
6. المواصفات
| ميزة | التفاصيل |
|---|---|
| رقم الموديل | 951 د.ك |
| سعة | 10000 مللي أمبير |
| مدخل | ميكرو يو اس بي |
| الناتج | Integrated Micro USB, Integrated Lightning Adapter |
| أبعاد | 18 × 10 × 2 سم (تقريبًا) |
7. الضمان والدعم
7.1 معلومات الضمان
This product typically comes with a manufacturer's warranty against defects in materials and workmanship. Please refer to your purchase documentation or contact your retailer for specific warranty terms and duration. Extended warranty options may be available from your seller.
7.2 دعم العملاء
For technical assistance, troubleshooting beyond this manual, or warranty claims, please contact the retailer or the manufacturer's customer service. Keep your purchase receipt or proof of purchase handy.