
مقدمة
This manual provides detailed instructions for the safe and efficient use of your Canon PIXMA MegaTank G4780 All-in-One Printer. This device is designed for home and office use, offering print, scan, copy, and fax functionalities with high-yield ink tanks and wireless connectivity. Please read this manual thoroughly before using the printer and keep it for future reference.
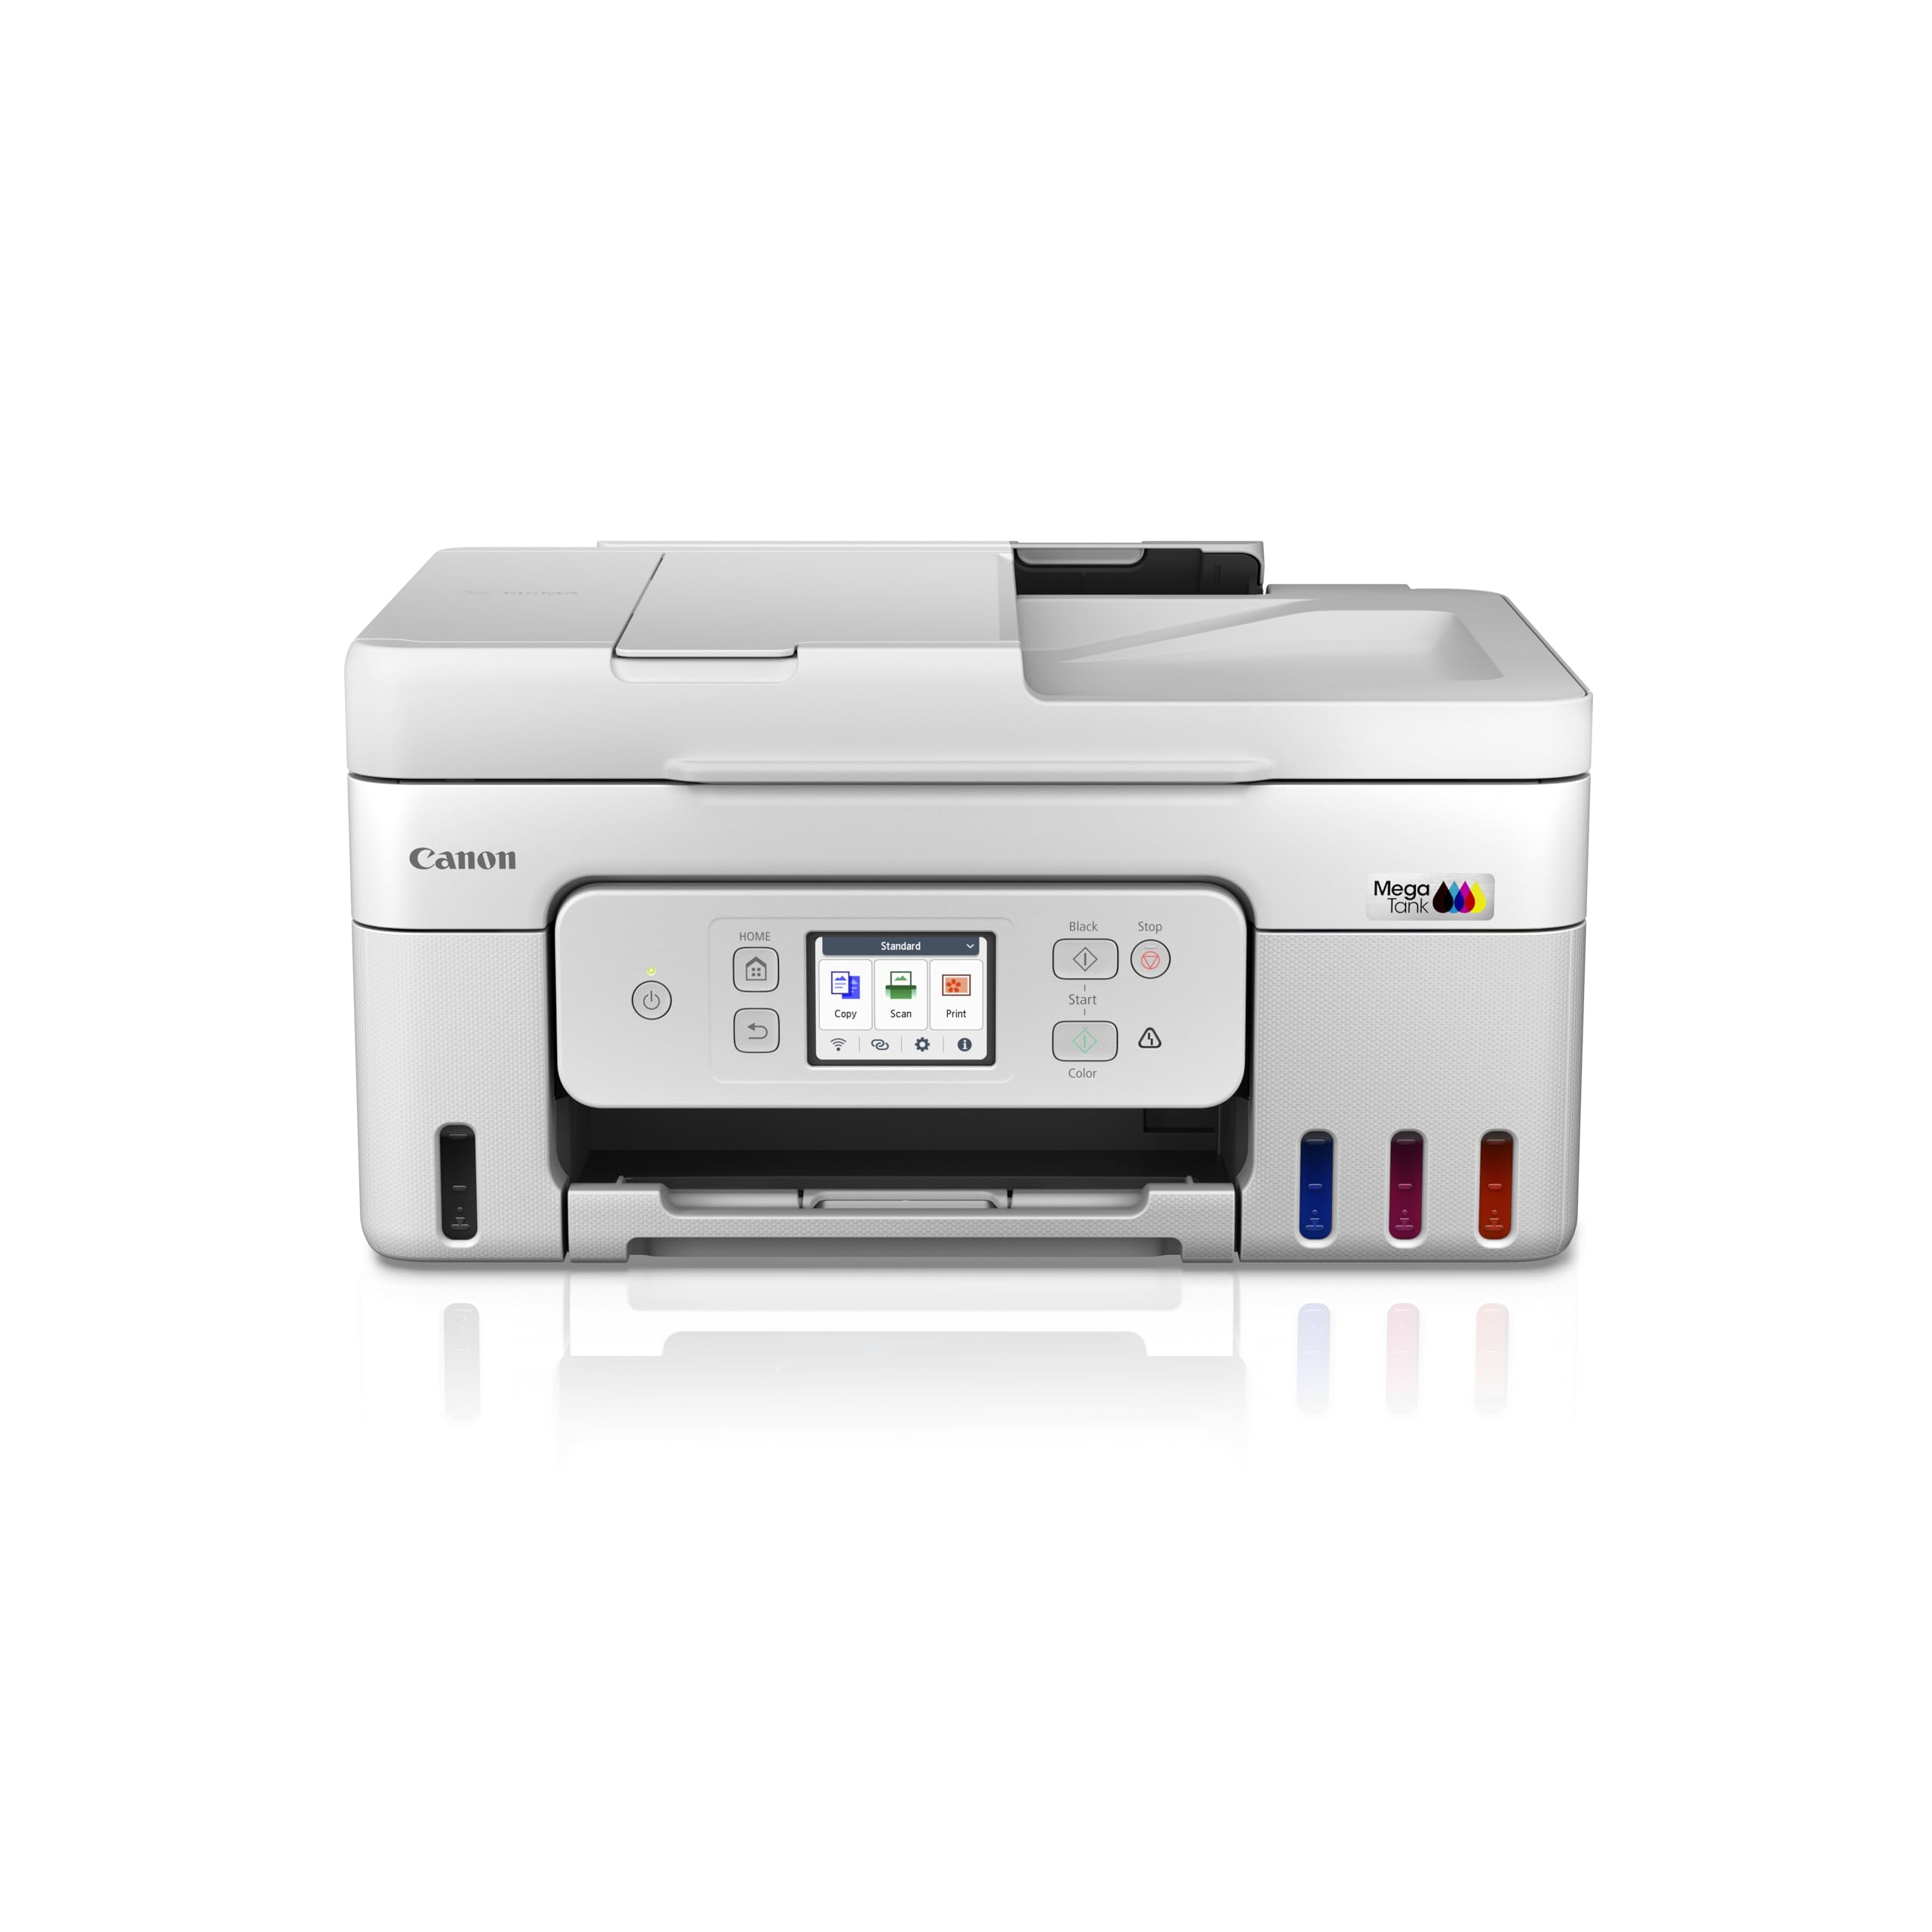
الصورة: الجبهة view of the Canon PIXMA MegaTank G4780 All-in-One Printer, showing its compact design and front control panel.
1. الإعداد
1.1 فتح الصندوق والتحضير الأولي
Carefully remove the printer and all accessories from the packaging. Ensure all protective tapes and packing materials are removed from the printer's exterior and interior. Refer to the quick start guide for visual instructions on tape removal.
1.2 تعبئة الحبر
The PIXMA G4780 uses high-yield ink bottles. Follow these steps to fill the ink tanks:
- Open the ink tank covers located on the front of the printer.
- قم بفتح غطاء زجاجة الحبر ذات اللون المناسب (أسود، سماوي، أرجواني، أصفر).
- Align the bottle nozzle with the inlet of the correct ink tank and gently insert it. The ink will flow automatically. Do not squeeze the bottle.
- Once the tank is full, remove the bottle and recap it. Close the ink tank cover securely.
- كرر العملية لجميع الألوان.

Image: The Canon PIXMA G4780 printer displayed with its four high-yield ink bottles (Black, Cyan, Magenta, Yellow) ready for filling.
1.3 التشغيل والتكوين الأولي
Connect the power cord to the printer and a wall outlet. Press the power button. Follow the on-screen instructions on the printer's display for initial setup, including language selection and date/time settings.
1.4 تثبيت البرامج وبرامج التشغيل
Insert the provided installation CD into your computer or download the latest drivers and software from the official Canon website. Follow the on-screen prompts to install the necessary software for printing, scanning, and faxing functions.
1.5 اتصال لاسلكي
To connect your printer to a Wi-Fi network:
- في لوحة تحكم الطابعة، انتقل إلى قائمة إعداد Wi-Fi.
- اختر شبكتك اللاسلكية (SSID) من القائمة.
- Enter the network password (WPA/WPA2 key).
- Confirm the connection. The Wi-Fi indicator on the printer will illuminate when connected.
The printer supports various wireless printing options including AirPrint, Mopria, Canon Print Service (Android), and Direct Wireless.

Image: A graphic illustrating three simple steps to get the printer ready: Establish Connection, Install Driver, and Ready To Print.
2. تشغيل الطابعة
2.1 طباعة المستندات
Load paper into the rear tray or front cassette. From your computer or mobile device, select the Canon G4780 printer. Adjust print settings such as paper size, type, and quality. For double-sided printing, enable the الطباعة التلقائية على الوجهين option in your printer settings to save paper and time.
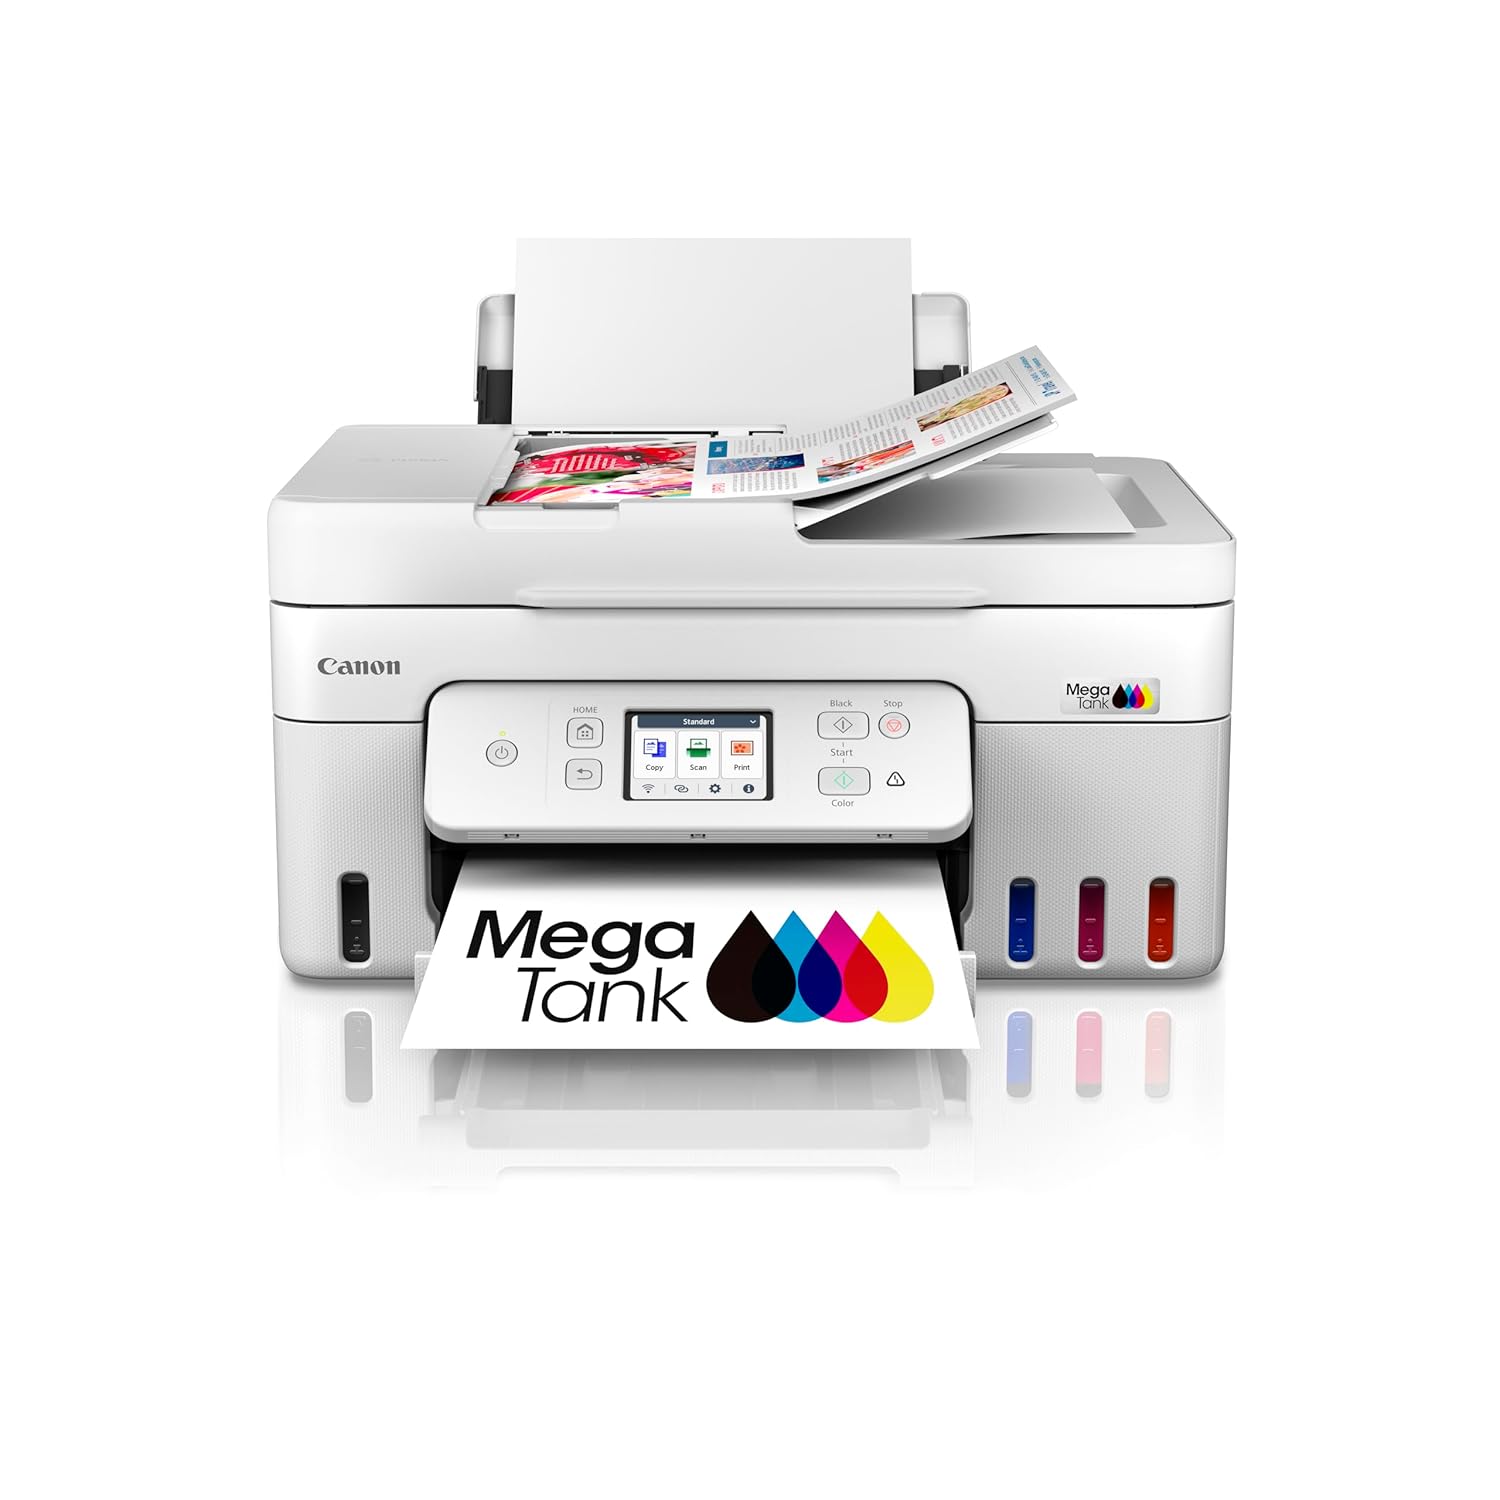
Image: The Canon PIXMA G4780 printer with paper loaded in the rear tray and a printed document emerging from the front output tray.
2.2 مسح المستندات ضوئيًا
The printer features both a flatbed scanner and an Automatic Document Feeder (ADF).
- المسح الضوئي المسطح: Place the document face-down on the scanner glass. Use the Canon IJ Scan Utility software on your computer or the printer's control panel to initiate a scan.
- المسح الضوئي باستخدام وحدة التغذية التلقائية للمستندات: For multiple pages, load up to 35 sheets into the ADF tray. The ADF allows for quick batch scanning, copying, or faxing without manual page turning.
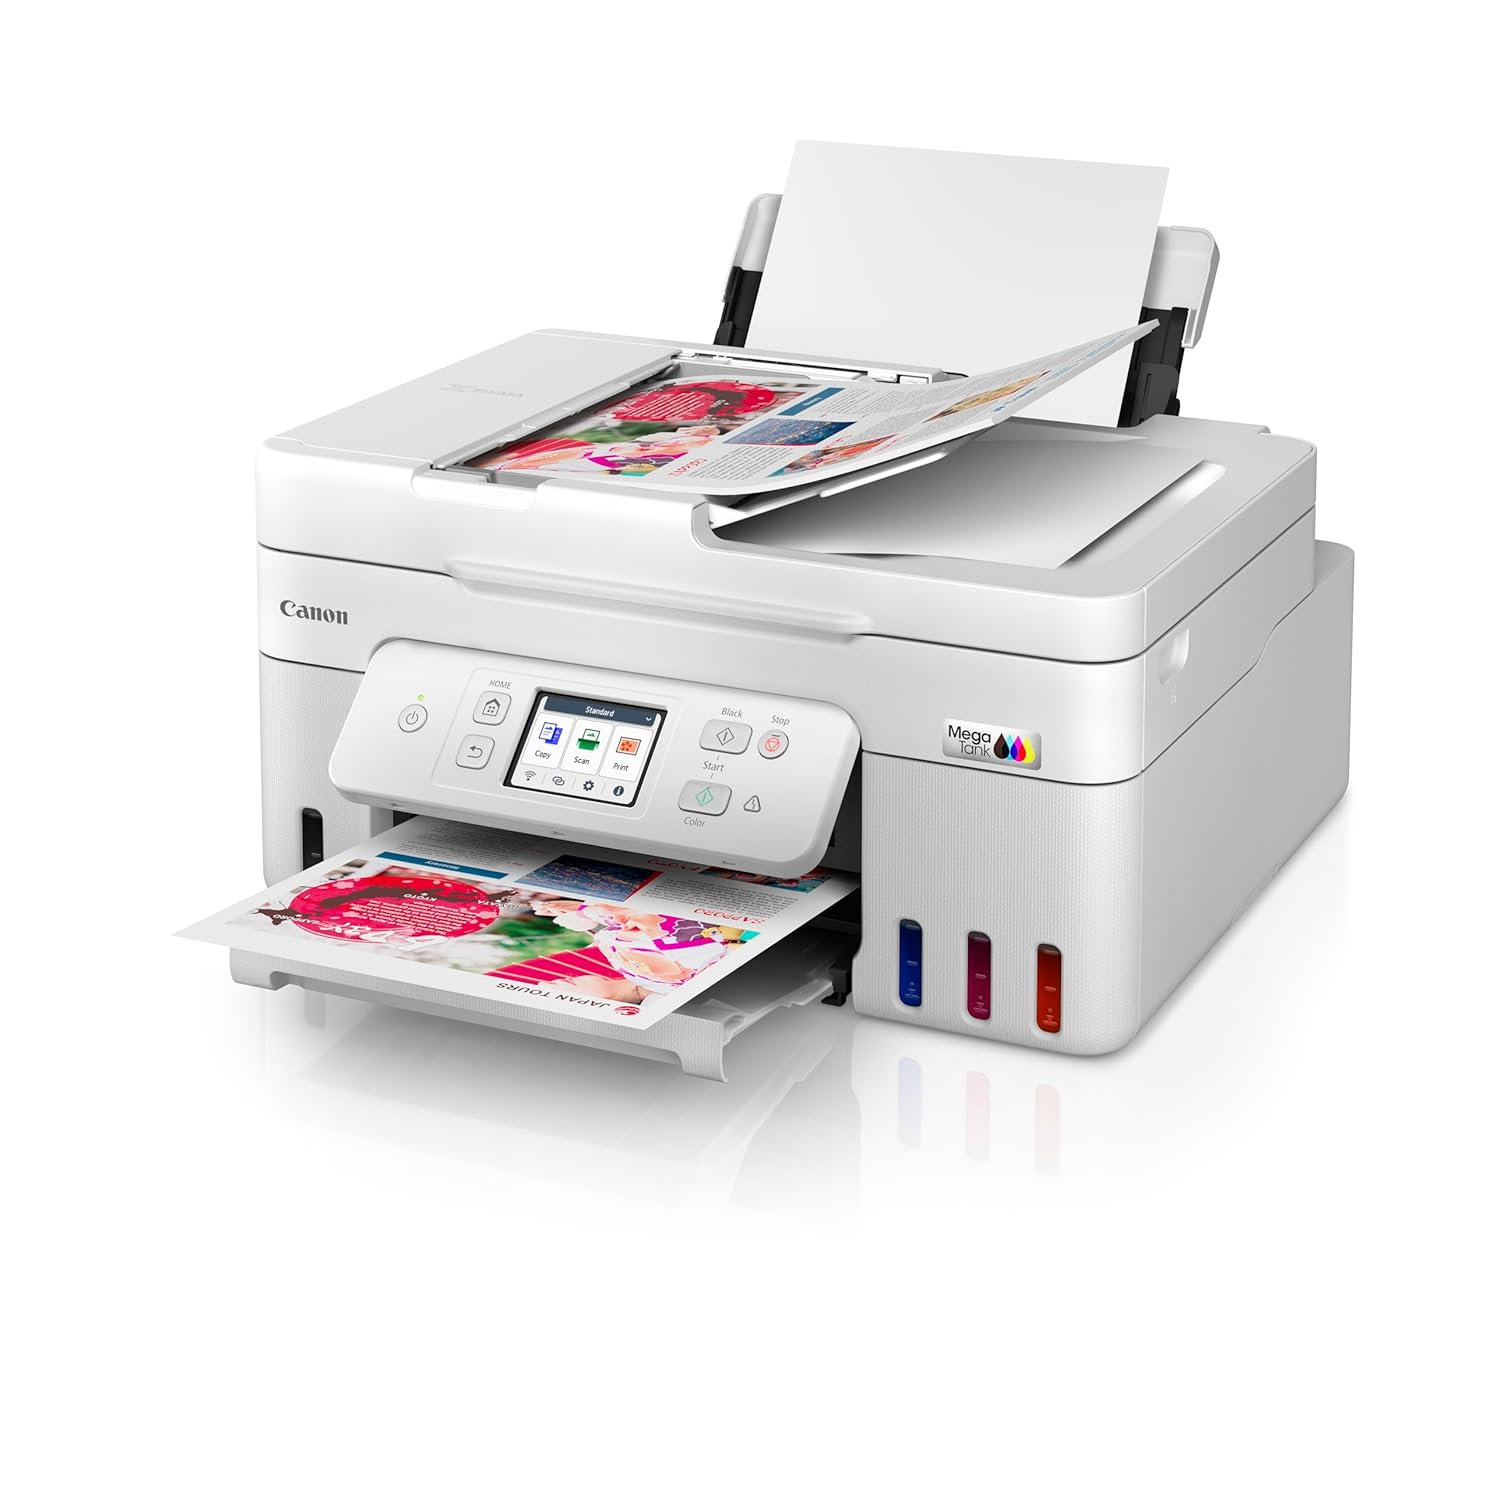
Image: The Canon PIXMA G4780 printer with multiple sheets of paper loaded into the Automatic Document Feeder (ADF) for scanning or copying.

Image: A graphic highlighting the Auto Document Feeder (ADF) for batch scanning and Auto Duplex Printing for automatic double-sided printing.
2.3 نسخ المستندات
Place your document on the scanner glass or in the ADF. On the printer's control panel, select the "Copy" function. Adjust settings such as number of copies, paper size, and copy quality. Press the Start button to begin copying.
2.4 إرسال المستندات بالفاكس
Load the document into the ADF or place it on the scanner glass. On the printer's control panel, select the "Fax" function. Enter the recipient's fax number and press the Start button. Ensure your printer is connected to a telephone line for fax functionality.
2.5 Mobile and Cloud Printing
Utilize the Canon PRINT Inkjet/SELPHY app for seamless printing and scanning from your smartphone or tablet. The printer also supports cloud services, allowing you to print directly from various online platforms.

Image: A graphic illustrating the mobile and cloud printing capabilities, showing a smartphone connected wirelessly to the printer.
3. الصيانة
3.1 فحص مستويات الحبر
Regularly check the ink levels through the printer's display panel or the Canon PRINT app. Refill ink tanks promptly when levels are low to prevent air from entering the ink tubes, which can affect print quality.

الصورة: عرض رسوميasing the high page yield ink bottles and stacks of printed pages, emphasizing cost-effective printing.
3.2 تنظيف رأس الطباعة
If print quality declines (e.g., streaks, faded colors), perform a print head cleaning. This can be done from the printer's maintenance menu or through the printer driver on your computer. A deep cleaning may be required for more stubborn clogs.
3.3 حل مشكلة انحشار الورق
If a paper jam occurs, the printer's display will show an error message. Carefully open the printer covers and remove any jammed paper following the instructions on the screen or in the online manual. Avoid tearing the paper to prevent small pieces from remaining inside.
3.4 التنظيف العام
امسح الجزء الخارجي من الطابعة بقطعة قماش ناعمة.amp cloth. Clean the scanner glass regularly to ensure clear scans and copies. Avoid using abrasive cleaners or solvents.
4. استكشاف الأخطاء وإصلاحها
يتناول هذا القسم المشكلات الشائعة التي قد تواجهها مع طابعة Canon PIXMA G4780 الخاصة بك.
4.1 الطابعة لا تستجيب
- تأكد من تشغيل الطابعة وتوصيلها بالكمبيوتر أو الشبكة.
- Check all cable connections (USB, power, network).
- Restart both the printer and your computer/router.
- تأكد من تحديد الطابعة الصحيحة في مربع حوار الطباعة الخاص بتطبيقك.
4.2 جودة الطباعة رديئة
- تحقق من مستويات الحبر وأعد تعبئته إذا لزم الأمر.
- قم بتنظيف رأس الطباعة وفحص الفوهات من قائمة الصيانة الخاصة بالطابعة.
- تأكد من استخدام نوع الورق الصحيح وإعدادات الجودة لطباعة المهمة الخاصة بك.
- If lines or streaks persist, a print head alignment may be required.
4.3 Paper Feed Issues
- Ensure paper is loaded correctly and not exceeding the maximum capacity of the tray.
- Fan the paper stack before loading to prevent sheets from sticking together.
- Check for any foreign objects or small paper scraps in the paper path.
4.4 Network Connection Problems
- Verify your Wi-Fi router is functioning correctly.
- تأكد من أن الطابعة موجودة ضمن نطاق جهاز توجيه Wi-Fi الخاص بك.
- أعد إدخال كلمة مرور الواي فاي على الطابعة.
- Try connecting via USB temporarily to ensure the printer itself is functional.
5. المواصفات
| ميزة | التفاصيل |
|---|---|
| اسم الموديل | بيكسما G4780 |
| الوظائف | طباعة ، ومسح ضوئي ، ونسخ ، وفاكس |
| تكنولوجيا الاتصال | يو اس بي، واي فاي |
| تكنولوجيا الطباعة | نفث الحبر |
| مخرجات الطابعة | لون |
| أقصى دقة طباعة (ملونة) | 4800 × 1200 نقطة في البوصة |
| أقصى سرعة للطباعة (أحادية اللون) | 11 جزء في المليون |
| أقصى سرعة للطباعة (ملونة) | 6 جزء في المليون |
| الطباعة على الوجهين | اوتوماتيكي |
| وحدة التغذية التلقائية للمستندات (ADF) | نعم |
| نوع الماسح الضوئي | شيت فيد |
| وزن العنصر | 7500 جرام |
| أبعاد المنتج (العمق × العرض × الارتفاع) | 36.3 عمق × 41.6 عرض × 21.2 ارتفاع سنتيمتر |
| محتويات الصندوق | زجاجات الحبر |
6. الضمان والدعم
6.1 معلومات الضمان
Your Canon PIXMA MegaTank G4780 printer comes with a 2-year or 30,000 prints (whichever is earlier) onsite warranty from the date of purchase. This warranty covers manufacturing defects only and includes print heads. Please retain your purchase receipt for warranty claims.
For warranty service, contact Canon India Pvt Limited. Their contact information is: 214-218, 2nd floor, Narain Manzil, Barakhamba Road, Connaught Place, New Delhi-110001, India.
6.2 دعم العملاء
For technical assistance, troubleshooting, or service requests, please visit the official Canon support website or contact their customer service. Online resources often include FAQs, driver downloads, and detailed digital manuals.