
1. المقدمة
The LOKLiK Cutting Machine is a versatile tool designed for crafters to precisely cut a wide range of materials, including vinyl, paper, faux leather, and glitter cardstock. This machine is compatible with HTVRONT craft materials and offers features such as matless cutting for smart materials and integration with the LOKLiK IdeaStudio software. This manual provides essential information for the safe and effective use of your cutting machine and accompanying HTV vinyl.
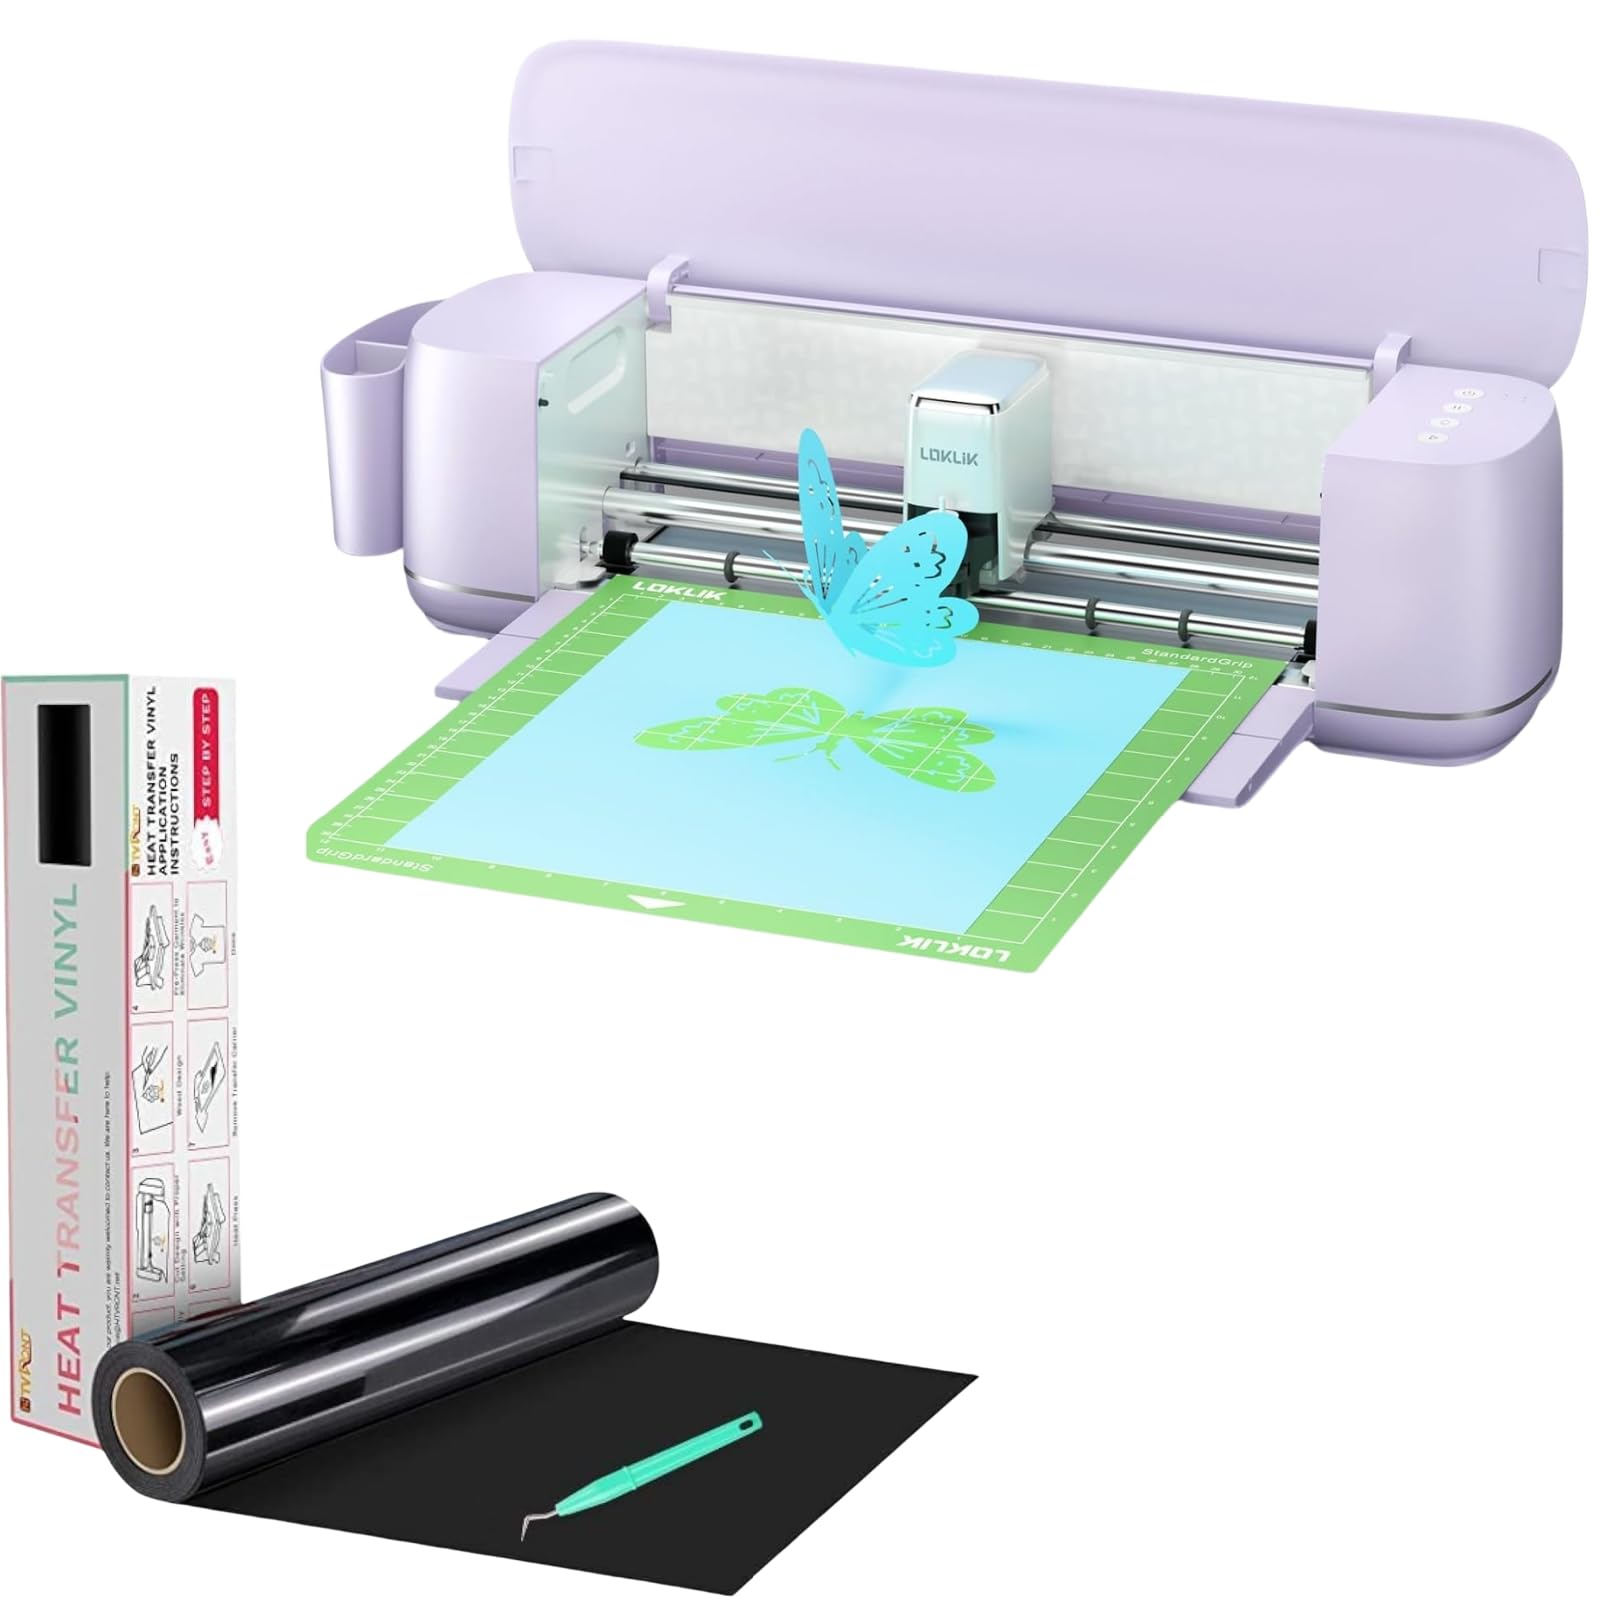
Image 1.1: The LOKLiK Cutting Machine, a compact and efficient craft cutter.
2. معلومات السلامة
Please read all safety instructions before operating the LOKLiK Cutting Machine to prevent injury or damage to the device.
- أبقِ الجهاز بعيدًا عن الماء أوamp البيئات.
- تأكد من أن سلك الطاقة غير تالف وموصول بشكل صحيح بمأخذ كهربائي مناسب.
- Keep hands and loose clothing away from moving parts, especially the blade area, during operation.
- استخدم فقط الملحقات المعتمدة وقطع الغيار.
- لا تحاول تفكيك الجهاز أو إصلاحه بنفسك. اتصل بخدمة دعم العملاء للحصول على المساعدة.
- قم بتخزين الجهاز في مكان نظيف وجاف عندما لا يكون قيد الاستخدام.
3. محتويات العبوة
تأكد من وجود جميع العناصر في الحزمة الخاصة بك:
- LOKLiK Cutting Machine
- محول الطاقة
- كابل يو اس بي
- Fine Cutting Tool (pre-installed or included)
- Writing/Drawing Tool
- Heat Transfer Vinyl (HTV) Roll (e.g., White HTV Rolls - 12" x 20ft)
- Free Weeding Tool
- دليل المستخدم (هذا المستند)
Note: Deep cutting, scoring, and foil printing tools are sold separately.
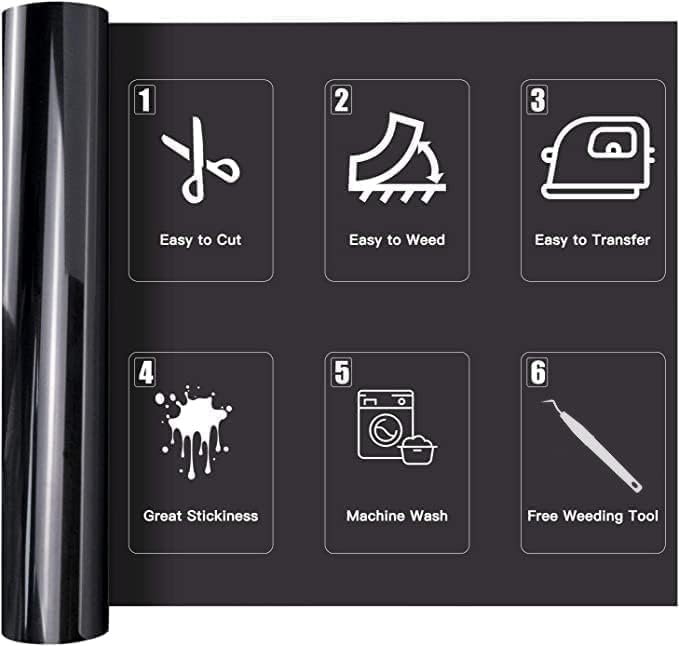
Image 3.1: An HTV vinyl roll, illustrating its key features: easy to cut, weed, and transfer, great stickiness, machine washable, and includes a free weeding tool.
4. الإعداد
4.1 التفريغ والتنسيب
- قم بإزالة جميع المكونات بعناية من العبوة.
- Place the LOKLiK Cutting Machine on a stable, flat surface with adequate space around it for material loading and operation.
- Attach the removable storage cup to organize your work area.
4.2 توصيل الطاقة
Connect the power adapter to the machine's power port and then plug it into a wall outlet.
4.3 Software Installation (LOKLiK IdeaStudio)
The LOKLiK Cutting Machine pairs with the LOKLiK IdeaStudio software. This software offers over 50,000 free designs, various creative fonts, and an AI painting feature without a subscription fee.
- Visit the official LOKLiK website to download the latest version of LOKLiK IdeaStudio.
- اتبع التعليمات التي تظهر على الشاشة لتثبيت البرنامج على جهاز الكمبيوتر الخاص بك.

Image 4.1: The LOKLiK IdeaStudio software interface, showing design options and connectivity features.
4.4 الاتصال بالكمبيوتر
You can connect the cutting machine to your computer via Bluetooth or USB.
- اتصال USB: Connect one end of the USB cable to the machine and the other end to an available USB port on your computer.
- اتصال بلوتوث: Turn on Bluetooth on your computer and the cutting machine. Follow the pairing instructions in the LOKLiK IdeaStudio software to connect wirelessly.
5. تعليمات التشغيل
5.1 انتهاء التشغيل العامview
The LOKLiK Cutting Machine supports various functions including fine cutting, writing, drawing, deep cutting, scoring, and foil printing. This section focuses on the cutting process, particularly with HTV vinyl.

Image 5.1: The LOKLiK Cutting Machine demonstrating its versatility for different craft projects and compatible tools like fine cutting, deep cutting, writing/drawing, scoring, and foil printing.
5.2 Using LOKLiK IdeaStudio Software
- Launch LOKLiK IdeaStudio on your computer.
- Select or create your design. Utilize the vast image library, creative fonts, or the AI painting feature to generate unique designs.
- Adjust the design size and placement as needed for your material.

Image 5.2: The AI-generated designs feature within LOKLiK IdeaStudio, allowing users to create custom images from text prompts.
5.3 Material Preparation (HTV Vinyl)
Proper preparation of your HTV vinyl is crucial for successful cuts and transfers.
- Identify Cutting Side: For HTV, the matte side is the cutting side, and the glossy side is the ironing side (carrier sheet). Always cut on the dull, matte side.
- فيلم الحماية: Some HTV rolls may have a clear protective film on the glossy side. Ensure this is not confused with the carrier sheet.
- Mirror Your Design: When working with HTV, always mirror your design in the software before cutting, as it will be applied face down.

Image 5.3: Visual guide to identifying the cutting (matte) and ironing (glossy) sides of HTV vinyl, along with the protective film.

Image 5.4: Demonstrating how to identify and cut on the dull side of the HTV vinyl.
5.4 عملية القطع
- تحميل المواد: For matless cutting, load smart materials (up to 21 ft long and 13 in wide) directly into the machine. For other materials, place them on a cutting mat (sold separately) and load the mat.
- حدد الإعدادات: In LOKLiK IdeaStudio, choose the correct material type. The software will suggest appropriate blade force and speed. Refer to the table below for general guidelines for HTV:
| آلة | شفرة | قوة | سرعة | التمريرات | وضع المواد |
|---|---|---|---|---|---|
| For Cricut (Previous HTV) | معيار | مكواة على+ | غير متاح | غير متاح | مكواة على+ |
| For Cricut (2021 Updated HTV) | معيار | Iron on | غير متاح | غير متاح | Iron on |
| For Cameo 3 | Blade-1 | القوة 5 | Speed-5 | Passes-2 | سلس |
| For Cameo 4 | Blade-3 | القوة 8 | Speed-5 | Passes-2 | سلس |
ملحوظة: If you receive 2021 updated HTV, there is a tip in the packaging to remind you.

الصورة 5.5: لقطة مقربة view of the LOKLiK Cutting Machine's blade executing an intricate design with precision.

Image 5.6: The LOKLiK Cutting Machine performing a matless full-length cut for a large wall decal, showcasing its capability with smart materials up to 21 feet.
5.5 Weeding
After cutting, use the provided weeding tool to remove the excess vinyl around your design. This process is made easier by the HTV's design for simple weeding.
5.6 Heat Transfer (for HTV Vinyl)
Once weeded, your HTV design is ready for transfer.
- Preheat your heat press or iron to the recommended temperature for your specific HTV type (typically around 305°F/150°C).
- Place your garment or item on a flat, heat-resistant surface.
- Position the HTV design (carrier sheet up) onto the garment.
- Apply even pressure with your heat press or iron for the recommended time (usually 10-15 seconds).
- Allow the design to cool slightly (warm peel) or completely (cold peel) as per your HTV instructions, then carefully peel off the carrier sheet.
The HTV vinyl is sensitive to temperature and pressure, ensuring a secure bond to fabric. It is designed to withstand over 50 machine washes at 40 degrees Celsius without fading, peeling, or cracking.
6. الصيانة
6.1 تنظيف الماكينة
- Regularly wipe the exterior of the machine with a soft, dry cloth.
- Use a small brush or compressed air to clear any dust or material debris from the cutting area and rollers.
- تأكد من فصل الجهاز عن التيار الكهربائي قبل التنظيف.
6.2 استبدال الشفرة
Blades will dull over time, affecting cut quality. Replace the blade when you notice inconsistent cuts or tearing of material.
- قم بإيقاف تشغيل الجهاز وافصله.
- Carefully remove the blade housing from the carriage.
- Following the instructions for your specific blade housing, replace the dull blade with a new one.
- Reinsert the blade housing into the carriage.
7. استكشاف الأخطاء وإصلاحها
If you encounter issues with your LOKLiK Cutting Machine, refer to the following common problems and solutions:
| مشكلة | السبب المحتمل | حل |
|---|---|---|
| الجهاز لا يعمل | Loose power connection, faulty outlet | Check power cord connections. Try a different outlet. |
| Machine not connecting to software | USB cable issue, Bluetooth not paired, software glitch | Ensure USB cable is secure. Re-pair Bluetooth. Restart software and machine. Update drivers. |
| Poor cut quality (tearing, incomplete cuts) | Dull blade, incorrect blade settings, material loaded incorrectly | Replace blade. Adjust force/speed settings in software. Ensure material is loaded flat and correctly. |
| HTV not adhering to fabric | Insufficient heat or pressure, incorrect peel method | Increase heat press temperature or pressure. Ensure correct peel method (warm/cold). |
| HTV peeling/cracking after washing | Improper application, low-quality HTV | Ensure proper application technique. Use high-quality HTV like HTVRONT. |
For further assistance, please contact LOKLiK customer support.
8. المواصفات
- نموذج: LOKLiK Cutting Machine
- التوافق المادي: 0.1mm to 2mm thickness (over 100 materials including vinyl, paper, faux leather, glitter cardstock)
- Matless Cutting: Supports smart materials up to 21 ft long and 13 in wide
- Cutting Accuracy: حتى 0.5 ملم
- الاتصال: بلوتوث، يو اس بي
- برمجة: LOKLiK IdeaStudio (no subscription required, includes 50,000+ designs, AI painting)
- الوظائف: Fine cutting, writing, drawing (tools included); Deep cutting, scoring, foil printing (tools sold separately)
- عملية: Quieter operation with upgraded step-motor system and noise reduction technology
- ASIN: B0DSZGLJVL
- تاريخ التوفر الأول: 14 يناير 2025
9. الضمان والدعم
9.1 معلومات الضمان
For detailed warranty information, including coverage period and terms, please refer to the official HTVRONT webيمكنك الاطلاع على الموقع الإلكتروني أو بطاقة الضمان المرفقة مع عبوة المنتج. احتفظ بإثبات الشراء لتقديم مطالبات الضمان.
9.2 دعم العملاء
If you require technical assistance, have questions about your product, or need to report an issue, please contact HTVRONT customer support through their official webالموقع أو معلومات الاتصال المقدمة في وثائق المنتج الخاص بك.