مقدمة
This manual provides comprehensive instructions for the installation, operation, and maintenance of your new Generic replacement dispenser drawer. This part is designed to restore the proper dispensing function of your washing machine. Please read all instructions carefully before proceeding with installation or use.
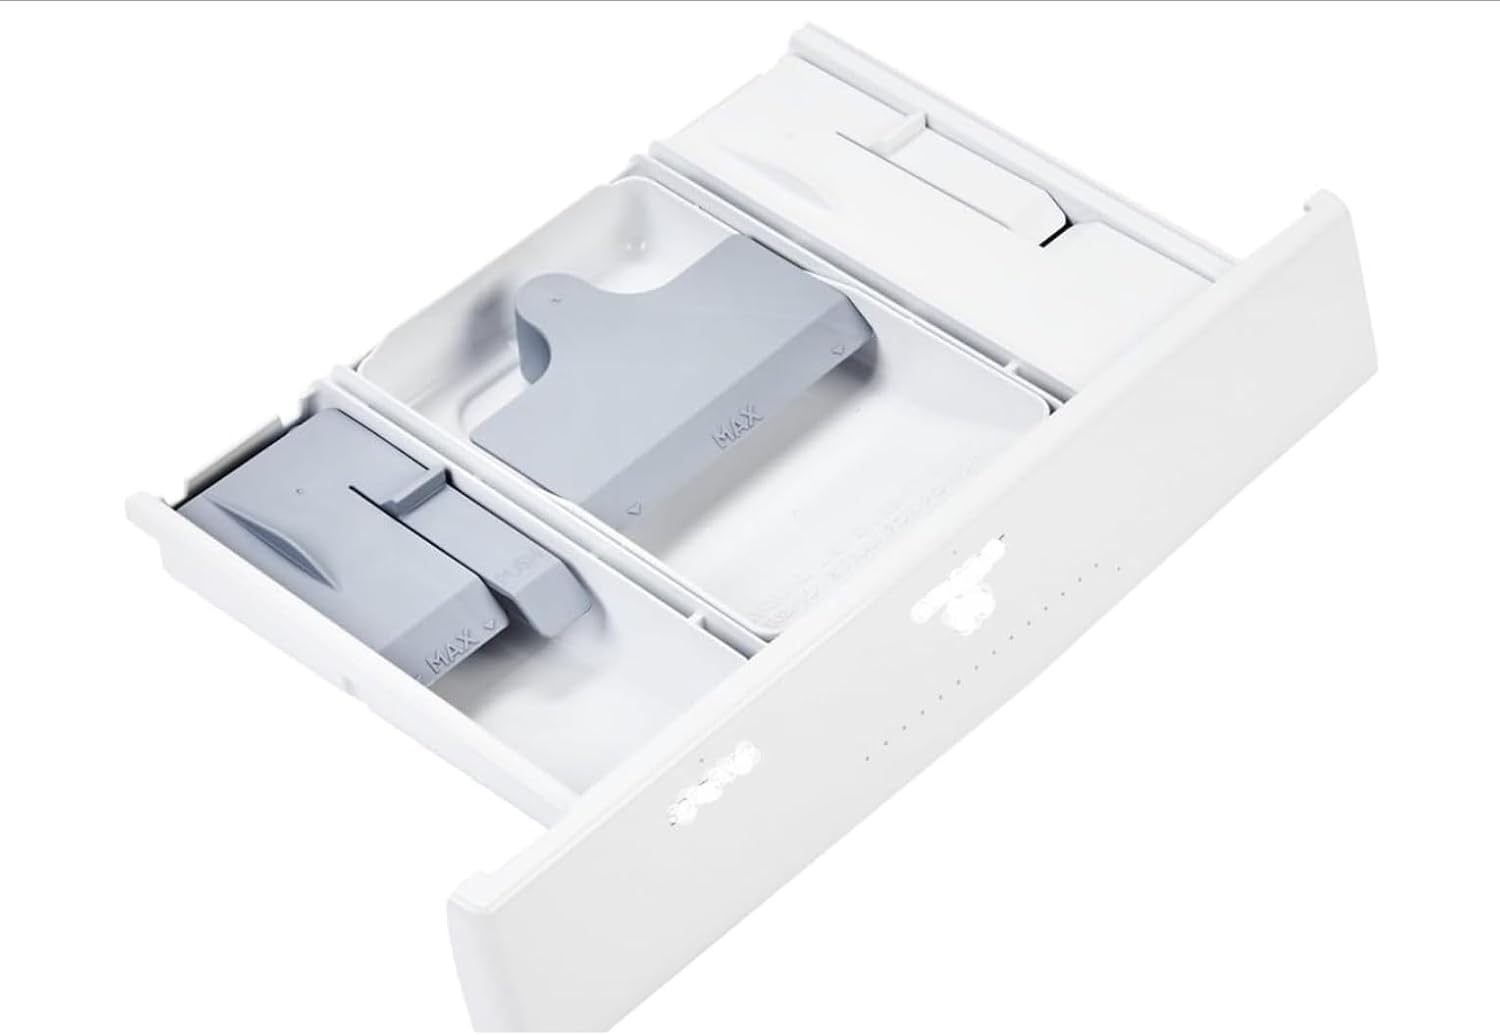
Image: The replacement dispenser drawer, featuring compartments for detergent and fabric softener, with 'MAX' fill lines visible on the gray inserts.
التوافق
This replacement dispenser drawer is compatible with a range of washing machine models. Please verify your washer's model number to ensure proper fit before installation. Compatible models include, but are not limited to:
- يمكنtag: MVW6200KW0, MVW6200KW1, MVW6200KW2
- دوامة: 7MWTW7000EW0, 7MWTW7000EW1, 7MWTW7300EW0, 7MWTW7300EW1
- Admiral: MVW6230HC0, MVW6230HC1, MVW6230HC2, MVW6230HC3, MVW6230HW0, MVW6230HW1, MVW6230HW2, MVW6230HW3, MVW6230RHW0, MVW6230RHW1, MVW6230RHW2, WTW500CMW0, WTW6150PW0, WTW6157PW0, WTW7000DW0, WTW7000DW1, WTW7000DW2, WTW7000DW3, WTW7000DW4, WTW7040DW0, WTW7040DW1, WTW7040DW2, WTW7300DC0, WTW7300DW0, WTW7300DW1, WTW7300DW2, WTW8000DW0, WTW8000DW1, WTW8000DW2, WTW8000DW3, WTW8000DW4, WTW8000DW5, WTW8040DW0, WTW8040DW1, WTW8040DW2, WTW8040DW3, WTW8040DW4
If your model is not listed or you are unsure about compatibility, please contact customer support for assistance.
معلومات السلامة
- فصل الطاقة: Always unplug the washing machine from the power outlet before attempting any installation, removal, or maintenance.
- ارتداء معدات الحماية: Use gloves if necessary to protect your hands.
- التعامل معها بحذر: Avoid dropping the part, as it may cause damage.
- يحفظ بعيدا عن متناول الأطفال: Store replacement parts out of reach of children.
تعليمات التثبيت
Follow these steps to replace your washer's dispenser drawer:
- تحضير الغسالة: Ensure the washing machine is unplugged from the electrical outlet. Close the water supply valves.
- Remove the Old Dispenser Drawer:
- Pull the existing dispenser drawer out until it stops.
- Locate the release tab or button, usually found in the center or on the side of the drawer. Press or lift this tab.
- While holding the tab, pull the drawer completely out of its housing.
- Clean the Housing (Optional but Recommended): استخدم الإعلانamp cloth to wipe away any detergent residue or mold from the dispenser drawer housing before installing the new drawer.
- Install the New Dispenser Drawer:
- Align the new dispenser drawer with the tracks in the washer's housing.
- Gently push the drawer into the housing until it clicks into place. Ensure it slides in smoothly and is securely seated.
- اختبار التثبيت: Plug the washing machine back into the power outlet and open the water supply valves. Run a short cycle without laundry to check for proper water flow and dispensing.
عملية
The dispenser drawer is designed for specific laundry additives. Refer to your washing machine's main user manual for detailed instructions on detergent and additive usage. Generally, the compartments are used as follows:
- Main Wash Detergent Compartment: For liquid or powder detergent for the main wash cycle. Fill up to the 'MAX' line.
- حجرة منعم الأقمشة: For liquid fabric softener. Fill up to the 'MAX' line. Do not overfill.
- Pre-Wash/Bleach Compartment (if applicable): For pre-wash detergent or liquid bleach.
Always close the dispenser drawer completely before starting a wash cycle.
الصيانة والتنظيف
Regular cleaning of the dispenser drawer is essential to prevent residue buildup and ensure proper dispensing.
- Remove the Drawer: Follow the steps in the 'Installation Instructions' to remove the dispenser drawer from the washer.
- Disassemble (if applicable): Some dispenser drawers have removable inserts. Carefully detach any removable parts for thorough cleaning.
- تنظيف المكونات: Wash the drawer and its inserts under warm running water. Use a soft brush or cloth to remove any detergent or fabric softener residue. A mild detergent can be used if needed.
- تنظيف السكن: Wipe the inside of the dispenser drawer housing in the washer with a damp قطعة قماش لإزالة أي تراكم.
- إعادة التجميع وإعادة التثبيت: Ensure all parts are dry before reassembling the drawer and sliding it back into the washer.
Perform this cleaning process monthly or as needed, especially if you notice residue buildup or dispensing issues.
استكشاف الأخطاء وإصلاحها
If you encounter issues with your new dispenser drawer, consider the following:
- Drawer Not Closing Properly: Ensure the drawer is correctly aligned with the tracks and that no obstructions are preventing it from fully closing. Check if any internal components are misaligned.
- Detergent/Softener Not Dispensing:
- Check for clogs: Residue buildup can block the dispensing channels. Clean the drawer and its housing thoroughly as described in the 'Maintenance' section.
- Ensure water pressure is adequate: Low water pressure can affect dispensing.
- Verify correct compartment usage: Make sure additives are placed in the correct compartments and not overfilled.
- Water Leaking from Drawer:
- Check for overfilling: Do not exceed the 'MAX' fill lines.
- Ensure the drawer is fully closed and seated correctly.
- Inspect for cracks or damage: Although new, inspect the drawer for any manufacturing defects.
إذا استمرت المشاكل بعد استكشاف الأخطاء وإصلاحها، فاتصل بدعم العملاء.
تحديد
| نوع القطعة | Washer Dispenser Drawer Replacement |
| الشركة المصنعة | نوعي |
| رقم الموديل (مثالampلو) | 7MWTW7300EW0 (and other compatible models) |
| أبعاد المنتج | Approximately 1 x 1 x 1 inches (Refer to actual product for precise measurements) |
| مادة | بلاستيك متين |
معلومات الضمان
يأتي هذا المنتج مع ضمان لمدة 90 يومًا from the date of purchase. This warranty covers manufacturing defects. If you experience any issues within this period, please contact the seller for support, replacement, or refund.
دعم العملاء
For any questions, concerns, or assistance with installation or troubleshooting, please contact the seller directly. Provide your purchase details and model number for faster service. We are committed to resolving your issues within 24 hours.