
1. المقدمة
This manual provides essential information for the installation, operation, and maintenance of your ADATA Legend 860 Solid State Drive. Please read this guide thoroughly before using the product to ensure optimal performance and longevity.
The ADATA Legend 860 is a high-performance NVMe SSD designed for expanding storage in compatible devices such as desktop PCs, laptops, and gaming consoles like the PlayStation 5. It utilizes PCIe Gen4 x4 interface for fast data transfer speeds.

Figure 1: ADATA Legend 860 NVMe Solid State Drive
2. معلومات السلامة
- قم دائمًا بمعالجة SSD من حوافه لتجنب لمس الموصلات أو المكونات الذهبية.
- تأكد من إيقاف تشغيل النظام وفصله عن التيار الكهربائي قبل التثبيت.
- Discharge any static electricity from your body before handling the SSD. Use an anti-static wrist strap if available.
- احفظ محرك الأقراص ذي الحالة الصلبة (SSD) بعيدًا عن الرطوبة ودرجات الحرارة القصوى والمجالات المغناطيسية القوية.
- Do not attempt to disassemble or modify the SSD, as this will void the warranty.
3. محتويات العبوة
تأكد من وجود جميع العناصر في الحزمة الخاصة بك:
- ADATA Legend 860 Solid State Drive

Figure 2: ADATA Legend 860 SSD Retail Packaging
4. المواصفات
| ماركة | أداتا |
| مسلسل | أسطورة 860 |
| رقم الموديل | SLEG-860-1000GCS |
| سعة التخزين الرقمية | 1 تيرابايت |
| واجهة القرص الصلب | إن في إم إي |
| تكنولوجيا الاتصال | منفذ PCIe الجيل الثالث x4 |
| عامل الشكل | م.2 2280 |
| الأجهزة المتوافقة | جهاز كمبيوتر مكتبي، وحدة ألعاب (بلاي ستيشن 5)، كمبيوتر محمول |
| وزن العنصر | 0.353 أونصات |
| أبعاد المنتج | 5.24 × 0.31 × 1.57 بوصة |
5. الإعداد والتثبيت
The ADATA Legend 860 SSD is designed for easy installation into compatible M.2 slots. Follow these general steps for installation:
- حضّر نظامك: Power off your computer or gaming console and unplug all cables. Open the casinللوصول إلى اللوحة الأم أو فتحة التوسعة M.2.
- حدد موقع فتحة M.2: حدد منفذ M.2 متاحًا على اللوحة الأم. عادةً ما تكون هذه المنافذ مُعلّمة وقد تكون مغطاة بمشتت حراري.
- أدخل SSD: Gently slide the ADATA Legend 860 SSD into the M.2 slot at a 30-degree angle. Ensure the gold connectors are fully seated.
- تأمين SSD: Once inserted, push the SSD down until it is parallel with the motherboard. Secure it with the provided screw (usually included with your motherboard or console).
- إغلاق جasing: Replace any heatsinks or covers, and close your system's casing.
- Power On and Initialize: Reconnect all cables and power on your system. You may need to initialize and format the new SSD through your operating system's Disk Management (Windows) or Disk Utility (macOS) before it can be used. Refer to your operating system's documentation for detailed instructions.
التثبيت على سبيل المثالampليه:
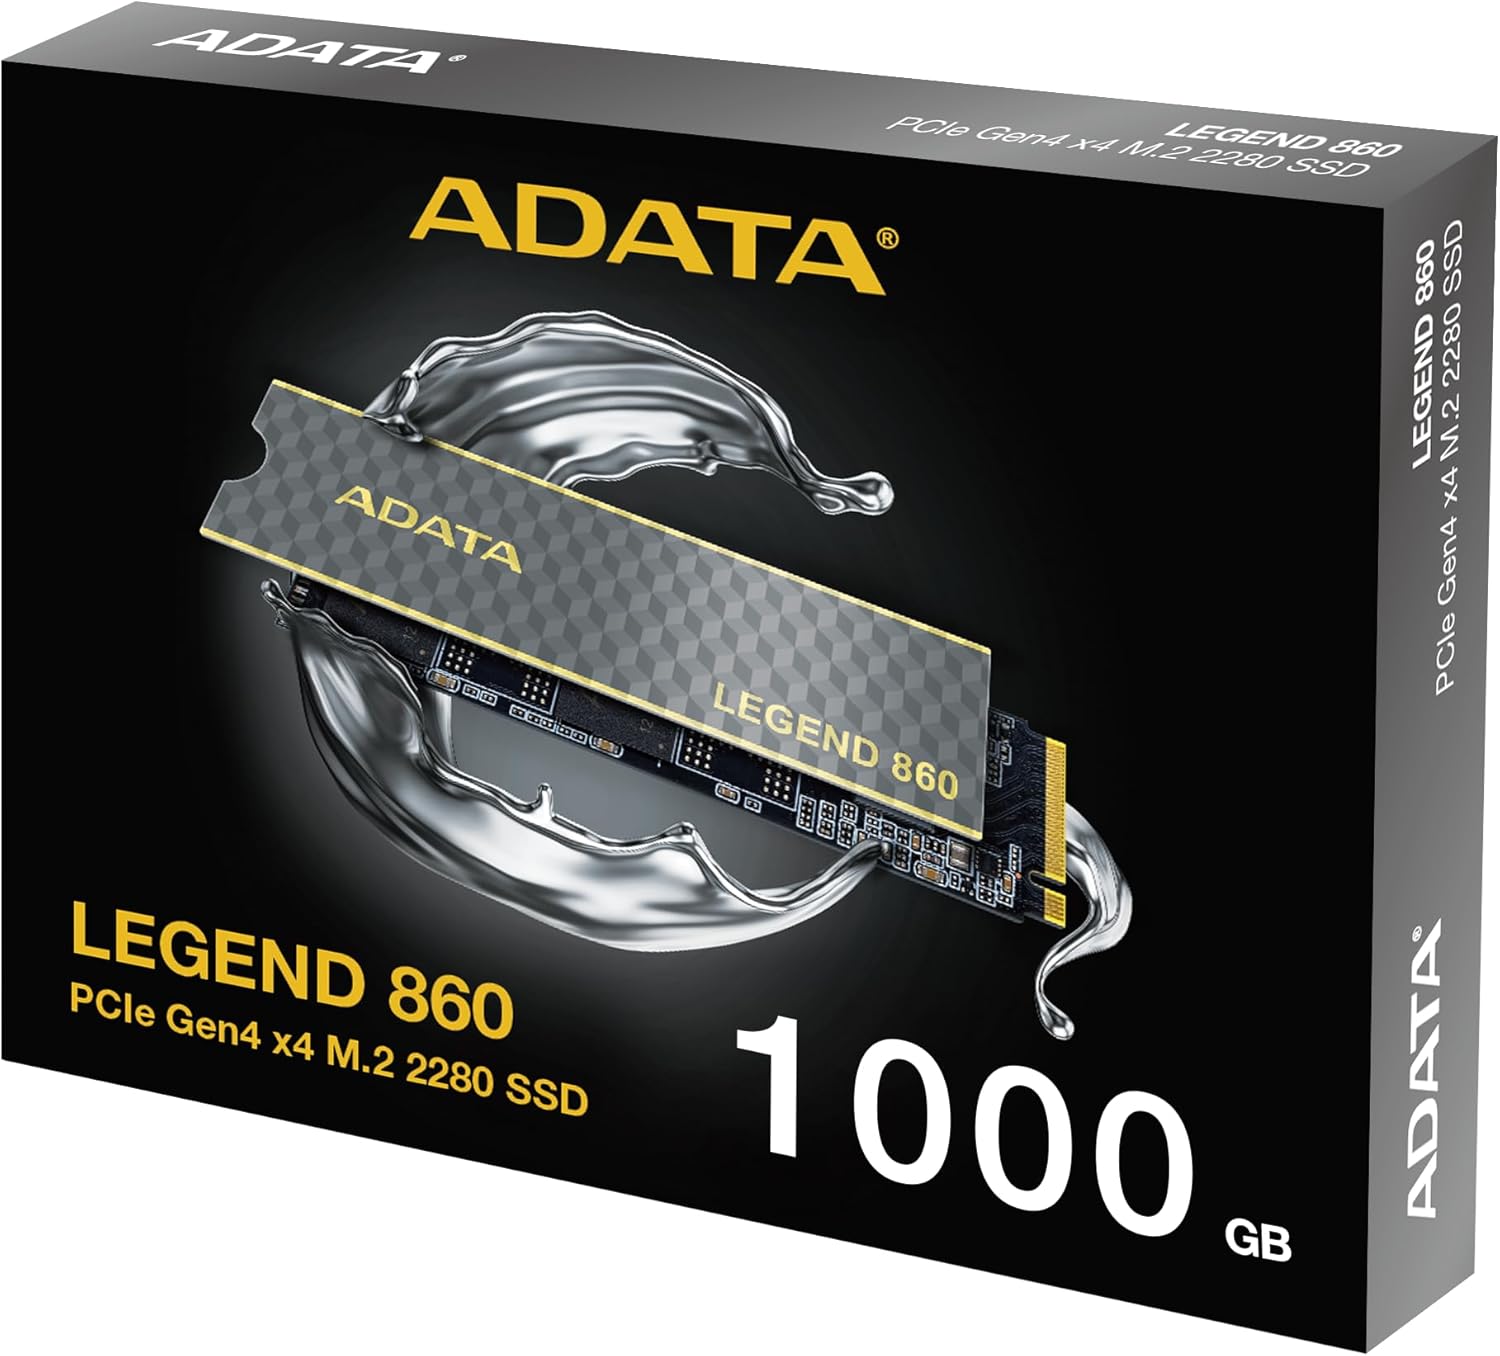
Figure 3: SSD installed in a desktop motherboard
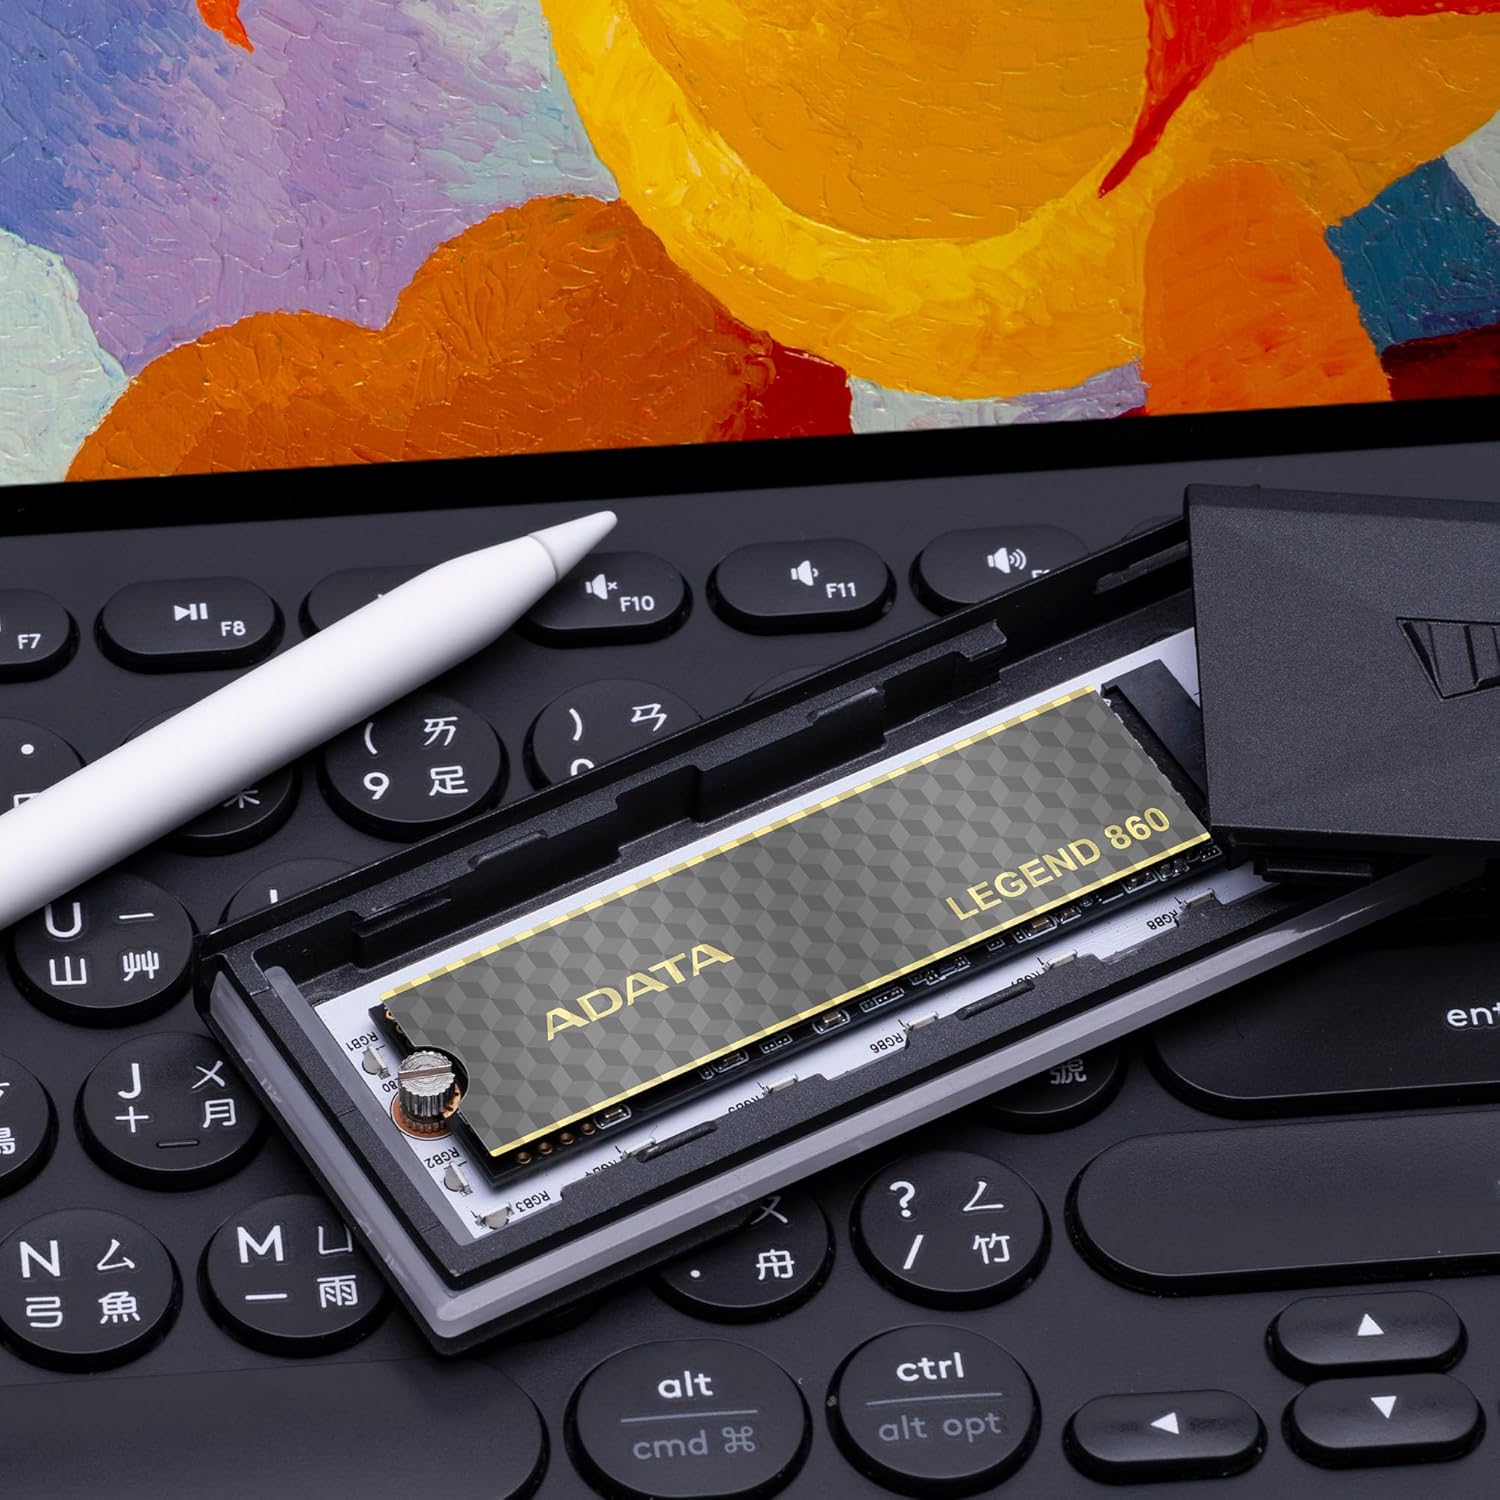
Figure 4: SSD installed in a PlayStation 5 console
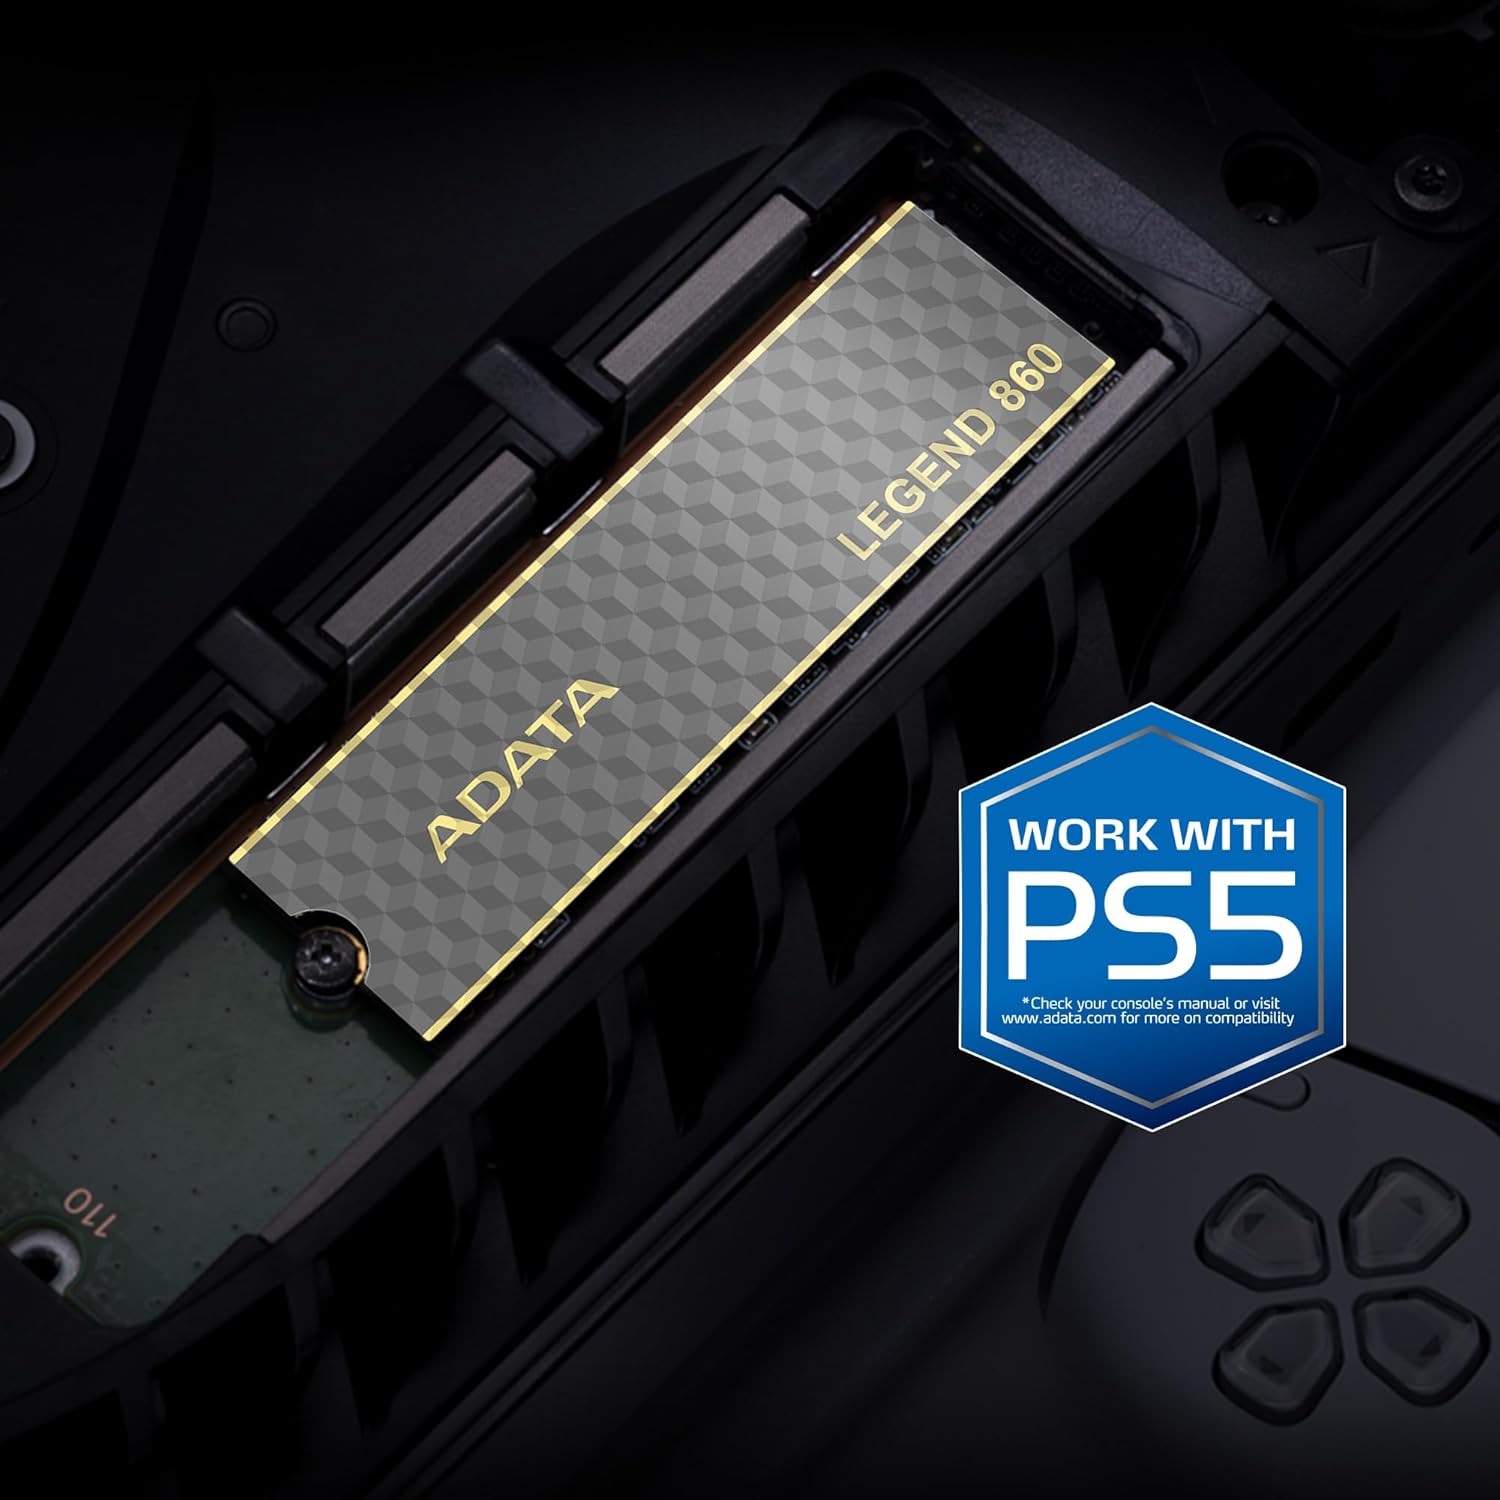
Figure 5: SSD installed in a laptop
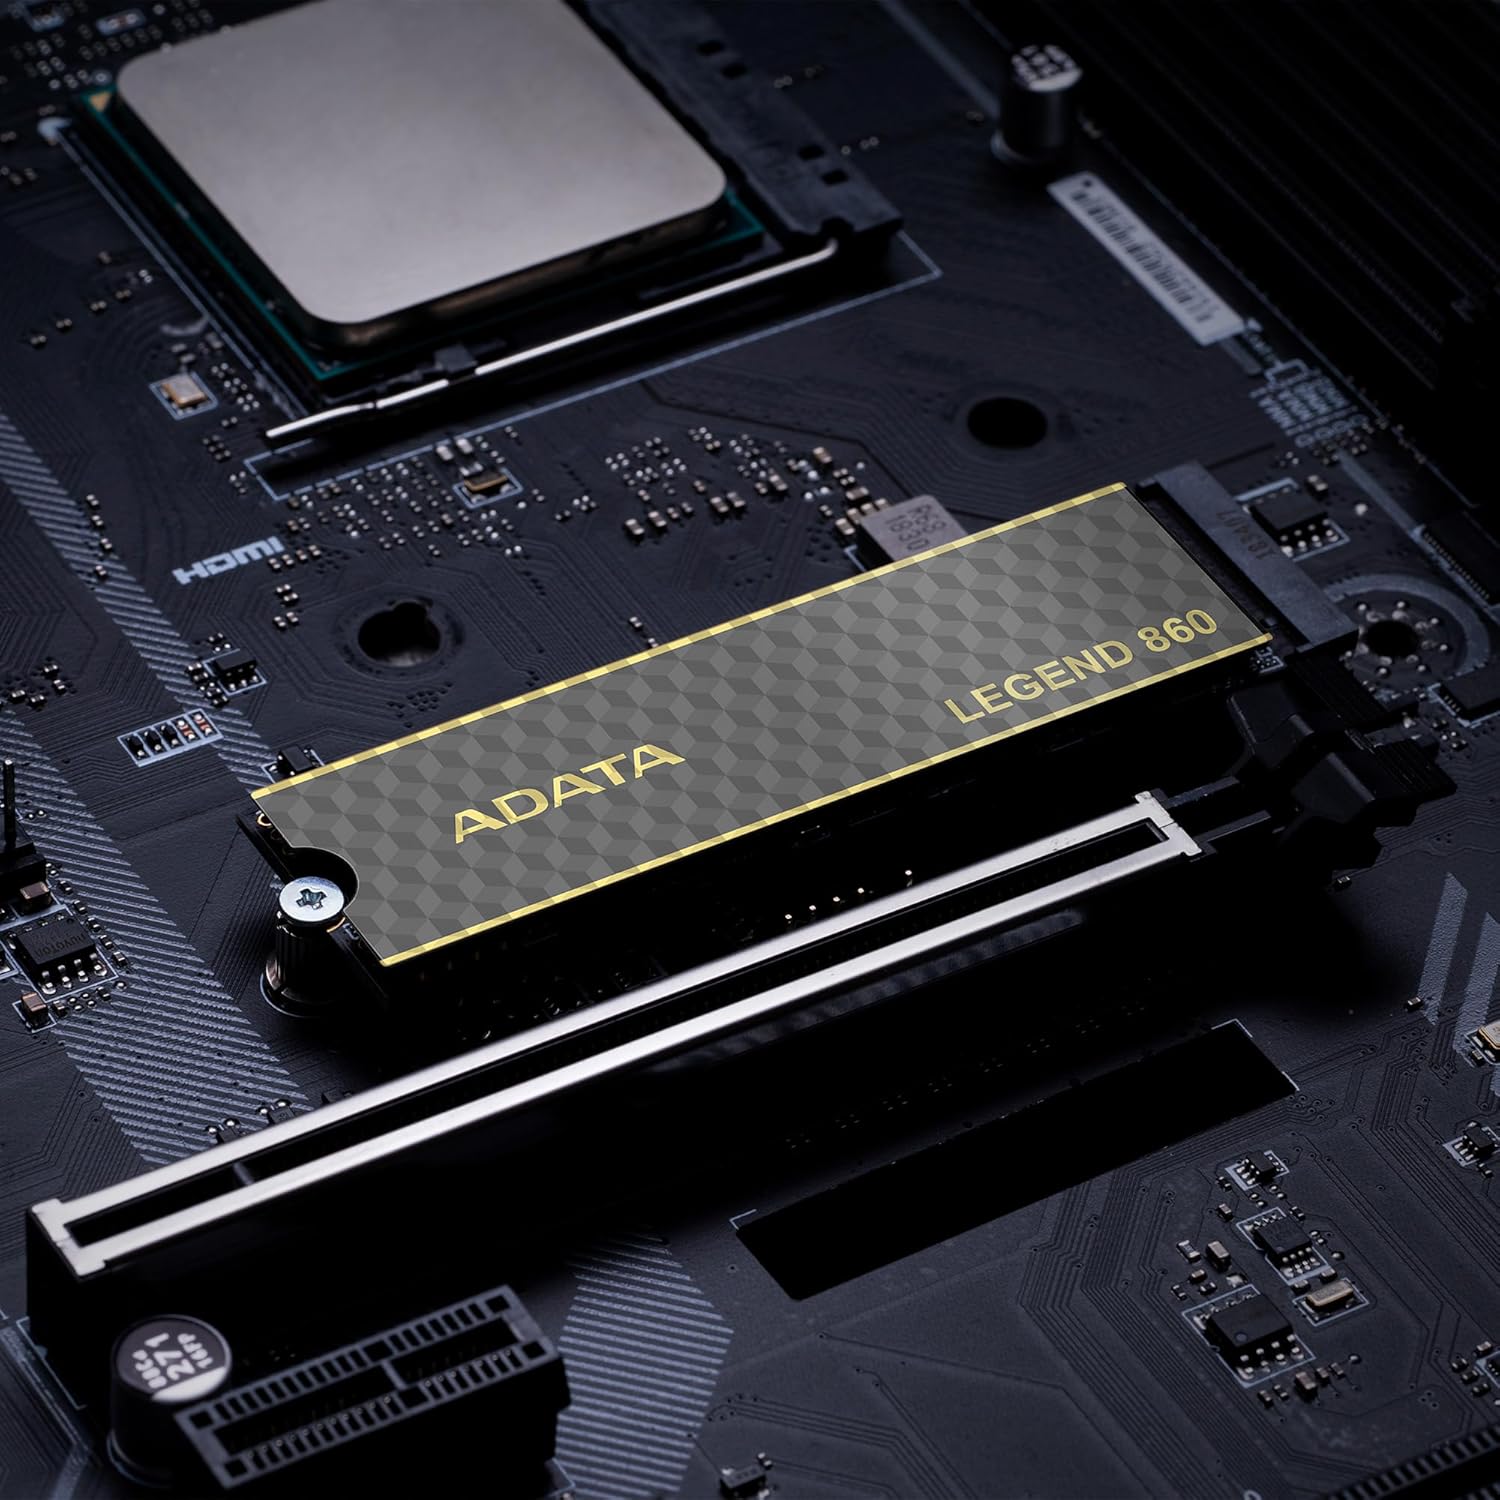
Figure 6: SSD in an external enclosure for portable use
6. التشغيل
Once installed and formatted, your ADATA Legend 860 SSD will function as a high-speed storage device. You can use it for:
- محرك نظام التشغيل: Install your operating system for faster boot times and overall system responsiveness.
- مكتبة الألعاب: Store your games to significantly reduce load times and improve gaming experience.
- تخزين التطبيق: Install demanding applications for quicker launch and operation.
- تخزين البيانات: Use it for high-speed storage of large files, such as 4K videos, high-resolution images, and large project files.
For optimal performance, ensure your system's drivers and firmware are up to date.
7. الصيانة
To maintain the performance and longevity of your ADATA Legend 860 SSD:
- حافظ على تحديث البرامج الثابتة: Periodically check the ADATA official webموقع لتحديثات البرامج الثابتة لقرص SSD. تُحسّن هذه التحديثات الأداء والاستقرار والتوافق.
- تجنب الإفراط في الملء: While SSDs perform well even when nearly full, leaving some free space (typically 10-15%) can help maintain optimal performance and extend lifespan.
- تمكين TRIM: تأكد من تفعيل خاصية TRIM في نظام التشغيل لديك. تساعد خاصية TRIM محرك أقراص الحالة الصلبة (SSD) على إدارة مساحة التخزين بكفاءة، مما يمنع تدهور الأداء مع مرور الوقت. تُفعّل معظم أنظمة التشغيل الحديثة خاصية TRIM افتراضيًا في محركات أقراص الحالة الصلبة (SSD).
- مراقبة الصحة: Use SSD monitoring tools (often provided by ADATA or third-party software) to check the health and estimated lifespan of your drive.
- النسخ الاحتياطي المنتظم: Regularly back up important data to another storage device. While SSDs are reliable, no storage device is immune to failure.
8. استكشاف الأخطاء وإصلاحها
If you encounter issues with your ADATA Legend 860 SSD, consider the following troubleshooting steps:
- لم يتم اكتشاف SSD:
- تأكد من تثبيت محرك الأقراص ذي الحالة الصلبة (SSD) بشكل صحيح في فتحة M.2.
- Check your system's BIOS/UEFI settings to confirm the M.2 slot is enabled and configured correctly.
- Verify that your motherboard or console supports NVMe PCIe Gen4 SSDs.
- Try the SSD in a different M.2 slot or a compatible external enclosure to rule out a motherboard issue.
- الأداء البطيء:
- Ensure your system's M.2 slot supports PCIe Gen4 speeds. If it's a Gen3 slot, the SSD will operate at Gen3 speeds.
- Check if TRIM is enabled (as mentioned in Maintenance).
- تأكد من أن محرك الأقراص ذي الحالة الصلبة (SSD) ليس ممتلئًا تقريبًا.
- Update your motherboard's chipset drivers and SSD firmware.
- عدم استقرار النظام/الأعطال:
- Ensure the SSD is properly secured and not overheating.
- Run a diagnostic tool to check the SSD's health.
- Check for system-wide issues (RAM, CPU, power supply).
If problems persist, contact ADATA customer support for further assistance.
9. الضمان والدعم
The ADATA Legend 860 Solid State Drive typically comes with a manufacturer's warranty. Please refer to the official ADATA website or your product packaging for specific warranty terms and conditions, including the duration and coverage details.
For technical support, driver downloads, firmware updates, and additional product information, please visit the official ADATA support webموقع: www.adata.com
احتفظ بإثبات الشراء الخاص بك لمطالبات الضمان.