
1. انتهى المنتجview
The Fuers H.265+ 8-Channel Security DVR Recorder (Model A1008CH) is a versatile surveillance solution designed for home and business security. This DVR supports various camera types including HD-CVBS, TVI, CVI, XVI, AHD, and IP analog cameras, allowing for flexible system expansion. It features H.265+ video compression for efficient storage and comes with a pre-installed 1TB hard drive for 24/7 recording.
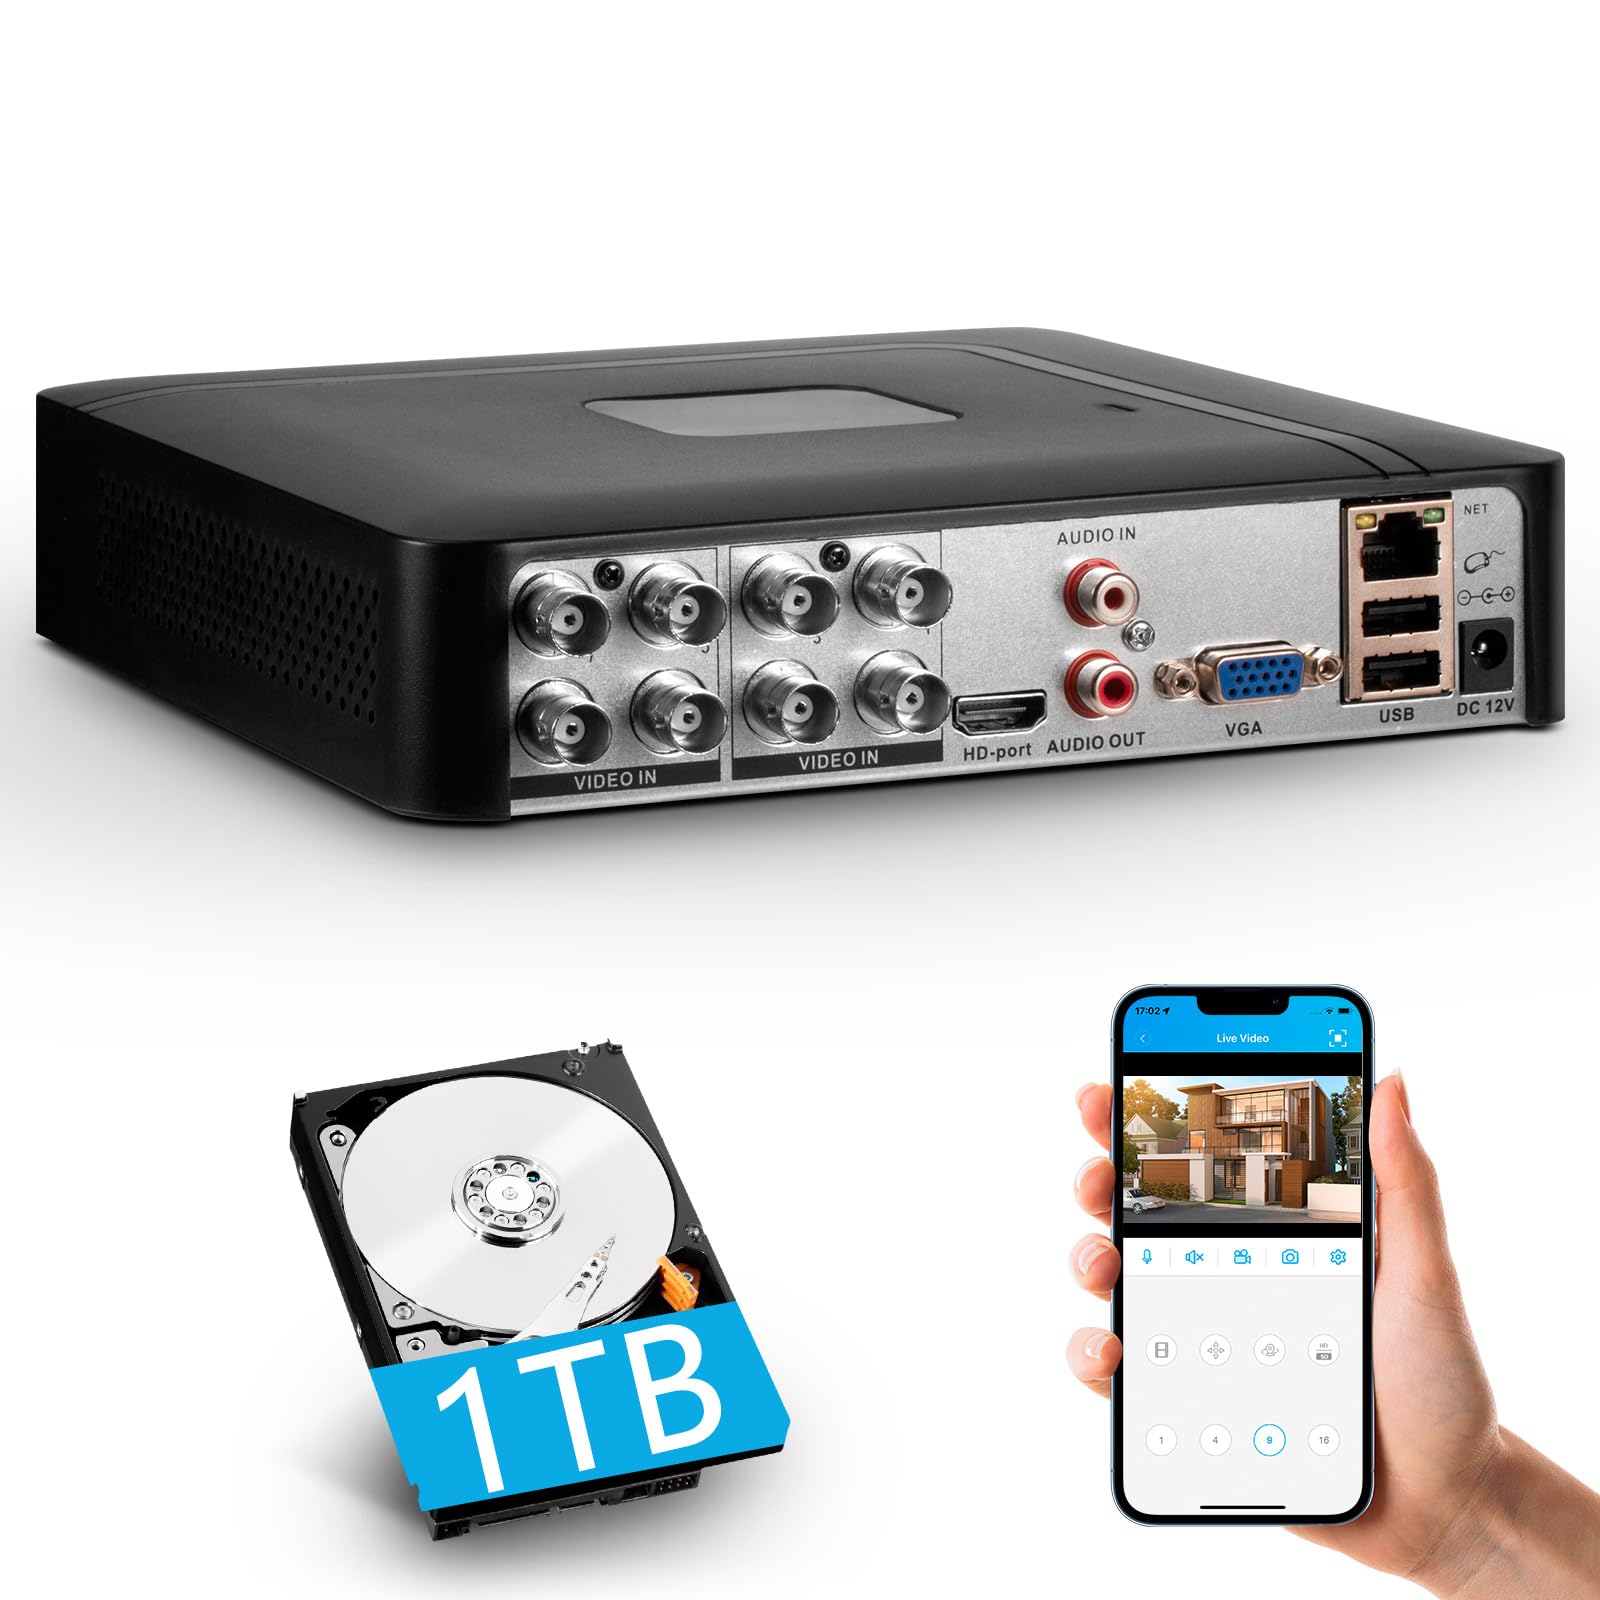
Image 1.1: Fuers H.265+ 8-Channel Security DVR Recorder.
المميزات الرئيسية:
- 8-Channel System: Supports up to 8 cameras simultaneously, compatible with HD-TVI, CVBS, CVI, XVI, AHD, and IP cameras.
- ضغط الفيديو H.265+: Offers extended recording time and saves up to 50% storage space compared to H.265 systems.
- Pre-installed 1TB HDD: Security-grade hard drive for continuous surveillance recording. Expandable up to 14TB via SATA port.
- الوصول عن بعد: View and manage your system remotely using the free iCSee App (iOS/Android) or VMS Client (Windows/Mac).
- كشف الحركة الذكي: Receive mobile push notifications for detected motion types, including person and face detection.
- إعداد التوصيل والتشغيل: Easy connection with simultaneous VGA/HDMI output.
2. الإعداد والتثبيت
2.1 محتويات الصندوق
قبل أن تبدأ، تأكد من تواجد جميع المكونات:
- 1x A1008 8CH DVR
- 1x 1TB HDD (Pre-installed on DVR)
- 1x DVR Power Adapter
- 1 × ماوس يو اس بي
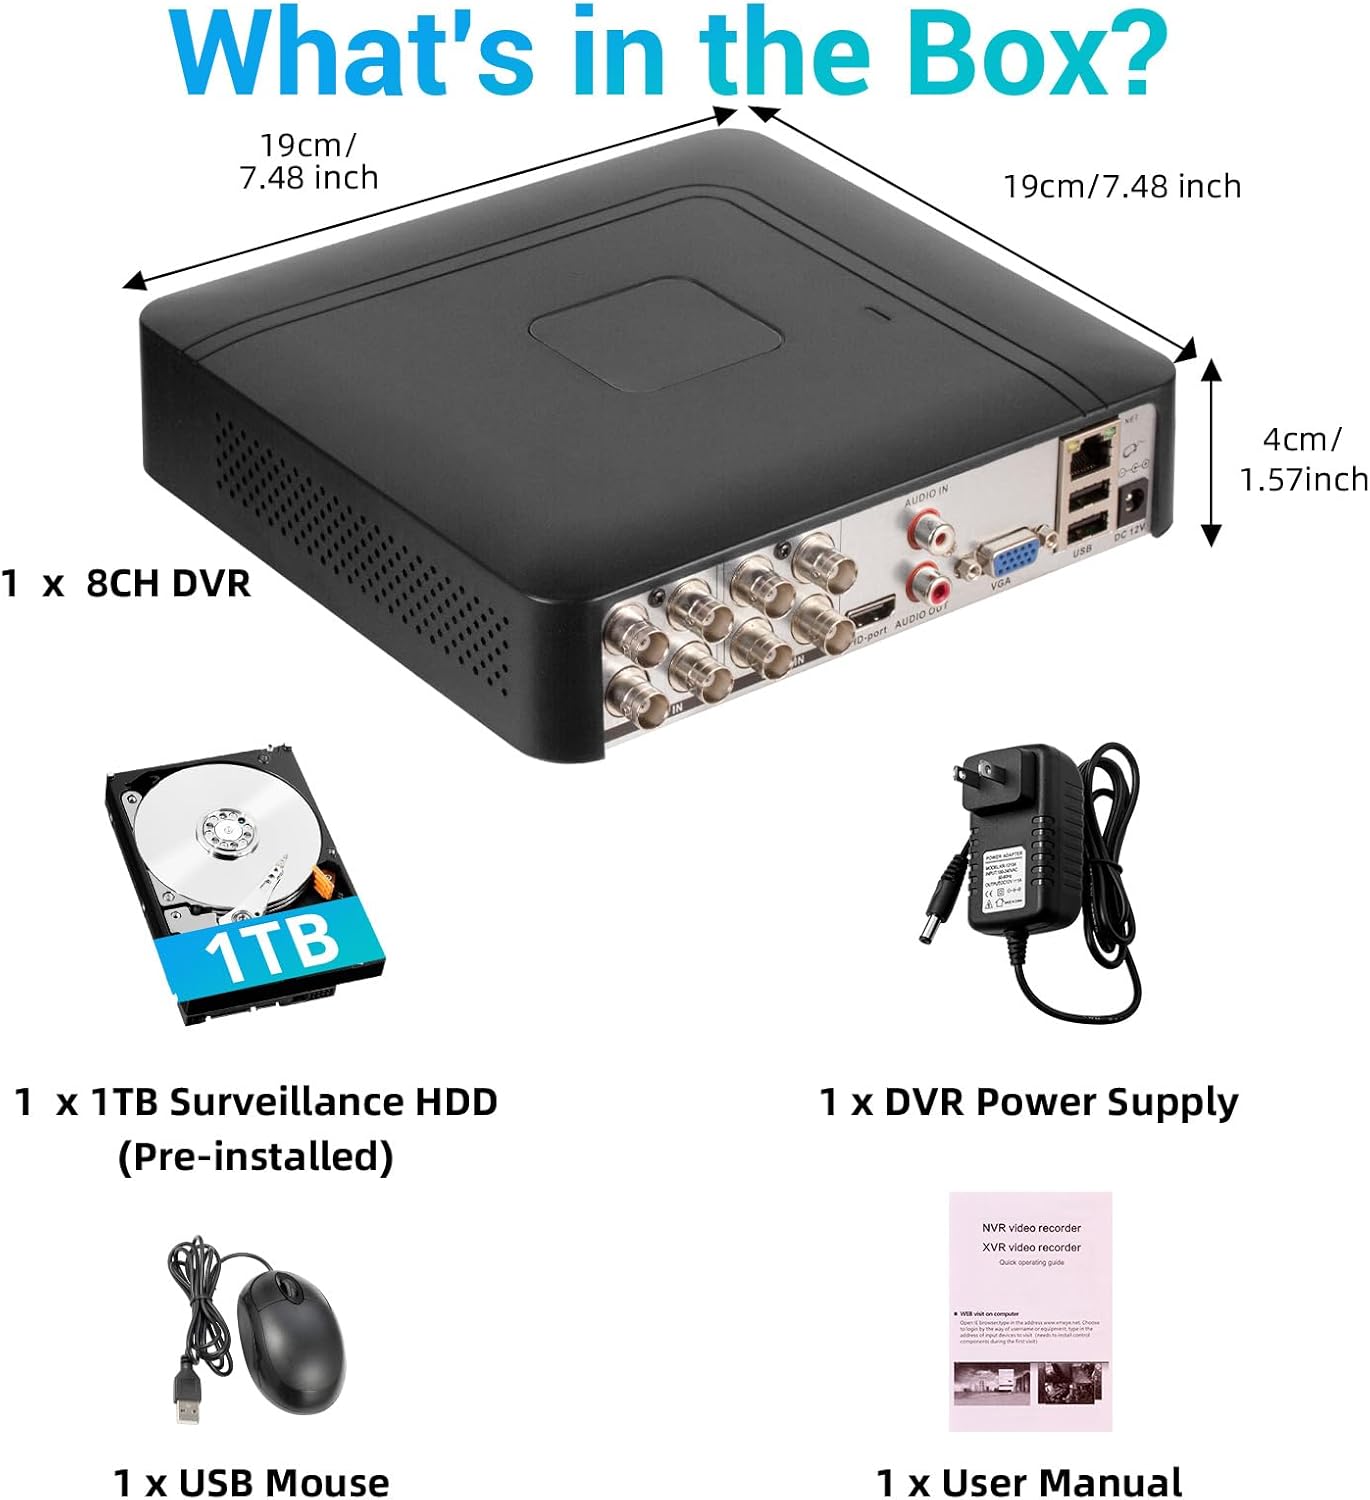
الصورة 2.1: محتويات عبوة المنتج.
2.2 Hard Drive Installation (if not pre-installed or for upgrade)
The DVR comes with a pre-installed 1TB HDD. If you need to replace or upgrade the hard drive (up to 14TB), follow these steps:
- Unscrew the bottom cover of the DVR unit.
- افتح بعناية casing.
- Connect the SATA data cable and power cable from the DVR to the new hard drive.
- Secure the hard drive within the casing using the provided screws.
- Close the DVR casinقم بتثبيته بالمسامير.

Image 2.2: Hard drive installation and expansion options.
2.3 Connecting the DVR System
اتبع هذه الخطوات لتوصيل نظام التسجيل الرقمي الخاص بك:
- ربط الكاميرات: Connect your security cameras to the 'VIDEO IN' ports on the back of the DVR using BNC cables.
- توصيل الشاشة: قم بتوصيل شاشة بجهاز التسجيل الرقمي باستخدام منفذ HDMI أو VGA.
- قم بتوصيل فأرة USB: قم بتوصيل فأرة USB المرفقة بأحد منافذ USB الموجودة على جهاز التسجيل الرقمي (DVR).
- Connect Network (Optional for Remote Access): لجهاز التحكم عن بعد viewing and notifications, connect an Ethernet cable from your router to the 'NET' port on the DVR.
- تشغيل الطاقة: Connect the DVR power adapter to the 'DC 12V' port and then plug it into a power outlet.

Image 2.3: Connecting cameras and network to the DVR.
2.4 Initial Setup and Channel Type Selection
Upon first power-on, the system may prompt for initial setup. You may need to select the appropriate channel type for your cameras.
- Right-click on the screen to access the Main Menu.
- انتقل إلى نظام > رقمي > نوع القناة.
- Select the configuration that matches your camera setup:
- First row: Supports 8 XVI, CVBS, AHD, TVI, CVI coaxial cameras.
- Second row: Supports 8 XVI, CVBS, AHD, TVI, CVI coaxial + 4 IP cameras.
- Third row: Supports 16 1080P IP cameras.
- Fourth row: Supports 16 5MP IP cameras.
- انقر OK to apply changes. The system may restart.

Image 2.4: DVR Channel Type selection screen.
3. تعليمات التشغيل
3.1 مباشر View والتسجيل
Once the DVR is powered on and cameras are connected, you should see the live feed on your connected monitor. The system is configured for 24/7 recording to the pre-installed 1TB hard drive.

الصورة 3.1: مباشر view من خلال بث مباشر من عدة كاميرات.
3.2 Remote Access via Mobile App
To access your DVR remotely, download the free iCSee App (for iOS/Android) or VMS Client (for Windows/Mac).
- Download the iCSee App from your device's app store.
- Open the app and register an account if you don't have one.
- In the DVR's main menu, navigate to معلومات > إصدار to find the DVR's QR code.
- Use the iCSee app to scan the QR code to add your device.
- بمجرد الإضافة، يمكنك view live feeds, playback recordings, and receive alerts from anywhere with an internet connection.

Image 3.2: Steps for remote access via mobile app.
3.3 Playback Recorded Footage
لإعادةview الفيديو المسجل:
- Right-click on the screen to access the Main Menu.
- يختار سِجِلّ > تشغيل.
- Choose the desired channel(s) and date/time range for playback.
- انقر ابدأ التشغيل ل view فوtage.

Image 3.3: Playback interface with timeline.
3.4 تنبيهات كشف الحركة
The DVR supports intelligent motion detection, including person and face detection. When motion is detected, you can receive instant mobile push notifications.
- Configure motion detection settings in the DVR's إنذار قائمة طعام.
- Ensure your mobile app is properly linked and notifications are enabled.

Image 3.4: Human and face detection in action.
4. الصيانة
4.1 إدارة القرص الصلب
يوفر القرص الصلب المثبت مسبقًا بسعة 1 تيرابايت ample storage. Due to H.265+ compression, storage is optimized. If more storage is needed, you can replace the internal HDD with a larger one (up to 14TB). Regularly check the hard drive status in the DVR's system settings to ensure optimal performance.
4.2 العناية العامة
- Keep the DVR in a cool, dry, and well-ventilated area.
- Avoid exposing the unit to direct sunlight, extreme temperatures, or moisture.
- Clean the exterior of the DVR with a soft, dry cloth. Do not use liquid cleaners.
- تأكد من أن جميع توصيلات الكابلات آمنة.
5. استكشاف الأخطاء وإصلاحها
5.1 لا يوجد إخراج فيديو على الشاشة
- Check if the DVR is powered on and the power adapter is securely connected.
- Verify the HDMI or VGA cable connection between the DVR and the monitor.
- Ensure the monitor is set to the correct input source (HDMI/VGA).
5.2 الكاميرات لا تعرض البيانات
- Check all camera power and video cable connections.
- Verify that the camera type (AHD, TVI, CVI, etc.) is compatible with the DVR.
- Ensure the correct channel type is selected in the DVR settings (refer to Section 2.4).
- Test cameras individually if possible to isolate the issue.
5.3 Remote Access Not Working
- Confirm the DVR is connected to the internet via an Ethernet cable.
- تحقق من اتصال الإنترنت الخاص بجهاز التوجيه (الراوتر).
- تأكد من تحديث تطبيق iCSee إلى أحدث إصدار.
- Verify that the DVR was added correctly to the app by scanning the QR code.
- For some networks, you might need to adjust router settings (e.g., port forwarding), consult your network administrator or ISP.
6. المواصفات
| ميزة | التفاصيل |
|---|---|
| ماركة | Fuers |
| رقم الموديل | أ1008 سي إتش |
| عدد القنوات | 8 |
| تكنولوجيا الاتصال | HDMI، USB، VGA |
| الأجهزة المتوافقة | Desktop, Tablet, Camera, Smartphone |
| أبعاد المنتج | 7.48 بوصة طول × 7.48 بوصة عرض × 1.57 بوصة ارتفاع |
| سعة تخزين الذاكرة | 1 تيرابايت (مثبت مسبقًا) |
| Hard-Drive Size | 1 TB (Expandable up to 14 TB) |
| تنسيق الوسائط: الفيديو الرقمي | H.265 + |
| مدخل الفيديو | AHD, CVI, HDMI, HDTVI, IP Input, VGA |
| رمز المنتج الموحد | 765142240850 |
7. الضمان والدعم
7.1 ضمان المنتج
This Fuers DVR Recorder is covered by a standard manufacturer's warranty. Please refer to the warranty card included with your product or visit the official Fuers webللاطلاع على شروط وأحكام الضمان المفصلة، يُرجى زيارة الموقع. احتفظ بإيصال الشراء كإثبات للشراء في حال وجود أي مطالبات بالضمان.
7.2 الدعم الفني
For technical assistance, troubleshooting, or any questions regarding your Fuers DVR, please contact Fuers customer support. Contact information can typically be found on the product packaging, the official Fuers webالموقع، أو من خلال بائع التجزئة الخاص بك.
الموارد المتاحة على الإنترنت:
- قم بزيارة Fuers Store on Amazon للحصول على معلومات وتحديثات عن المنتج.