
1. المقدمة
The Kinhank 12TB Retro Gaming Hard Drive is an external storage device pre-loaded with a vast collection of classic games, compatible with various emulators and Windows operating systems. This manual provides instructions for setup, operation, and maintenance to ensure optimal performance and an enjoyable gaming experience.
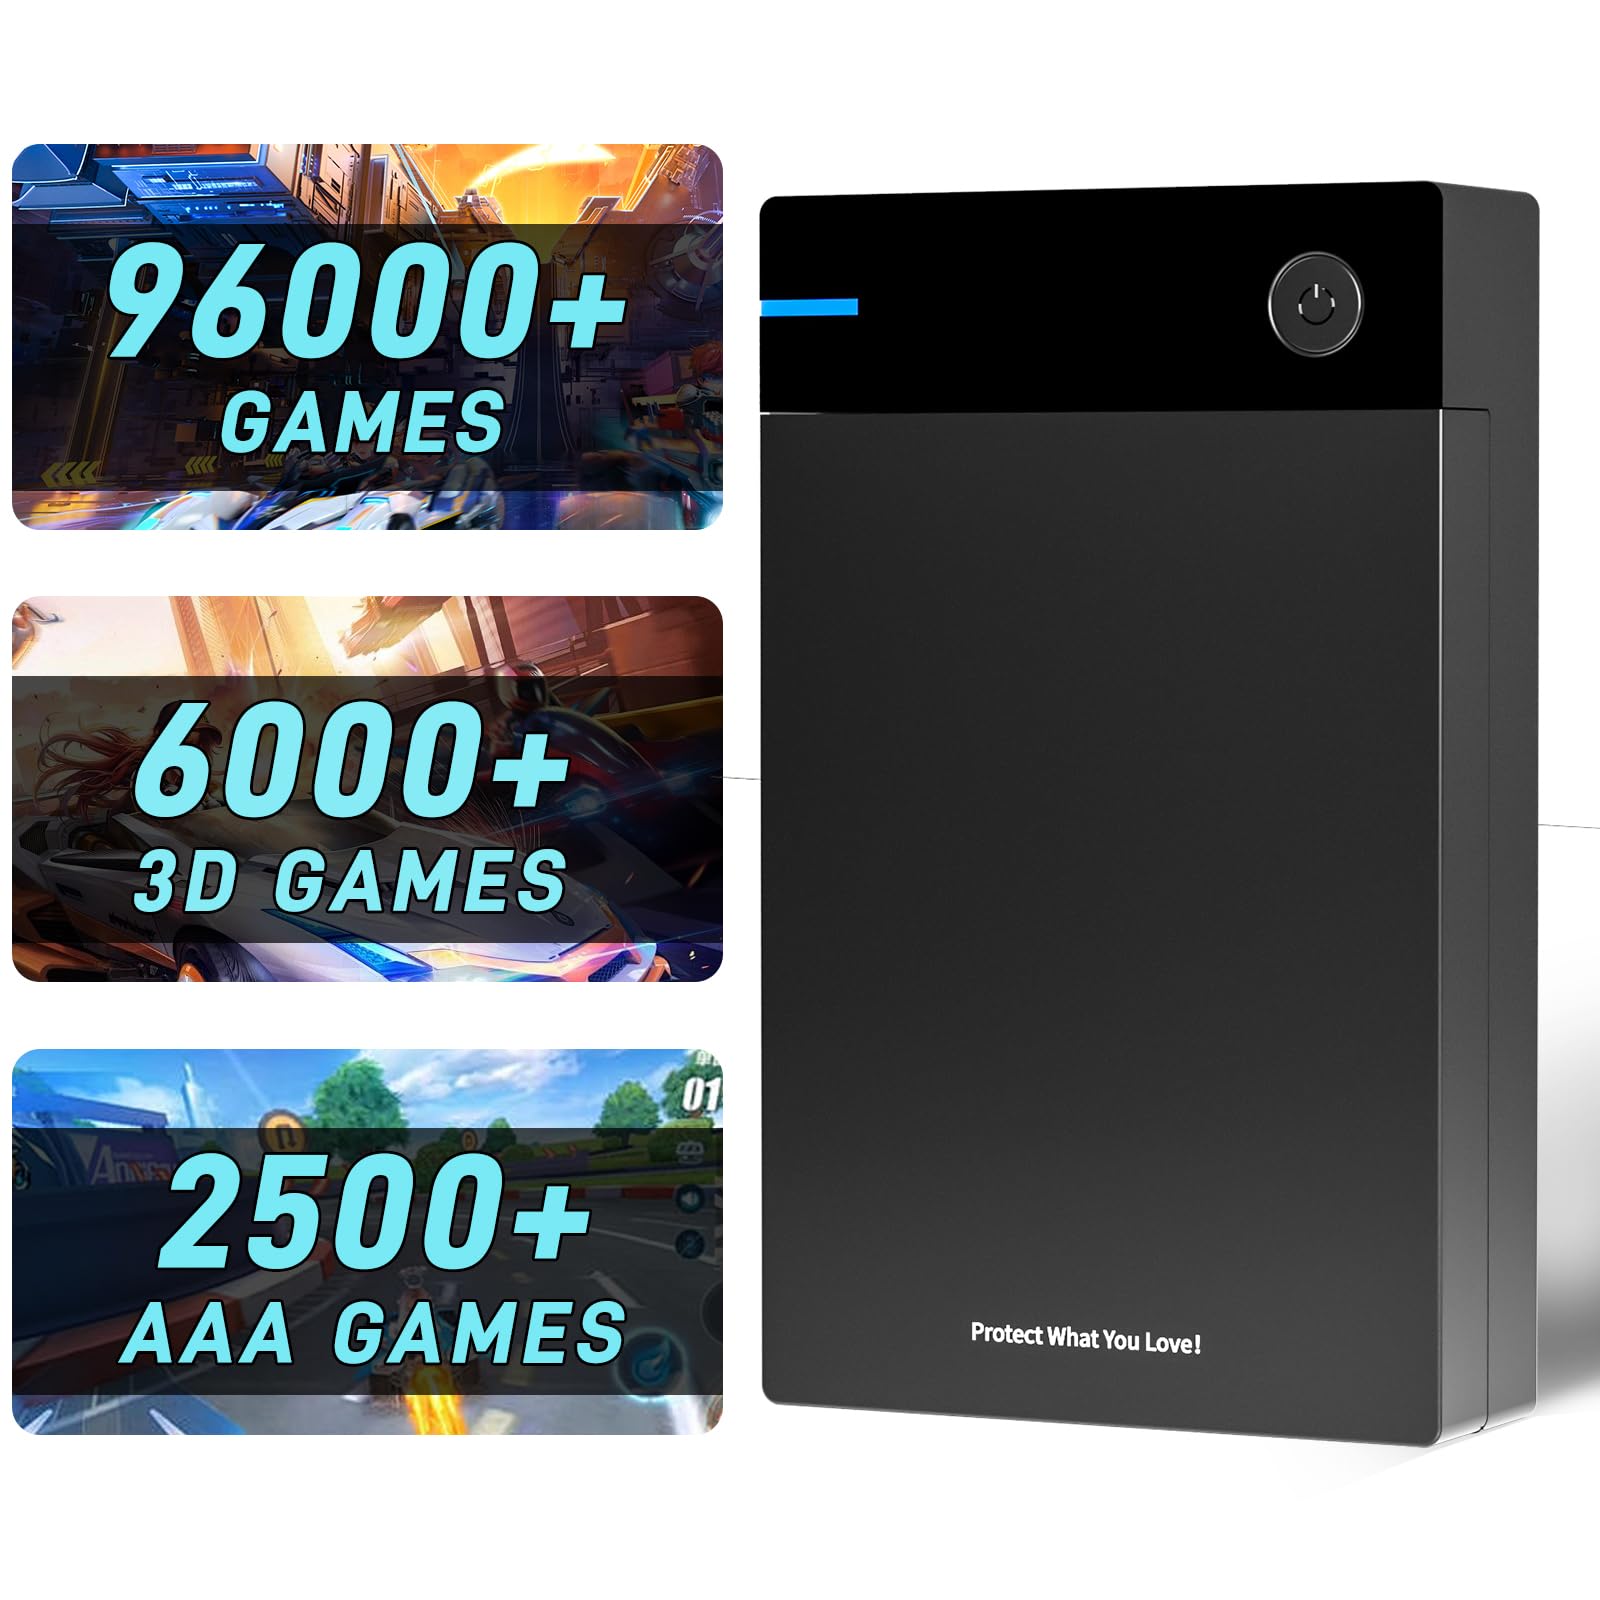
Figure 1: Kinhank 12TB Retro Gaming Hard Drive connected to a laptop, showcasinتصميمها المدمج.
2. محتويات العبوة
تأكد من وجود جميع العناصر في العبوة:
- Kinhank 12TB Retro Gaming Hard Drive (x1)
- USB Data Cable (x1)
- مصدر الطاقة (×1)
- دليل المستخدم (x1)

Figure 2: Included items: Hard drive, USB data cable, power supply, and user manual.
3. المواصفات
| ميزة | التفاصيل |
|---|---|
| سعة التخزين الرقمية | 12 تيرابايت |
| واجهة القرص الصلب | يو اس بي 3.0 |
| تكنولوجيا الاتصال | USB |
| ماركة | كينهانك |
| عامل شكل القرص الصلب | 3.5 بوصة |
| وصف القرص الصلب | قرص صلب ميكانيكي |
| الأجهزة المتوافقة | Windows (Win 7 and above) |
| نوع التثبيت | القرص الصلب الخارجي |
| لون | أسود |
| سرعة دوران القرص الصلب | 7200 دورة في الدقيقة |
| سرعة القراءة | 6 جيجا في الثانية |
| Cache Memory Installed Size | 256 ميجا بايت |
| معدل نقل البيانات | 6 جيجا في الثانية |
| الربط الأجهزة | SATA 3.0 جيجابت/ثانية، USB |
| مواد التغليف | Aluminum, Glass, Or Ceramic |
| رقم الموديل | KH-12TB-Retro-Gaming |

Figure 3: Dimensions and interface details of the hard drive, including ON/OFF switch, DC power input, SATA USB 3.0 port, and indicator light.
4. الإعداد
Follow these steps to set up your Kinhank 12TB Retro Gaming Hard Drive:
- قم بتوصيل القرص الصلب: Connect the hard drive to your computer using the provided USB 3.0 data cable and connect the power supply to the hard drive and a power outlet.
- الوصول إلى محرك الأقراص: Once connected, the hard drive should appear as a new drive (e.g., "Hyperspin_12T (E:)") in "This PC" or "My Computer".
- تثبيت البرامج المطلوبة:
- Open the "Help_faqs" folder on the hard drive.
- Navigate to "_WINDOWS INSTALL FILES".
- ثَبَّتَ دايركت اكس 9: Right-click "DXSETUP.exe" in the "DirectX 9" folder and select "Open". Follow the on-screen prompts to accept the agreement and complete the installation.
- ثَبَّتَ Microsoft .NET Framework 4 + .NET 2.0: Right-click "dotNetFx40_Full_x86_x64.exe" and "NetFx20SP1_x64.exe" in the "Microsoft .NET Framework 4 + .NET 2.0" folder and select "Open". Follow the on-screen prompts. (Note: You may receive a message that the framework is already part of your operating system or a higher version is installed; this is normal.)
- ثَبَّتَ Visual C++ Runtimes All-in-One: Right-click "install_all.bat" in the "Visual-C-Runtimes-All-in-One" folder and select "Open". This will install multiple Visual C++ redistributables.
- ثَبَّتَ Bebas Neue Font: Right-click "BebasNeue.ttf" and select "Install". If prompted to replace, select "Yes".
- Launch the Gaming Interface:
- Go back to the root of the "Hyperspin_12T" drive.
- Open the "Arcade" folder.
- Locate and right-click "HyperSpin Attraction.exe" and select "Open" or "Run as administrator" to launch the gaming interface.
Video 1: Installation guide for the Kinhank 12TB Retro Gaming Hard Drive, demonstrating software installation and launching the gaming interface.

Figure 4: Simplified installation steps: Connect the drive, install necessary components, and launch the application.
5. تعليمات التشغيل
5.1 التنقل عبر الواجهة
The gaming interface features a roulette-style menu. When you highlight a game collection, a video preview of the games within that collection will be displayed. Use your connected controller or keyboard to navigate through the game selections.
5.2 Starting and Exiting Games
- To start a game, select it from the menu and confirm.
- To exit the current game, long-press the designated back button on your controller or keyboard.
5.3 Adding/Deleting Games
The hard drive allows for adding or deleting games according to your preferences. Refer to the "Help_faqs" folder on the drive for detailed instructions on managing game files and emulators.

Figure 5: The gaming hard drive provides access to a large library of classic and modern games.

Figure 6: The system automatically adapts to screens of different proportions for optimal display.
6. متطلبات النظام
To ensure smooth operation and optimal gaming performance, your computer should meet the following specifications:
- نظام التشغيل: Windows 7 or above (Windows 7/8/10/11 supported).
- Processor (for large games): Intel Core i5 or higher recommended.
- Graphics Card (for large games): NVIDIA GeForce GTX 1050 Ti or higher recommended.

Figure 7: The hard drive is compatible with Windows 7 and newer operating systems.

Figure 8: Recommended computer specifications for optimal performance with demanding games.
7. الصيانة
Proper maintenance ensures the longevity and performance of your hard drive:
- إزالة آمنة: قم دائمًا بإخراج القرص الصلب من جهاز الكمبيوتر الخاص بك بأمان قبل فصله لمنع تلف البيانات.
- الرعاية الجسدية: Keep the hard drive in a cool, dry place, away from direct sunlight, extreme temperatures, and moisture. Avoid dropping or subjecting it to physical shocks.
- تنظيف: Use a soft, dry cloth to clean the exterior of the hard drive. Do not use liquid cleaners or solvents.
- تحديثات البرامج: Periodically check for updates to your operating system and graphics drivers to maintain compatibility and performance.
8. استكشاف الأخطاء وإصلاحها
إذا واجهت أي مشكلات، راجع الحلول الشائعة التالية:
- لم يتم اكتشاف القرص الصلب:
- Ensure the USB data cable and power supply are securely connected.
- حاول الاتصال بمنفذ USB مختلف على جهاز الكمبيوتر الخاص بك.
- Verify that the hard drive's power switch (if present) is in the ON position.
- Check "Disk Management" in Windows to see if the drive is recognized but uninitialized or unformatted. Do not format the drive if it contains game data.
- Games Not Launching or Crashing:
- Ensure all required software (DirectX, .NET Framework, Visual C++ Runtimes) from the "Setup" section is correctly installed.
- Verify your computer meets the recommended system requirements, especially for demanding games.
- Some games may require specific controller configurations. Check the "Help_faqs" folder for emulator-specific settings.
- Outdated emulators or corrupted ROMs can cause issues. While the drive is pre-configured, advanced users may explore updating emulators or replacing problematic ROMs.
- مشكلات وحدة التحكم:
- Ensure your controller is properly connected and recognized by your computer.
- The gaming interface is often optimized for Xbox controllers. Other controllers (e.g., PS controllers) may require manual mapping within the emulator settings.
- Some arcade games with non-standard controls (e.g., rotary, trackball) may not be fully playable with standard gamepads.
- Slow Game Loading/Performance:
- Ensure your computer's USB port is USB 3.0 compatible for optimal transfer speeds.
- أغلق التطبيقات التي تعمل في الخلفية والتي لا تحتاج إلى صيانة لتحرير موارد النظام.
- Verify your computer meets the recommended CPU and GPU specifications, especially for newer or more graphically intensive games (e.g., PS3/PS4 titles).
- Antivirus Warnings:
Some antivirus software may flag certain files on the drive, particularly those related to emulators or game loaders. This can sometimes be a false positive. If you are confident in the source, you may need to add exceptions in your antivirus software. Exercise caution and ensure your system is otherwise protected.
9. الضمان والدعم
For warranty information, technical support, or service inquiries, please refer to the contact details provided with your product packaging or visit the official Kinhank webالموقع. احتفظ بإيصال الشراء الخاص بك كإثبات للشراء في حالة مطالبات الضمان.