
1. المقدمة
This manual provides detailed instructions for the installation, operation, and maintenance of your Luqeeg Digital Door Viewer. Please read this manual thoroughly before using the product to ensure proper function and safety. Keep this manual for future reference.
2. مواصفات المنتج
- شاشة إل سي دي 2.4 بوصة: Provides a clear and vivid view عدد الزوار على باب منزلك.
- 0.3MP Professional Camera: Captures crisp images for easy identification, even in low light conditions.
- عدسة واسعة الزاوية 120 درجة: يقدم مجموعة واسعة view of your doorstep, minimizing blind spots and enhancing security.
- هيكل متين من سبائك الزنك: Engineered for superior wear resistance and impact strength, preventing prying and smashing.
- مصدر طاقة مزدوج: Operates using either 3 x 1.5V AAA batteries (not included) or a 5V 1A USB power source for continuous operation.
- التنشيط التلقائي للعرض: The screen automatically displays the outside view when the doorbell is pressed, providing convenience for all users.
3. محتويات العبوة
تأكد من وجود جميع العناصر في العبوة:
- 1 × باب رقمي Viewer Camera Unit
- 1 × باب رقمي Viewer Monitor Unit
- 1 x Accessory Kit (includes 2 x Washers, 8 x Screws)
- 1 × دليل المستخدم
Note: AAA batteries and a small memory card are not included and must be purchased separately.
4. انتهى المنتجview
Familiarize yourself with the components of your Luqeeg Digital Door Viewاه.

Figure 4.1: Monitor Unit Components
- شاشة LCD: يعرض الحية view من الكاميرا.
- Monitoring/Power On/Off Button: Press to activate the screen or power the device on/off.
- واجهة USB: For connecting a 5V 1A USB power source.
- Small Memory Card Slot: Insert a memory card (not included) for potential recording features (if supported by firmware).

Figure 4.2: Monitor Unit Rear View (حجرة البطارية)
- حجرة البطارية: Houses 3 x AAA batteries (not included).
5. دليل التثبيت
The Luqeeg Digital Door Viewer is designed for simple installation, fitting standard door peephole holes without requiring special tools.
5.1 التحضير
- Ensure your door has an existing peephole or a suitable hole for installation.
- Gather necessary components: Camera unit, Monitor unit, washers, and screws.
- Prepare 3 x AAA batteries (not included) or a 5V 1A USB power source.
5.2 خطوات التثبيت

الشكل 5.1: اكتمال التركيبview
- Step 1: Remove Existing Peephole (if applicable)
Carefully unscrew and remove any existing traditional peephole from your door. - Step 2: Insert Camera Unit
From the outside of the door, insert the camera unit through the peephole hole. Ensure the camera is facing outwards and is flush with the door surface. - Step 3: Secure Monitor Unit
From the inside of the door, connect the cable from the camera unit to the monitor unit. Align the monitor unit with the camera unit and secure it to the door using the provided screws and washers. Ensure the monitor is firmly attached and stable.
5.3 تشغيل الجهاز
- طاقة البطارية: Open the battery compartment on the back of the monitor unit and insert 3 x AAA batteries, observing correct polarity.
- طاقة USB: Connect a 5V 1A USB power adapter (not included) to the USB interface on the side of the monitor unit. This can serve as a backup or primary power source.
6. تعليمات التشغيل
6.1 تشغيل/إيقاف التشغيل
- لتشغيل: Press and hold the Monitoring/Power On/Off button located below the LCD screen until the screen illuminates.
- لإيقاف التشغيل: Press and hold the Monitoring/Power On/Off button until the screen turns off.
6.2 Viewing Visitors
- يدوي View: Press the Monitoring/Power On/Off button once to activate the screen and view the outside area. The screen will automatically turn off after a short period of inactivity to conserve power.
- اوتوماتيكي View: When someone presses your doorbell (if connected and compatible, or if the device detects motion/sound, depending on model features), the screen will automatically activate and display the outside view.
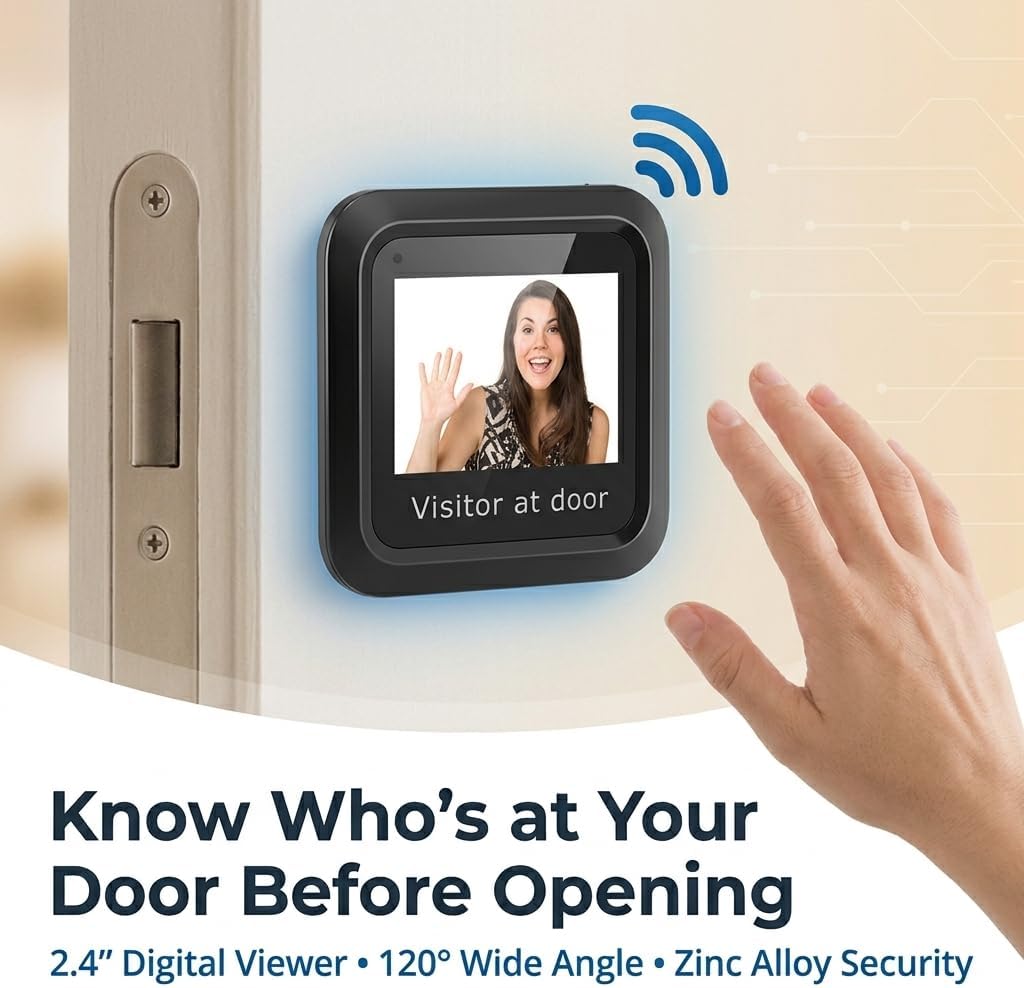
الشكل 6.1: Viewing a Visitor
6.3 Memory Card Usage (Optional)
If your model supports recording and you have inserted a small memory card into the slot:
- Refer to the on-screen menu or additional documentation for specific instructions on how to initiate recording, view playback, or manage stored footage.
7. الصيانة
- تنظيف: استخدم قطعة قماش ناعمة وجافة لتنظيف الشاشة وعدسة الكاميرا. تجنب استخدام المنظفات الكاشطة أو المذيبات.
- استبدال البطارية: When the battery indicator shows low power, replace all 3 AAA batteries simultaneously. Do not mix old and new batteries.
- الظروف البيئية: تأكد من عدم تعرض الجهاز لدرجات حرارة عالية، أو لأشعة الشمس المباشرة لفترات طويلة، أو للرطوبة الزائدة.
8. استكشاف الأخطاء وإصلاحها
| مشكلة | السبب المحتمل | حل |
|---|---|---|
| الجهاز لا يعمل. | بطاريات منخفضة أو ميتة. قطبية البطارية غير صحيحة. الطاقة عبر منفذ USB غير موصولة أو بها عطل. | استبدل البطاريات بأخرى جديدة، مع التأكد من القطبية الصحيحة. Check USB cable and power adapter connection. |
| Screen is blank or blurry. | عدسة الكاميرا متسخة. Poor connection between camera and monitor. الإضاءة الخارجية غير كافية. | قم بتنظيف عدسة الكاميرا بقطعة قماش ناعمة. Ensure the camera and monitor cables are securely connected. The device performs best in adequate lighting. |
| No image when doorbell is pressed. | Doorbell not connected or incompatible. إعدادات الجهاز. | Verify doorbell connection and compatibility with the digital viewاه. Check device settings for automatic activation options. |
| Image quality is poor compared to expectations. | Environmental factors (e.g., glare, extreme darkness). Camera lens obstruction. | تأكد من أن عدسة الكاميرا نظيفة وغير مسدودة. Image quality may vary based on external lighting conditions. |
9. المواصفات
| ميزة | التفاصيل |
|---|---|
| رقم الموديل | Luqeegbupzxet1rs |
| حجم العرض | 2.4 بوصة |
| دقة الكاميرا | 0.3 ميجا بكسل |
| Viewزاوية جي | 120 درجة |
| مواد البناء | سبائك الزنك |
| مزود الطاقة | 3 x 1.5V AAA Batteries (not included) or 5V 1A USB |
| وزن العنصر | 8.1 أونصات |
| أبعاد الحزمة | 7.87 × 4.72 × 1.97 بوصة |
| المكونات المضمنة | 1 x Camera, 1 x Monitor, 1 x Accessory Kit (2 x Washers, 8 x Screws), 1 x Manual |
10. الدعم
For any questions, technical assistance, or support regarding your Luqeeg Digital Door Viewer, please refer to the contact information provided with your purchase or visit the official Luqeeg website. Our customer support team is available to assist you.