
KERUI M523
KERUI Wireless Doorbell (Model M523) User Manual
Model: M523 | Brand: KERUI
مقدمة
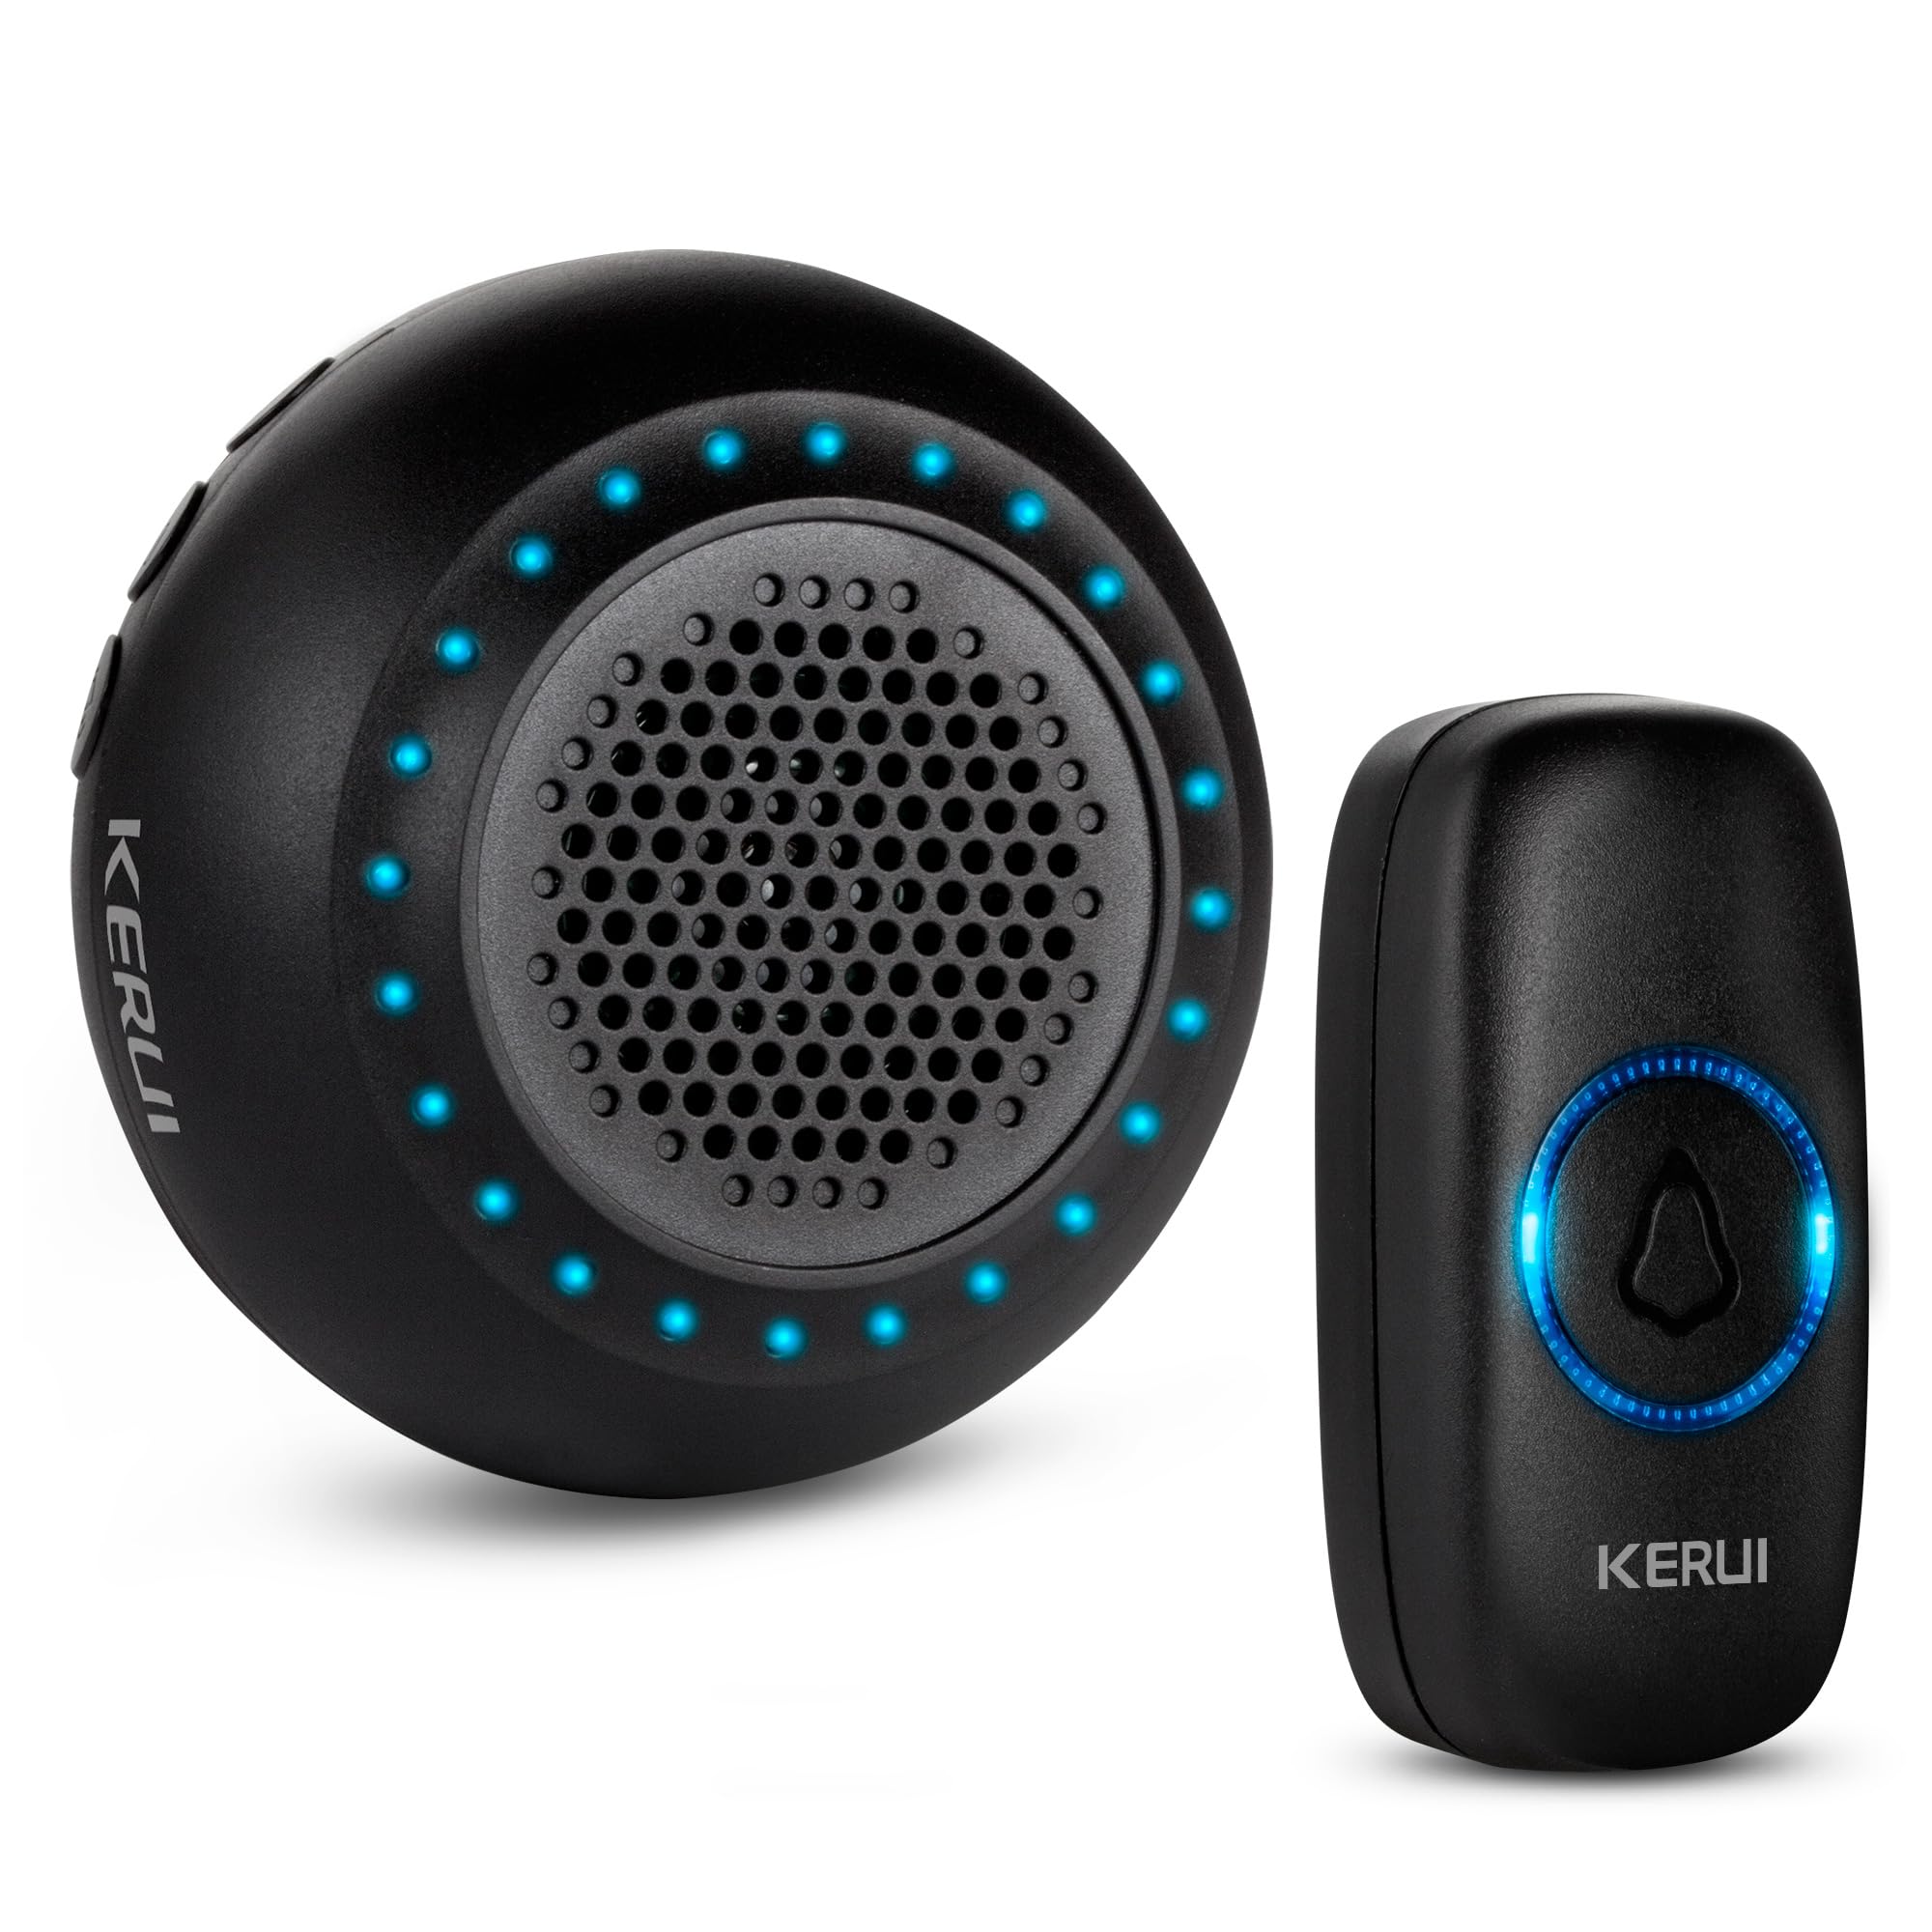
Thank you for choosing the KERUI Wireless Doorbell. This system is designed to provide a reliable and convenient notification solution for your home or office. Featuring an IP55 waterproof push button, a plug-in receiver with 32 selectable chimes, 4 adjustable volume levels, and a long operating range, this doorbell ensures you never miss a visitor. Please read this manual carefully before installation and use to ensure optimal performance and longevity of your device.
محتويات الحزمة
تأكد من وجود جميع العناصر في الحزمة الخاصة بك:
- 1 x Doorbell Receiver (Black)
- 1 x Push Button (Black)
- Mounting Accessories for Push Button (screws, anchors, adhesive tape)
- 1 × دليل المستخدم
المنتج انتهىview
Familiarize yourself with the components and features of your KERUI Wireless Doorbell system.
Video 1: KERUI Wireless Doorbell Product Overview. يقدم هذا الفيديو نظرة عامةview of the KERUI wireless doorbell, showcasing its features and components.


تعليمات الإعداد
1. تركيب زر الضغط
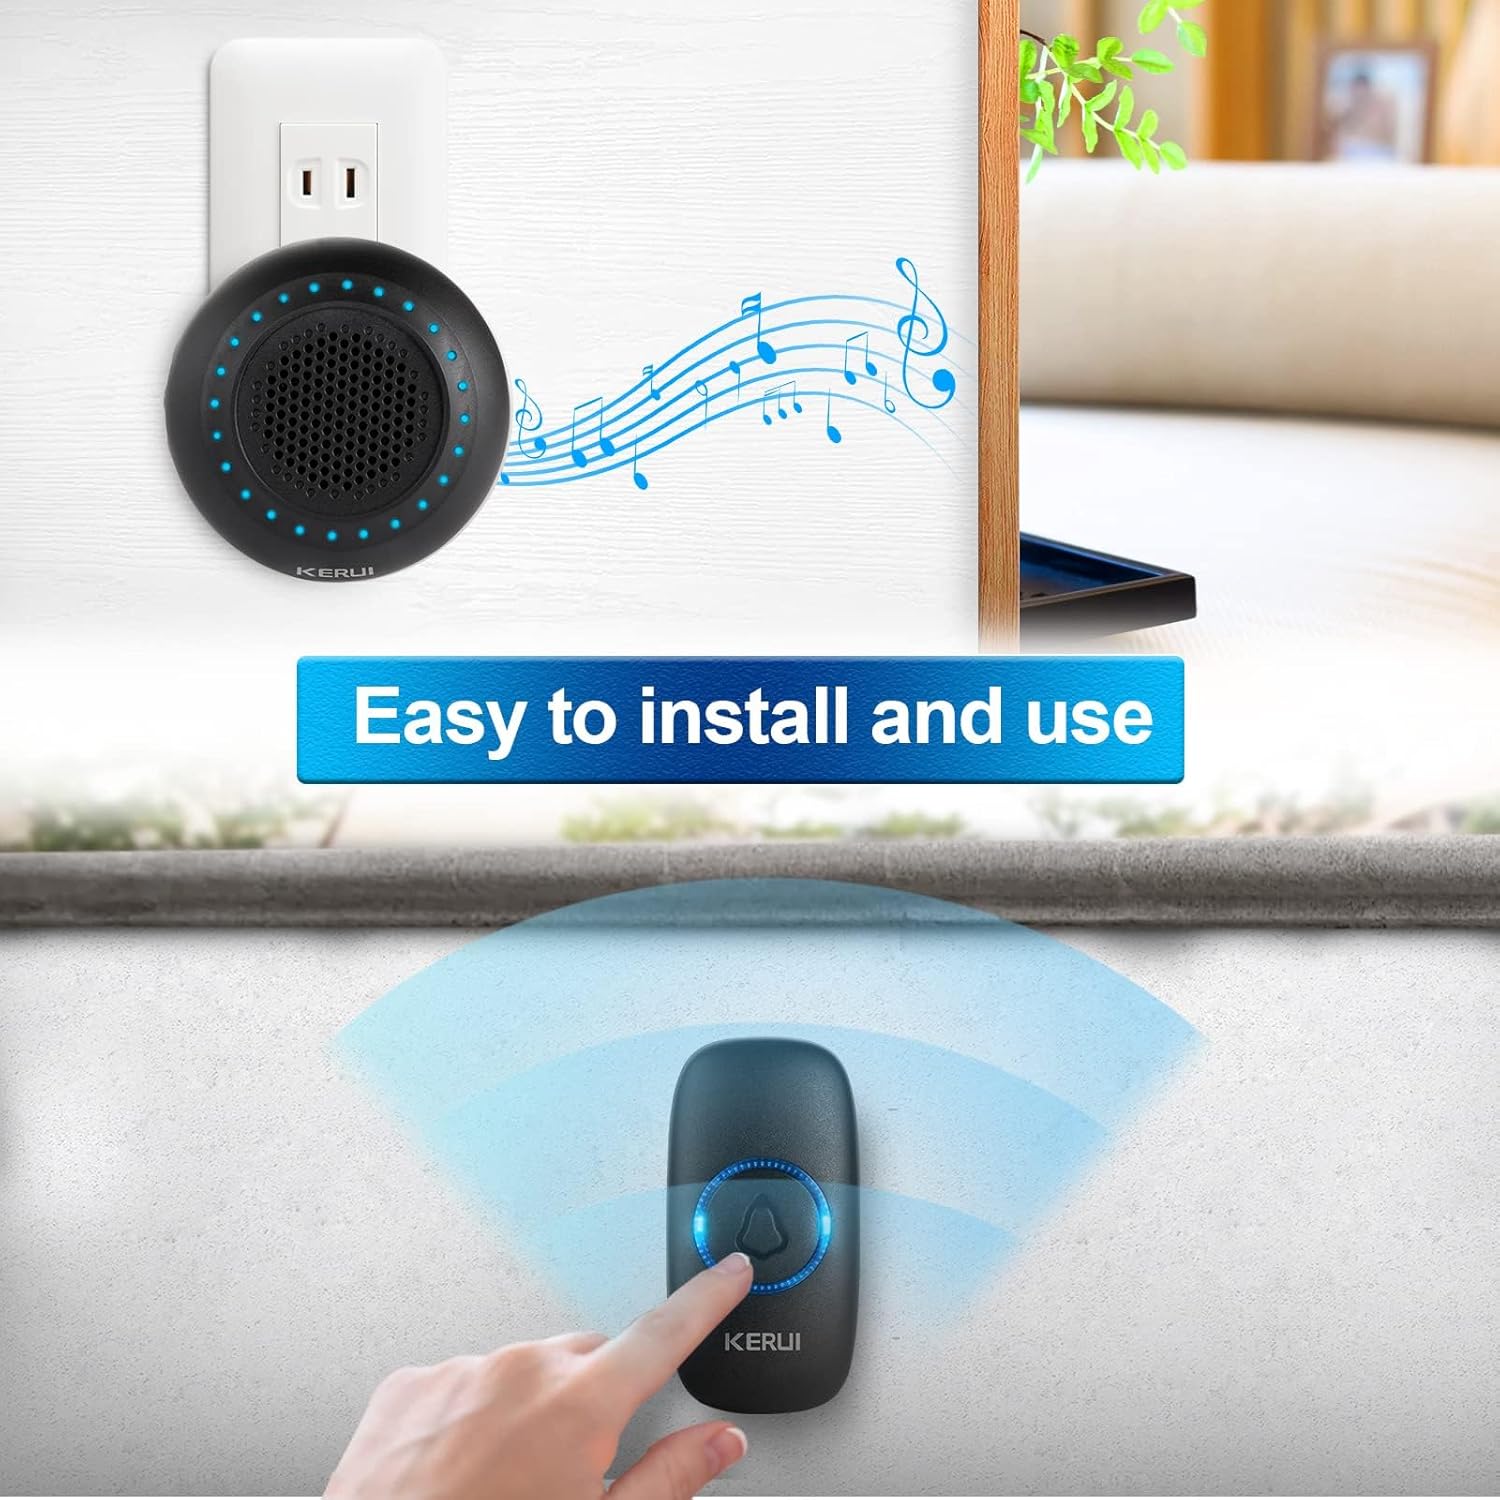
The push button can be installed using either the provided adhesive tape or screws.
- Choose a suitable location for the push button, typically near your door.
- استخدام الشريط اللاصق: Clean the surface thoroughly. Peel off one side of the double-sided adhesive tape and stick it to the back of the push button. Peel off the other side and firmly press the button onto the desired surface for 30 seconds.
- استخدام البراغي: Open the back cover of the push button (refer to the Maintenance section for battery replacement for guidance on opening). Mark the screw holes on the wall. Drill pilot holes if necessary and insert the wall anchors. Secure the back cover to the wall with the screws, then reattach the front part of the push button.
2. إعداد جهاز الاستقبال
Plug the doorbell receiver into any standard electrical outlet within range of the push button. The receiver will light up and emit a default chime.

3. إقران الأجهزة
Your doorbell kit is pre-paired at the factory. If re-pairing is needed or you add new push buttons, follow these steps:
- قم بتوصيل جهاز الاستقبال بمأخذ الطاقة.
- اضغط لفترة طويلة على زر الاعداد (gear icon) on the receiver for approximately 5 seconds until the LED indicators flash and the receiver beeps once. This indicates it has entered pairing mode.
- Within 8 seconds, short press the push button. The receiver will emit two "Ding" sounds and the LED light will flash, confirming successful pairing.
- اضغط لفترة قصيرة على زر الاعداد again to exit pairing mode. The LED indicators will turn off.
Video 2: KERUI Wireless Doorbell Pairing Operation. This video demonstrates the step-by-step process of pairing the push button with the receiver.
Video 3: How to Pair the Doorbell. A visual guide on how to successfully pair your doorbell components.
تعليمات التشغيل
1. تغيير نغمة الرنين
The receiver offers 32 different melodies. To select a ringtone:
- اضغط على Music Select Button (musical note icon) on the receiver to cycle through the available melodies.
- Once you hear a melody you like, stop pressing the button. The selected melody will be saved automatically.
- If you wish to assign a specific ringtone to a particular push button, enter pairing mode (as described in the Setup section), select your desired ringtone, then press the push button to confirm.
Video 4: How to Change Ringtone and Re-pair Doorbell. This video illustrates how to change the ringtone and re-pair the doorbell if needed.
Video 5: How to Choose Your Favorite Ringtone. A visual guide on selecting and setting your preferred ringtone.
2. ضبط الحجم
The receiver has 4 adjustable volume levels, including a mute mode. Press the زر التحكم في مستوى الصوت (speaker icon) on the receiver repeatedly to cycle through the volume levels until you reach your desired setting.
3. وضع كتم الصوت
To activate mute mode, press the زر التحكم في مستوى الصوت until the volume is set to the lowest level or the mute indicator is shown (if applicable). In mute mode, the receiver's LED flash will still activate when the push button is pressed, providing a visual alert without sound.
صيانة
1. Push Button Battery Replacement
The push button is powered by a CR2032 Lithium Ion battery (included). When the button's LED indicator no longer lights up or the signal range decreases significantly, it's time to replace the battery.
- Carefully pry open the back cover of the push button using a small flat-head screwdriver or the provided tool, inserting it into the notch at the bottom.
- قم بإزالة بطارية CR2032 القديمة.
- Insert a new CR2032 battery, ensuring the positive (+) side faces up.
- Snap the back cover firmly back into place.
Video 6: How to Replace the Battery. This video provides a visual guide on replacing the battery in the push button transmitter.
ملحوظة: تخلص من البطاريات القديمة بطريقة مسؤولة وفقًا للوائح المحلية.
استكشاف الأخطاء وإصلاحها
| مشكلة | السبب المحتمل | حل |
|---|---|---|
| جرس الباب لا يرن. |
|
|
| نطاق تشغيل قصير. |
|
|
| Receiver rings randomly. |
|
|
تحديد
- ماركة: كيروي
- رقم الموديل: م523
- وزن السلعة: 3.52 أونصات
- أبعاد المنتج: 4 × 3 × 3 بوصة
- بطارية زر الضغط: 1 x Lithium Ion (CR2032)
- تصنيف مقاومة الماء: IP55 (Push Button)
- نطاق التشغيل: Up to 1000ft (in open area)
- الدقات: 32 نغمة مختارة
- مستويات الصوت: 4 adjustable levels (including mute)
- المكونات المتضمنة: 1 Doorbell Receiver, 1 Push Button
الضمان والدعم
For warranty information or technical support, please refer to the contact details provided with your product packaging or visit the official KERUI webالموقع. احتفظ بإيصال الشراء كإثبات للشراء.
Ask a question about this manual
Ask about setup, troubleshooting, compatibility, parts, safety, or missing instructions. Manuals+ will review the question and use this page’s manual context to help answer it.