
1. انتهى المنتجview
The SEAFRONT 3-in-1 Endoscope Camera is a versatile inspection tool designed for examining hard-to-reach areas. It features a 5.5mm diameter lens, a 5-meter rigid cable, and adjustable LED lighting for clear visibility in dark or confined spaces. This endoscope is compatible with Android smartphones (with OTG support) and Windows PCs, offering flexible connectivity options via Micro USB, standard USB, and USB Type-C adapters.
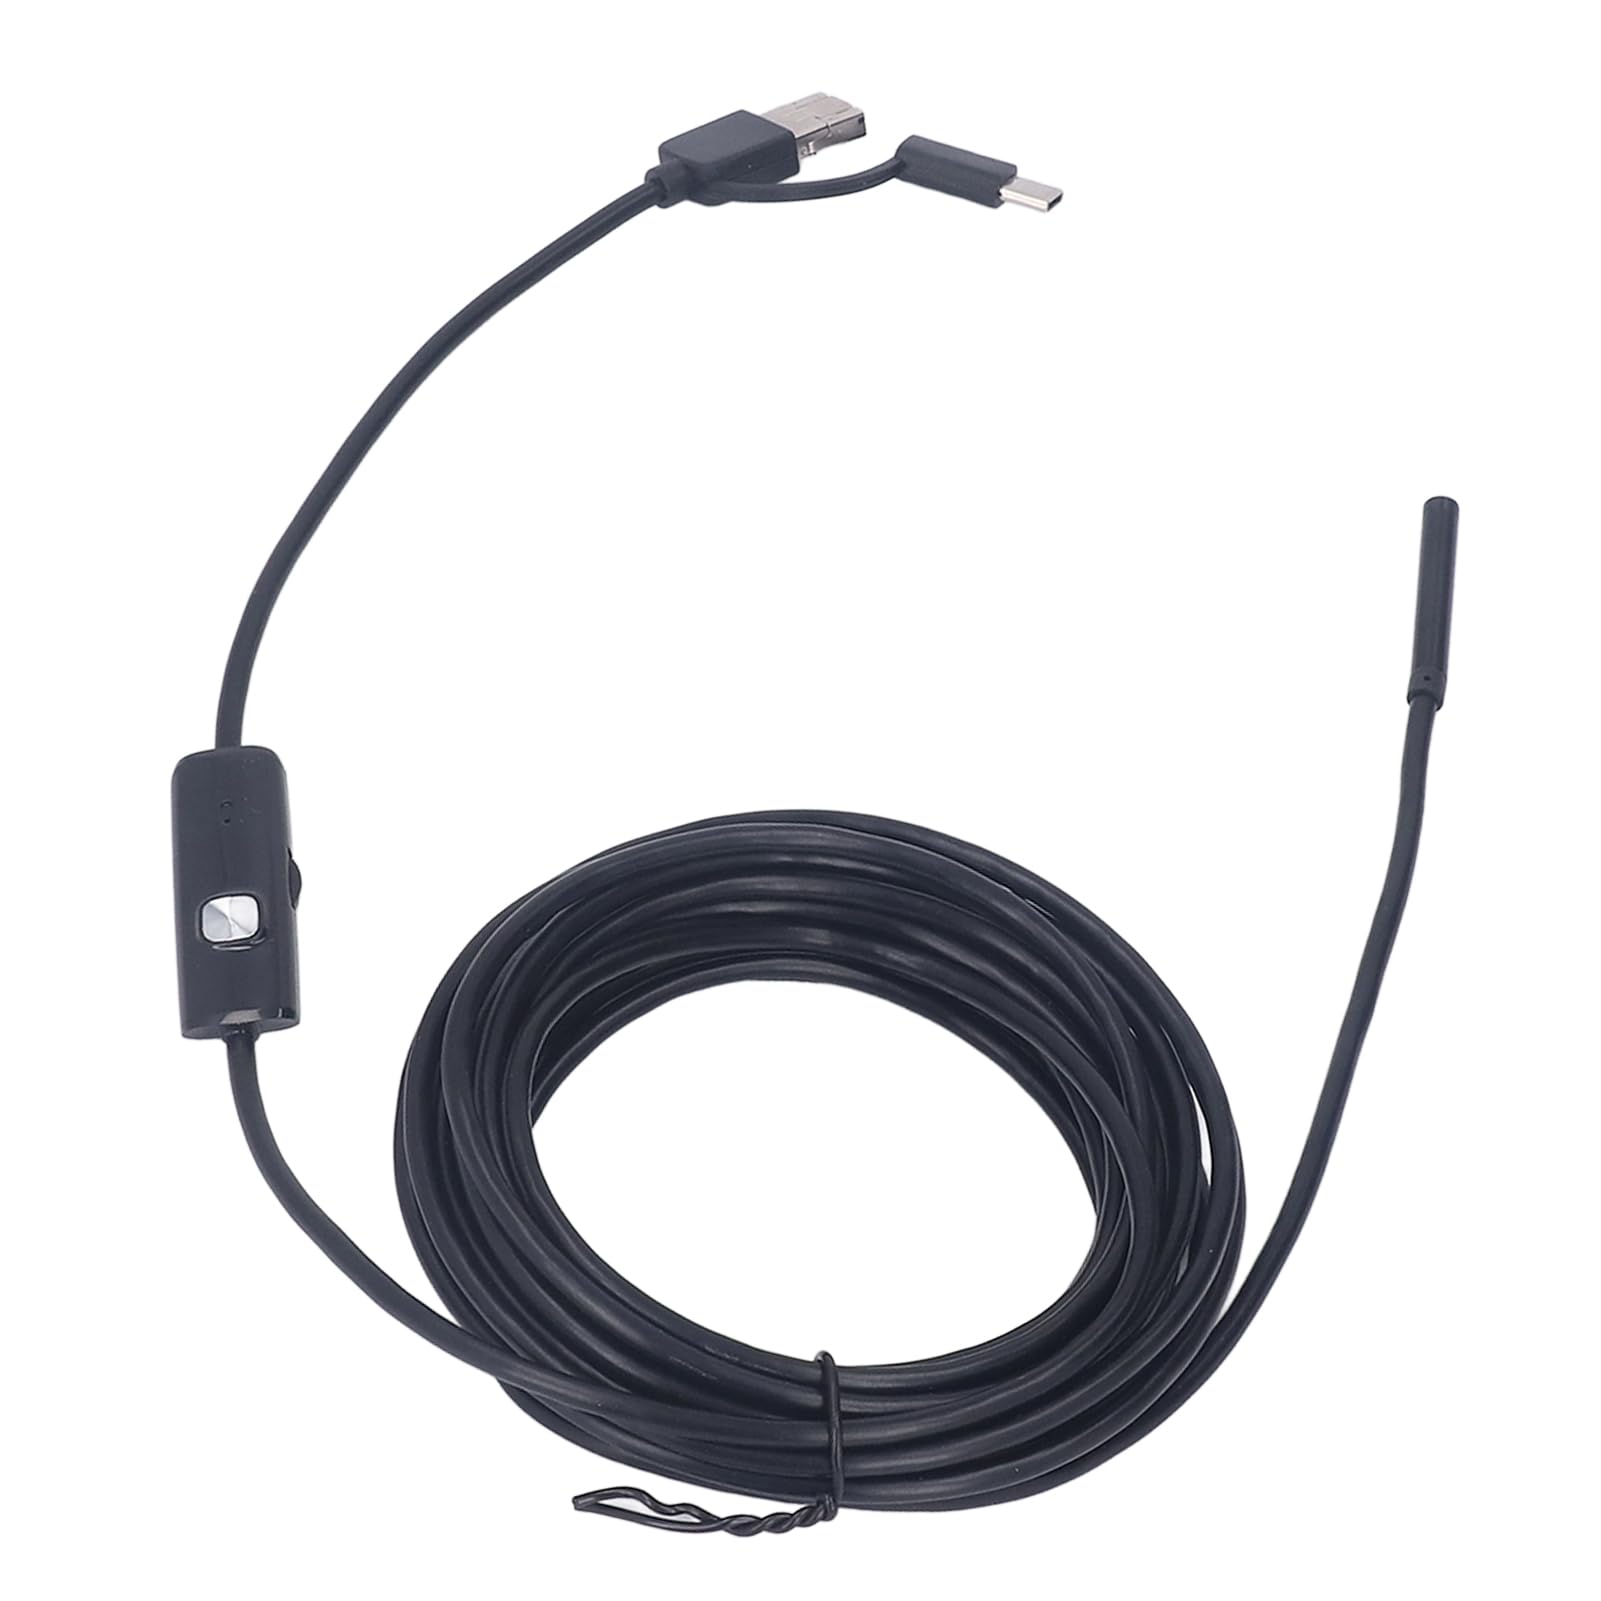
Image: The endoscope camera connected to a smartphone, illustrating its use for detailed inspections.
Its waterproof design allows for inspections in wet environments, such as pipes or drains. The compact and lightweight design ensures portability for various applications, from automotive diagnostics to home maintenance.
2. محتويات العبوة
- SEAFRONT 3-in-1 Endoscope Camera (5.5mm lens, 5-meter rigid cable)
- محول يو اس بي
- محول USB من النوع C
- دليل المستخدم (هذا المستند)
- Accessory Kit (includes mirror, hook, and magnet attachments)

Image: Endoscope camera head with various attachments for enhanced functionality.
3. تعليمات الإعداد
3.1 Connecting to an Android Smartphone
- Verify OTG Support: Ensure your Android smartphone supports OTG (On-The-Go) functionality. You can check this in your phone's settings or by using a third-party USB OTG Checker application.
- تحميل التطبيق: بحث عن and download a compatible endoscope camera application from the Google Play Store. Recommended applications often include names like "USB Camera," "OTG View," or similar.
- Connect Endoscope: Attach the appropriate adapter (Micro USB or USB Type-C) to the endoscope cable. Plug the endoscope into your smartphone's charging port.
- تشغيل التطبيق: Open the downloaded endoscope application. The camera feed should appear automatically. If not, check the app settings for camera selection.
3.2 الاتصال بجهاز كمبيوتر يعمل بنظام ويندوز
- Connect Endoscope: Use the standard USB adapter to connect the endoscope to an available USB port on your Windows PC.
- Install Driver (if necessary): In most cases, Windows will automatically install the necessary drivers. If the device is not recognized, you may need to manually install a driver. Refer to the product's support page or contact customer service for driver downloads.
- Open Camera Application: Use the built-in "Camera" application in Windows or a third-party webcam software. Select the endoscope camera from the list of available cameras.

Image: The versatile 3-in-1 connector for Micro USB, standard USB, and USB Type-C devices.
4. تعليمات التشغيل
4.1 ضبط إضاءة LED
The endoscope features integrated LED lights to illuminate inspection areas. A control wheel or button on the cable allows you to adjust the brightness of these LEDs. Rotate the wheel or press the button to achieve optimal lighting for your inspection.

Image: The endoscope camera head demonstrating adjustable LED light intensity.
4.2 التقاط الصور ومقاطع الفيديو
Once the endoscope is connected and the application is running, you can capture still images or record videos directly through the application interface. Look for camera and video icons within the app to initiate these functions. Captured media will be saved to your device's gallery or a designated folder within the application.
4.3 استخدام المرفقات
The accessory kit includes a mirror, hook, and magnet. These can be attached to the endoscope camera head to assist with various inspection tasks:
- مرآة: Provides a side view for inspecting corners or areas not directly in front of the camera.
- خطاف: Useful for retrieving small objects from confined spaces.
- المغناطيس: Helps in picking up small metallic items.
To attach, carefully slide the desired accessory onto the camera head until it is securely in place.
5. الصيانة
- تنظيف العدسة: After use, gently wipe the camera lens with a soft, dry cloth to remove any debris or moisture. For stubborn dirt, a slightly damp يمكن استخدام قطعة قماش، ثم تجفيفها.
- تخزين: Store the endoscope in a clean, dry place, away from extreme temperatures and direct sunlight. Coil the cable loosely to prevent damage.
- مقاومة الماء: The camera head is waterproof. However, ensure all connections (USB ports) are dry before connecting to devices. Do not submerge the USB connectors.

Image: The endoscope camera head submerged in water, highlighting its waterproof feature.
6. استكشاف الأخطاء وإصلاحها
- لا توجد صورة على الشاشة:
- Ensure the endoscope is securely connected to your device.
- For Android, verify OTG support and that the application is correctly installed and running. Try a different compatible application.
- For PC, check if drivers are installed. Try a different USB port.
- Restart your device and the application.
- ضعف جودة الصورة:
- Adjust the LED light brightness using the control wheel on the cable.
- نظف عدسة الكاميرا إذا بدت متسخة أو ملطخة.
- Ensure the camera is within its optimal macro focus range (approximately 5mm).
- Device Not Recognizing Endoscope:
- Confirm your Android device has OTG enabled.
- Try connecting to a different compatible device (another Android phone or PC) to rule out device-specific issues.
- Ensure you are using the correct adapter for your device's port.
7. المواصفات
| رقم موديل العنصر | SEAFRONTubhni8e7ag |
| الشركة المصنعة | SEAFRONT |
| تكنولوجيا الاتصال | USB |
| الأجهزة المتوافقة | Android Smartphones (OTG compatible), Windows PCs |
| قطر العدسة | 5.5 ملم / 0.22 بوصة |
| طول الكابل | 5 متر / 16.4 قدم |
| دقة تسجيل الفيديو | 640 × 480 بكسل |
| Screen Capture Resolution | 640 × 480 بكسل |
| مستوى مقاومة الماء | Waterproof (camera head) |
| مصدر الضوء | أضواء LED قابلة للتعديل |
| نطاق التركيز الماكرو | 5 ملم |
| نوع المستشعر | سيموس |
| نوع التحكم في التعرض | أوتوماتيكي، يدوي |
| أوضاع التصوير | أوتوماتيكي، يدوي |
| لون | أسود |
| أبعاد الحزمة | 13 × 12.3 × 3.9 سم؛ 160 جرام |
| بلد المنشأ | الصين |

Image: Visual representation of the endoscope's lens diameter and cable length.
8. معلومات السلامة
- لا تحاول تفكيك الجهاز أو تعديله. قد يؤدي ذلك إلى إلغاء الضمان والتسبب في تلفه.
- احتفظ بالجهاز بعيدًا عن متناول الأطفال.
- Avoid exposing the USB connectors to water or excessive moisture.
- Use only the provided adapters and accessories.
- لا تستخدم المنظار لأغراض طبية أو لإجراء فحوصات داخلية للإنسان أو الحيوان.