
1. المقدمة
This manual provides detailed instructions for the installation, operation, and maintenance of your Weiser Tavaris x Breton Front Door Lock and Handle Set. This handleset is designed for exterior doors, offering both keyed entry and enhanced security. It features a sleek, modern design with a Satin Nickel finish, complementing various home aesthetics.
The handleset includes a matching deadbolt with a 1-inch throw for robust security. It can be locked or unlocked using a key from the outside or a key/turnpiece from the inside. The product is ANSI/BHMA Grade 2 Certified, ensuring durability and performance.

Image 1.1: Weiser Tavaris x Breton Handleset, showcasing the exterior handle and deadbolt in Satin Nickel finish.
2. محتويات العبوة
قبل البدء بالتثبيت، تأكد من وجود جميع المكونات في الحزمة الخاصة بك:
- مقبض الباب الخارجي
- رافعة داخلية
- مجموعة الترباس الميت
- Latches (for both handle and deadbolt)
- Strikes (for both handle and deadbolt)
- Fasteners and Accessories
- 2 مفتاحا
- أداة المفتاح الذكي
- دليل التعليمات (هذا المستند)

Image 2.1: All included components of the handleset, including the exterior handle, interior lever, deadbolt, latches, strikes, keys, and SmartKey tool.
3. التثبيت
The Weiser Tavaris x Breton handleset is designed for easy installation, typically requiring only a screwdriver. The adjustable latch mechanism accommodates all standard door preparations.
3.1 فحص التثبيت المسبق
- Ensure your door thickness and backset measurements are compatible with the handleset.
- Confirm the door is properly prepared with standard bore holes.
3.2 Step-by-Step Installation Overview
- قم بتثبيت مزلاج القفل في حافة الباب.
- Install the deadbolt cylinder and thumbturn assembly.
- Install the lower latch (spring latch) into the door edge.
- Attach the exterior handleset to the door.
- قم بتثبيت مجموعة الرافعة الداخلية.
- Secure all components with the provided fasteners.
- Install the strike plates on the door frame.
For detailed visual instructions, refer to the full installation guide included in your package or visit the official Weiser support webموقع.

Image 3.1: The handleset installed on a door, illustrating the exterior pull handle and deadbolt, and the interior lever and turnpiece.
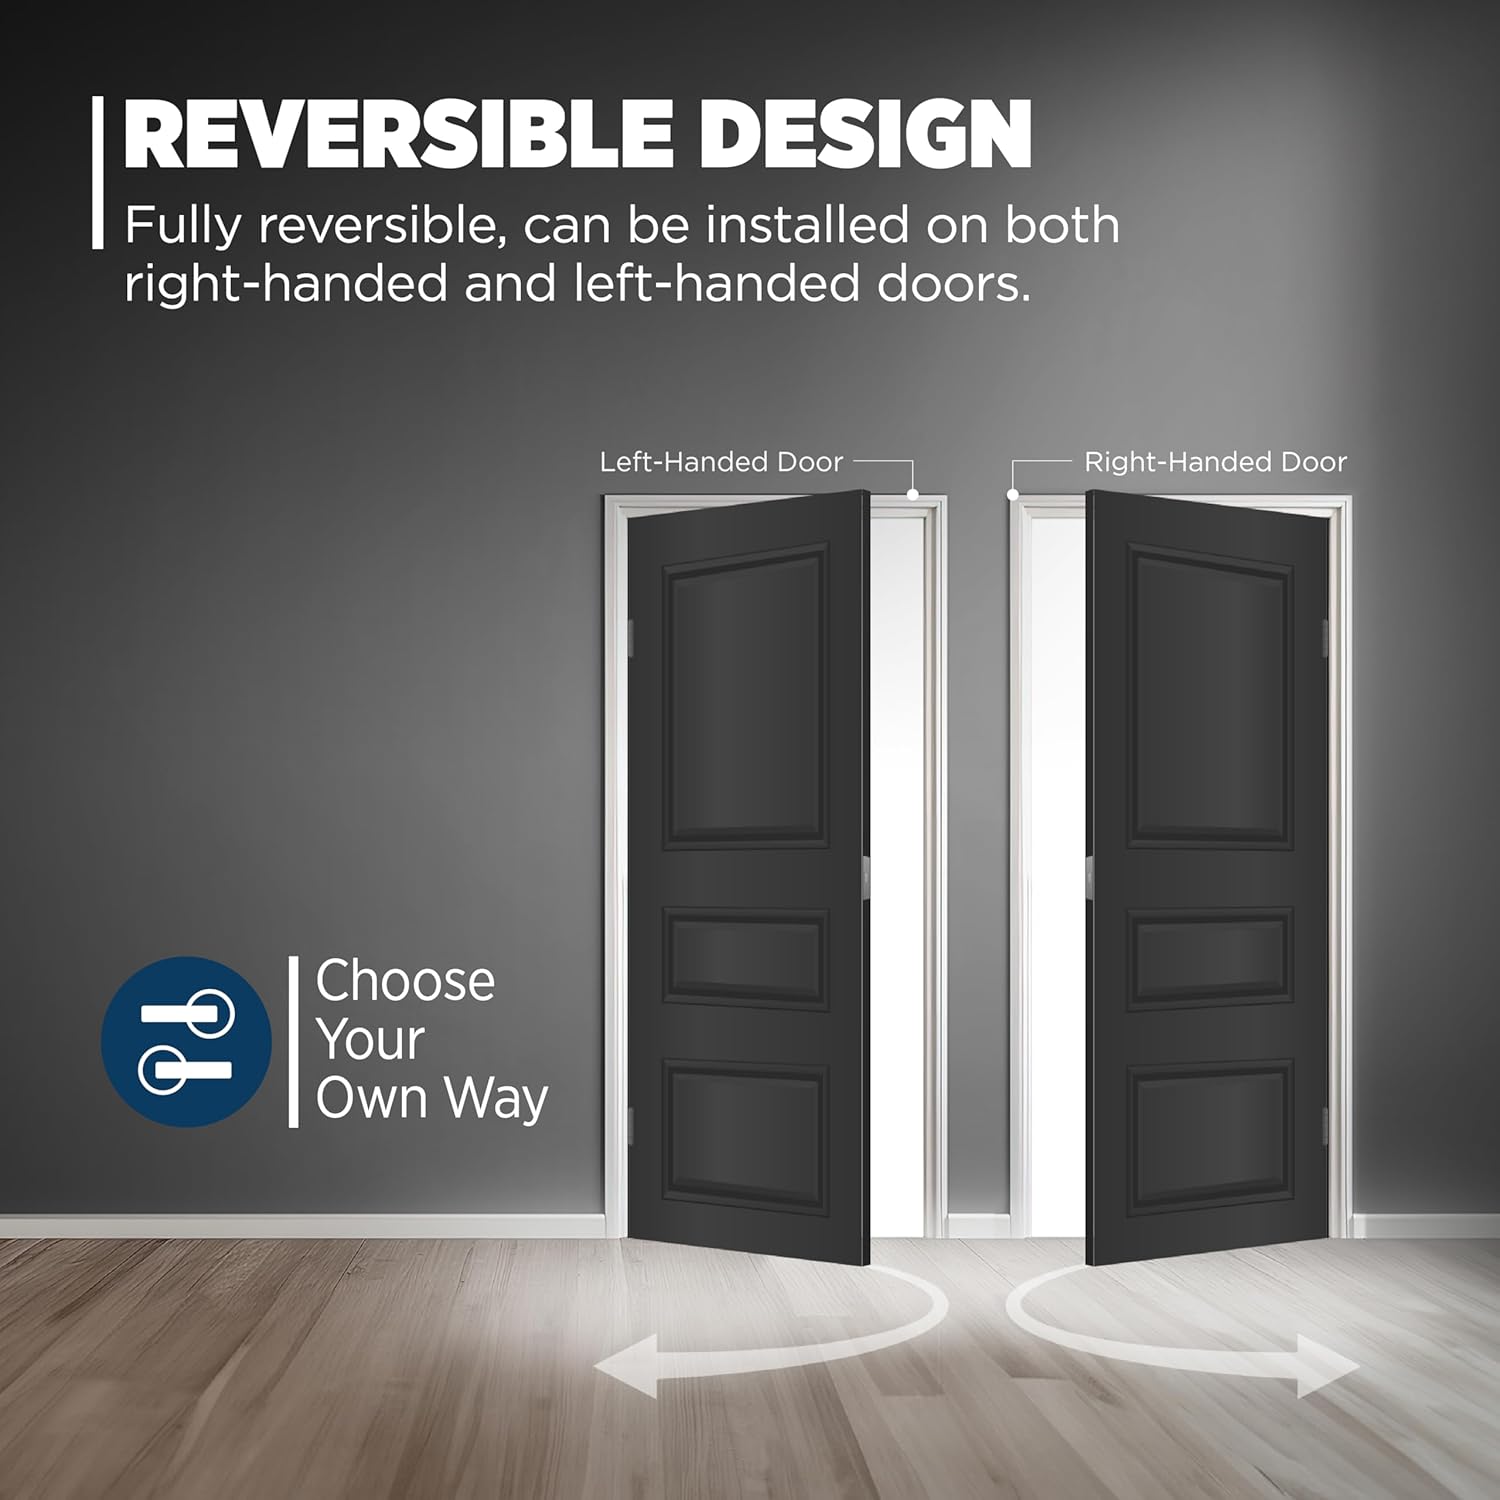
Image 3.2: This handleset features a fully reversible design, allowing installation on both left-handed and right-handed doors.
4. التشغيل
4.1 القفل والفتح
- من الخارج: Insert the key into the deadbolt cylinder and turn to lock or unlock.
- من الداخل: Use the turnpiece on the deadbolt to lock or unlock.
- The lower handle operates a spring latch and does not provide security locking.
4.2 SmartKey Security Technology
Your Weiser handleset is equipped with SmartKey Security, a re-key technology that allows you to re-key your lock yourself in seconds. This feature protects against advanced break-in techniques and provides convenience by allowing you to match your lock to an existing key.
Re-keying Instructions:
- أدخل مفتاحك السليم في الأسطوانة وقم بتدويره 90 درجة في اتجاه عقارب الساعة.
- أدخل أداة المفتاح الذكي بالكامل وبإحكام في فتحة المفتاح الذكي. ثم أخرج أداة المفتاح الذكي.
- قم بإزالة المفتاح الذي يعمل بشكل صحيح.
- Insert your new key fully and firmly into the cylinder. Turn the new key 180 degrees counter-clockwise.
- Your lock is now re-keyed. Test the new key to ensure proper operation.

Image 4.1: Diagram illustrating the SmartKey re-keying process and highlighting security features such as kick-in, bump, pick, drill, and saw resistance.
5. الصيانة
To ensure the longevity and smooth operation of your Weiser handleset, follow these maintenance guidelines:
- تنظيف: قم بتنظيف مجموعة المقبض بقطعة قماش ناعمة.amp القماش. تجنب استخدام المنظفات الكاشطة أو المذيبات أو المواد الكيميائية القاسية، لأنها قد تؤدي إلى إتلاف الطبقة النهائية.
- تشحيم: Periodically apply a silicone-based lubricant to the latch and deadbolt mechanisms to maintain smooth operation. Do not use oil-based lubricants.
- المثبتات: Periodically check all mounting screws and fasteners to ensure they are tight. Do not overtighten.
6. استكشاف الأخطاء وإصلاحها
If you encounter issues with your handleset, refer to the following common troubleshooting tips:
| مشكلة | السبب المحتمل | حل |
|---|---|---|
| المفتاح لا يدور بسلاسة أو يصعب إدخاله. | Dirt or debris in the cylinder; worn key; improper re-keying. | Clean the cylinder with compressed air. Try a new key. Re-key the lock following SmartKey instructions. |
| لا يمكن تمديد أو سحب المزلاج بالكامل. | Misalignment of strike plate; obstruction in door frame; loose fasteners. | Check strike plate alignment and adjust if necessary. Clear any obstructions. Tighten all fasteners. |
| Interior lever is loose or wobbly. | مسامير تثبيت فضفاضة. | Tighten the screws securing the interior lever assembly. |
If the issue persists after attempting these solutions, please contact Weiser Customer Support.
7. المواصفات
- مادة: Metal or alloy
- لون: الساتان النيكل
- أسلوب: Tavaris x Breton
- أبعاد المنتج: 45.5 طول × 6.7 عرض سم
- وزن السلعة: 3.9 رطل
- النهاية الخارجية: Satin Nickel (Brushed)
- نوع المقبض: مقبض السحب
- استخدامات محددة: الباب الخارجي
- نوع القفل: قفل المفتاح
- اتجاه اليد: Ambidextrous (Universal Handling)
- المميزات الخاصة: ANSI/BHMA Grade 2 Certified, Adjustable Latch, SmartKey Technology
- رقم الموديل: 9GLA94710-039
- GTIN/UPC: 059184444445
8. الضمان والدعم
8.1 ضمان الشركة المصنعة
This Weiser product is backed by a Limited Lifetime Warranty. For specific terms and conditions, please refer to the warranty information provided with your product or visit the official Weiser webموقع.
8.2 دعم العملاء
For further assistance, technical support, or warranty claims, please contact Weiser Customer Support through their official webالموقع أو معلومات الاتصال المقدمة في عبوة المنتج الخاص بك.
9. انتهى المنتجview فيديو
شاهد هذا الفيديو الرسمي للحصول على نظرة شاملةview of Weiser products, highlighting key features and benefits, including SmartKey technology and various styles.
Video 9.1: An official Weiser brand video showcasing the range of products, including smart locks and handlesets, emphasizing security, technology, and convenience. This video demonstrates the SmartKey re-keying process and various design options.