
Vikeri A1 + B1
دليل مستخدم كاميرا Vikeri (A1 + B1).
Model: A1 + B1
مقدمة
Thank you for choosing the Vikeri (A1 + B1) Trail Camera. This high-performance game camera is designed to capture stunning vibrant images and clear audible videos of wildlife, day or night. Featuring a 120° wide-angle motion sensor, 940nm no-glow infrared LEDs for discreet night vision, and an IP66 waterproof rating, it is built for reliable outdoor use in various environments. This manual provides detailed instructions to help you set up, operate, and maintain your camera for optimal performance.
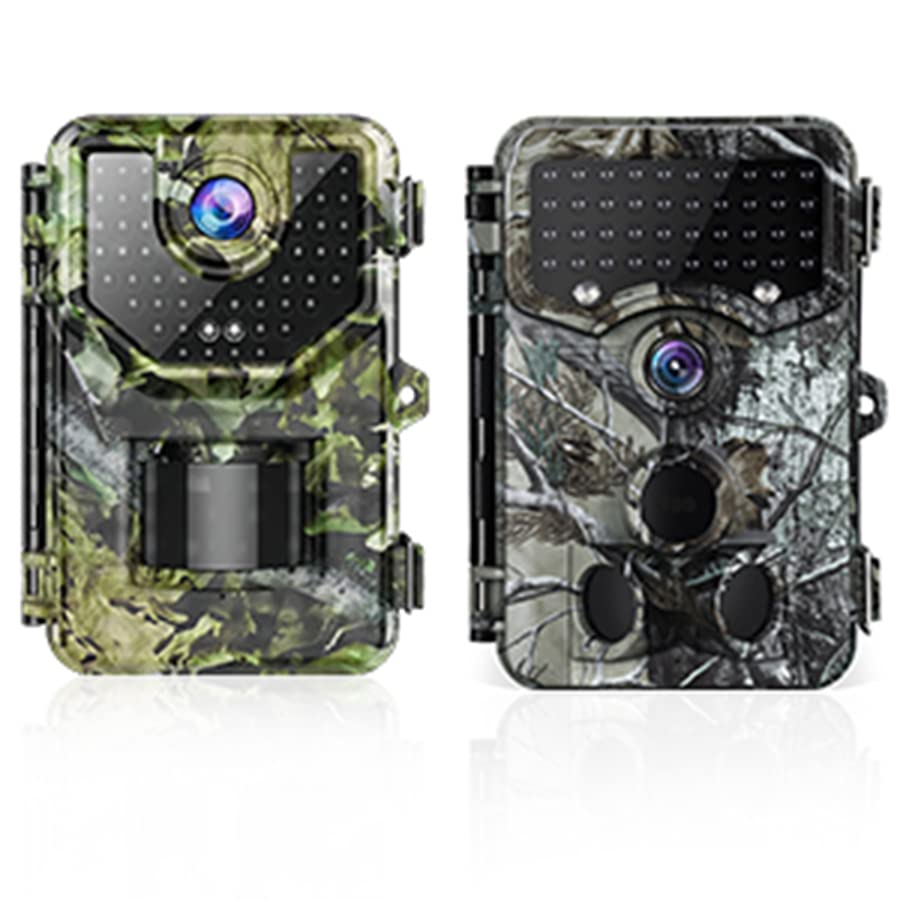
Image: The Vikeri A1 (green camo) and B1 (grey camo) Trail Cameras.
معلومات السلامة
- Do not attempt to disassemble or modify the camera. This may cause damage and void the warranty.
- Use only recommended batteries. Incorrect battery types or improper installation can lead to malfunction or damage.
- Keep the camera away from extreme temperatures, direct sunlight for prolonged periods, and corrosive materials.
- Ensure the battery compartment is securely closed to maintain the IP66 waterproof rating.
- تخلص من البطاريات بطريقة مسؤولة وفقًا للوائح المحلية.
محتويات الحزمة
Upon opening your Vikeri Trail Camera package, please verify that all the following items are included:
- Vikeri Trail Camera (A1 or B1 model)
- حزام التثبيت
- كابل يو اس بي
- دليل المستخدم
- SD Card (often included, check packaging)
- AA Batteries (often included, check packaging)

Image: Typical contents included with the Vikeri Trail Camera, such as an SD card and batteries.
المنتج انتهىview
Familiarize yourself with the main components of your Vikeri Trail Camera:

Image: Labeled diagram of the Vikeri Trail Camera's external features.
- 20 MP HD Lens: Captures high-resolution images and videos.
- 40PCS No Glow IR-LEDs: Provides invisible illumination for clear night vision without disturbing wildlife.
- Motion Sensors (Center & Side): Detects movement within the camera's field of view to trigger recording.
- مؤشر LED الأزرق: مؤشر الحالة.
- Red/Yellow LED Indicator: مؤشر الحالة.
- شاشة LCD ملونة مقاس 2.4 بوصة: For menu navigation, settings adjustment, and playback review.
- حجرة البطارية: Located at the bottom, holds AA batteries.
- فتحة بطاقة SD: لإدخال بطاقة الذاكرة.
- منفذ USB: للاتصال بالكمبيوتر.
يثبت
1. تركيب البطارية
Open the battery compartment cover. Insert 4 or 8 (depending on model) AA batteries, ensuring correct polarity (+/-). Close the cover securely to maintain the waterproof seal.
2. تركيب بطاقة SD
Locate the SD card slot. Insert a formatted SD card (up to 32GB recommended) with the metal contacts facing down until it clicks into place. To remove, push the card in slightly until it springs out.
3. تركيب الكاميرا
Use the provided mounting strap to secure the camera to a tree or pole. Ensure the camera is stable and pointed towards the desired monitoring area. The camera is designed for outdoor use and is IP66 waterproof, making it resistant to rain, dust, and fog.
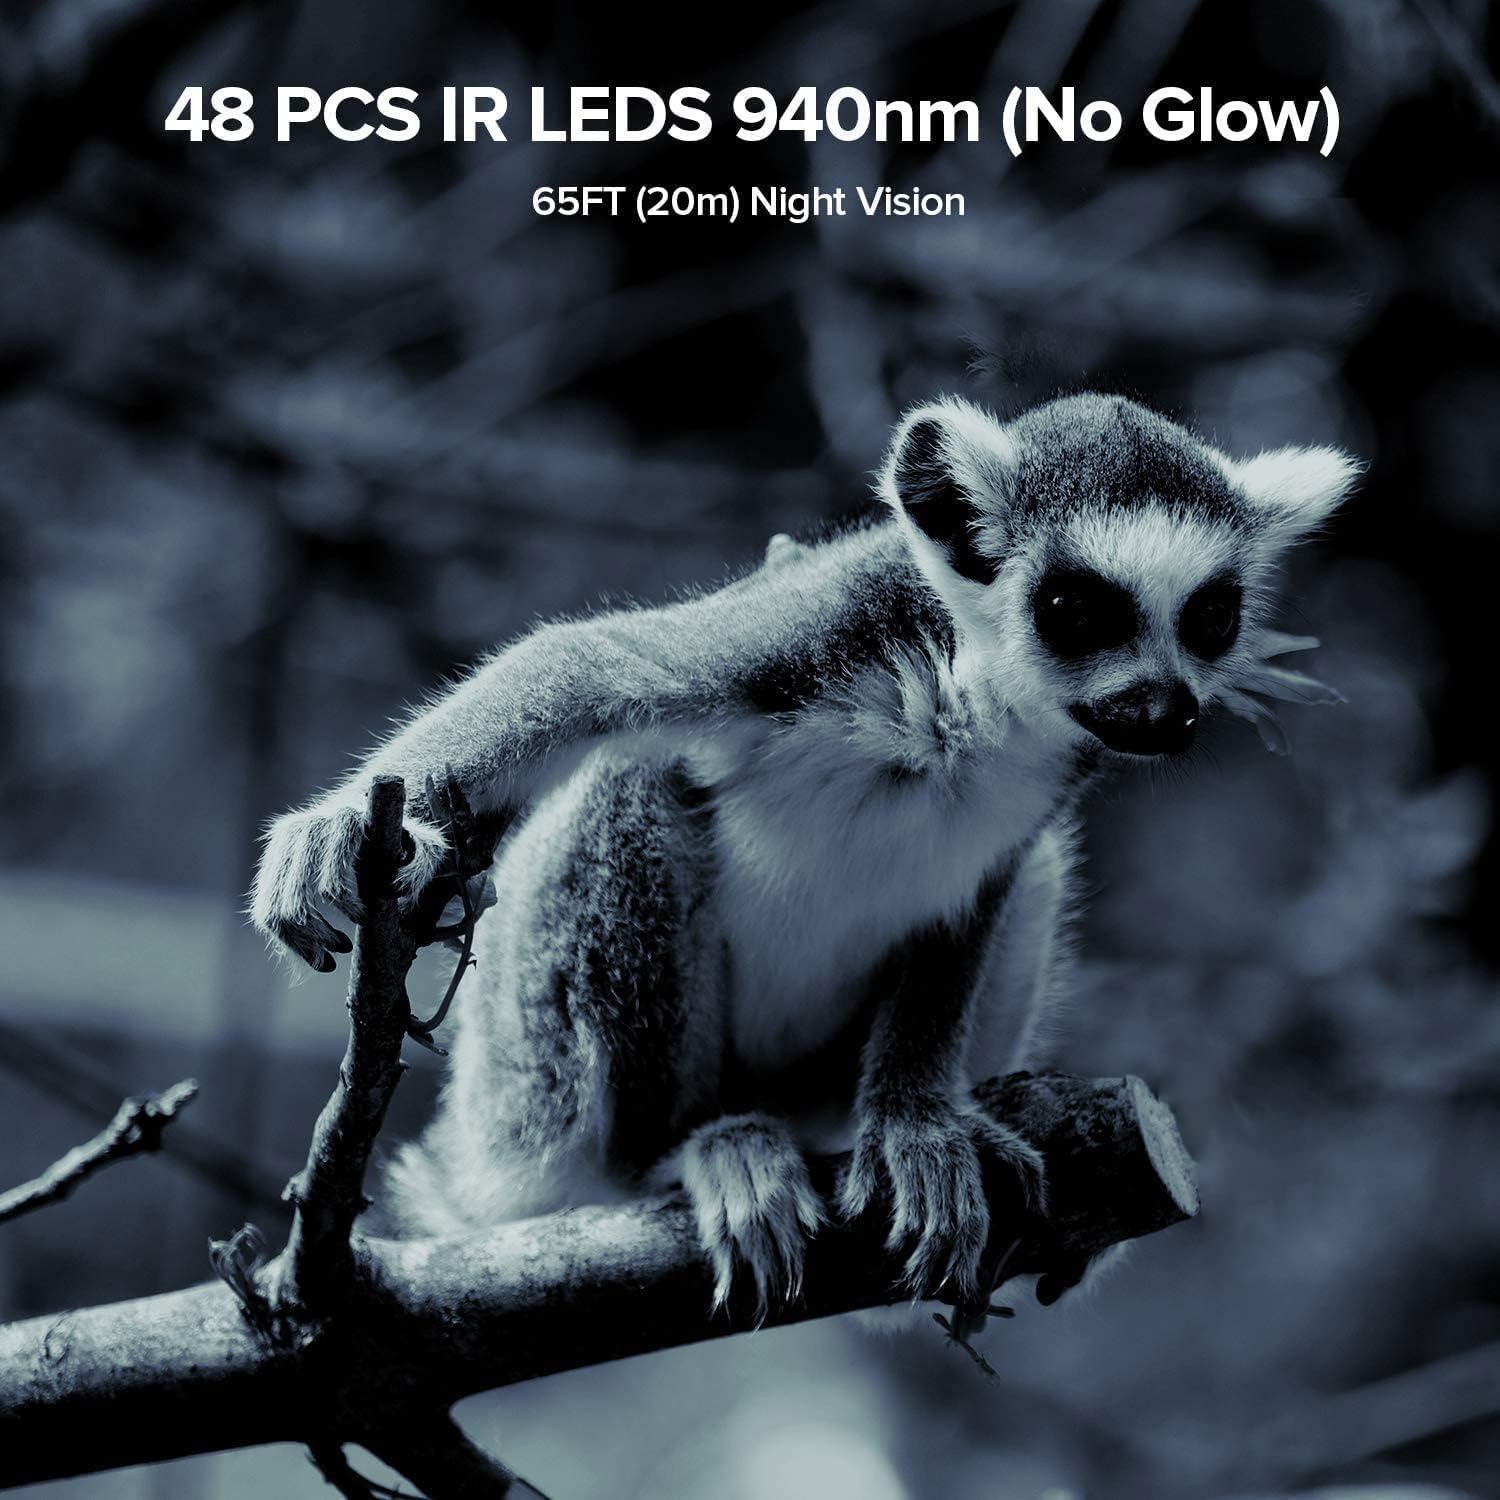
Image: The Vikeri Trail Camera mounted on a tree, demonstrating its IP66 waterproof and sturdy design.
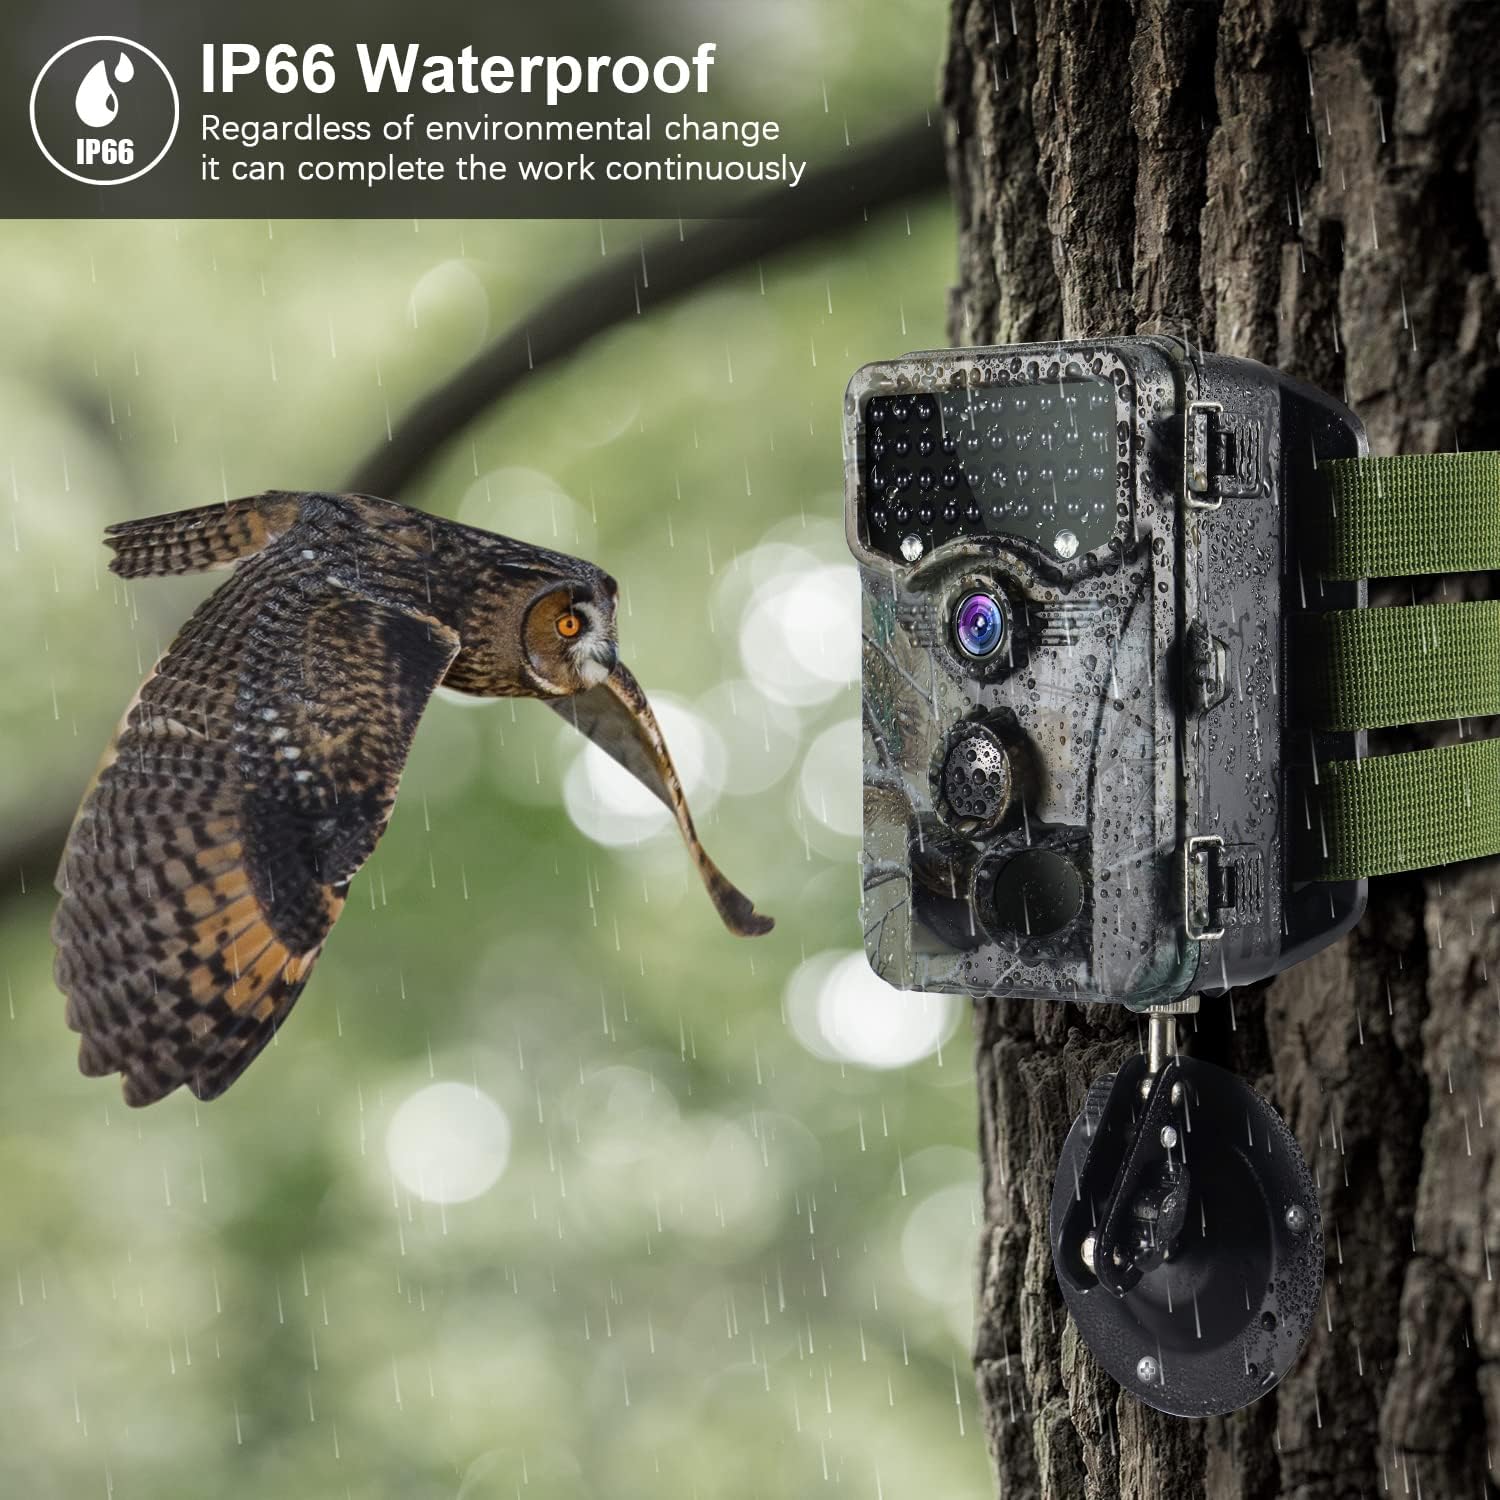
Image: The camera's IP66 waterproof design allows it to operate continuously in various environmental conditions, including rain.
تعليمات التشغيل
1. تشغيل / إيقاف التشغيل
Locate the power switch inside the camera. Slide it to the 'ON' position to power on the camera. To power off, slide it to the 'OFF' position.
2. التنقل في القائمة
Once powered on, the 2.4" LCD screen will display the main menu. Use the navigation buttons (Up, Down, Left, Right, OK) to browse through options and confirm selections.
3. ضبط التاريخ والوقت
Navigate to the 'Date/Time' setting in the menu. Adjust the year, month, day, hour, and minute using the navigation buttons. Press 'OK' to save.
4. Photo/Video Mode Selection
Select your desired recording mode: 'Photo' for still images, 'Video' for video clips, or 'Photo+Video' for both. You can also set the resolution for each mode.

Image: The camera captures stunning 1520P video and 20MP photos, providing clear and detailed visuals.
5. Motion Sensor Settings
Adjust the PIR (Passive Infrared) sensitivity (Low, Medium, High) based on your environment to prevent false triggers. Set the 'PIR Interval' to determine the delay between detections.
6. الرؤية الليلية
The camera is equipped with 940nm no-glow IR LEDs, providing clear night vision up to 65 feet (20 meters) without emitting a visible flash that could scare animals. The camera automatically switches to night mode in low-light conditions.

Image: The camera's 940nm no-glow IR LEDs provide clear night vision, capturing detailed images even in complete darkness.

Image: Comparison of daytime and nighttime capture capabilities, showcasing the camera's versatility.
7. Viewing Playback
In the menu, select 'Playback' to review captured photos and videos directly on the 2.4" LCD screen. Use the navigation buttons to scroll through files.
8. الاتصال بالكمبيوتر
Connect the camera to your computer using the provided USB cable. The camera will appear as a removable disk, allowing you to access and transfer files. Alternatively, you can remove the SD card and insert it into a card reader connected to your computer.
صيانة
- تنظيف: Gently wipe the lens and camera housing with a soft, dry cloth. Avoid abrasive cleaners or solvents.
- استبدال البطارية: استبدل البطاريات عند ظهور مؤشر انخفاض مستوى البطارية أو عند تراجع الأداء. استبدل جميع البطاريات دفعة واحدة ببطاريات جديدة من نفس النوع.
- إدارة بطاقة SD: Regularly format your SD card within the camera's menu to ensure optimal performance and prevent data corruption. Back up important fileقبل التنسيق.
- تخزين: عند عدم استخدام الكاميرا لفترات طويلة، قم بإزالة البطاريات وقم بتخزين الكاميرا في مكان بارد وجاف.
- العناية بالعزل المائي: Ensure the battery compartment and all ports are sealed tightly after opening to maintain the IP66 waterproof rating.

Image: The camera's IP66 rating ensures protection against water splashes and dust, making it suitable for various outdoor conditions.
استكشاف الأخطاء وإصلاحها
| مشكلة | السبب المحتمل | حل |
|---|---|---|
| الكاميرا لا تعمل | انخفاض مستوى شحن البطارية أو نفادها؛ قطبية البطارية غير صحيحة؛ مفتاح الطاقة في وضع الإيقاف. | Replace batteries with new ones, ensuring correct polarity. Check if the power switch is set to 'ON'. |
| جودة الصورة/الفيديو رديئة | عدسة متسخة؛ ظروف إضاءة منخفضة؛ إعدادات دقة غير صحيحة. | Clean the lens. Ensure adequate lighting or rely on night vision. Adjust resolution settings in the menu. |
| مستشعر الحركة لا يعمل | PIR sensitivity too low; Obstructions in front of sensor; PIR interval too long. | Increase PIR sensitivity. Clear any obstructions. Reduce PIR interval. Ensure camera is positioned correctly. |
| Files corrupted or unreadable | SD card issue; Improper shutdown; File فساد النظام. | Format the SD card in the camera. Try a different SD card. Ensure camera is powered off correctly before removing card. |
| صعوبة viewing videos on computer | Incompatible video player; SD card formatting issues; USB connection problems. | Ensure your computer has a compatible video player for AVI/MPEG-4 files. Try using an SD card reader. Reformat the SD card in the camera. |
تحديد
| ميزة | التفاصيل |
|---|---|
| ماركة | فيكيري |
| نموذج | A1 + B1 |
| دقة | 1520P Video / 20MP Photo |
| عدسة | 20 MP HD Lens |
| المصابيح IR | 40/48 PCS 940nm No Glow IR-LEDs |
| نطاق الرؤية الليلية | Up to 65FT (20m) |
| زاوية مستشعر الحركة | زاوية واسعة 120 درجة |
| شاشة العرض | شاشة ملونة LCD مقاس 2.4 بوصة |
| تصنيف مقاومة الماء | IP66 |
| مصدر الطاقة | يعمل بالبطارية (بطاريات AA) |
| تكنولوجيا الاتصال | لاسلكي (واي فاي) |
| الأجهزة المتوافقة | الهاتف الذكي |
| نوع التركيب | حامل الحائط |
| تنسيق التقاط الفيديو | ام بي اي جي-4 |
| الاستخدام الداخلي والخارجي | في الهواء الطلق |
الضمان والدعم
Vikeri products are designed for reliability and performance. For warranty information, technical support, or any inquiries regarding your Vikeri Trail Camera, please refer to the contact details provided on the product packaging or visit the official Vikeri webالموقع. فريق خدمة العملاء لدينا متاح لمساعدتك في أي أسئلة أو مشاكل قد تواجهها.
Ask a question about this manual
Ask about setup, troubleshooting, compatibility, parts, safety, or missing instructions. Manuals+ will review the question and use this page’s manual context to help answer it.