
مقدمة
This manual provides detailed instructions for the setup, operation, maintenance, and troubleshooting of your Pokitter Go Pro Mini Portable Projector. Please read this manual thoroughly before using the product to ensure proper functionality and to extend the lifespan of your device.
The Pokitter Go Pro is a compact and powerful portable projector featuring integrated Android TV 10.0, Google Assistant, 200 ANSI lumens brightness, 1080p Full HD resolution with 4K support, dual-band 2.4G/5G WiFi, and a maximum projection size of 120 inches. It is designed for versatile entertainment, offering a cinematic experience on the go.
محتويات الحزمة
يرجى التأكد من وجود جميع العناصر في الحزمة:
- Pokitter Go Pro Mini Portable Projector
- جهاز التحكم عن بعد
- محول الطاقة
- دليل المستخدم (هذا المستند)
- حزام الحمل

Image: The Pokitter Go Pro Mini Portable Projector, highlighting its compact design and integrated handle for easy portability.
المنتج انتهىview
أمام View
The front of the projector features the projection lens and ventilation grilles.
مؤخرة View
The rear panel typically includes various ports for connectivity.
- منفذ HDMI: For connecting external devices like laptops, gaming consoles, or Blu-ray players.
- منفذ USB: For connecting USB drives for media playback or external peripherals.
- مخرج الصوت (مقبس 3.5 ملم): لتوصيل مكبرات الصوت الخارجية أو سماعات الرأس.
- التيار المباشر الداخل: منفذ إدخال الطاقة.
قمة View
The top surface may include control buttons or indicators.
جانب View
The sides often feature additional ventilation and a carrying handle.
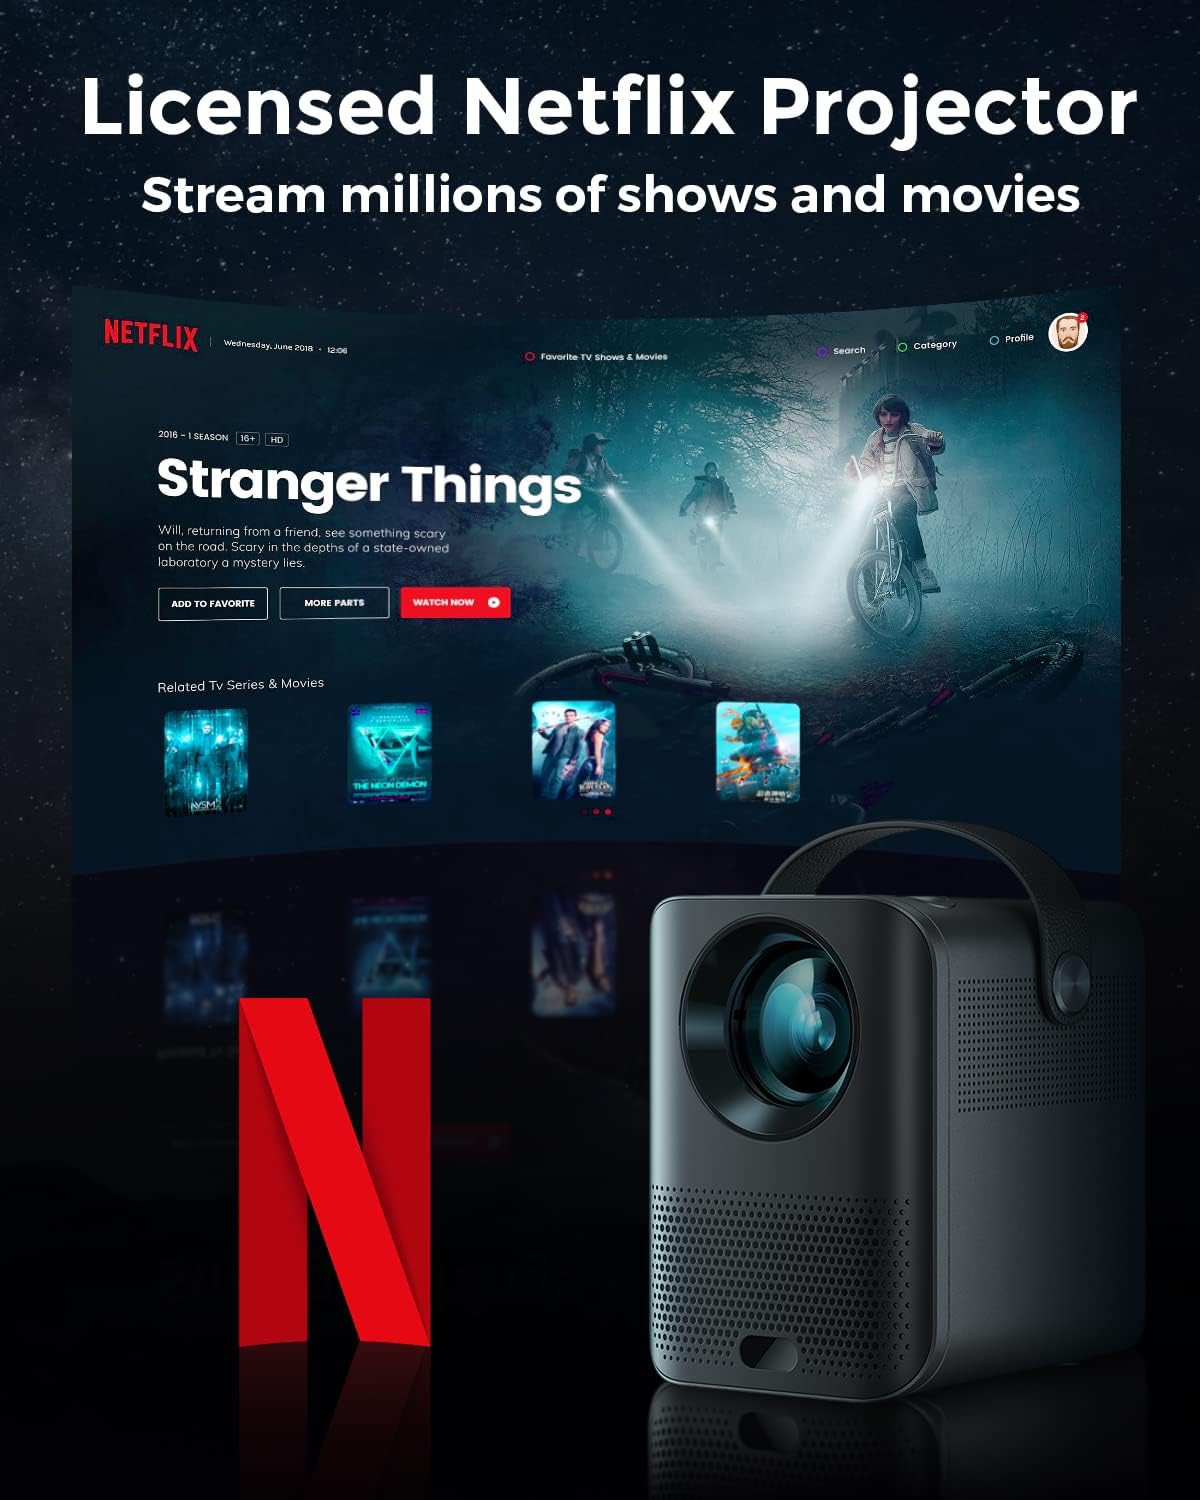
Image: The Pokitter Go Pro projector showcasing its integrated Netflix license and streaming capabilities.

Image: A size comparison of the Pokitter Go Pro projector with a smartphone, illustrating its mini and portable form factor.
يثبت
1. توصيل الطاقة
- قم بتوصيل محول الطاقة بمنفذ DC In الموجود على جهاز العرض.
- قم بتوصيل محول الطاقة بمأخذ الحائط.
- سيضيء ضوء مؤشر الطاقة.
2. التشغيل الأولي
- اضغط على زر الطاقة الموجود على جهاز العرض أو جهاز التحكم عن بعد لتشغيل الجهاز.
- Allow a few moments for the Android TV system to boot up.
3. ضبط التركيز
Use the focus ring (if mechanical) or the remote control's focus buttons to achieve a clear image. The Pokitter Go Pro features automatic vertical keystone correction up to 40 degrees.

Image: Illustration of the automatic keystone correction feature, which adjusts the image for optimal viewing even when the projector is not perfectly aligned.
4. ضبط حجم الشاشة
Adjust the distance between the projector and the projection surface to achieve the desired screen size. The projector supports a screen size up to 120 inches.

Image: Guide for optimal projection distances to achieve screen sizes of 40, 80, and 120 inches.
5. اتصال الشبكة (واي فاي)
- Navigate to the Wi-Fi settings in the Android TV interface.
- حدد شبكة Wi-Fi المطلوبة من القائمة.
- أدخل كلمة المرور إذا طُلب منك ذلك.
- The projector supports dual-band 2.4G and 5G Wi-Fi for stable and fast transmission.

Image: The Pokitter Go Pro projector demonstrating its 2.4/5GHz WiFi capabilities for seamless wireless screen casting from various devices.
تعليمات التشغيل
استخدام جهاز التحكم عن بعد
The included remote control allows full navigation and control of the Android TV interface. Key functions include:
- زر الطاقة: يقوم بتشغيل/إيقاف تشغيل جهاز العرض.
- لوحة التنقل: For moving through menus.
- زر موافق: يؤكد التحديدات.
- زر الرجوع: العودة إلى الشاشة السابقة.
- زر الصفحة الرئيسة: العودة إلى الشاشة الرئيسية لجهاز Android TV.
- أزرار التحكم في الصوت: ضبط مستوى الصوت.
- زر مساعد جوجل: تفعيل الأوامر الصوتية.
واجهة تلفزيون أندرويد
The Pokitter Go Pro runs on Android TV 10.0, providing access to a wide range of streaming applications such as Netflix, YouTube, Amazon Prime Video, and Disney+.
- التنقل في التطبيق: Use the remote's navigation pad to select and open applications.
- تدفق المحتوى: Log in to your streaming accounts to access content.
- مساعد جوجل: Press the Google Assistant button on the remote and speak your commands to search for content, control playback, or get information.

الصورة: أكثر منview of the Pokitter Go Pro's key features, including its Android TV operating system, Google Assistant integration, and display capabilities.
Screen Mirroring (Chromecast Built-in)
The projector features built-in Chromecast for easy screen mirroring from compatible devices (smartphones, tablets, laptops).
- تأكد من أن جهازك وجهاز العرض متصلان بنفس شبكة الواي فاي.
- افتح تطبيقًا يدعم تقنية Chromecast على جهازك (مثل YouTube أو Netflix).
- اضغط على أيقونة الإرسال (عادةً ما يكون مستطيلًا به رمز Wi-Fi) داخل التطبيق.
- Select your Pokitter Go Pro projector from the list of available devices.
- The content from your device will be mirrored or cast to the projector.

Image: Demonstrating the Chromecast built-in feature, allowing users to stream content from their smartphone to the projector's large display.
توصيل الأجهزة الخارجية (HDMI/USB)
- HDMI: Connect an HDMI cable from your external device (e.g., laptop, game console) to the HDMI port on the projector. The projector will automatically switch to the HDMI input or you may need to select it from the input source menu.
- USB: Insert a USB flash drive into the USB port. The Android TV system will typically prompt you to open a file browser to access media files على محرك الأقراص.
صيانة
تنظيف العدسة
استخدم قطعة قماش ناعمة وخالية من الوبر، مُصممة خصيصًا للعدسات البصرية، لمسح عدسة جهاز العرض برفق. لا تستخدم منظفات كاشطة أو قوة مفرطة، فقد يؤدي ذلك إلى خدش العدسة.
تنظيف هيكل جهاز العرض
امسح الجزء الخارجي من جهاز العرض بقطعة قماش ناعمة وجافة. بالنسبة للبقع المستعصية، استخدم منظفًا خفيفًاamp cloth can be used, followed by a dry cloth. Avoid getting liquids inside the projector.
تهوية
Ensure that the ventilation grilles are not blocked during operation to prevent overheating. The Pokitter Go Pro features a dust-proof design to maintain picture quality.

Image: An internal diagram of the Pokitter Go Pro, illustrating its dust-proof design for long-lasting, flawless picture quality.
تخزين
عند عدم استخدام جهاز العرض لفترات طويلة، يُحفظ في مكان بارد وجاف، بعيدًا عن أشعة الشمس المباشرة ودرجات الحرارة القصوى. يُنصح باستخدام العبوة الأصلية أو حافظة واقية.
استكشاف الأخطاء وإصلاحها
| مشكلة | السبب المحتمل | حل |
|---|---|---|
| لا يوجد طاقة | كابل الطاقة غير متصل، منفذ الطاقة معيب. | تأكد من توصيل كابل الطاقة بإحكام. جرّب مقبسًا كهربائيًا آخر. |
| لا توجد صورة / صورة ضبابية | Lens out of focus; Incorrect input source; Obstruction in projection path. | Adjust focus using the remote or focus ring. Select correct input source. Remove any obstructions. |
| لا يوجد صوت | مستوى الصوت منخفض جدًا؛ تم كتم الصوت؛ السماعات الخارجية غير متصلة بشكل صحيح. | ارفع مستوى الصوت. ألغِ كتم صوت جهاز العرض. تحقق من توصيلات السماعات الخارجية. |
| مشكلات الاتصال بالواي فاي | كلمة مرور خاطئة؛ جهاز التوجيه بعيد جدًا؛ تداخل في الشبكة. | Verify Wi-Fi password. Move projector closer to router. Restart router and projector. |
| جهاز التحكم عن بعد لا يعمل | بطاريات فارغة؛ وجود عائق بين جهاز التحكم عن بعد وجهاز العرض. | استبدل البطاريات. تأكد من وجود خط رؤية واضح لجهاز استقبال الأشعة تحت الحمراء الخاص بجهاز العرض. |
تحديد
- نموذج: ف1أ
- ماركة: بوكيتر
- تكنولوجيا العرض: قاد
- الدقة الأصلية: 1920 × 1080 (دقة عالية كاملة)
- أقصى قرار مدعوم: 3840 × 2160 (4K)
- سطوع: ما يصل إلى 200 لومن ANSI
- حجم العرض: حتى 120 بوصة
- نظام التشغيل: أندرويد تي في 10.0
- مساعد صوت: مساعد جوجل المدمج
- الربط اللاسلكي: 2.4G/5G Dual-band Wi-Fi, Bluetooth 5.1
- منافذ الاتصال: HDMI, USB, 3.5mm Audio Out, DC In
- المتحدثون: Integrated (2x5W as per infographic)
- Average Lifespan (Light Source): 50,000 ساعة
- عامل الشكل: محمول
- نوع التركيب: حامل الطاولة

Image: An illustration of the projector's internal speaker system, designed to provide true-to-life sound for a cinematic viewتجربة رائعة.
الضمان والدعم
The Pokitter Go Pro Mini Portable Projector comes with a ضمان لمدة 2 سنوات. For any questions or professional assistance regarding this product, please contact Pokitter customer support. We are committed to supporting our customers.
For the latest support information, FAQs, and contact details, please visit the official Pokitter webيمكنك زيارة الموقع أو الرجوع إلى معلومات الاتصال المرفقة مع عملية الشراء.