مقدمة
This manual provides essential information for the proper installation, operation, and maintenance of your Generic 2013-2018 Topside Control Pad, Model 303472. This control pad is designed for specific compatibility with 2013-2018 Dream Maker Spas and Balboa VL260 systems. Please read these instructions thoroughly before attempting installation or operation to ensure safe and efficient use.
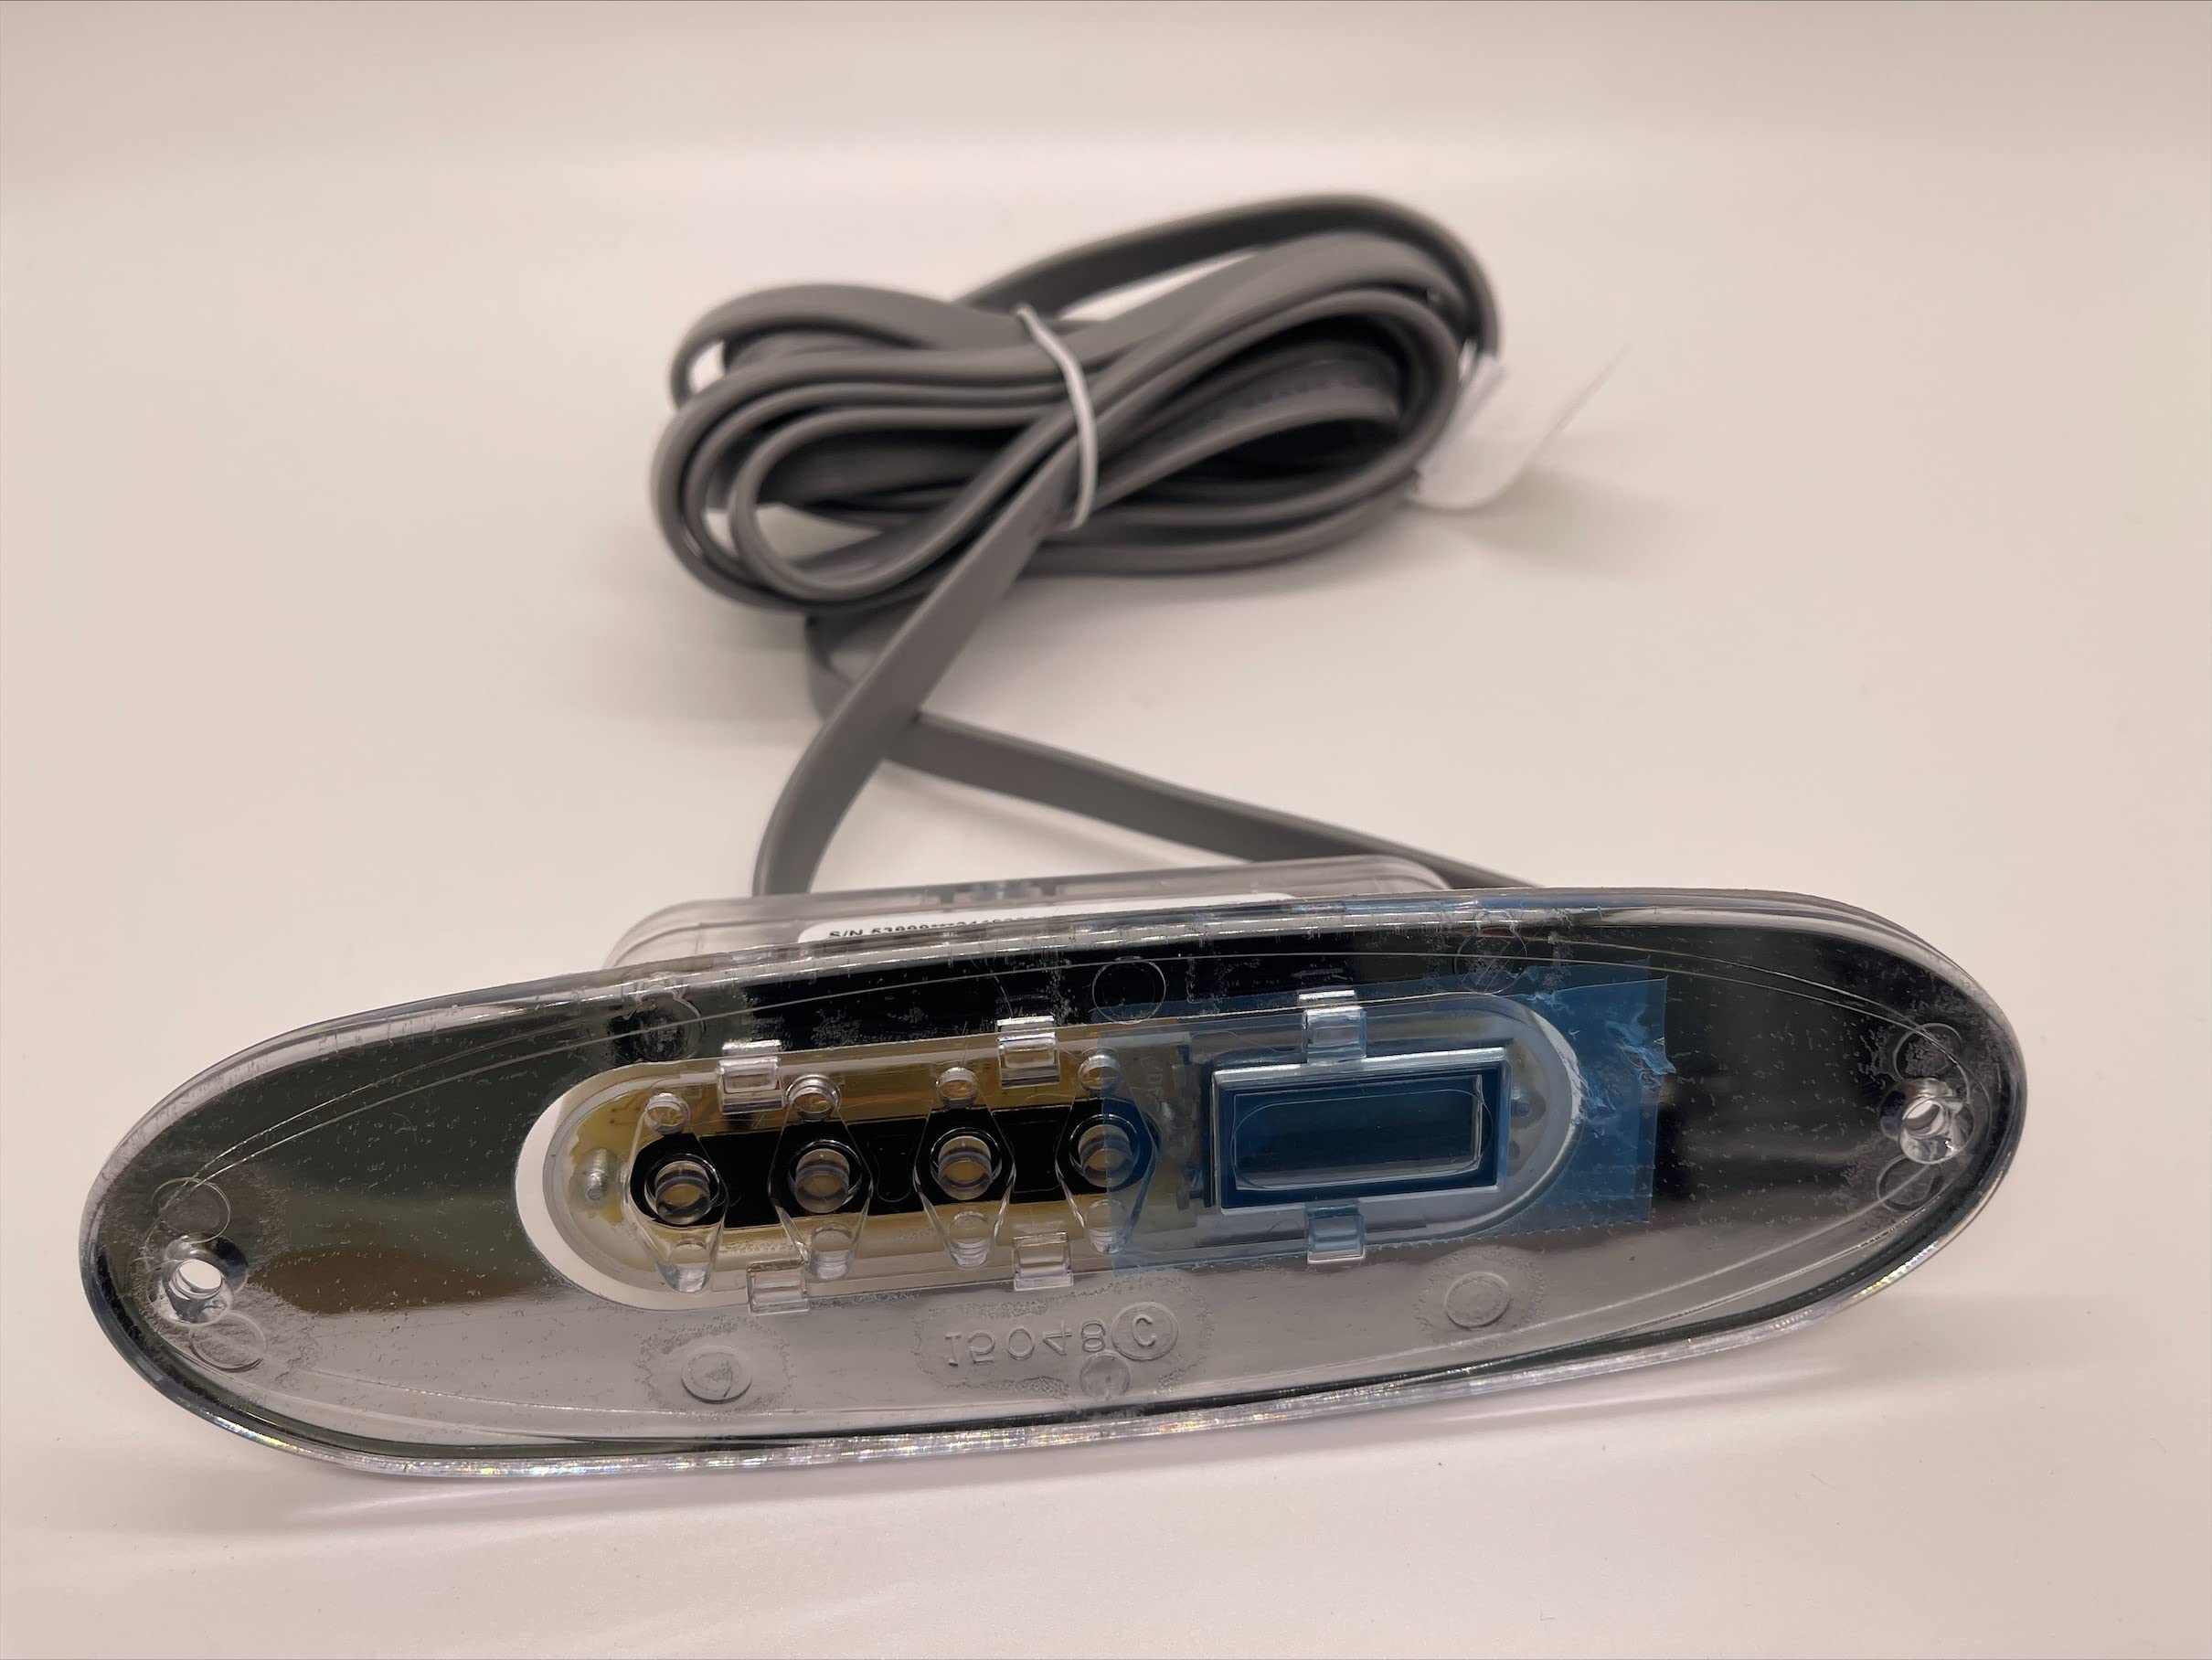
Image: The Generic 2013-2018 Topside Control Pad, Model 303472. This rectangular, clear plastic control panel features several buttons for managing spa functions.
الإعداد والتثبيت
Proper installation is crucial for the functionality and longevity of your topside control pad. If you are unsure about any step, it is recommended to consult a qualified spa technician.
- انقطاع التيار الكهربائي: Before beginning any installation, ensure that the main power supply to your spa is completely disconnected at the circuit breaker. This prevents electrical shock and damage to components.
- Locate Existing Control Pad: Identify the current topside control pad on your spa. This unit is typically mounted on the rim of the spa.
- Remove Old Control Pad: Carefully detach the old control pad. This may involve unscrewing fasteners or gently prying it from its mounting. Disconnect the cable leading from the old control pad to the spa's control pack. Note the routing of the cable for reinstallation.
- Connect New Control Pad: Connect the cable of the new Generic 2013-2018 Topside Control Pad (Model 303472) to the corresponding port on your spa's Balboa VL260 control pack. Ensure the connection is secure and properly seated.
- Mount New Control Pad: Position the new control pad in the designated opening. Secure it using the appropriate fasteners or adhesive, ensuring a watertight seal to prevent moisture intrusion.
- إعادة توصيل الطاقة: Once the control pad is securely installed and all connections are verified, restore power to the spa at the circuit breaker.
- الاختبار الأولي: Power on the spa and test all functions of the new control pad to ensure proper operation.
تعليمات التشغيل
The Generic 2013-2018 Topside Control Pad provides intuitive control over your spa's functions. While specific button labels may vary slightly, the general operation typically includes:
- زر الطائرات النفاثة: Press to activate or deactivate the spa's jet pumps. Multiple presses may cycle through different jet speeds or pump combinations.
- زر الضوء: Press to turn the spa's lights on or off. Some systems may allow cycling through different light modes or colors with repeated presses.
- التحكم في درجة الحرارة: Use the up and down arrow buttons (or similar symbols) to adjust the desired water temperature. The display will show the set temperature.
- زر الوضع/البرنامج: This button may be used to switch between different operating modes (e.g., Standard, Economy, Sleep) or to access programming features such as filtration cycles. Refer to your spa's main control pack manual for detailed programming instructions.
- عرض: The digital display shows the current water temperature, set temperature, and various status indicators (e.g., heating, filtration, error codes).
For detailed information on specific spa functions and programming, refer to the owner's manual provided with your Dream Maker Spa.
الصيانة والعناية
To ensure the longevity and optimal performance of your topside control pad, follow these maintenance guidelines:
- تنظيف: Gently wipe the surface of the control pad with a soft, damp cloth. Avoid using abrasive cleaners, solvents, or harsh chemicals, as these can damage the plastic and overlay.
- حماية: Keep the control pad free from direct sunlight for extended periods when not in use, if possible, to prevent UV degradation. Ensure the spa cover is properly secured when the spa is not in use.
- التعرض للماء: While designed for spa environments, avoid excessive splashing or prolonged submersion of the control pad. Ensure the seal around the pad remains intact.
- تقتيش: Periodically inspect the control pad and its cable for any signs of wear, cracks, or damage. If damage is observed, discontinue use and consult a qualified technician for replacement.
استكشاف الأخطاء وإصلاحها
If you encounter issues with your topside control pad, consider the following common troubleshooting steps:
| مشكلة | السبب المحتمل | حل |
|---|---|---|
| Control pad is unresponsive | No power to spa; Loose cable connection; Faulty control pad or control pack | Check spa's circuit breaker; Verify cable connection to control pack; Consult a technician for diagnosis. |
| العرض فارغ أو باهت | No power; Cable issue; Display malfunction | Ensure spa has power; Check cable connection; If problem persists, replacement may be necessary. |
| الأزرار لا تستجيب | Stuck buttons; Water intrusion; Internal malfunction | Gently press buttons to ensure they are not stuck; Inspect for water damage; If unresponsive, replacement may be needed. |
| قراءة غير صحيحة لدرجة الحرارة | Sensor issue; Air lock in heater | Check water level; Bleed air from system if necessary; Consult spa manual for sensor troubleshooting. |
If these steps do not resolve the issue, or if you encounter error codes on the display, refer to your spa's main control pack manual or contact a qualified spa service technician.
تحديد
- نموذج: 303472
- التوافق: 2013-2018 Dream Maker Spas, Balboa VL260 systems
- مادة: بلاستيك
- لون: واضح
- شكل: مستطيل
- التراكب: No overlay (clear)
- الشركة المصنعة: Dreammaker, Balboa (compatible with)
- التجميع مطلوب: لا
الضمان والدعم
For information regarding the warranty of your Generic 2013-2018 Topside Control Pad (Model 303472), please refer to the documentation provided at the time of purchase or contact your retailer. Support for operational issues related to your spa's overall system should be directed to the manufacturer of your Dream Maker Spa or a certified spa technician.