
بارتفونر PA1201
PARTPHONER Triple Head Dusk to Dawn Lamp Post (Model PA1201) User Manual
دليل شامل للتركيب والتشغيل والصيانة.
1. تعليمات السلامة الهامة
Please read and understand all instructions before beginning installation. Failure to follow these instructions may result in electric shock, fire, or other hazards that can cause property damage or personal injury.
- افصل الطاقة دائمًا من قاطع الدائرة أو صندوق المصهرات قبل التركيب أو الصيانة.
- Consult a qualified electrician if you are unsure about the electrical wiring.
- تأكد من أن جميع التوصيلات الكهربائية آمنة وتتوافق مع القوانين واللوائح المحلية.
- لا تقم بالتركيب بالقرب من المواد القابلة للاشتعال أو في المناطق ذات الأجواء المتفجرة.
- ارتدِ معدات السلامة المناسبة، بما في ذلك القفازات وواقيات العين، أثناء التركيب.
- This product is designed for outdoor use and is weather-resistant. However, ensure proper sealing of all connections to prevent water ingress.
2. محتويات العبوة
تأكد من أن جميع المكونات موجودة وغير تالفة قبل البدء في التجميع.
- Lamp Post Sections (Upper, Middle, Lower)
- Lantern Heads (x3)
- LED Bulbs (x3, E26 base)
- Mounting Hardware (Anchor bolts, nuts, washers, base plate)
- Photocell Sensor (Integrated)
- موصلات الأسلاك
- Small Wrench for Assembly
3. المواصفات
| ميزة | التفاصيل |
|---|---|
| ماركة | شريك |
| رقم الموديل | السلطة الفلسطينية 1201 |
| مادة | Cast Aluminum, Glass |
| مصدر الضوء | LED (يتضمن 3 مصباح) |
| قاعدة المصباح | إي26 |
| ماكس واتtage | 100 واط لكل مصباح |
| سطوع | 12000 Lumen (total) |
| نوع المفتاح | مستشعر الغسق حتى الفجر |
| مستوى مقاومة الماء | مقاوم للماء |
| نوع التركيب | Pole Mount (Hardwired) |
| الأبعاد (العرض × الارتفاع) | 1.8 x 6.5 feet (approx.) |
| وزن العنصر | 8.8 كيلوغرام |
4. دليل التثبيت
هذا لamp post requires hardwired electrical installation. It is recommended to hire a qualified electrician for this process. Ensure power is disconnected before starting.
4.1 Site Preparation and Concrete Base
Prepare the installation site by digging a hole for the concrete base. Ensure proper depth and width for stability. Run the electrical conduit from your power source to the base location. The concrete base should be level and allow for the anchor bolts to protrude approximately 0.25 inches for secure mounting of the lamp قاعدة البريد.

Image: The PARTPHONER lamp post installed, illustrating its appearance during both daytime and nighttime operation with the dusk-to-dawn sensor.
For a visual guide on preparing the concrete base and conduit, refer to the initial segments of the official installation video below.
Video: Official PARTPHONER installation guide. This segment covers site preparation, digging the hole, installing the cardboard tube for concrete, and running the electrical conduit. (Relevant sections: 0:00 - 2:18, 2:40 - 3:37)
4.2 Assembling Lantern Heads and Wiring
Before attaching the lantern heads to the main finial, connect the individual lantern wires. Ensure white wires are connected to white, and black wires are connected to black. The red wire from the photocell should be connected to the black wires of the lanterns. Secure all connections with wire nuts and electrical tape for insulation and safety.

Image: Detail of the lamp post construction, highlighting the high-quality die-cast aluminum material used for durability.
The installation video provides detailed steps for wiring the lantern heads and connecting them to the main finial assembly.
Video: Official PARTPHONER installation guide. This segment demonstrates the wiring of the lantern heads and their attachment to the main finial. (Relevant sections: 3:57 - 5:28, 5:28 - 6:20, 7:14 - 7:28, 9:07 - 9:16)
4.3 Assembling Post Sections and Mounting
Feed the main electrical wires through the lamp post sections. It is recommended to keep the post sections disconnected while feeding the wires to avoid tangles. Once wires are fed, screw the post sections together securely. Then, carefully lift and mount the assembled lamp post onto the anchor bolts of the concrete base. Secure it with the provided nuts and washers, ensuring the post is plumb and level.

Image: Technical drawing illustrating the approximate dimensions of the lamp post, including its height and the spread of the lantern arms.
The installation video provides further guidance on assembling the post sections and mounting the lamp بريد.
Video: Official PARTPHONER installation guide. This segment covers feeding wires through the post sections, assembling the post, and mounting it to the concrete base. (Relevant sections: 8:34 - 9:06, 10:20 - 10:46)
4.4 Final Electrical Connections
At the base of the lamp post, connect the main power supply wires to the corresponding wires from the lamp post. Ensure the ground wire from the lamp post is securely connected to the ground wire from your electrical supply. Use appropriate wire nuts and electrical tape for all connections. Once all connections are made, install the decorative finials on top of each lantern arm.
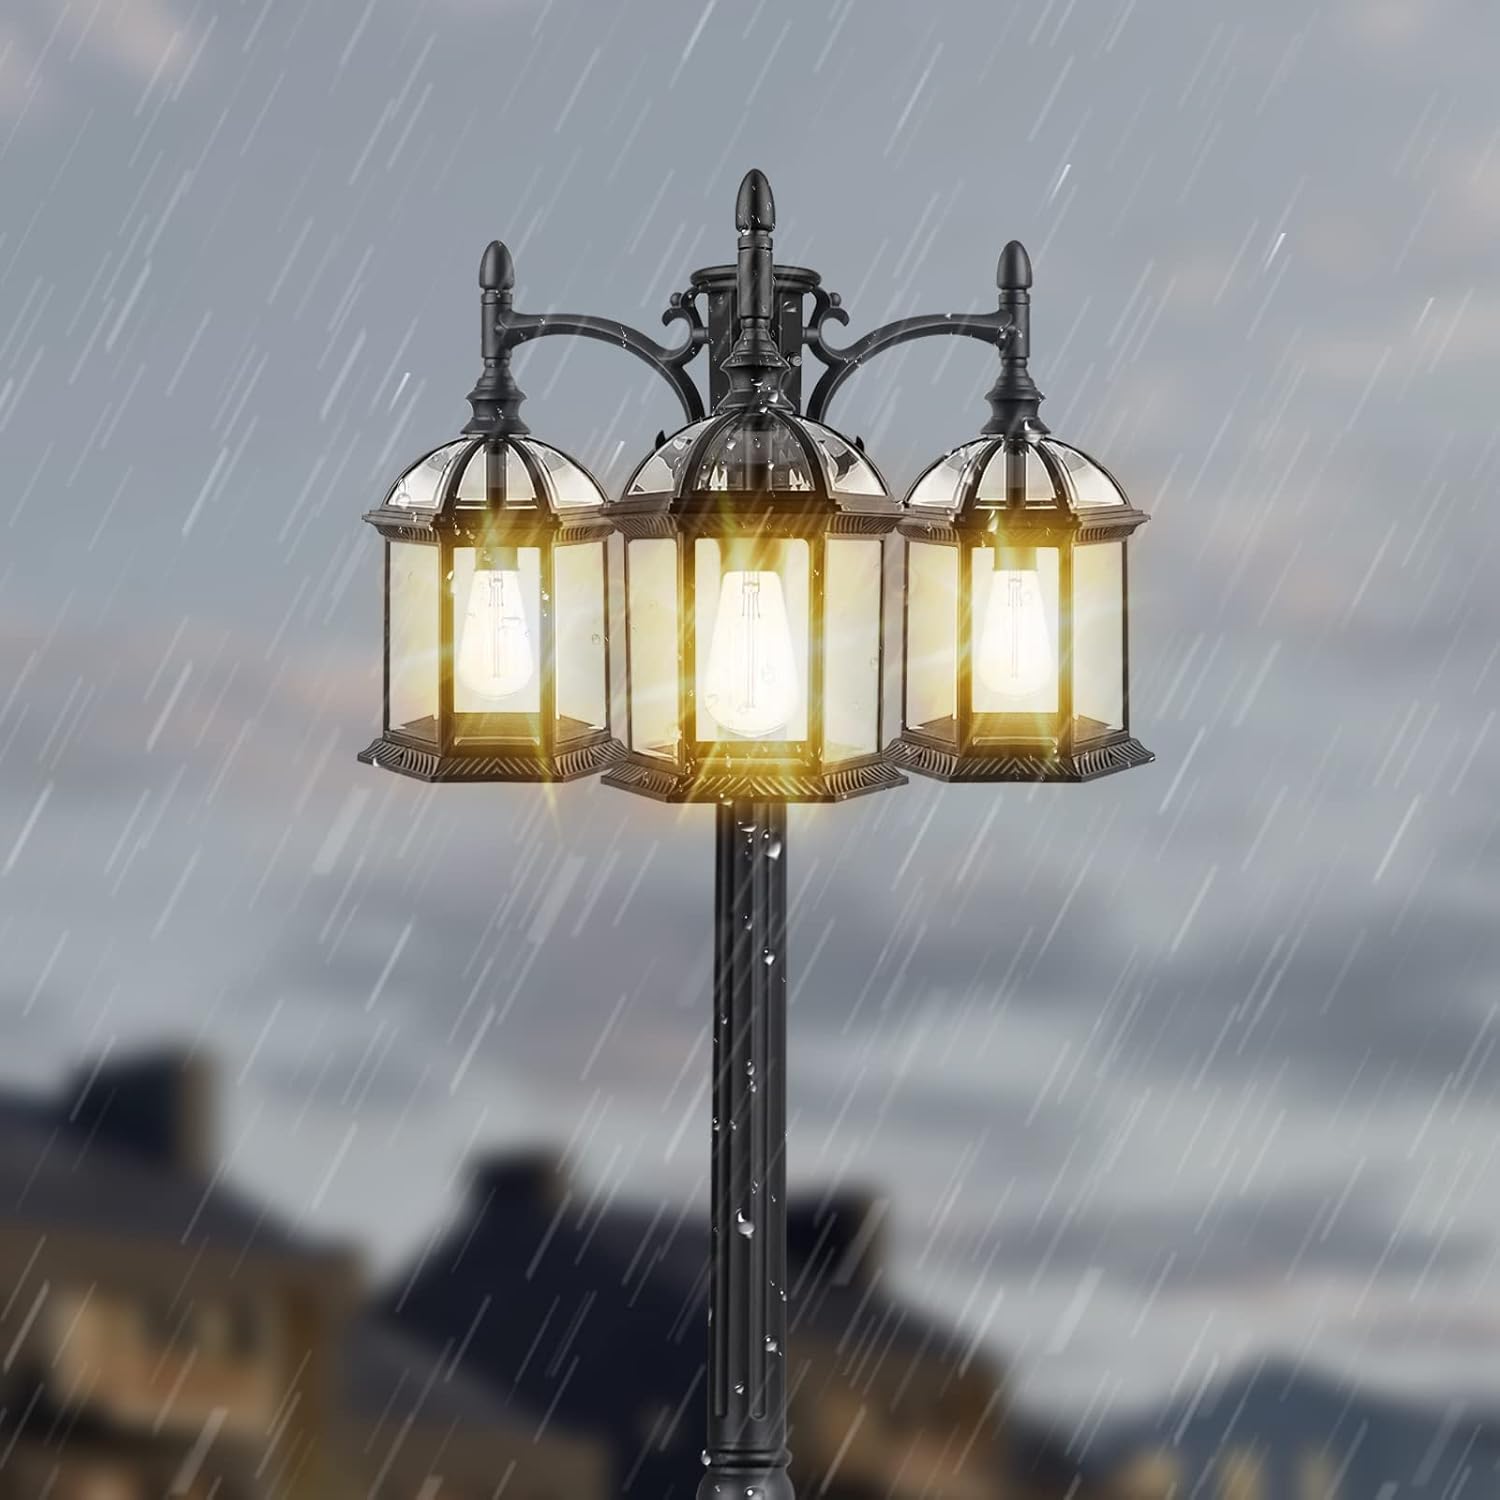
الصورة: لamp post enduring rainfall, showcasing its weather-resistant and waterproof construction.
The installation video provides a comprehensive overview of the final electrical connections and finial installation.
Video: Official PARTPHONER installation guide. This segment details the final electrical connections at the base and the attachment of the decorative finials. (Relevant sections: 9:45 - 10:00, 10:05 - 10:19, 10:51 - 10:59)
5. تعليمات التشغيل
هذا لamp post features an advanced photocell sensor for automatic operation.
- Dusk to Dawn Function: The integrated photocell sensor detects ambient light levels. The lamp post will automatically turn on at dusk when it gets dark enough and turn off at dawn when sufficient daylight is detected.
- التجاوز اليدوي (إن وجد): Some models may include a push-button controller for manual override. Refer to your specific model's detailed instructions for manual control options.

الصورة: لamp post demonstrating its automatic operation, illuminating at night and turning off during daylight hours.
6. الصيانة
تضمن الصيانة الدورية طول عمر جهازك وأدائه الأمثلamp بريد.
- تنظيف: Periodically clean the glass panels and metal frame with a soft, damp القماش. تجنب المنظفات الكاشطة التي قد تؤدي إلى إتلاف الطبقة النهائية.
- استبدال المصباح: Ensure power is disconnected before replacing bulbs. Use E26 base LED bulbs, up to 100 watts maximum per socket.
- تقتيش: Annually inspect all wiring and connections for signs of wear or damage. Ensure the base is still securely mounted.
7. استكشاف الأخطاء وإصلاحها
إذا كان لamp post is not functioning as expected, refer to the following common issues:
| مشكلة | السبب المحتمل | حل |
|---|---|---|
| الضوء لا يضيء في الليل. | Power supply issue, faulty bulb, photocell obstructed. | Check circuit breaker. Replace bulbs. Ensure photocell is not blocked by debris or light from other sources. |
| يبقى الضوء مضاءً أثناء النهار. | Photocell malfunction or insufficient light reaching the sensor. | Clean the photocell sensor. Ensure no artificial light source is shining directly onto the sensor during the day. |
| وميض الضوء. | Loose wiring connection, incompatible bulb, power fluctuations. | Check all wiring connections (ensure power is off). Try a different bulb. Consult an electrician if power fluctuations are suspected. |
8. الضمان والدعم
PARTPHONER is committed to customer satisfaction. If you encounter any problems with your product, please feel free to contact us. We aim to provide solutions within 24 hours.
For support, visit the official PARTPHONER store on Amazon: PARTPHONER Store
Ask a question about this manual
Ask about setup, troubleshooting, compatibility, parts, safety, or missing instructions. Manuals+ will review the question and use this page’s manual context to help answer it.