مقدمة
This manual provides detailed instructions for the safe and effective use of your pxton PX-8S-01 two-way radio. Please read this manual thoroughly before operating the device to ensure optimal performance and longevity.
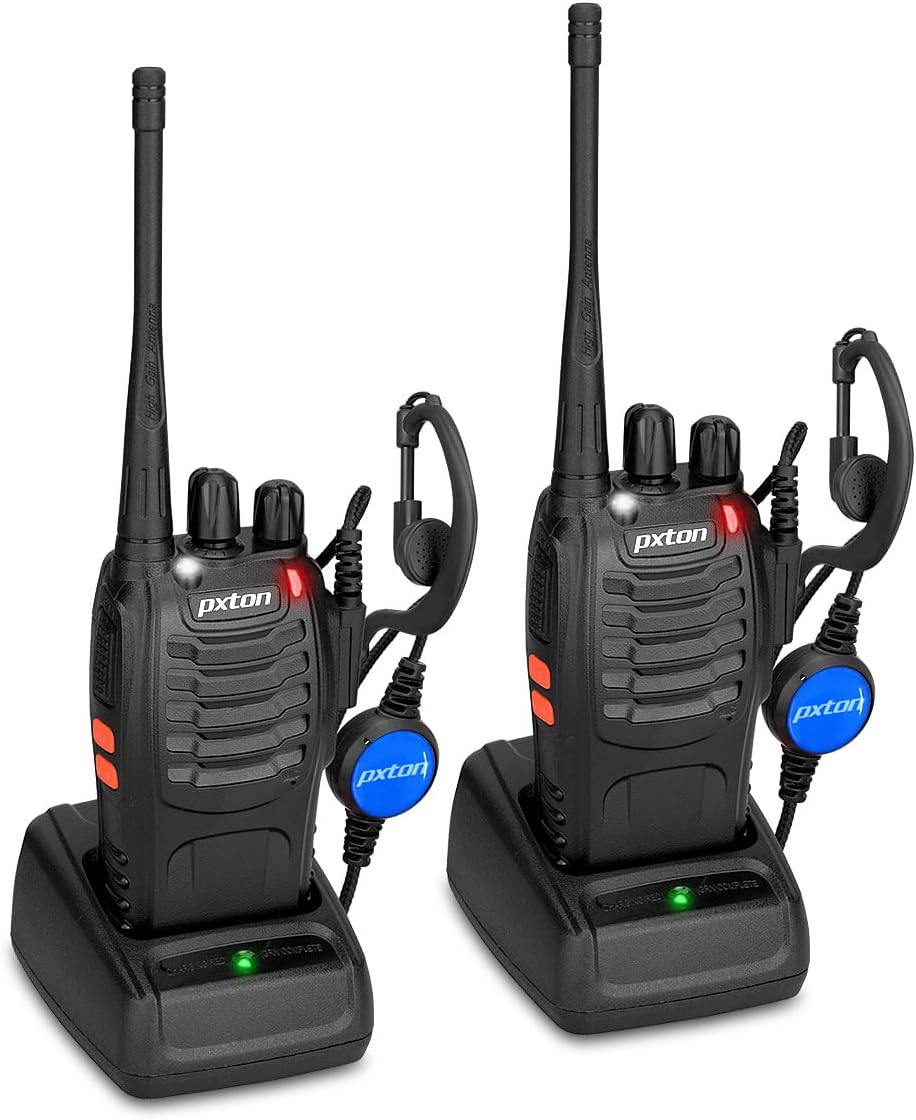
Image: Two pxton PX-8S-01 two-way radios with charging bases and earpieces.
محتويات الحزمة
تأكد من وجود جميع العناصر في الحزمة الخاصة بك:
- pxton PX-8S-01 Two-Way Radio (2 units)
- Lithium-Ion Battery (2 units)
- USB Charger (2 units)
- Upgraded Earpiece (2 units)
- مشبك الحزام (وحدتان)
- سوار معصم (2 وحدات)
- Antenna (2 units)
- دليل المستخدم (1 وحدة)

Image: Contents of the pxton PX-8S-01 package.
المنتج انتهىview
Familiarize yourself with the components of your pxton PX-8S-01 two-way radio:

Image: Labeled diagram of the pxton PX-8S-01 two-way radio components.
- Integrated Sensitive Antenna: لإرسال واستقبال الإشارات.
- تبديل القناة: مقبض دوار لاختيار إحدى القنوات الـ 16 المتاحة.
- مفتاح الطاقة/التحكم في مستوى الصوت: Rotary knob to turn the radio on/off and adjust the volume.
- مصباح يدوي: مصباح LED مدمج للإضاءة.
- مؤشر LED: Displays radio status (e.g., transmitting, receiving, charging).
- زر الضغط للتحدث (PTT): اضغط مع الاستمرار للإرسال، ثم حرره للاستقبال.
- MONI Button (Monitor): اضغط لتعطيل خاصية كتم الصوت مؤقتًا والاستماع إلى الإشارات الضعيفة.
- زر المصباح: يقوم بتشغيل المصباح اليدوي المدمج.
- SP/MIC Jacks: Ports for connecting external audio accessories like earpieces or speaker microphones.
- Clear Speaker: يُخرج الصوت المُستقبل.
- ميكروفون مدمج: يلتقط صوتك لإرساله.
يثبت
1. تركيب البطارية
- تأكد من إيقاف تشغيل الراديو.
- قم بمحاذاة مجموعة البطارية مع الأخاديد الموجودة في الجزء الخلفي من الراديو.
- حرك حزمة البطارية لأعلى حتى تستقر في مكانها.
- لإزالتها، اضغط على مزلاج التحرير (إن وجد) واسحب البطارية إلى الأسفل.
2. شحن البطارية
- قم بتوصيل شاحن USB بمصدر الطاقة.
- ضع الراديو المزود بالبطارية في قاعدة الشحن.
- The LED indicator on the charger will show the charging status (e.g., red for charging, green for fully charged).
- A full charge from 0 capacity typically takes 3-4 hours.
3. تركيب الملحقات
- الهوائي: قم بربط الهوائي باتجاه عقارب الساعة على الموصل الموجود أعلى الراديو حتى يصبح محكمًا باليد. لا تفرط في إحكام الربط.
- مشبك الحزام: قم بتثبيت مشبك الحزام في الفتحة المخصصة له في الجزء الخلفي من جهاز الراديو باستخدام البراغي المرفقة.
- سماعة الأذن: Insert the earpiece plug into the SP/MIC jacks on the side of the radio. Ensure it is fully inserted for proper connection.
تعليمات التشغيل
1. تشغيل/إيقاف الطاقة وضبط مستوى الصوت
- To power on the radio, rotate the Power Switch/Volume Control knob clockwise. You will hear a "click" and a voice prompt indicating the current channel.
- استمر في تدوير المقبض باتجاه عقارب الساعة لزيادة مستوى الصوت، وعكس اتجاه عقارب الساعة لخفضه.
- To power off, rotate the knob counter-clockwise until you hear a "click."
2. اختيار القناة
- قم بتدوير مقبض مفتاح القناة لاختيار إحدى القنوات الـ 16 المتاحة.
- سيعلن الراديو رقم القناة المختارة.
- تأكد من ضبط جميع أجهزة الراديو في مجموعتك على نفس القناة للاتصال.
3. الإرسال والاستقبال
- للإرسال، اضغط مع الاستمرار على PTT (اضغط للتحدث) button. Speak clearly into the microphone. The LED indicator will illuminate red.
- Release the PTT button to stop transmitting and return to receive mode. The LED indicator will turn green when receiving a signal.
4. وظيفة VOX (نظام التبادل الصوتي)
The VOX function allows hands-free operation. When activated, the radio will automatically transmit when it detects your voice, without needing to press the PTT button.
- VOX settings are typically programmed via software. Refer to advanced programming instructions if available.
- When using VOX, ensure the microphone is positioned correctly to pick up your voice effectively.
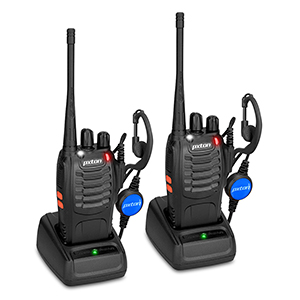
Image: VOX/Handfree function icon.
5. وظيفة المصباح اليدوي
- اضغط على الزر المخصص زر المصباح اليدوي لتشغيل أو إيقاف تشغيل مصباح LED المدمج.
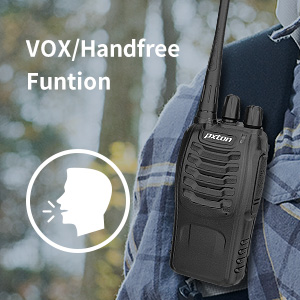
Image: Flashlight function icon.
6. وظيفة المسح الضوئي
The scan function allows the radio to automatically scan through channels to find active transmissions.
- To activate the scan function, typically this is done via a programmed side key or by selecting a specific channel. Refer to your radio's programming guide for details.
- When scanning, the radio will stop on an active channel until the transmission ends, then resume scanning.
7. إنذار الطوارئ
The radio features an emergency alarm function for critical situations.
- To activate the emergency alarm, press the designated Emergency Alarm button (if programmed) or a specific key combination. This will typically emit a loud siren sound and/or transmit an alert signal.

Image: Emergency Alarm function icon.
8. ضبط مستوى الضوضاء
Squelch suppresses background noise when no signal is being received. The PX-8S-01 has an adjustable squelch feature.
- Squelch levels are typically set via programming software. A higher squelch level requires a stronger signal to open the receiver, reducing static but potentially missing weak signals.
- The MONI button can be used to temporarily override the squelch and listen to all signals, including weak ones or background noise.
Image: Squelch adjustment icon.
9. رموز الخصوصية (CTCSS/DCS)
The radio supports 165 privacy codes (50 CTCSS / 210 DCS) per programmable channel to help filter out unwanted conversations.
- When a CTCSS/DCS code is set, you will only hear transmissions from other radios using the same channel and the same CTCSS/DCS code.
- Similarly, other radios will only hear your transmissions if they are on the same channel and using the same code.
- These codes are typically programmed using specialized software.
Image: CTCSS/DCS privacy codes icon.
صيانة
- تنظيف: استخدمي قطعة قماش ناعمةamp استخدم قطعة قماش لتنظيف الجزء الخارجي من الراديو. لا تستخدم مواد كيميائية أو مذيبات قاسية.
- العناية بالبطارية:
- تجنب الشحن الزائد أو تفريغ البطارية بالكامل.
- قم بتخزين البطاريات في مكان بارد وجاف عندما لا تكون قيد الاستعمال.
- إذا لم يتم استخدام الراديو لفترة طويلة، فقم بإزالة البطارية.
- تخزين: قم بتخزين الراديو في بيئة جافة وخالية من الغبار بعيدًا عن درجات الحرارة القصوى.
- الهوائي: لا تقم بثني أو تعديل الهوائي، لأن ذلك قد يؤثر على الأداء.
استكشاف الأخطاء وإصلاحها
| مشكلة | السبب المحتمل | حل |
|---|---|---|
| الراديو لا يعمل. | البطارية فارغة أو غير مثبتة بشكل صحيح. | اشحن البطارية. تأكد من تثبيت البطارية بإحكام. |
| لا يمكن الإرسال أو الاستقبال. | Incorrect channel selected. Battery low. Radio out of range. | Verify both radios are on the same channel. Charge battery. Move closer to the other radio. |
| جودة الصوت رديئة أو ثابتة. | Weak signal. Squelch level too low/high. Interference. | Move to an area with fewer obstructions. Adjust squelch level (if programmable). Check for sources of interference. |
| نطاق اتصال قصير. | Obstructions (buildings, terrain). Low battery. | انتقل إلى منطقة مفتوحة. تأكد من شحن البطارية بالكامل. |
| Earpiece not working. | Earpiece not fully inserted. Faulty earpiece. | Ensure earpiece plug is fully inserted into the SP/MIC jack. Try a different earpiece if available. |
تحديد
- نموذج: PX-8S-01
- معرف FCC: 2AX68PX-888S
- عدد القنوات: 16
- نطاق التردد: ترددات فائقة التردد
- الحد الأقصى لنطاق التحدث: Up to 5 miles (unobstructed)
- رموز الخصوصية: 165 (50 سي تي سي إس إس / 210 دي سي إس)
- نوع البطارية: ليثيوم أيون (متضمن)
- حجم البطاريةtage: 3.7 فولت (تيار مستمر)
- عمر البطارية: 8-96 hours standby, 8-12 hours continuous use (actual time varies with usage)
- وقت الشحن: 3-4 ساعات (من سعة 0)
- مستوى مقاومة الماء: مقاوم للماء
- أبعاد المنتج: 1.1 بوصة عمق × 1.89 بوصة عرض × 8.34 بوصة ارتفاع
- وزن السلعة: 1.34 رطلاً (للزوج)
- المميزات الخاصة: Rechargeable, VOX, TOT, Emergency Alarm, Battery Low Alert, Flashlight, Scan Function

Image: Size comparison of the pxton PX-8S-01 radio.
معلومات السلامة
Your pxton PX-8S-01 walkie-talkie has been granted FCC transmission and reception certification and authorization (FCC ID: 2AX68PX-888S). This device is intended for use only within the frequency points authorized by the FCC certification range.
يرجى مراعاة إرشادات السلامة التالية:
- لا تقم بتشغيل الراديو في أجواء قابلة للانفجار (على سبيل المثال، الغازات القابلة للاشتعال، جزيئات الغبار، المساحيق المعدنية).
- Do not modify the radio or its accessories. Unauthorized modifications can void your warranty and violate FCC regulations.
- أبقِ الراديو وملحقاته بعيداً عن متناول الأطفال.
- Use only pxton-approved batteries and chargers. Using unapproved accessories can cause damage or injury.
- Avoid exposing the radio to extreme temperatures, direct sunlight, or moisture for prolonged periods.
- If the radio emits smoke or an unusual odor, immediately turn off the power and remove the battery. Contact customer support.
الضمان والدعم
pxton provides lifetime customer service for its walkie-talkies. If you encounter any questions or issues with your PX-8S-01 radio, please contact pxton customer support through the platform where you purchased the product. Our professional team is available to assist you with troubleshooting and support.
For further assistance, please refer to the official pxton webالموقع أو اتصل بخدمة العملاء الخاصة بهم مباشرة.