1. المقدمة
شكرا لك على الشراءasing the HOMPOW Mini Projector. This projector is designed to provide a high-quality viewing experience with its 1080P Full HD support and 6500 lumens brightness. It includes a 100-inch projection screen for immediate use. This manual will guide you through the setup, operation, and maintenance of your new projector.
محتويات الحزمة
- HOMPOW Mini Projector
- 100-inch Projection Screen
- جهاز التحكم عن بعد
- كابل HDMI
- محول الطاقة
- دليل المستخدم
2. تعليمات السلامة
يرجى قراءة جميع تعليمات السلامة بعناية قبل استخدام جهاز العرض. قد يؤدي عدم اتباع هذه التعليمات إلى نشوب حريق أو صدمة كهربائية أو إصابات أخرى.
- لا تنظر مباشرة إلى عدسة جهاز العرض عندما يكون الضوءamp قيد التشغيل. الضوء الساطع قد يسبب ضررًا للعين.
- Do not block the ventilation openings. Proper airflow is essential to prevent overheating.
- Keep the projector away from water or other liquids. Do not operate in wet environments.
- Place the projector on a stable, flat surface to prevent it from falling.
- استخدم فقط محول الطاقة المرفق مع جهاز العرض.
- افصل جهاز العرض أثناء العواصف الرعدية أو عند عدم استخدامه لفترات طويلة.
- لا تحاول إصلاح جهاز العرض بنفسك. قم بإحالة جميع أعمال الصيانة إلى فنيين مؤهلين.
3. انتهى المنتجview
مكونات جهاز العرض
Familiarize yourself with the main parts of your HOMPOW Mini Projector.


منافذ الإدخال/الإخراج
- منفذ HDMI: Connect to devices like laptops, gaming consoles (PS3/PS4), Fire TV Stick, and TV boxes.
- منفذ USB: Connect USB drives for media playback or power for streaming devices.
- فتحة بطاقة SD: Insert SD cards for direct media playback.
- منفذ AV: قم بالتوصيل بالأجهزة القديمة باستخدام كابل AV.
- منفذ VGA: الاتصال بأجهزة الكمبيوتر باستخدام مخرج VGA.
- مخرج الصوت (مقبس 3.5 ملم): قم بتوصيل مكبرات الصوت الخارجية أو سماعات الرأس.
- التيار المباشر الداخل: مدخل الطاقة لجهاز العرض.
4. الإعداد
التوظيف الأولي
Place the projector on a stable surface. For optimal viewing, ensure the projector is positioned directly in front of the projection surface (wall or screen). The recommended projection distance is approximately 3 meters for a clear image.
توصيل الطاقة
- قم بتوصيل محول الطاقة بمنفذ DC In الموجود على جهاز العرض.
- قم بتوصيل محول الطاقة بمأخذ الطاقة.
- اضغط على زر الطاقة الموجود على جهاز العرض أو جهاز التحكم عن بعد لتشغيله.
توصيل الأجهزة
The projector supports various input sources. Below are common connection methods:
HDMI Connection (e.g., Fire TV Stick, Laptop, Gaming Console)
- Connect the HDMI output cable from your device (e.g., Fire TV Stick) to the HDMI input port on the projector.
- If using a streaming stick like Fire TV Stick, connect its USB power cable to the projector's USB port for power.
- On the projector's main menu, select the "HDMI" input source.
Smartphone/Tablet Connection
To connect a smartphone or tablet, an HDMI conversion adapter (not included) is required. Connect your device to the adapter, then connect the adapter to the projector's HDMI port.

USB Drive/SD Card Playback
Insert a USB drive into the USB port or an SD card into the SD card slot. Select the corresponding input source from the main menu to browse and play media files.
5. تعليمات التشغيل
ضبط التركيز
Rotate the focus ring on the projector lens until the image appears clear and sharp on the screen.
تصحيح الانحراف
The projector features a ±15-degree keystone correction function. Adjust the keystone dial to correct distorted images (trapezoidal shape) if the projector is not perfectly perpendicular to the screen.
اختيار المصدر
Use the remote control or the buttons on the projector to navigate the main menu and select your desired input source (HDMI, USB, SD, AV, VGA).
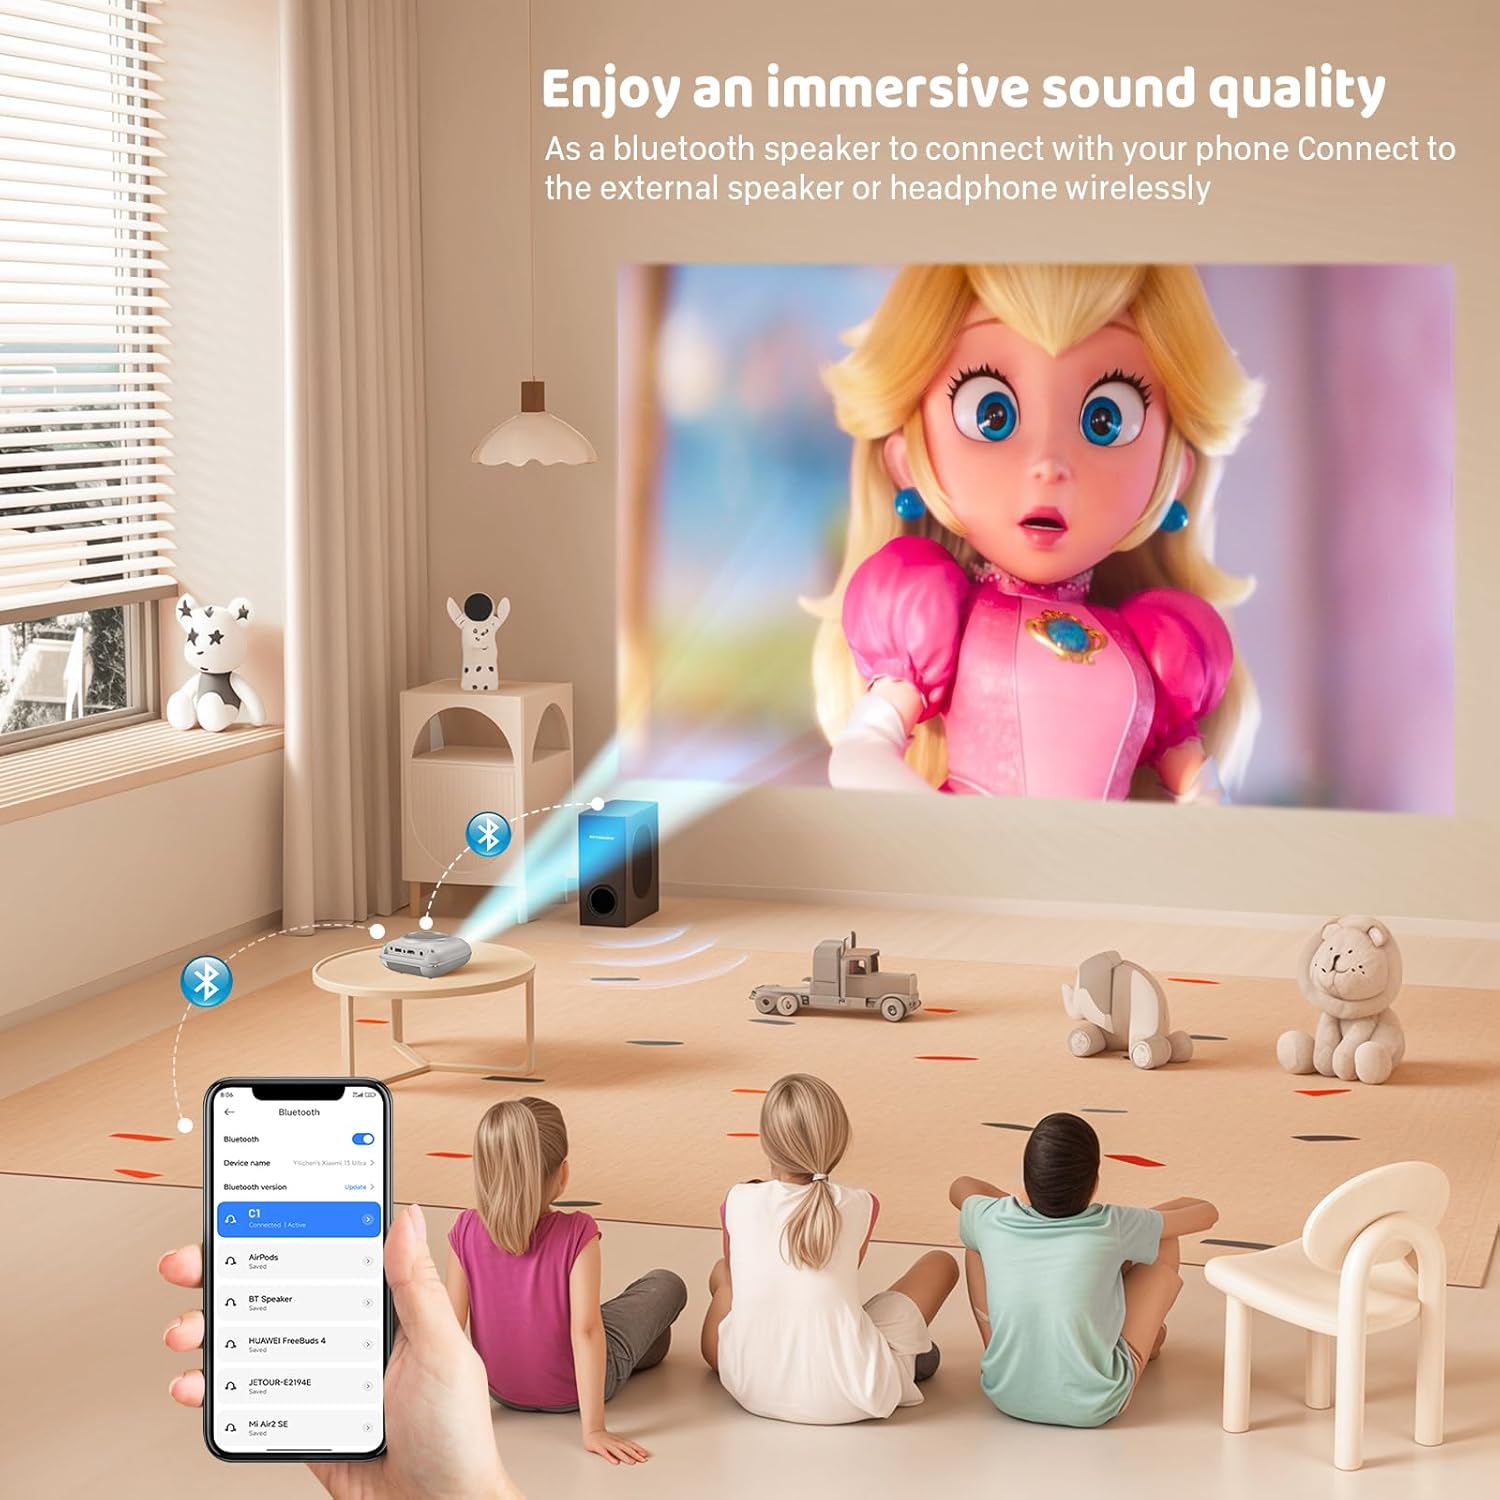
مخرج الصوت
The projector has two built-in speakers for immersive sound. For a different audio experience, you can connect external speakers or headphones via the 3.5mm audio jack.
انعكاس الشاشة
The projector supports screen mirroring for compatible devices. Refer to the on-screen instructions or the projector's menu for specific steps to enable screen mirroring from your smartphone or tablet.
6. الصيانة
تنظيف العدسة
استخدم قطعة قماش ناعمة وخالية من الوبر مصممة خصيصًا للعدسات البصرية لمسح عدسة جهاز العرض برفق. تجنب استخدام المنظفات الكاشطة أو الأقمشة التي قد تخدش العدسة.
تنظيف هيكل جهاز العرض
امسح الجزء الخارجي من جهاز العرض بقطعة قماش ناعمة وجافة. لا تستخدم المنظفات السائلة أو المذيبات.
تهوية
Ensure the ventilation openings are clear of dust and debris. The projector features a dual-fan cooling system to maintain optimal operating temperature and extend lamp life. Do not obstruct these vents.
Lamp حياة
الصمام لamp in your HOMPOW projector has a lifespan of approximately 60,000 hours, providing long-term use without frequent lamp بديل.
7. استكشاف الأخطاء وإصلاحها
| مشكلة | السبب المحتمل | حل |
|---|---|---|
| لا توجد صورة أو صورة ضبابية | Focus not adjusted; incorrect input source; cable not connected properly. | Adjust the focus ring; select the correct input source; check all cable connections. |
| لا يوجد صوت | Volume too low; audio cable not connected; device audio settings. | Increase projector volume; ensure audio cables are connected; check audio output settings on the connected device. |
| الصورة شبه منحرفة | جهاز العرض غير عمودي على الشاشة. | Adjust the keystone correction dial or reposition the projector. |
| جهاز التحكم عن بعد لا يعمل | Batteries low or dead; obstruction between remote and projector. | استبدل البطاريات؛ وتأكد من وجود خط رؤية واضح لجهاز استقبال الأشعة تحت الحمراء الخاص بجهاز العرض. |
| ارتفاع درجة حرارة جهاز العرض | منافذ التهوية مسدودة. | تأكد من أن جميع منافذ التهوية خالية من العوائق. |
8. المواصفات
- تكنولوجيا العرض: شاشة الكريستال السائل
- الدقة الأصلية: 1280 × 720 بكسل
- الدقة المدعومة: دقة تصل إلى 1080 بكسل كاملة الوضوح
- سطوع: 6500 لومن
- نسبة التباين: 3000:1
- Lamp حياة: 60,000 ساعات
- حجم العرض: 32-176 inches (Recommended: 100 inches)
- مسافة الإسقاط: 1m - 5.2m (Recommended: 3m)
- تصحيح الانحراف: ±15 degrees manual
- الاتصال: HDMI, USB, SD, AV, VGA
- صوتي: Built-in dual speakers, 3.5mm audio out
- استهلاك الطاقة: 48 واط
- أبعاد المنتج: 19 × 15 × 8 سم
- وزن المنتج: 1.71 كجم
9. الضمان والدعم
The HOMPOW Mini Projector comes with a manufacturer's warranty. Please refer to the warranty card included in your package for specific terms and conditions. For any product inquiries, technical support, or warranty claims, please contact HOMPOW customer service through the contact page on their official website or the platform where you purchased the product. Our customer support team aims to respond promptly during business hours.