1. المقدمة
This instruction manual provides guidance for the assembly and finishing of the Trumpeter TRU01687 1:72 scale Tupolev Tu-128M Fiddler plastic model kit. The Tu-128M Fiddler was a long-range interceptor aircraft developed by the Soviet Union. This kit is designed for adult collectors and model enthusiasts aged 14 and above. Please read all instructions carefully before beginning assembly.
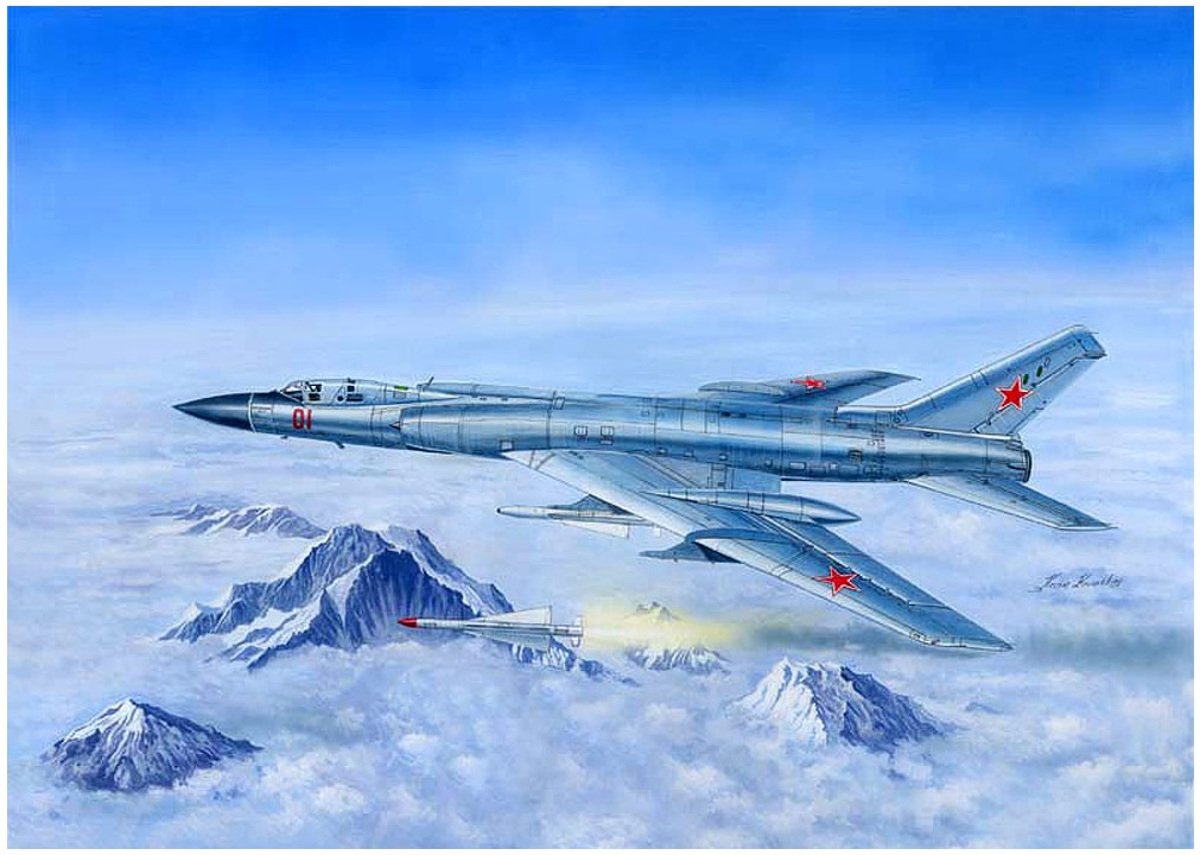
Figure 1: Illustration of the Trumpeter Tu-128M Fiddler model kit, depicting the aircraft in flight above a mountainous landscape, showcasing its sleek design and markings.
2. احتياطات السلامة
Always prioritize safety during model assembly. This kit contains small parts and may require the use of sharp tools and adhesives. Adhere to the following guidelines:
- إشراف الكبار: This kit is not a toy. It is intended for individuals aged 14 and older. Younger builders should have adult supervision.
- أجزاء صغيرة: احتفظ بالأجزاء الصغيرة بعيدًا عن متناول الأطفال الصغار لتجنب مخاطر الاختناق.
- أدوات حادة: Use hobby knives, clippers, and other sharp tools with extreme care. Always cut away from your body.
- المواد اللاصقة والدهانات: Use model-specific glues and paints in a well-ventilated area. Avoid inhaling fumes. Refer to the manufacturer's safety data sheets for specific product warnings.
- حماية العين: Consider wearing eye protection when cutting or sanding parts to prevent debris from entering your eyes.
- تصرف: Dispose of waste materials, including empty glue tubes and paint cans, according to local regulations.
3. محتويات المجموعة
Before starting assembly, carefully check all components against the parts list provided in the kit's original instruction booklet. The kit includes multiple plastic sprues, clear parts, photo-etched parts, and a decal sheet. Ensure all parts are present and undamaged.
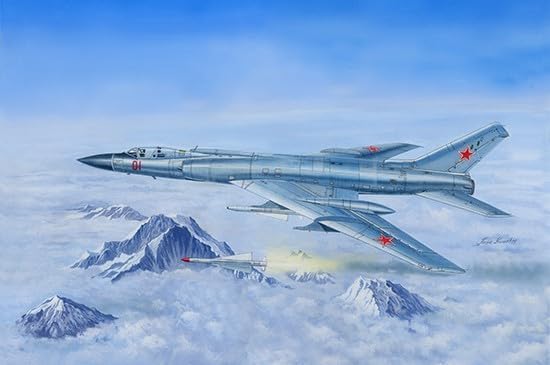
Figure 2: Main sprue containing the fuselage halves and initial engine components, showing the detailed molding of the primary airframe sections.
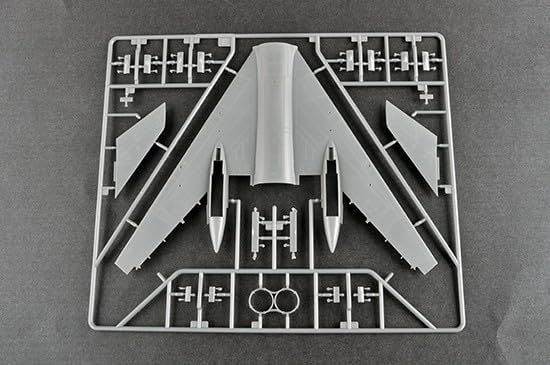
Figure 3: Sprue featuring the main wing sections and associated structural elements, ready for detachment and assembly.

Figure 4: Another sprue displaying additional wing components, including flaps, ailerons, and other control surfaces, along with internal structural details.

Figure 5: Sprue containing intricate parts such as landing gear struts, wheels, cockpit interior details, and various small external fittings.

Figure 6: Sprue dedicated to the air-to-air missiles, showing their individual components and attachment points.
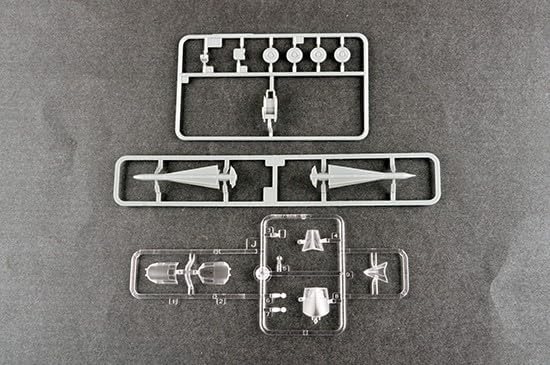
Figure 7: Sprue containing engine exhaust nozzles and other circular or cylindrical components, essential for completing the aircraft's propulsion system.

Figure 8: Clear plastic sprue featuring the cockpit canopy and other transparent elements, requiring careful handling to avoid scratches.
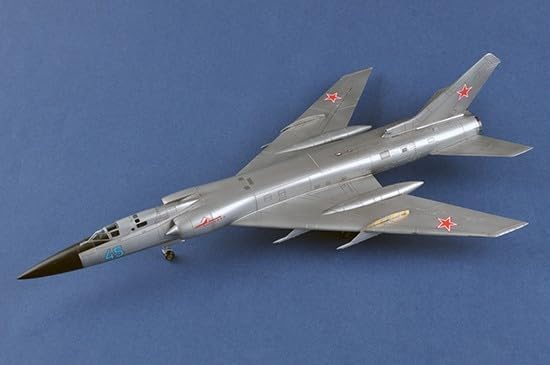
Figure 9: Photo-etched fret containing highly detailed, thin metal parts for enhancing realism, such as grilles, antennae, or cockpit elements.
4. تعليمات التجميع
Follow the step-by-step diagrams and instructions provided in the kit's original manual. The general assembly process involves:
- تحضير: Carefully remove parts from the sprues using a hobby knife or clippers. Clean any flash or mold lines with a sanding stick or fine-grit sandpaper.
- التركيب الجاف: Before applying glue, dry-fit parts to ensure proper alignment and fit. This helps identify and correct any potential issues beforehand.
- اللصق: Use plastic cement for plastic parts. Apply sparingly to avoid excess glue. For photo-etched parts, use super glue (CA glue). Allow sufficient drying time for each glued section.
- الجمعيات الفرعية: Build smaller sections (e.g., cockpit, landing gear, engines) separately before integrating them into the main airframe.
- Main Airframe: Assemble the fuselage halves, wings, and tail sections. Pay close attention to alignment to ensure a straight and accurate model.
- أجزاء تفصيلية: Attach smaller details such as antennae, pitot tubes, and weapons after the main structure is solid.
Refer to the specific diagrams in your kit's manual for the exact sequence and placement of each part.
5. Painting and Decals
Once assembly is complete, the model can be painted and decaled to achieve a realistic finish.
5.1 لوحة
- إعداد السطح: Ensure the model surface is clean, smooth, and free of dust or grease. A primer coat is recommended for better paint adhesion.
- مخطط الألوان: Consult the kit's painting guide for recommended colors and camouflage patterns for the Tu-128M Fiddler.
- طلب: Apply paint in thin, even coats. Allow each coat to dry thoroughly before applying the next. Use appropriate ventilation.
- Weathering: Advanced modelers may wish to apply weathering effects (e.g., panel line washes, exhaust stains) to enhance realism.
5.2 ملصق
The kit includes a decal sheet for markings and stencils.
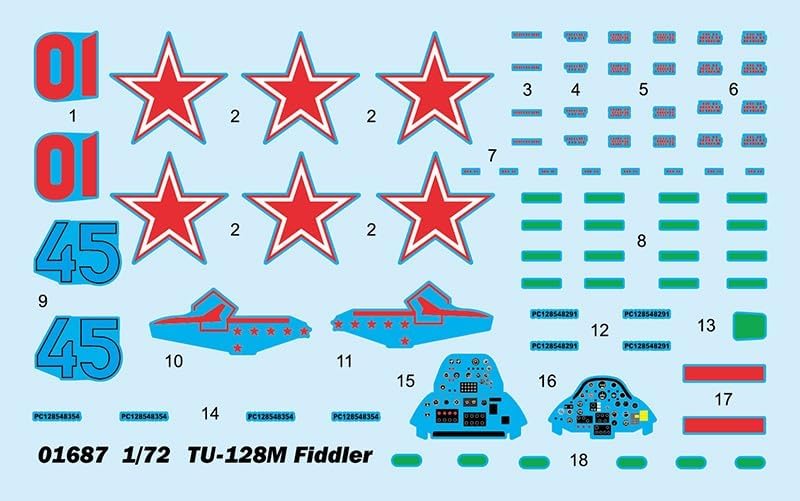
Figure 10: The decal sheet for the 1/72 scale Tu-128M Fiddler, featuring national insignia, aircraft numbers, and various warning and informational stencils.
- Gloss Coat: Apply a clear gloss coat over the painted surface before decaling. This provides a smooth surface for decals and helps prevent silvering.
- طلب: Cut out each decal carefully. Dip it in warm water for a few seconds until it slides freely from the backing paper. Position the decal on the model using a wet brush or tweezers.
- حلول الإعداد: Use decal setting solutions to help decals conform to irregular surfaces and eliminate air bubbles.
- Matte Coat: Once decals are dry, apply a final clear matte or satin coat to seal them and unify the finish.
6. الصيانة
Proper care will preserve the appearance of your finished model:
- الغبار: Regularly dust the model with a soft, dry brush or a gentle air blower to prevent dust buildup.
- تنظيف: تجنب استخدام المواد الكيميائية القاسية أو المنظفات الكاشطة. إذا لزم الأمر، امسح برفق بقطعة قماش ناعمة.amp قم بتجفيفها بقطعة قماش على الفور.
- عرض: Display the model in a stable location away from direct sunlight, extreme temperatures, and high humidity to prevent fading, warping, or damage to decals.
- التعامل: Handle the model by its sturdy parts (e.g., fuselage, wings) and avoid touching delicate components.
7. المواصفات
| ميزة | التفاصيل |
|---|---|
| ماركة | عازف البوق |
| رقم الموديل | TRU01687 |
| حجم | 1:72 (Tupolev Tu-128M Fiddler) |
| مادة | بلاستيك |
| نوع العنصر | Plastic model kit |
| مطلوب التجميع | نعم |
| العمر الموصى به | 14 سنوات وما فوق |
| المكونات المضمنة | Parts to build one plastic model. |
| وزن العنصر | 0.34 كيلوغرام |
| أبعاد العنصر (الطول × العرض × الارتفاع) | 17.91 × 11.42 × 2.76 بوصة (التغليف) |
8. استكشاف المشكلات الشائعة وإصلاحها
Encountering issues during model assembly is common. Here are solutions to frequent problems:
- تركيب غير مناسب للقطعة: If parts do not fit together smoothly, gently sand the mating surfaces. Ensure all sprue gates and flash are completely removed. Dry-fit repeatedly.
- الفجوات بين الأجزاء: يمكن ملء الفراغات الصغيرة بمعجون بلاستيكي أو بأنابيب بلاستيكية ممدودة. قم بصنفرتها حتى تصبح ناعمة بعد أن تجف.
- طلاء فضي للملصق: This occurs when air is trapped under the decal. Apply decals over a gloss surface and use decal setting solutions to help them conform and eliminate air. A final clear coat will also help.
- مشاكل التصاق الطلاء: Ensure the model surface is clean and free of oils. Use a primer coat before applying main colors.
- Broken Small Parts: If a small part breaks, attempt to re-attach it with super glue. For very delicate parts, consider replacing them with stretched sprue or wire if possible.
9. الضمان والدعم
This Trumpeter model kit is manufactured to high standards. For specific warranty information regarding manufacturing defects or missing parts, please refer to the documentation included in your kit or contact Trumpeter directly through their official webالموقع أو قنوات خدمة العملاء. احتفظ بإثبات الشراء لأي مطالبات بالضمان.
For additional support, modeling communities and forums can provide valuable tips and assistance from experienced builders.