
ح م ف 2133-11
HMF Electronic Key Safe Instruction Manual
نموذج: شنومكس-شنومكس
مقدمة
This manual provides comprehensive instructions for the installation, operation, and maintenance of your HMF Electronic Key Safe. Please read this manual carefully before using the product to ensure proper function and safety. Keep this manual for future reference.
معلومات السلامة
- Ensure the safe is securely mounted to a solid surface to prevent unauthorized removal.
- لا تخزن مفاتيح الطوارئ داخل الخزنة. احتفظ بها في مكان آمن ومنفصل.
- Avoid exposing the electronic keypad to excessive moisture or extreme temperatures.
- Change the factory default PIN code immediately after installation.
- Keep the safe out of reach of children.
محتويات الحزمة
تأكد من وجود كافة المكونات قبل البدء في التثبيت:
- 1 x HMF Electronic Key Safe (Model 2133-11)
- 11 x Adjustable Key Hook Strips
- 132 x Assorted Color Key Fobs with Numbering
- مفتاحان للطوارئ
- 4 × مسامير التثبيت
- شنومكس x ستريت أنكورس

الإعداد والتثبيت
1. اختيار الموقع
Select a discreet and secure location for mounting the key safe. Ensure the wall or surface is strong enough to support the weight of the safe and its contents.

2. تركيب الخزنة
- Position the safe against the desired mounting surface and mark the locations of the pre-drilled mounting holes on the wall.
- Drill pilot holes at the marked locations using an appropriate drill bit for your wall type.
- أدخل مثبتات الحائط في الثقوب المحفورة.
- Align the safe with the anchors and secure it using the provided mounting screws. Tighten firmly to ensure the safe is stable and cannot be easily removed.
3. تركيب البطاريات
The electronic lock requires batteries (not included). Locate the battery compartment on the inside of the safe door, typically behind the keypad. Insert the correct type and number of batteries as indicated by the compartment markings (usually AA batteries).
تعليمات التشغيل
1. Initial Opening (Factory Default Code)
The safe comes with a factory default PIN code (e.g., "1234"). To open:
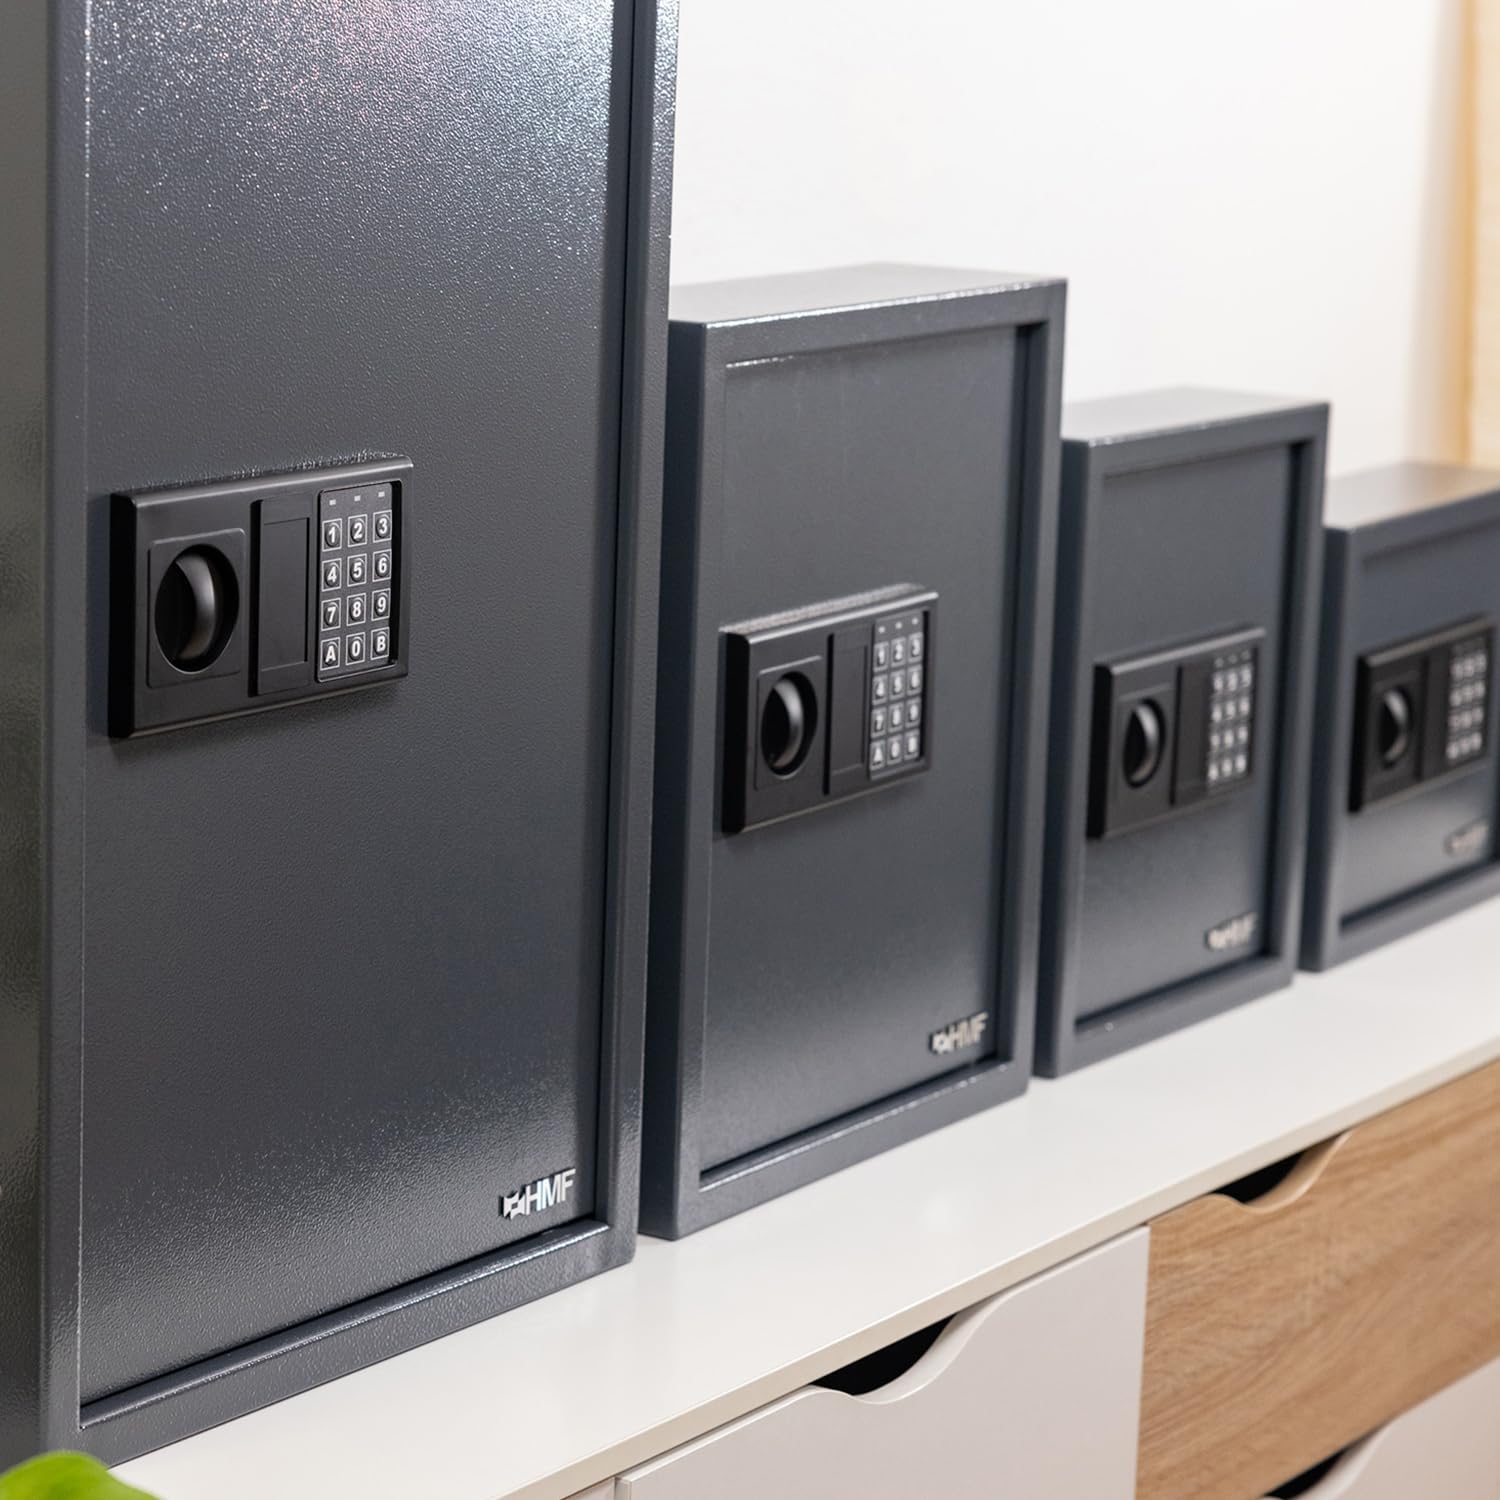
- Enter the default PIN code on the keypad.
- أدر المقبض في اتجاه عقارب الساعة لفتح الباب.
2. Programming a New PIN Code
It is crucial to change the default PIN code immediately for security. Your new PIN can be 3 to 8 digits long.
- With the door open, press the red reset button located on the inside of the safe door (usually near the hinge). The indicator light on the keypad will illuminate.
- Enter your desired new PIN code (3-8 digits).
- Press the "A" or "B" button (or "#" or "*" depending on model) to confirm. The indicator light will flash, confirming the new code is set.
- اختبر الكود الجديد مع فتح الباب قبل إغلاقه.

3. Emergency Key Override
In case of battery failure or forgotten PIN, use the emergency override keys:
- حدد مكان فتحة مفتاح الطوارئ، والتي عادة ما تكون مخفية خلف غطاء صغير على لوحة المفاتيح.
- أدخل أحد مفاتيح الطوارئ وقم بتدويره لفتح الخزنة.
- أدر المقبض لفتح الباب.

4. تنظيم المفاتيح
The safe features 11 adjustable key hook strips and 132 key fobs for efficient organization. Use the numbering system on the key fobs and strips to categorize your keys.
صيانة
- تنظيف: امسحي الأسطح الخارجية والداخلية بقطعة قماش ناعمة.amp القماش. تجنب استخدام المنظفات أو المذيبات الكاشطة.
- استبدال البطارية: Replace batteries annually or when the low battery indicator appears. Always use new, high-quality batteries.
- مفصلات الأبواب: Periodically check the door hinges for smooth operation. Lubricate if necessary.
استكشاف الأخطاء وإصلاحها
| مشكلة | السبب المحتمل | حل |
|---|---|---|
| الخزنة لا تفتح باستخدام رقم التعريف الشخصي (PIN). | Incorrect PIN entered; Low batteries. | Re-enter PIN carefully; Replace batteries; Use emergency key. |
| لوحة المفاتيح لا تستجيب. | بطاريات فارغة؛ وصلة البطارية غير محكمة. | Replace batteries; Check battery contacts; Use emergency key. |
| Door is stiff or squeaks. | Dust/debris in hinges; Lack of lubrication. | Clean hinges; Apply a small amount of lubricant to hinges. |
تحديد
- ماركة: إتش إم إف
- نموذج: 2133-11
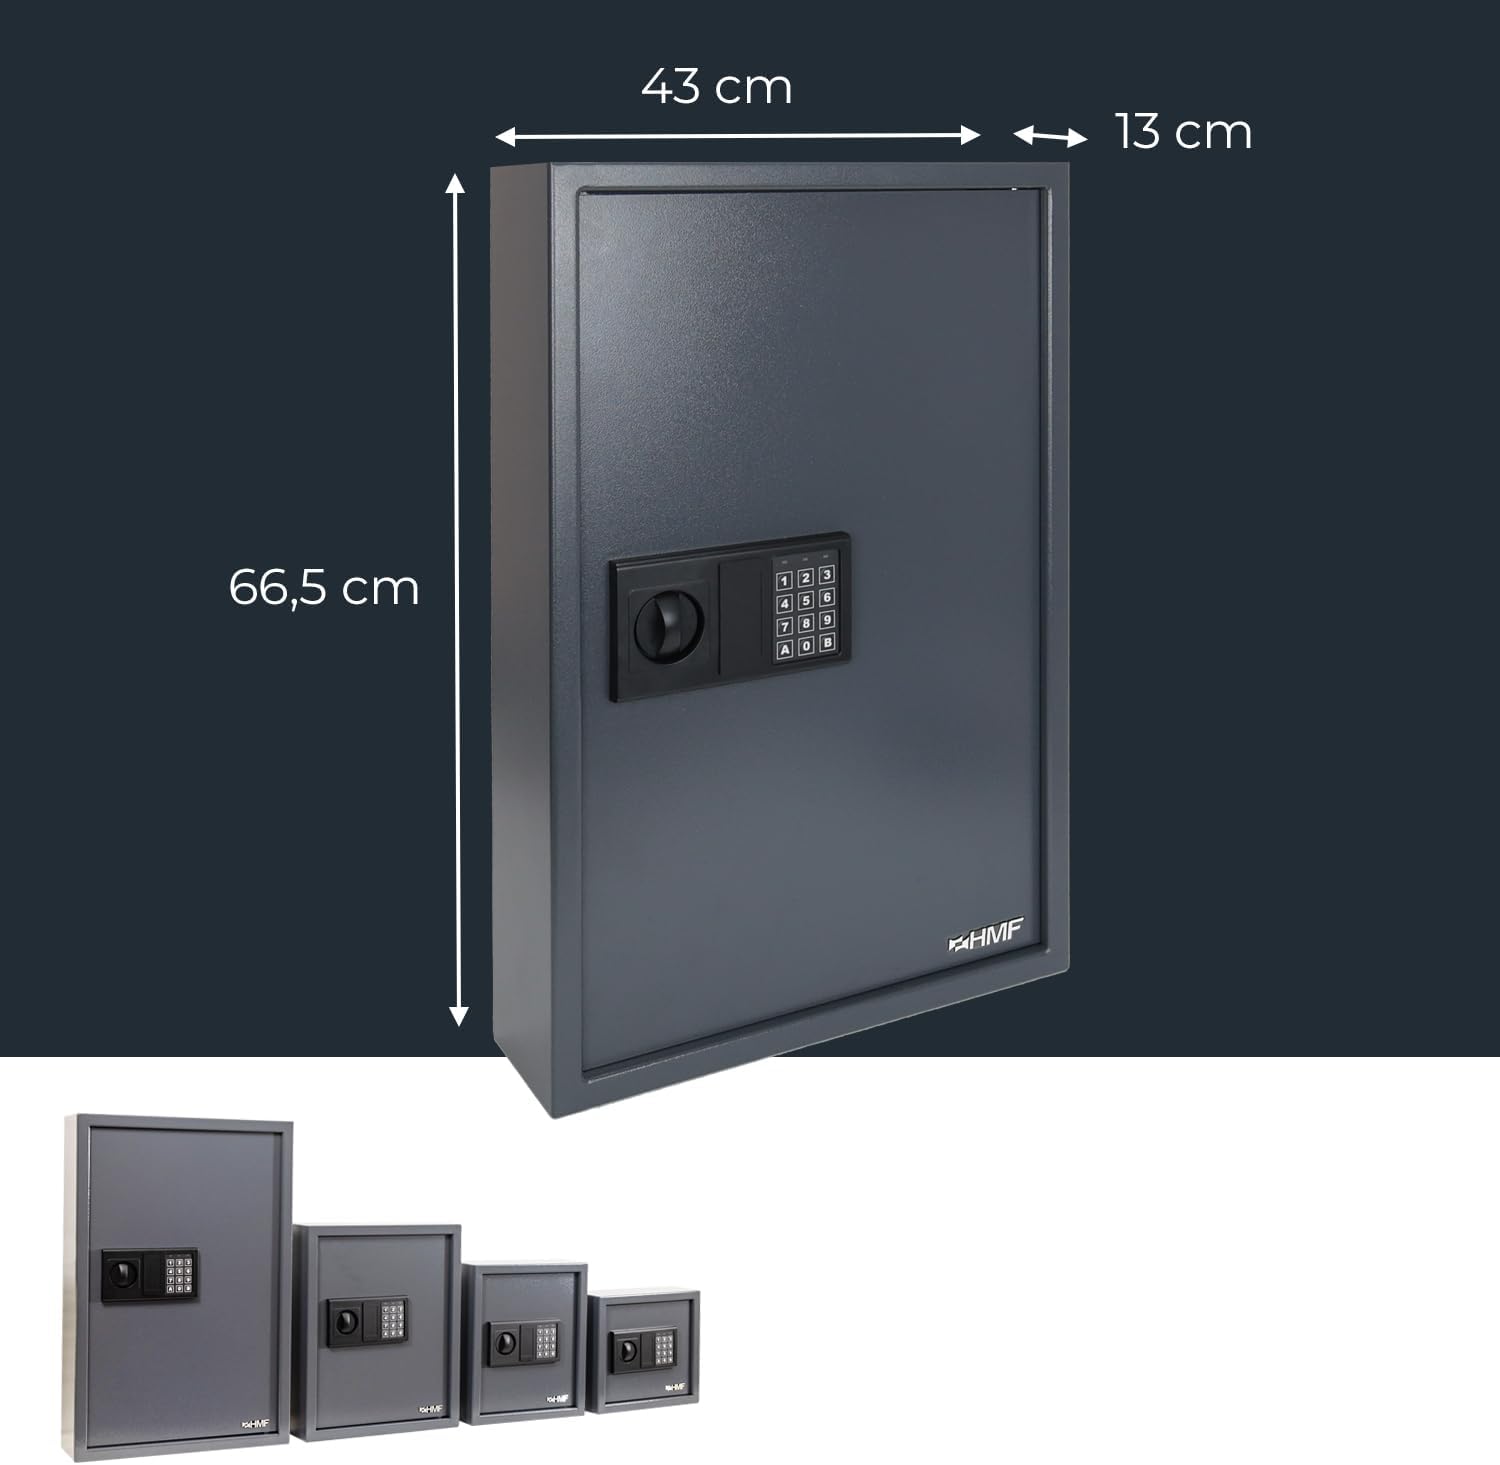
- Exterior Dimensions (H x W x D): 66.5 x 43 x 13 cm (approx. 14 cm depth with lock)
- وزن: 21.8 كجم
- مادة: Steel (2mm thick body, 4mm thick door)
- نوع القفل: Electronic Combination Lock with Emergency Key Override
- القدرة الرئيسية: 132 keys (11 adjustable hook strips)
- نوع التركيب: جدار قابل للنقل
- لون: أنثراسايت

الضمان والدعم
للحصول على معلومات الضمان ودعم العملاء، يرجى الرجوع إلى الموقع الرسمي للشركة المصنعة. webالموقع أو تواصل مع بائع التجزئة. احتفظ بإيصال الشراء كإثبات للشراء.
Manufacturer: HMF
رقم الموديل: 2133-11
Ask a question about this manual
Ask about setup, troubleshooting, compatibility, parts, safety, or missing instructions. Manuals+ will review the question and use this page’s manual context to help answer it.