
1. المقدمة
Thank you for choosing the AUDIOTEK AT820S 2-Channel Class AB Car Ampمكبر. هذه amplifier is designed to provide high-quality audio performance for your vehicle's sound system. Please read this manual thoroughly before installation and operation to ensure proper use and to maximize the amplifier's performance and longevity.
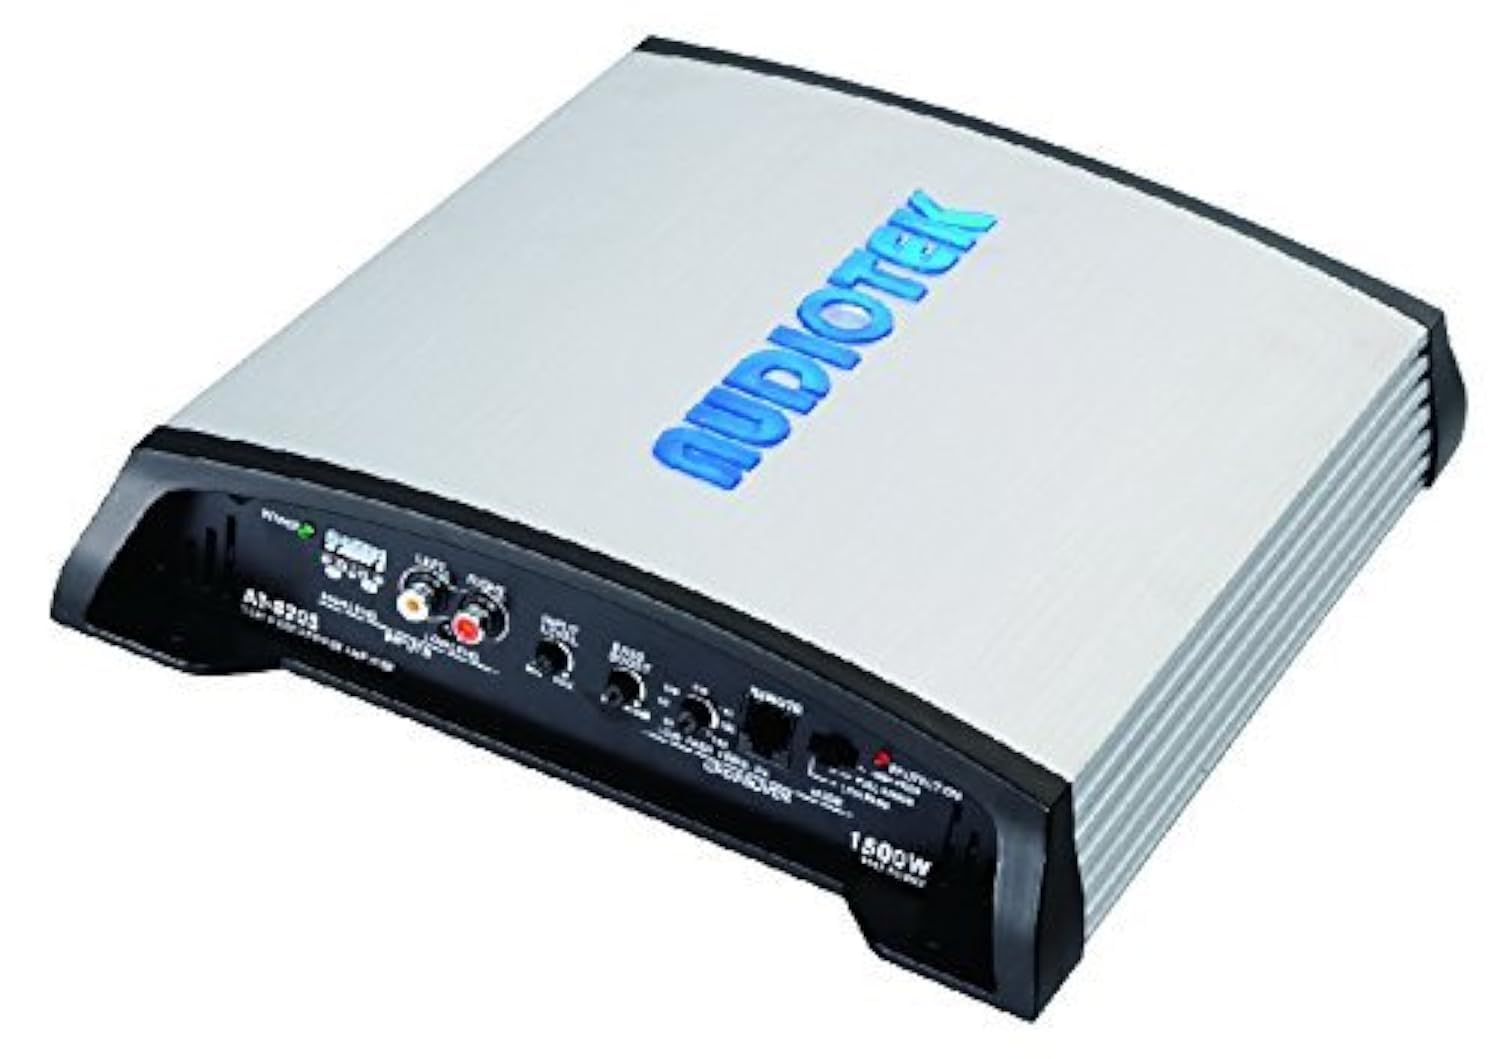
Figure 1.1: AUDIOTEK AT820S 2-Channel Car Ampالمرفاع، الأعلى view.
2. معلومات السلامة
يجب دائمًا مراعاة احتياطات السلامة التالية أثناء التثبيت والتشغيل:
- يوصى بالتركيب الاحترافي: Installation of car audio components requires experience with electrical wiring and automotive procedures. If you are unsure, seek professional assistance.
- افصل البطارية: افصل دائمًا الطرف السالب لبطارية السيارة قبل البدء بأي عمل كهربائي لمنع حدوث ماس كهربائي.
- التوصيلات الصحيحة: Ensure all wiring is correctly connected and insulated to prevent damage to the amplifier, vehicle, or personal injury. Use appropriate gauge wires for power and ground connections.
- حماية الصمامات: Install an external fuse on the main power cable within 18 inches (45 cm) of the battery. The fuse rating should match the ampمتطلبات الموفر.
- تهوية: قم بتركيب ampضع المُسخّن في مكان يسمح بتدوير الهواء بشكل كافٍ لمنع ارتفاع درجة الحرارة. لا تُغطِّه. ampزعانف تبريد المكيف.
- تجنب الرطوبة: لا تعرض ampمُرَطِّب للرطوبة أو الماء.
- مستويات الصوت: يمكن أن يؤدي التعرض لمستويات عالية من الصوت لفترة طويلة إلى تلف السمع.
3. الميزات الرئيسية
The AUDIOTEK AT820S ampيقدم lifier الميزات التالية:
- تصميم رباعي القنوات: Provides stereo output for speakers or can be bridged for mono subwoofer applications.
- Class AB Topology: Delivers a balance of sound quality and efficiency.
- طاقة قصوى 1500 واط: High power output for robust audio performance.
- مقاومة ثابتة عند 2 أوم: Capable of driving speakers with 2-ohm impedance for increased power output.
- التقاطع المتغير: Built-in high-pass and low-pass filters for precise sound tuning.
- التحكم في تعزيز الصوت الجهير: Adjustable bass equalization for enhanced low-frequency response.
- المدخلات عالية المستوى ومنخفضة المستوى: Versatile input options for compatibility with various head units.
- التحكم عن بعد باس: Allows for convenient adjustment of bass levels from the driver's seat.
4. الإعداد والتثبيت
التركيب الصحيح ضروري لتحقيق الأداء الأمثل. اتبع الخطوات التالية بعناية:
4.1. محتويات العبوة
Before installation, verify that all items are present:
- AUDIOTEK AT820S Ampالقمامة
- مقبض التحكم عن بعد في الجهير مع كابل
- أدوات التثبيت (البراغي)
- دليل المستخدم (هذا المستند)

الشكل 4.1: Amplifier, packaging, and remote bass control knob.
4.2. تركيب Ampالقمامة
Choose a secure location that provides adequate ventilation and is protected from moisture. Common locations include under a seat, in the trunk, or behind a panel. Ensure the mounting surface is solid and can support the ampوزن المضخم.
- ضع ampقم بتثبيت المضخم في مكان التركيب المطلوب وقم بتحديد أماكن ثقوب البراغي.
- قم بحفر ثقوب تجريبية إذا لزم الأمر، مع التأكد من عدم وجود أسلاك أو أنابيب وقود خلف سطح الحفر.
- تأمين ampقم بتركيب المكبر باستخدام مسامير التثبيت المتوفرة.
4.3. توصيلات الأسلاك
Refer to the diagrams below for proper wiring. Use high-quality wiring kits for best results.

Figure 4.2: Rear panel connections (Power, Ground, Remote, Speaker Outputs).

Figure 4.3: Front panel connections (Inputs, Crossover, Bass Boost, Remote).
4.3.1. توصيلات الطاقة
- BATT (+12V): Connect a heavy-gauge power cable (e.g., 8 AWG or larger) directly from the positive terminal of the vehicle's battery to the BATT terminal on the amplifier. Install an in-line fuse holder with an appropriate fuse (e.g., 40A) within 18 inches of the battery.
- GND (أرضي): Connect a heavy-gauge ground cable (same gauge as power) from the GND terminal on the ampقم بتوصيل المضخم بسطح معدني نظيف وغير مطلي لهيكل السيارة. تأكد من وجود توصيل كهربائي جيد.
- REM (التشغيل عن بعد): قم بتوصيل سلك ذي مقاس أصغر (مثل 18 AWG) من طرف REM الموجود على ampقم بتوصيل مكبر الصوت بمخرج التشغيل عن بُعد لوحدة الرأس. يقوم هذا السلك بتحويل ampقم بتشغيل مكبر الصوت وإيقاف تشغيله باستخدام وحدة الرأس الخاصة بك.
4.3.2. اتصالات إدخال الصوت
- المدخلات منخفضة المستوى (RCA): If your head unit has RCA pre-outs, connect RCA cables from the head unit's pre-outs to the LOW LEVEL INPUTS on the ampمكبر.
- مدخلات عالية المستوى: If your head unit does not have RCA pre-outs, use the HIGH LEVEL INPUTS. Connect the speaker wires from your head unit's speaker outputs to the high-level input terminals on the amplifier. Observe correct polarity (+/-).
4.3.3. توصيلات مخرج مكبر الصوت
- Connect your speakers to the SPEAKER CONNECTIONS terminals on the amplifier. Ensure correct polarity (+/-) for each speaker.
- For stereo operation, connect one speaker to the Left (+) and Left (-) terminals, and another speaker to the Right (+) and Right (-) terminals.
- For bridged mono operation (e.g., for a subwoofer), connect the subwoofer to the Left (+) and Right (-) terminals. Refer to your speaker's impedance to ensure it is compatible with the amplifier's 2-ohm stable rating in bridged mode.
4.3.4. Remote Bass Control
Connect the remote bass control knob to the REMOTE port on the amplifier using the provided cable. Mount the knob in a convenient location for easy access.
5. التشغيل والتعديلات
بمجرد التثبيت، يمكنك ضبطه بدقة amplifier's settings for optimal sound.
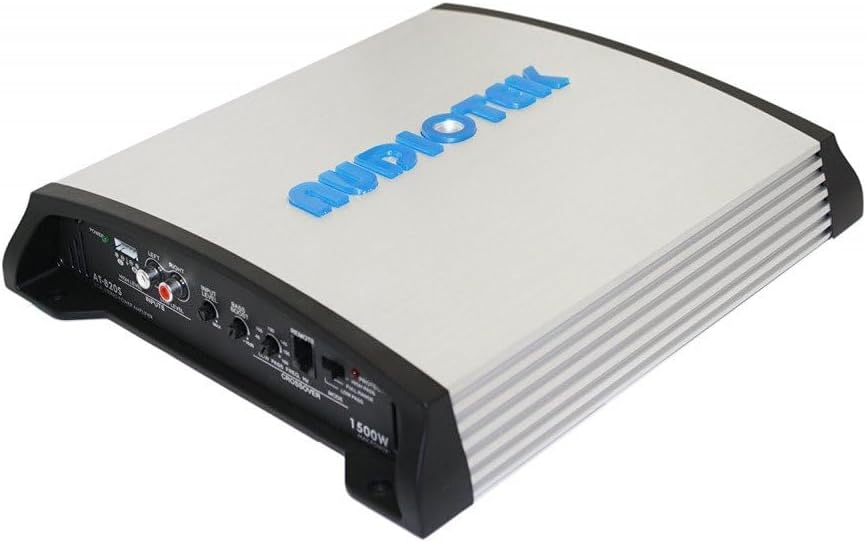
الشكل 5.1: Amplifier control panel for adjustments.
5.1. التشغيل الأولي
بعد إتمام جميع التوصيلات، أعد توصيل الطرف السالب لبطارية السيارة. amplifier's POWER indicator should illuminate. If the PROTECTION indicator illuminates, refer to the troubleshooting section.
5.2. Input Level (Gain) Adjustment
The INPUT LEVEL control matches the amplifier's input sensitivity to the output level of your head unit. This is not a volume control.
- Turn the INPUT LEVEL control to its minimum (MIN) position.
- اضبط مستوى صوت وحدة الرأس على حوالي 75-80% من الحد الأقصى.
- Slowly increase the INPUT LEVEL control on the ampقم بتشغيل مكبر الصوت حتى تسمع تشويشًا طفيفًا، ثم خفّض مستوى الصوت قليلاً حتى يصبح الصوت واضحًا.
5.3. إعدادات التقاطع
The crossover allows you to direct specific frequency ranges to your speakers or subwoofer.
- مفتاح الوضع:
- مجموعة كاملة: All frequencies are passed through. Use for full-range speakers.
- تمريرة عالية: Only frequencies above the set LOW PASS FREQ. Hz knob are passed. Use for component speakers or full-range speakers to prevent low bass.
- تمرير منخفض: Only frequencies below the set LOW PASS FREQ. Hz knob are passed. Use for subwoofers.
- LOW PASS FREQ. Hz Knob: Adjusts the cutoff frequency for the high-pass or low-pass filter (e.g., 40Hz to 160Hz).
5.4. تعزيز الجهير
The BASS BOOST control provides an adjustable boost to low frequencies (0 to +18dB).
- Adjust this control to enhance bass response to your preference.
- استخدمه باعتدال لتجنب التشويش وتلف السماعات المحتمل.
5.5. Remote Bass Control
The remote bass control knob allows you to adjust the bass boost level conveniently from your driving position.
6. الصيانة
The AUDIOTEK AT820S ampيحتاج المجفف إلى الحد الأدنى من الصيانة.
- تنظيف: امسح بشكل دوري ampامسح الجزء الخارجي من المُضخِّم بقطعة قماش ناعمة وجافة. لا تستخدم مواد كيميائية قاسية أو منظفات كاشطة.
- تهوية: Ensure the cooling fins remain free of dust and debris to maintain proper heat dissipation.
- الاتصالات: قم بفحص جميع توصيلات الأسلاك من حين لآخر للتأكد من أنها آمنة وخالية من التآكل.
7. استكشاف الأخطاء وإصلاحها
إذا واجهت مشاكل مع ampيرجى مراجعة الجدول التالي قبل الاتصال بالدعم.
| مشكلة | السبب المحتمل | حل |
|---|---|---|
| لا يوجد طاقة (مؤشر الطاقة مطفأ) | فتيل منفوخ ضعف توصيل الطاقة/الأرضي لا توجد إشارة تشغيل عن بعد | فحص واستبدال amplifier fuse and in-line battery fuse. تأكد من أن جميع توصيلات الطاقة والأرضية آمنة. تحقق من توصيل سلك التحكم عن بعد بوحدة الرأس و ampمكبر. |
| مصباح LED للحماية مضاء | ارتفاع درجة الحرارة السماعة ماس كهربائى مقاومة السماعة منخفضة جدًا | تأكد من وجود تهوية كافية؛ اسمح بـ ampمُبرد لتبريد. Check speaker wiring for shorts to chassis or between wires. تأكد من أن مقاومة السماعة ضمن النطاق المحدد amplifier's specifications (2 ohms stable). |
| لا يوجد صوت | مستوى الإدخال منخفض جدًا RCA cables disconnected/faulty Speaker wires disconnected/faulty مشكلة في وحدة الرأس | Adjust INPUT LEVEL control. Check RCA cable connections and test cables. تحقق من توصيلات أسلاك السماعات. Verify head unit is functioning correctly. |
| صوت مشوه | مستوى الإدخال مرتفع جدًا تم ضبط المكسب على مستوى مرتفع للغاية اتصال أرضي ضعيف تلف السماعة | Reduce head unit volume. Reduce INPUT LEVEL control on ampمكبر. تأكد من أن وصلة التأريض نظيفة وآمنة. Inspect speakers for damage. |
| ضجيج/أزيز المحرك | اتصال أرضي ضعيف RCA cables routed near power wires حلقة الأرض | تحسين توصيل الأرض. أعد توجيه كابلات RCA بعيدًا عن كابلات الطاقة. Install a ground loop isolator if necessary. |
8. المواصفات
The following are the technical specifications for the AUDIOTEK AT820S ampمكبر:
- نموذج: AT820S
- ماركة: أوديوتيك
- عدد القنوات: 2
- طاقة الإخراج: 1500 Watts (الحد الأقصى)
- فصل: AB
- المعاوقة المستقرة: 2 أوم
- أبعاد العنصر (الطول × العرض × الارتفاع): 8 × 11 × 3 بوصة
- وزن السلعة: 7 رطل
- نوع التركيب: قائما بذاته
- رمز المنتج العالمي: 701160332689
9. الضمان والدعم
AUDIOTEK products are designed for reliability and performance. For specific warranty details, please refer to the warranty card included with your product or contact AUDIOTEK customer support.
For technical assistance or service inquiries, please contact your authorized AUDIOTEK dealer or visit the official AUDIOTEK webموقع لموارد الدعم.