
1. المقدمة
This manual provides detailed instructions for the setup, operation, and maintenance of your QANBA Q2 PRO LED Arcade Joystick. Designed for an authentic arcade experience, this fightstick is compatible with PlayStation 3 (PS3) and PC platforms. Please read this manual thoroughly before use to ensure optimal performance and longevity of your device.
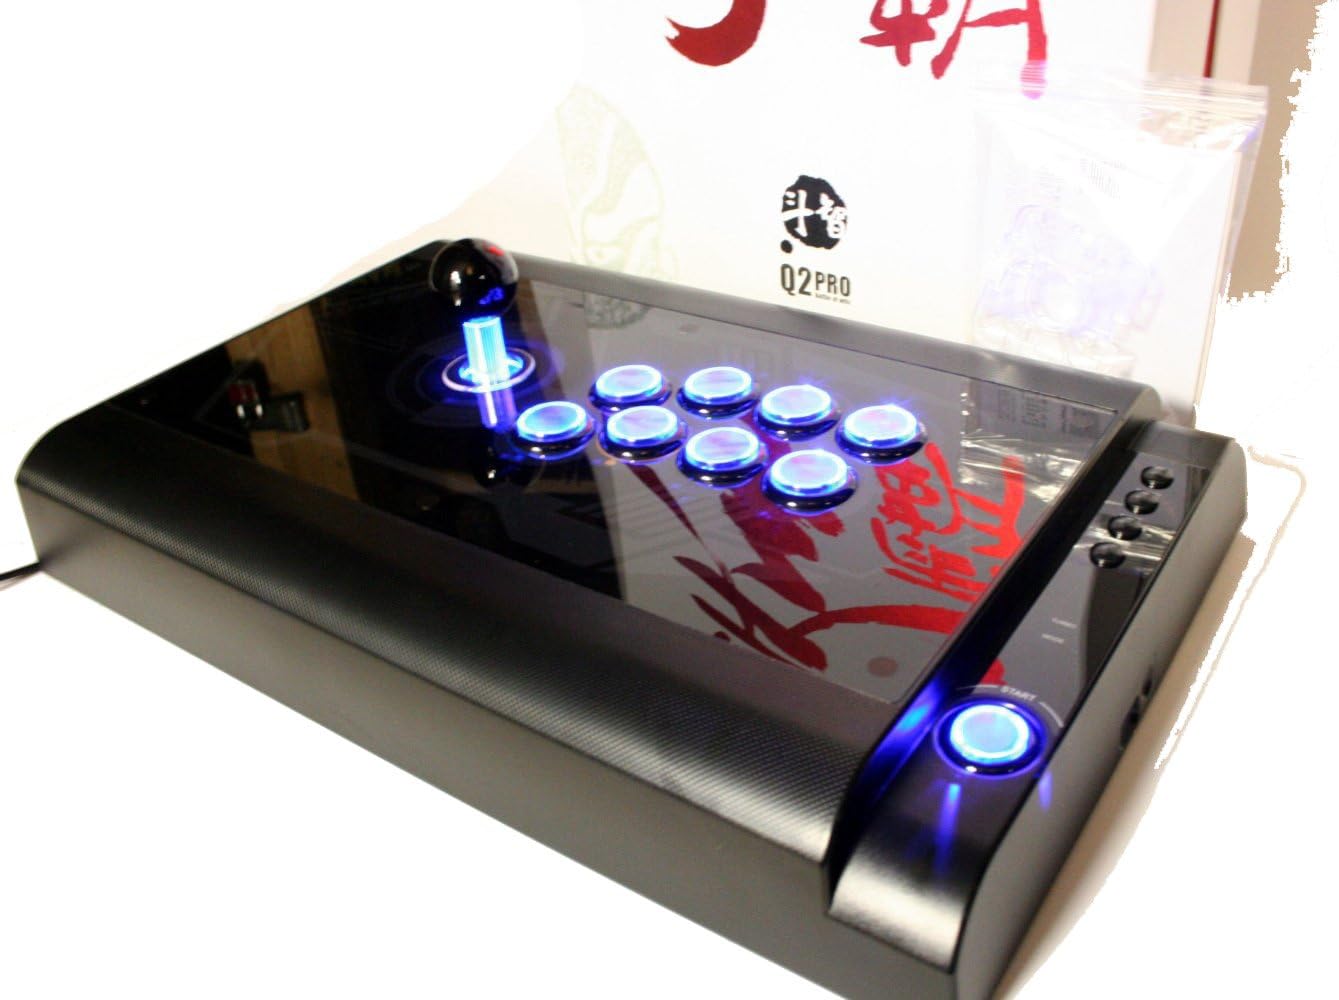
Image 1.1: The QANBA Q2 PRO LED Arcade Joystick with its signature blue LED lighting activated.
2. محتويات العبوة
تأكد من وجود جميع العناصر المدرجة أدناه في الحزمة الخاصة بك:
- QANBA Q2 PRO LED Arcade Joystick
- USB Connection Cable (integrated or separate)
- دليل التعليمات (هذا المستند)
- Spare parts (e.g., button caps, joystick restrictor gate - may vary by region/package)

Image 2.1: The QANBA Q2 PRO LED Arcade Joystick alongside its product box.
3. المميزات
The QANBA Q2 PRO LED Arcade Joystick offers several features designed to enhance your gaming experience:
- إضاءة LED: Buttons and joystick feature vibrant blue LED lighting for visual appeal.
- التوافق مع منصات متعددة: Seamlessly switch between PlayStation 3 and PC.
- مكونات عالية الجودة: Equipped with durable arcade-grade joystick and buttons for precise input.
- تصميم مريح: Comfortable layout for extended gaming sessions.
- بناء قوي: Built to withstand intense gameplay.

Image 3.1: The QANBA Q2 PRO LED Arcade Joystick demonstrating its illuminated buttons and joystick.
4. الإعداد
4.1 Connecting to PlayStation 3 (PS3)
- Ensure your PS3 console is powered off or in standby mode.
- Locate an available USB port on your PS3 console.
- Connect the USB cable from the QANBA Q2 PRO LED Arcade Joystick to the USB port on your PS3.
- Power on your PS3. The console should automatically detect the joystick.
- The joystick's LEDs will illuminate, indicating a successful connection.
4.2 الاتصال بجهاز الكمبيوتر
- تأكد من تشغيل جهاز الكمبيوتر الخاص بك.
- حدد موقع منفذ USB متاح على جهاز الكمبيوتر الخاص بك.
- Connect the USB cable from the QANBA Q2 PRO LED Arcade Joystick to the USB port on your PC.
- Your operating system (e.g., Windows) will typically detect and install the necessary drivers automatically. This may take a few moments.
- Once drivers are installed, the joystick's LEDs will illuminate.
- You may need to configure the joystick within your game's control settings or through your operating system's game controller settings.
5. تعليمات التشغيل
The QANBA Q2 PRO LED Arcade Joystick features a standard arcade button layout and a responsive joystick for precise control.
5.1 الضوابط الأساسية
- عصا التحكم: Used for directional input (Up, Down, Left, Right, and diagonals).
- أزرار العمل: Typically arranged in an 8-button layout, corresponding to game actions (e.g., punch, kick, jump).
- أزرار البدء/الاختيار: Located on the side or top panel, used for pausing games, navigating menus, etc.
- PS Button (for PS3): Functions as the PlayStation button on a standard controller.
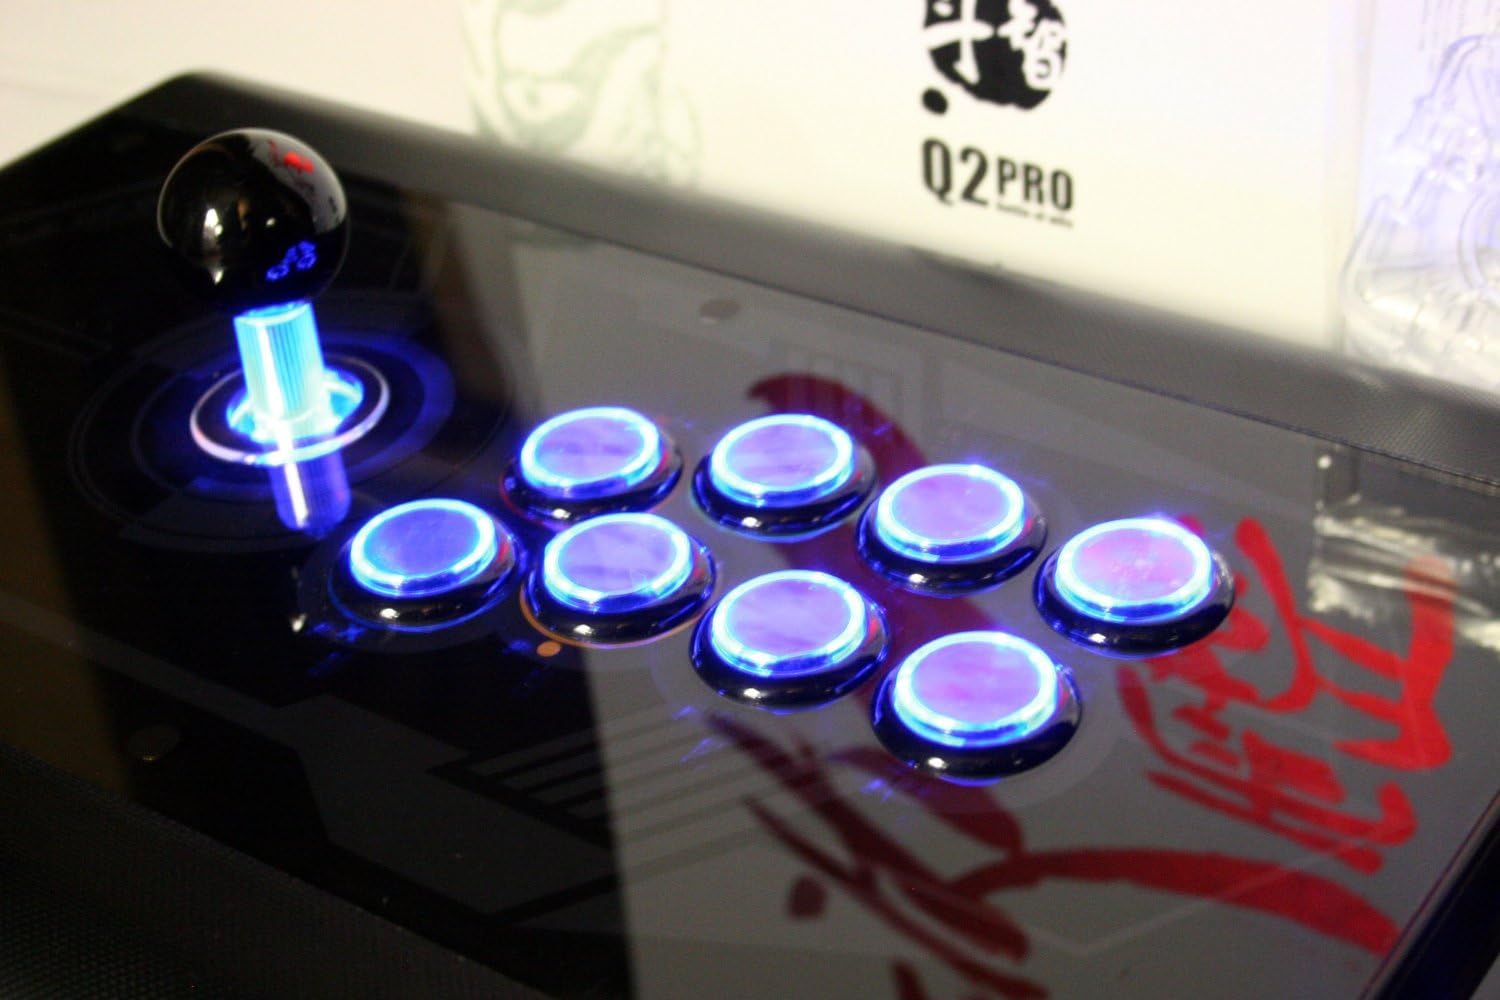
الصورة 5.1: تفصيلية view of the joystick and action buttons with their blue LED illumination.
5.2 LED Functionality
The blue LEDs on the joystick and buttons will automatically illuminate when the device is powered on and connected to a compatible system (PS3 or PC). There are no user-configurable settings for the LED lighting on this model.
5.3 Mode Switching (PS3/PC)
The QANBA Q2 PRO LED Arcade Joystick automatically detects the connected platform (PS3 or PC). No manual mode switching is required. Ensure the joystick is connected to the correct platform's USB port.
6. الصيانة
Proper maintenance ensures the longevity and performance of your arcade joystick.
- تنظيف: Use a soft, dry cloth to wipe down the surface of the joystick. For stubborn marks, a slightly damp يمكن استخدام قطعة قماش مبللة بصابون لطيف، ثم تجفيفها فورًا. تجنب استخدام المنظفات أو المذيبات الكاشطة.
- تخزين: Store the joystick in a cool, dry place away from direct sunlight and extreme temperatures. Protect it from dust when not in use.
- العناية بالكابلات: Avoid sharp bends or kinks in the USB cable. Do not pull the cable forcefully when disconnecting.
7. استكشاف الأخطاء وإصلاحها
If you encounter issues with your QANBA Q2 PRO LED Arcade Joystick, refer to the following common solutions:
| مشكلة | الحل المحتمل |
|---|---|
| Joystick not recognized by PS3/PC. |
|
| Buttons or joystick not responding. |
|
| LEDs are not illuminating. |
|
8. المواصفات
- نموذج: Q2 PRO LED
- التوافق: PlayStation 3 (PS3), PC
- الاتصال: USB
- مدخل: 8-way joystick, 8 action buttons, Start/Select/PS buttons
- إضاءة: Blue LED illumination for joystick and buttons
- الأبعاد والوزن: Refer to product packaging for specific measurements.
9. الضمان والدعم
QANBA products are manufactured to high-quality standards. For information regarding warranty coverage, technical support, or replacement parts, please refer to the warranty card included with your product or visit the official QANBA webالموقع. احتفظ بإثبات الشراء الخاص بك لتقديم مطالبات الضمان.
Official QANBA Webموقع: www.qanba.com (ملاحظة: هذا عنصر نائب URL, please refer to actual product documentation for correct support links.)