1. المقدمة
The AAXA MP-300-02 LED Showtime 3D Pico/Micro Projector is a compact, high-performance projector designed for various media applications. It features an advanced LED optical engine and a WXGA 1280x800 DLP imager, providing vivid and colorful images. This manual provides essential information for setting up, operating, maintaining, and troubleshooting your projector.
Key features include a 450 lumen optical engine, WXGA 1280x800 native resolution with support for up to 1080p, a 2000:1 contrast ratio, and a 20,000-hour LED lifespan. Connectivity options include HDMI, VGA, Composite A/V, and USB for media playback. The projector is also 3D-ready and capable of projecting images up to 160 inches in low-light conditions.
2. انتهى المنتجview
2.1. محتويات العبوة
- AAXA MP-300-02 Projector
- سلك الطاقة
- جهاز التحكم عن بعد
- كابل الصوت والفيديو
2.2. مكونات جهاز العرض
Familiarize yourself with the projector's physical components and controls.

This image displays the overall design of the AAXA MP-300-02 projector, highlighting its compact size and the front-facing projection lens. Ventilation grilles are visible on the sides, essential for heat dissipation during operation.

القمة view illustrates the projector's control panel, which includes buttons for power, menu navigation, input selection, and volume adjustment. The focus wheel is also visible near the front of the device.

هذه الصورة توفر صورة واضحة view of the rear panel, where all connectivity ports are located. These include HDMI, VGA, Composite A/V, USB, and the power input, allowing for versatile connection to different devices.
3. الإعداد
3.1. توصيل الطاقة
- قم بتوصيل محول الطاقة بمنفذ DC IN الموجود على جهاز العرض.
- قم بتوصيل سلك الطاقة بمأخذ كهربائي قياسي.
ملحوظة: The power adapter may become very warm during extended use. This is normal, but ensure adequate ventilation around the adapter.
3.2. Placement and Image Sizing
Position the projector on a stable, flat surface. The projector's image size is determined by its distance from the projection surface. To adjust the image size, physically move the projector closer or further away from the screen or wall until the desired size is achieved. The projector can produce an image up to 160 inches diagonally in low-light conditions.
3.3. ضبط التركيز
Locate the focus wheel near the projector lens. Rotate the wheel until the projected image appears sharp and clear. Due to the nature of projection optics, it may sometimes be challenging to achieve perfect focus across the entire image simultaneously; adjust for the best overall clarity.
4. تعليمات التشغيل
4.1. تشغيل/إيقاف التشغيل
- To power on, press the power button on the projector or remote control.
- To power off, press the power button again. The LED indicator will change to show the power status.
4.2. اختيار مصادر الإدخال
Use the 'Input' button on the projector or remote control to cycle through available input sources: HDMI, VGA, Composite A/V, and USB. Select the input corresponding to your connected device.
4.3. تشغيل الوسائط عبر منفذ USB
Insert a USB flash drive into the USB port. The projector's built-in media player will allow you to browse and play compatible video, audio, and image fileمباشرة من محرك الأقراص.

This image shows the AAXA MP-300-02 projector connected to an iPhone, illustrating its compatibility with mobile devices for content projection. An appropriate adapter cable is required for such connections.
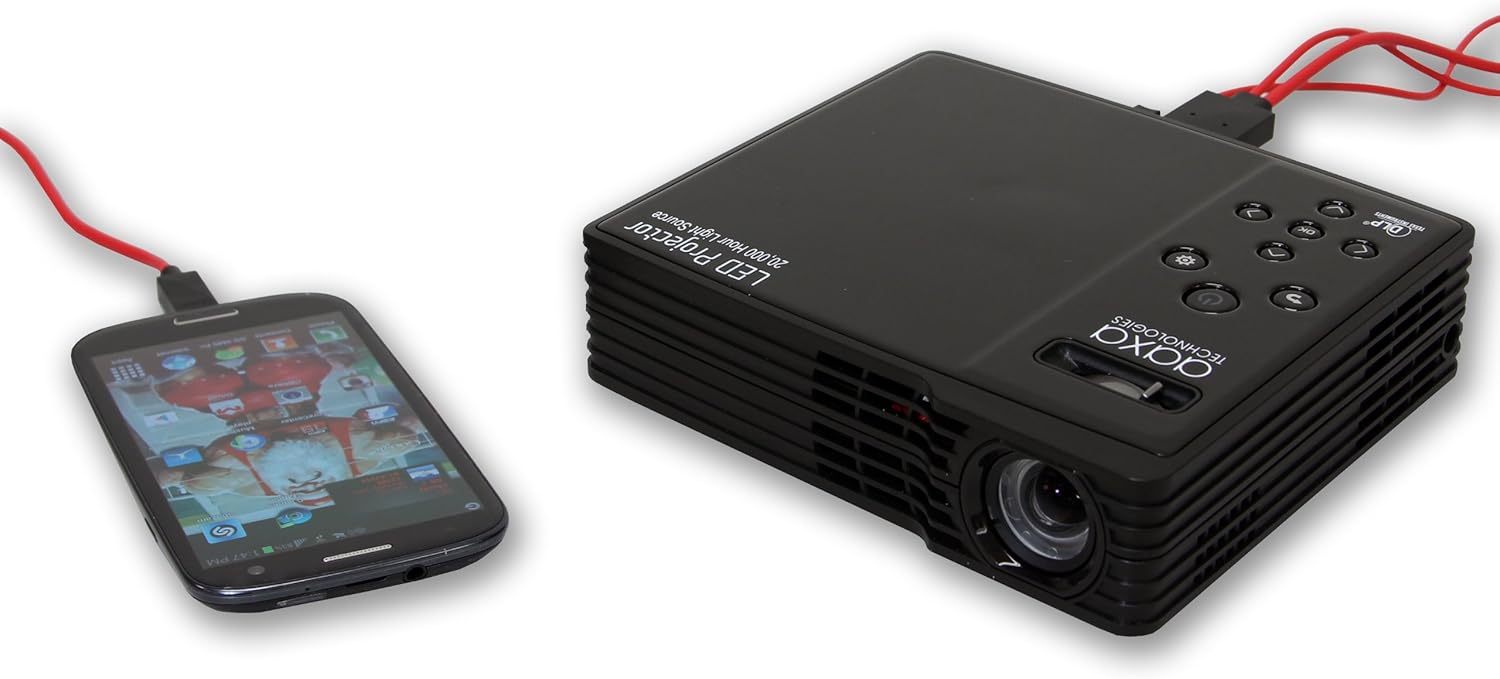
Here, the projector is connected to an Android smartphone, demonstrating its ability to display content from various mobile operating systems. A suitable MHL or HDMI adapter for Android devices would be necessary.
4.4. وظائف ثلاثية الأبعاد
The projector is 3D-ready. However, 3D functionality is primarily supported when connected to a computer with specific, compatible video cards. It does not support 3D content from HDMI 1.3 devices such as many gaming consoles.
4.5. مخرج الصوت
The projector includes internal speakers for audio output. For an enhanced audio experience, especially when watching movies, it is recommended to connect external speakers to the projector's audio output port.
5. الصيانة
5.1. تنظيف العدسة
Gently wipe the projector lens with a soft, lint-free cloth or a lens cleaning wipe. Avoid using abrasive materials or harsh chemicals that could scratch the lens.
5.2. Cleaning Ventilation Vents
Periodically check and clean the projector's ventilation vents to prevent dust buildup, which can impede airflow and lead to overheating. Use a soft brush or compressed air to remove dust.
5.3. LED Light Source Longevity
The projector utilizes an LED light source with an estimated lifespan of 20,000 hours, significantly longer than traditional lamp-based projectors. No routine replacement of the light source is typically required.
6. استكشاف الأخطاء وإصلاحها
6.1. No Image Projected
- Ensure the projector is powered on and the power indicator light is active.
- Verify that the video cable (HDMI, VGA, A/V) is securely connected to both the projector and the source device.
- Confirm the correct input source is selected on the projector.
- Check the source device (e.g., laptop, media player) is powered on and outputting a signal.
6.2. Image is Blurry or Out of Focus
- Adjust the focus wheel on the projector until the image is clear.
- تأكد من أن سطح العرض مستوٍ وأن جهاز العرض مستقر.
- If parts of the image remain slightly unfocused, try adjusting the projector's tilt or position slightly.
6.3. لا صوت أو مستوى الصوت منخفض
- قم بزيادة مستوى الصوت على جهاز العرض وجهاز المصدر.
- إذا كنت تستخدم مكبرات صوت خارجية، فتأكد من توصيلها وتشغيلها بشكل صحيح.
- When playing media from USB, verify that the file's audio codec is supported by the projector.
6.4. Power Adapter Gets Hot
It is normal for the power adapter to become warm during operation. If it becomes excessively hot to the touch, ensure it is placed in a well-ventilated area and not covered. If concerns persist, discontinue use and contact support.
6.5. Loud Fan Noise
The projector's cooling fan operates to maintain optimal internal temperatures. Some fan noise is normal. Ensure the projector's vents are not obstructed, as this can increase fan speed and noise. Using external speakers can help mask fan noise during media playback.
7. المواصفات
| ميزة | مواصفة |
|---|---|
| ماركة | تقنيات AAXA |
| رقم الموديل | ام بي-300-02 |
| تكنولوجيا العرض | دي إل بي |
| الدقة الأصلية | 1280 × 800 (WXGA) |
| الحد الأقصى لدقة العرض | 1920 × 1080 (1080 بكسل) |
| سطوع | 450 لومن |
| نسبة التباين | 2000:1 |
| مصدر الضوء الحياة | 20,000 Hours (LED) |
| الحد الأقصى لحجم الصورة | 160 بوصة |
| تكنولوجيا الاتصال | HDMI, VGA, Composite A/V, USB |
| ميزة خاصة | 3D الجاهزة |
| وزن العنصر | 1.5 رطل |
| واتtage | 85 واط |
| لون | أسود |
| نوع التركيب | جبل منضدية |
8. معلومات الضمان
The AAXA MP-300-02 LED Showtime 3D Pico/Micro Projector comes with a 1-year limited warranty from the date of purchase. This warranty covers manufacturing defects under normal use. Please retain your proof of purchase for warranty claims. For detailed terms and conditions, refer to the warranty card included with your product or visit the manufacturer's webموقع.
9. الدعم
For technical assistance, troubleshooting beyond this manual, or warranty inquiries, please contact AAXA Technologies customer support. Contact information can typically be found on the manufacturer's official webالموقع أو على عبوة المنتج.