1. المقدمة
This manual provides essential information for the safe and efficient use of your Lexmark E260D Monochrome Laser Printer. Please read these instructions carefully before operating the device and retain them for future reference. The Lexmark E260D is designed for fast, high-quality black and white document printing, featuring automatic two-sided printing for efficiency.
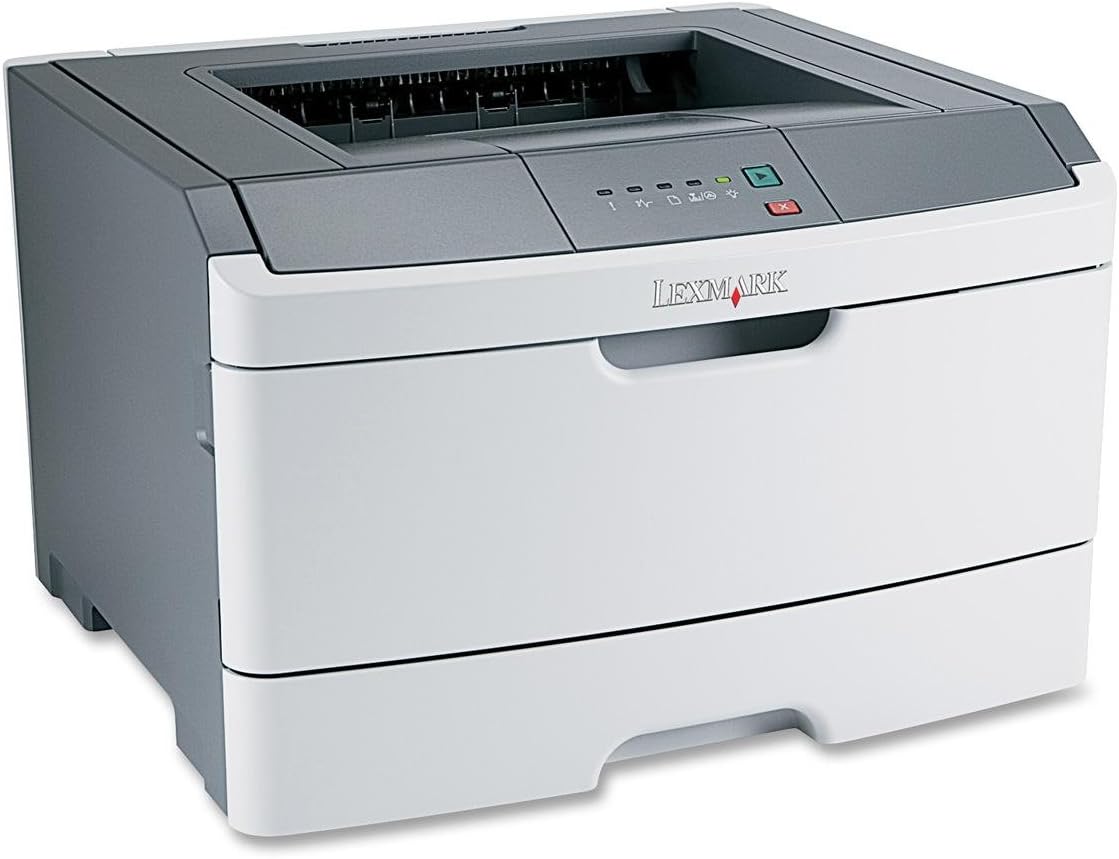
الشكل 1: Lexmark E260D Monochrome Laser Printer. This image shows the printer from a front-right angle, highlighting its compact design with a white body and a dark gray top cover. The output tray is visible on top, and the Lexmark logo is displayed on the front panel above the paper input tray.
2. معلومات السلامة
- قم دائمًا بتوصيل الطابعة بمأخذ طاقة أرضي.
- لا تسد فتحات التهوية.
- احتفظ بالطابعة بعيدًا عن الماء أو الرطوبة الزائدة.
- استخدم فقط أسلاك الطاقة والملحقات المحددة.
- تجنب لمس منطقة الصهر، لأنها قد تكون ساخنة.
3. محتويات العبوة
تأكد من وجود جميع العناصر في العبوة:
- Lexmark E260D Monochrome Laser Printer
- سلك الطاقة
- Starter Toner Cartridge (may vary by region)
- Setup Guide or Documentation
- كابل USB (قد يُباع بشكل منفصل)
4. الإعداد
4.1 فك عبوة الطابعة
- قم بإزالة الطابعة من عبوتها.
- قم بإزالة جميع مواد التغليف والأشرطة والأفلام الواقية من الجزء الخارجي والداخلي للطابعة.
- ضع الطابعة على سطح ثابت ومستوٍ مع تهوية كافية.
4.2 توصيل الطابعة
- قم بتوصيل سلك الطاقة بالطابعة ثم بمأخذ كهربائي مؤرض.
- قم بتوصيل أحد طرفي كابل USB بمنفذ USB الخاص بالطابعة والطرف الآخر بجهاز الكمبيوتر الخاص بك.
4.3 تركيب خرطوشة الحبر
- افتح باب الوصول الأمامي للطابعة.
- Carefully remove the toner cartridge from its packaging and shake it gently to distribute the toner.
- أدخل خرطوشة الحبر في الطابعة حتى تسمع صوت طقطقة عند تثبيتها في مكانها.
- أغلق باب المدخل الأمامي بإحكام.
4.4 تحميل الورق
- اسحب درج الورق للخارج.
- اضبط موجهات الورق لتتناسب مع حجم الورق الذي تقوم بتحميله.
- قم بتحميل الورق في الدرج، مع التأكد من أنه مسطح ولا يتجاوز خط التعبئة الأقصى.
- ادفع درج الورق إلى داخل الطابعة حتى يستقر في مكانه.
4.5 تثبيت برنامج التشغيل
After connecting the printer, your operating system may automatically detect and install the necessary drivers. If not, follow these steps:
- Insert the driver CD (if included) into your computer's CD/DVD drive, or download the latest drivers from the official Lexmark support webموقع.
- اتبع الإرشادات التي تظهر على الشاشة لإكمال تثبيت برنامج التشغيل.
- أعد تشغيل الكمبيوتر إذا طُلب منك ذلك.
5. تشغيل الطابعة
5.1 الطباعة الأساسية
- تأكد من تشغيل الطابعة وتوصيلها بجهاز الكمبيوتر الخاص بك.
- افتح المستند الذي ترغب في طباعته على جهاز الكمبيوتر الخاص بك.
- يختار File > طباعة (أو الأمر المكافئ في تطبيقك).
- Choose the Lexmark E260D from the list of available printers.
- Adjust print settings as needed (e.g., number of copies, page range).
- انقر مطبعة.
5.2 الطباعة على الوجهين
The Lexmark E260D supports automatic two-sided printing.
- عند إرسال مهمة طباعة، قم بالوصول إلى خصائص الطابعة أو تفضيلاتها.
- ابحث عن خيار ذي صلة بـ الطباعة على الوجهين or الطباعة على كلا الجانبين.
- حدد خيار الطباعة على الوجهين المطلوب (على سبيل المثال، التجليد ذو الحافة الطويلة، التجليد ذو الحافة القصيرة).
- Confirm your settings and click مطبعة.
6. الصيانة
6.1 تنظيف الطابعة
- الخارج: امسحي الأسطح الخارجية بقطعة ناعمة ، دampاستخدم قطعة قماش خالية من الوبر. لا تستخدم منظفات أو مذيبات كاشطة.
- الداخلية: Periodically open the front access door and gently remove any loose toner dust with a dry, lint-free cloth. Avoid touching sensitive components.
6.2 استبدال خرطوشة الحبر
When the toner level is low, the printer's control panel will indicate it. Replace the toner cartridge as follows:
- تأكد من تشغيل الطابعة.
- افتح باب المدخل الأمامي.
- قم بإزالة خرطوشة الحبر القديمة بعناية عن طريق سحبها للخارج بشكل مستقيم.
- Unpack the new Lexmark E260D compatible toner cartridge and shake it gently.
- أدخل الخرطوشة الجديدة في الطابعة حتى تستقر في مكانها.
- أغلق باب الوصول الأمامي.
7. استكشاف الأخطاء وإصلاحها
7.1 انحشار الورق
If a paper jam occurs, the printer's control panel will display an error. Follow these general steps:
- أطفئ الطابعة وافصلها عن مأخذ الطاقة.
- Open all accessible covers (front door, rear door, etc.).
- Carefully remove any jammed paper, pulling it in the direction of the paper path to avoid tearing.
- أغلق جميع الأغطية بإحكام.
- قم بتوصيل الطابعة وتشغيلها.
7.2 مشاكل جودة الطباعة
- مطبوعات باهتة أو فاتحة: The toner cartridge may be low. Try shaking the cartridge gently or replace it.
- خطوط أو لطخات: Clean the interior of the printer, especially around the toner cartridge area. Ensure the paper type setting matches the loaded paper.
- صفحات فارغة: Ensure the toner cartridge is properly installed and has toner. Check printer drivers and print settings.
7.3 مشاكل الاتصال
- لم يتم اكتشاف الطابعة: Ensure the USB cable is securely connected to both the printer and the computer. Try a different USB port or cable. Reinstall printer drivers if necessary.
- Print Jobs Stuck: Clear the print queue on your computer. Restart both the printer and the computer.
7.4 Envelope Printing on Mac
Users printing envelopes on macOS may encounter issues with incorrect print orientation or partial printing. To resolve this:
- In the print dialogue box, locate the menu that initially reads 'Layout'.
- Select 'Paper Feed' from this menu.
- Change the 'Auto Select' option to 'Manual Envelope'.
- متابعة الطباعة.
8. المواصفات
| ميزة | مواصفة |
|---|---|
| اسم الموديل | إي 260 دي |
| تكنولوجيا الطباعة | الليزر |
| مخرجات الطابعة | أحادي اللون |
| أقصى سرعة للطباعة (أحادية اللون) | 35 جزء في المليون |
| أقصى دقة طباعة (أبيض وأسود) | 1200 نقطة في البوصة |
| الطباعة على الوجهين | اوتوماتيكي |
| تكنولوجيا الاتصال | يو اس بي 2.0 |
| الحد الأقصى لسعة ورقة الإدخال | 250 ورقات |
| Supported Print Media | Envelopes, Labels, Paper (plain), Transparencies |
| سعة تخزين الذاكرة | 32 ميجا بايت |
| أبعاد المنتج | 16.5 × 18.1 × 14 بوصة |
| وزن العنصر | 29.8 رطل (13.53 كجم) |
| استهلاك الطاقة (وضع التشغيل) | 16 واط |
9. معلومات الضمان
The Lexmark E260D Monochrome Laser Printer comes with an Exchange Warranty. For specific terms, conditions, and duration of your warranty, please refer to the warranty documentation included with your product or visit the official Lexmark support webموقع.
10. دعم العملاء
For further assistance, technical support, or to order replacement parts and supplies, please contact Lexmark Customer Support. You can find contact information and additional resources on the official Lexmark webموقع:
- دعم ليكسمارك Webموقع: www.lexmark.com/support (يرجى ملاحظة: هذا هو عنصر نائب URL. Refer to your product documentation for the exact support link.)